No Sew Crochet Pumpkin Ghost Ornament Pattern
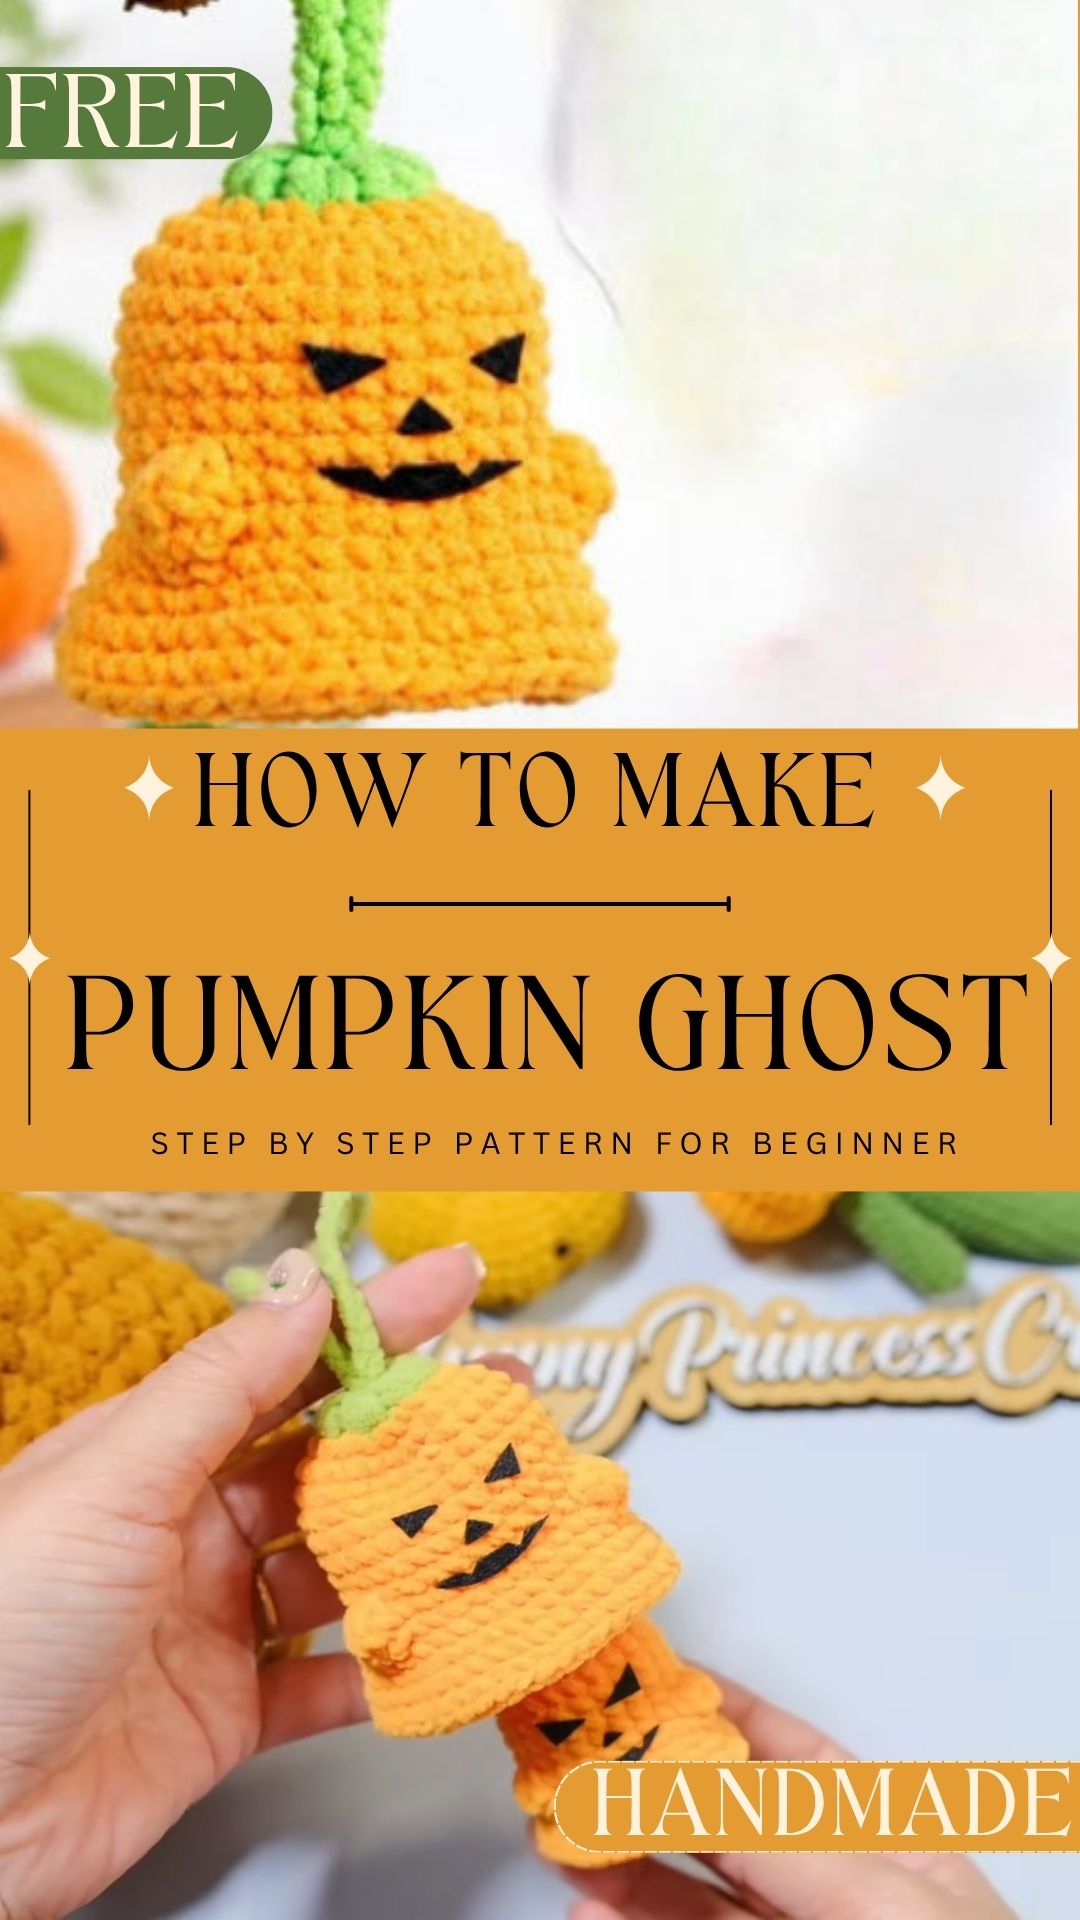
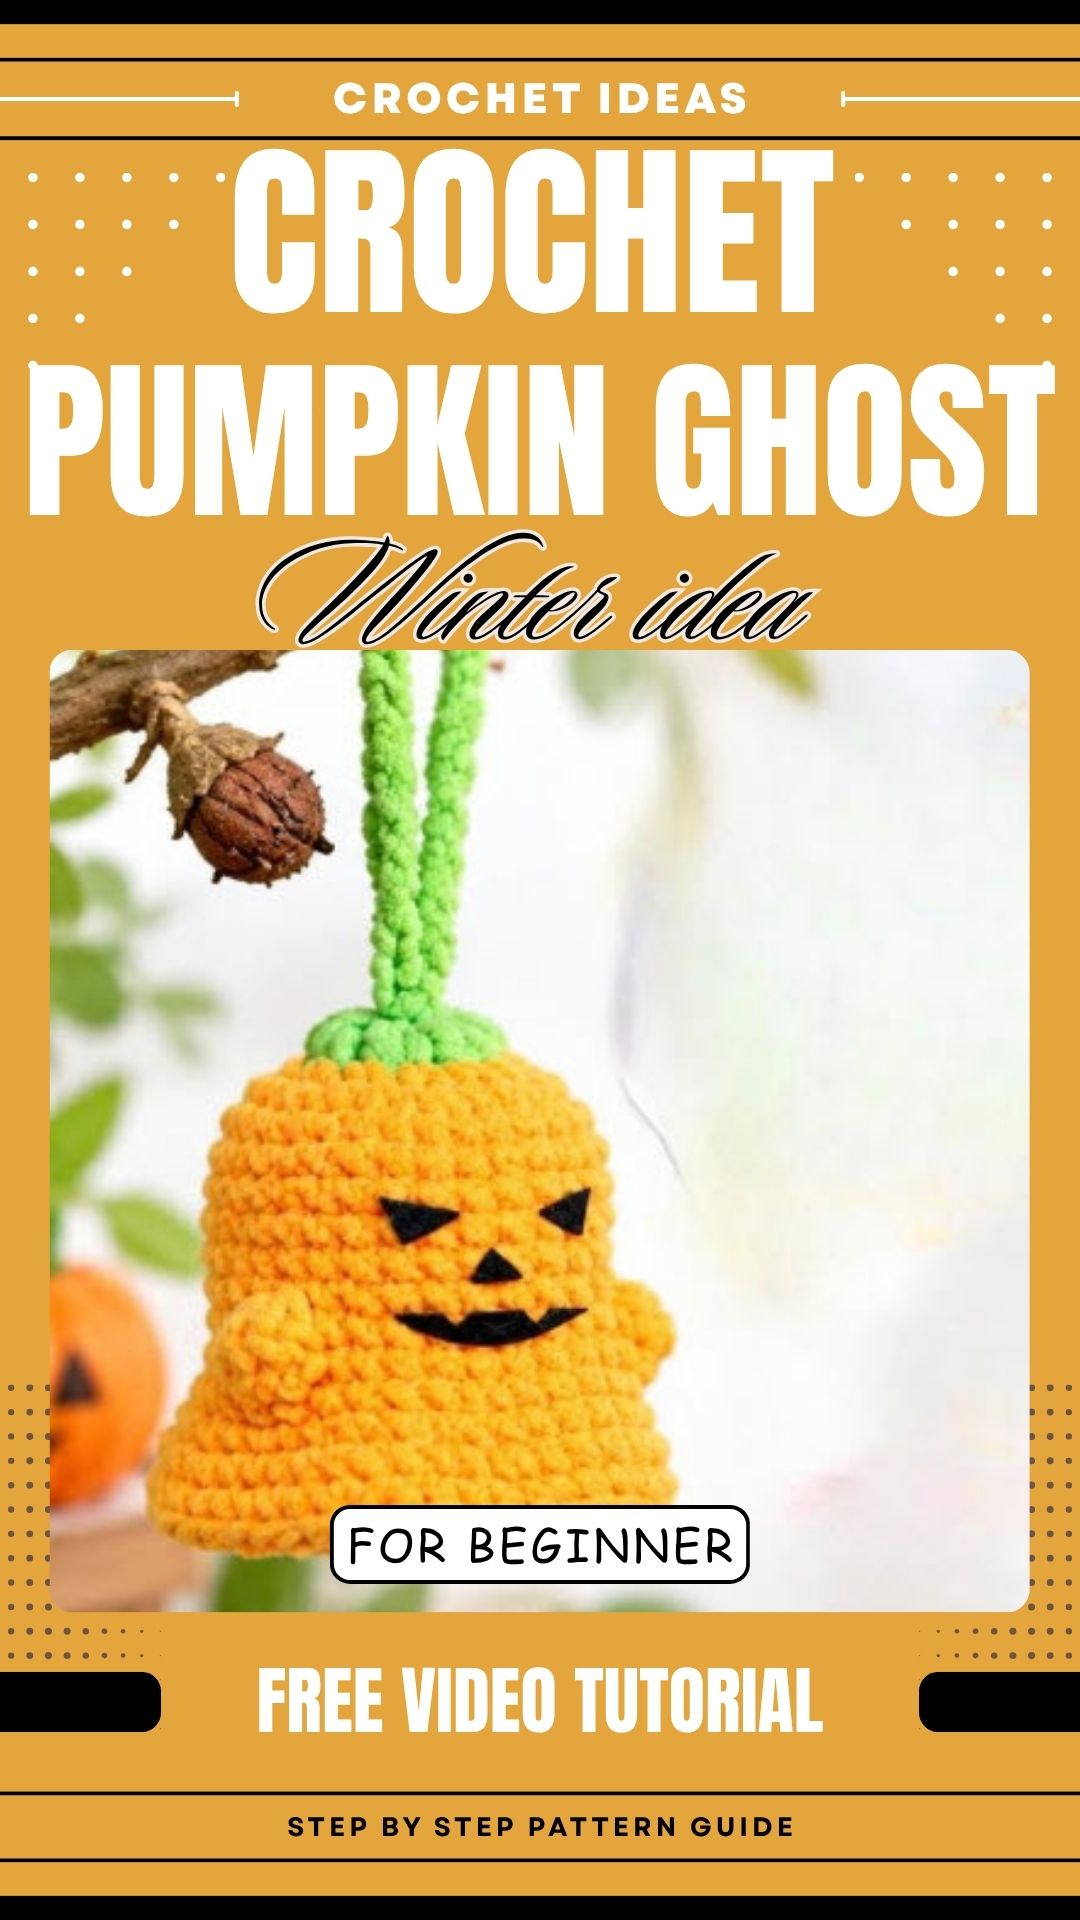
A pumpkin and a ghost sharing one body is a playful idea, and soft orange chenille makes it look wonderfully squishy. This no sew crochet pumpkin ghost ornament pattern builds a bell-shaped figure with a green bobble stem, little arm bumps, and a felt jack-o’-lantern face. You work every piece in the round, so there are no seams to stitch and no limbs to attach. Below, you will find the materials, stitch notes, step-by-step rounds with photos, and fixes for common problems.
Hang these ornaments from a branch, a mantel garland, a window, or a small tree. Green bobble stitches form the stem at the top, and the orange body flares gently toward the base, much like a classic ghost sheet. The finished pair comes in a larger and a smaller size, and a green cord links them so they dangle together. They also work well as gift toppers or party favours.
What Makes This No Sew Crochet Pumpkin Ghost Ornament Pattern Special
- Crocheted entirely in the round, with no sewing
- Bobble stitch stem in green
- Arms made from double crochet clusters
- Two ghost sizes joined by one hanging cord
- Hot-glued felt face, so you skip embroidery
Skill Level for This Crochet Pumpkin Ghost Ornament Pattern
This pattern uses bobbles, increases, decreases, and arm shaping, so it suits advanced beginners and confident intermediates. The pattern does not state an official level, so this rating is my judgment based on the techniques involved. Newer crocheters can still manage it with patience, especially since the rounds are short.
Materials for the No Sew Crochet Pumpkin Ghost Ornament Pattern
- Soft thin chenille yarn in orange and green
- 3 mm crochet hook
- Scissors
- Black felt for the face
- Hot glue
- Stitch marker (optional)
- Yarn needle for weaving in tails (optional)
The pattern does not list yardage. Since the exact amount depends on your tension, keep a little extra of each color nearby.
Yarn Information
Thin, soft chenille keeps the stitches small and the fabric dense, which helps the bell shape hold up. The 3 mm hook is deliberately small for this yarn. The pattern does not name an official yarn weight category.
If you need a substitute, choose another soft plush yarn of similar thickness. Very fuzzy yarns are best avoided, because they hide the bobbles and make stitch counting harder. Likewise, work a few rounds first whenever you change the yarn or hook, since the finished size will change.
Finished Size
The pattern gives no measurements, so the final size depends on your yarn and tension. However, the larger ghost ends at 44 stitches around the base and the smaller one at 36, which makes the size difference easy to see when the two hang together.
Gauge Information
The pattern gives no gauge. For an ornament, exact gauge matters less than consistency. Using the same yarn and hook for both ghosts keeps their proportions balanced, and tight, even stitches give the fabric enough firmness to hold its shape.
Stitches and Abbreviations for the No Sew Crochet Pumpkin Ghost Ornament
- MR: magic ring
- ch: chain
- sl st: slip stitch
- sc: single crochet
- hdc: half double crochet
- dc: double crochet
- inc: increase (2 sc in one stitch)
- dec: decrease (2 stitches worked together)
- st(s): stitch(es)
- Bobble: work 3 hdc in the same space, leaving each last step unfinished, then yarn over and pull through all 7 loops on the hook. Chain 1 to lock it.
Tips Before You Start Your No Sew Crochet Pumpkin Ghost Ornament
- Mark the first stitch of every round, because chenille hides the starting point easily.
- Count your stitches at the end of each round, especially around the arms.
- Keep bobbles loose enough to pull through all 7 loops without a fight.
- Leave the magic ring centre slightly open, since the hanging cord passes through it later.
- Wait until the crochet is finished before cutting the felt pieces.
- Use a low-temperature glue gun, as hot glue can damage some synthetic yarns.
How the No Sew Crochet Pumpkin Ghost Ornament Comes Together
Each ghost starts at the top with the green ring and bobble stem. Next, the orange rounds grow outward into a tube. Midway down, you make the arms by working double crochets into a single stitch, and a decrease round then neatens them into small side bumps. After that, increase rounds flare the base. Once the crochet is done, glue on the felt face and join the pair with a crocheted cord.
Step-by-Step No Sew Crochet Pumpkin Ghost Ornament Pattern: Larger Ghost
The written rounds below follow the larger ghost, which ends at 44 stitches around the base. The smaller ghost ends at 36 stitches.
1: Start the Green Bobble Ring (Round 1)
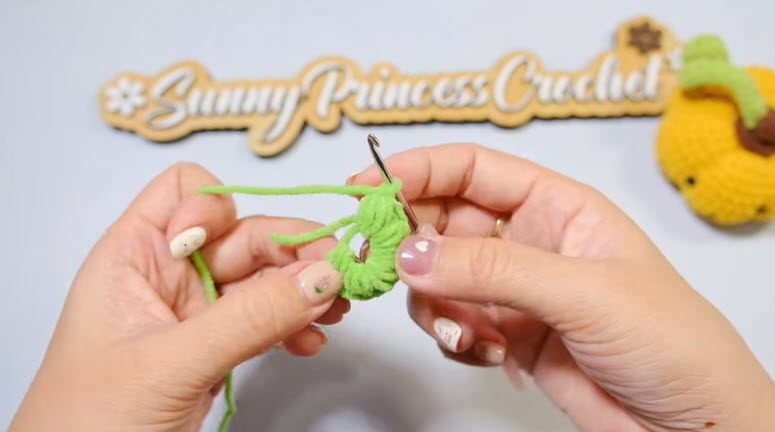
Make a magic ring with green yarn. Work 6 bobble stitches into the ring, chaining 1 after each one, for 12 stitches in total. Then join with a sl st to close the round. The picture shows the first bobbles forming around the ring, which becomes the pumpkin stem.
2: Grow the Orange Circle (Rounds 2–3)
Switch to orange yarn.
- Round 2: Ch 1, then work 12 inc, for 24 sts.
- Round 3: Ch 1, then (3 sc, 1 inc) six times, for 30 sts.
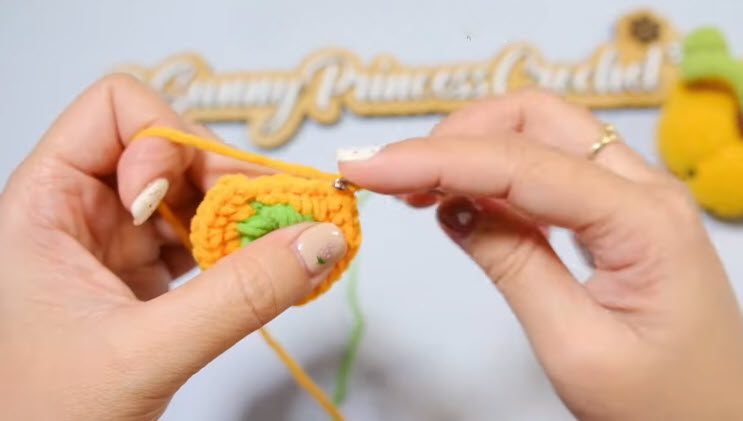
The picture shows the orange rounds spreading around the green centre.
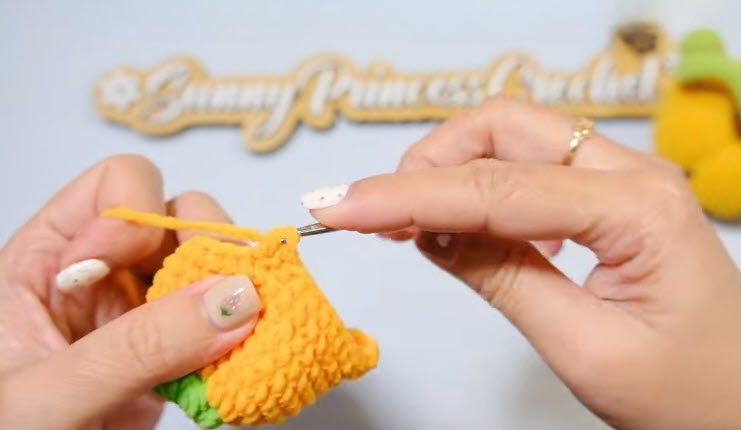
3: Shape the Arms (Rounds 4–11)
- Rounds 4–9: Work 30 sc around for six rounds.
- Round 10 (arms): 9 sc, 4 dc in the next stitch, 10 sc, 4 dc in the next stitch, 9 sc.
- Round 11: 9 sc, 2 dec, 10 sc, 2 dec, 9 sc, for 32 sts.
In the picture, a small arm bump is forming at the side while the hook works along the round.
4: Flare the Base (Rounds 12–15)
- Round 12: (7 sc, 1 inc) four times, for 36 sts.
- Round 13: 4 sc, 1 inc, (8 sc, 1 inc) three times, 4 sc, for 40 sts.
- Round 14: (9 sc, 1 inc) four times, for 44 sts.
- Round 15: 1 sc in each stitch around.
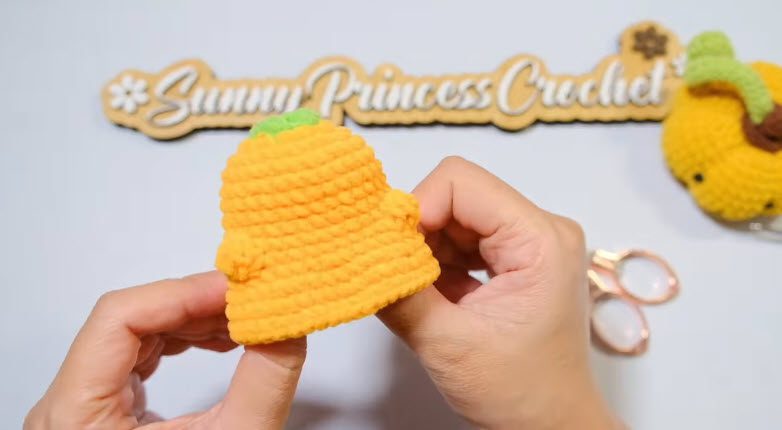
Fasten off and weave in the tails. The picture shows the finished orange body with its green top and a small arm bump on each side.
5: Add the Felt Face
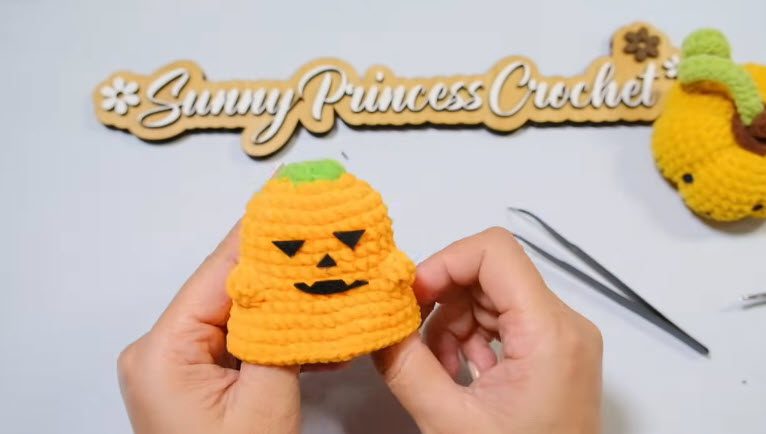
Cut two triangle eyes, a small triangle nose, and a wide curved mouth from black felt. Then hot glue them onto both ghosts, placing the eyes above the centre, the nose between them, and the mouth below. The picture shows the finished jack-o’-lantern face on the orange body.
6: Join With the Hanging Cord
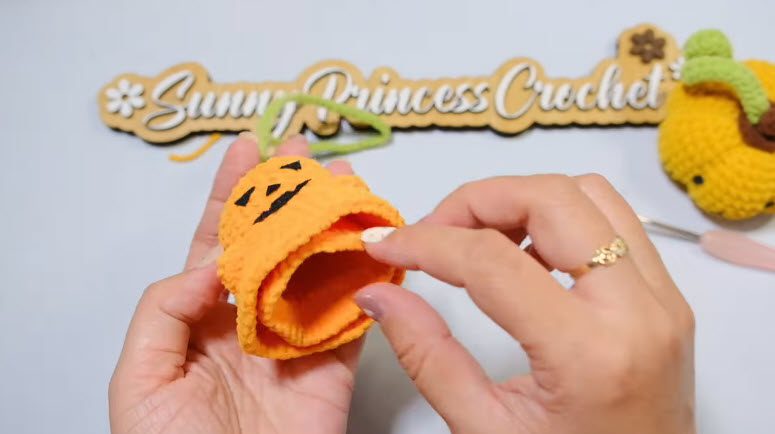
Using green yarn, crochet a long chain of about 70 stitches and join it with a sl st. Next, open the base of each ghost, reach up to the green ring, and thread the cord through the centre of the ring. Repeat with the second ghost so both stack or hang together. The picture shows a hand opening the hollow base to reach the ring while the green yarn rests at the top.
Arm Round at a Glance for the Crochet Pumpkin Ghost Ornament
Round 10 is the part most crocheters pause on, so here is the same round laid out by stitch position. You start that round with 30 stitches.
- Stitches 1–9: 1 sc in each stitch.
- Stitch 10: work all 4 dc into this single stitch to make the first arm.
- Stitches 11–20: 1 sc in each stitch.
- Stitch 21: work all 4 dc into this single stitch to make the second arm.
- Stitches 22–30: 1 sc in each stitch.
As a result, the two arms sit opposite each other, with 10 sc between them on one side and 9 plus 9 sc on the other. Round 11 then decreases over each cluster so the arms settle into soft bumps.
Customization Options for the No Sew Crochet Pumpkin Ghost Ornament Pattern
For a classic ghost, swap orange and green for white and gray. If you prefer a bolder Halloween look, try purple and lime. The felt shapes change the mood too, since rounded eyes look sweeter and jagged ones look spookier. Finally, a longer chain makes the ornaments hang lower, while a shorter one suits a tree branch.
Common Mistakes and Troubleshooting for the Crochet Pumpkin Ghost Ornament
Bobbles look uneven. This usually comes from tight tension. Loosen the loops slightly before pulling through all 7.
Stitch counts drift after the arms. The arm rounds change the count, so recount after Round 10 and again after Round 11.
Arms look flat. Make sure all 4 dc go into the same single stitch, then work the decreases firmly in the next round.
The ring centre closes completely. Pulling the magic ring too tight leaves no room for the cord, so keep a small opening from the start.
Felt peels away. Press each piece down for a few seconds and use a thin layer of glue.
Finishing Your No Sew Crochet Pumpkin Ghost Ornament
Weave in every tail with a yarn needle or hook, hiding the ends inside the fabric. Before attaching the cord, check that the face pieces are fully glued. Then gently reshape the base with your fingers so it sits evenly. The ornaments need no seaming or blocking.
Care Instructions for Your Crochet Pumpkin Ghost Ornament
The pattern does not give care directions. Because the felt is glued on, spot cleaning with a damp cloth is the safest approach. Skip soaking. Afterwards, store the ornaments in a dry container away from direct sunlight.
Display Ideas for Your Ghost Pair
Hang the pair from a doorknob or a curtain rod for a simple seasonal touch. You can also add them to a fall garland between leaves and mini pumpkins. Alternatively, tie one to a gift bag handle as a handmade topper.
FAQs About This No Sew Crochet Pumpkin Ghost Ornament Pattern
Does this pattern need any sewing?
No. You work all parts in the round and glue on the face.
What hook size does the pattern use?
A 3 mm crochet hook.
Which yarn works best?
Soft thin chenille in orange and green matches the pattern.
Can I make the ornaments in one size only?
Yes. Each ghost stands alone, so either one works by itself.
Is this pattern beginner friendly?
It suits advanced beginners because of the bobbles and arm shaping.
Time to Hang Your Ghosts
Once the rounds start moving, this no sew crochet pumpkin ghost ornament pattern works up quickly, and the green bobble stem gives it real personality. Two sizes, a simple felt face, and a cord that ties everything together make it easy to fit into holiday decorating or gift plans. So pick up the orange yarn, start the magic ring, and share your finished pair with fellow crochet fans.