Crochet Kawaii Heart Keychain Pattern for Valentine’s Day Gifts
A tiny heart with a face, two puffy arms, and a stitched smile is hard to resist. The crochet kawaii heart keychain pattern turns a small amount of yarn into a Valentine’s Day gift that clips onto a bag, hangs from a zipper, or slips inside a card.
The piece starts from a magic ring, grows into a heart shape with bobble arms, and closes into two rounded humps. Every round count is listed below, so the shape comes out right the first time. Anyone browsing easy crochet patterns for beginners free of charge will find a good next step here, and the clear round counts make it one of the more approachable beginner friendly amigurumi patterns free to follow. Whether the plan is one gift or a whole basket of them, here is everything worth knowing before the first stitch.
Crochet Kawaii Heart Keychain Pattern Overview
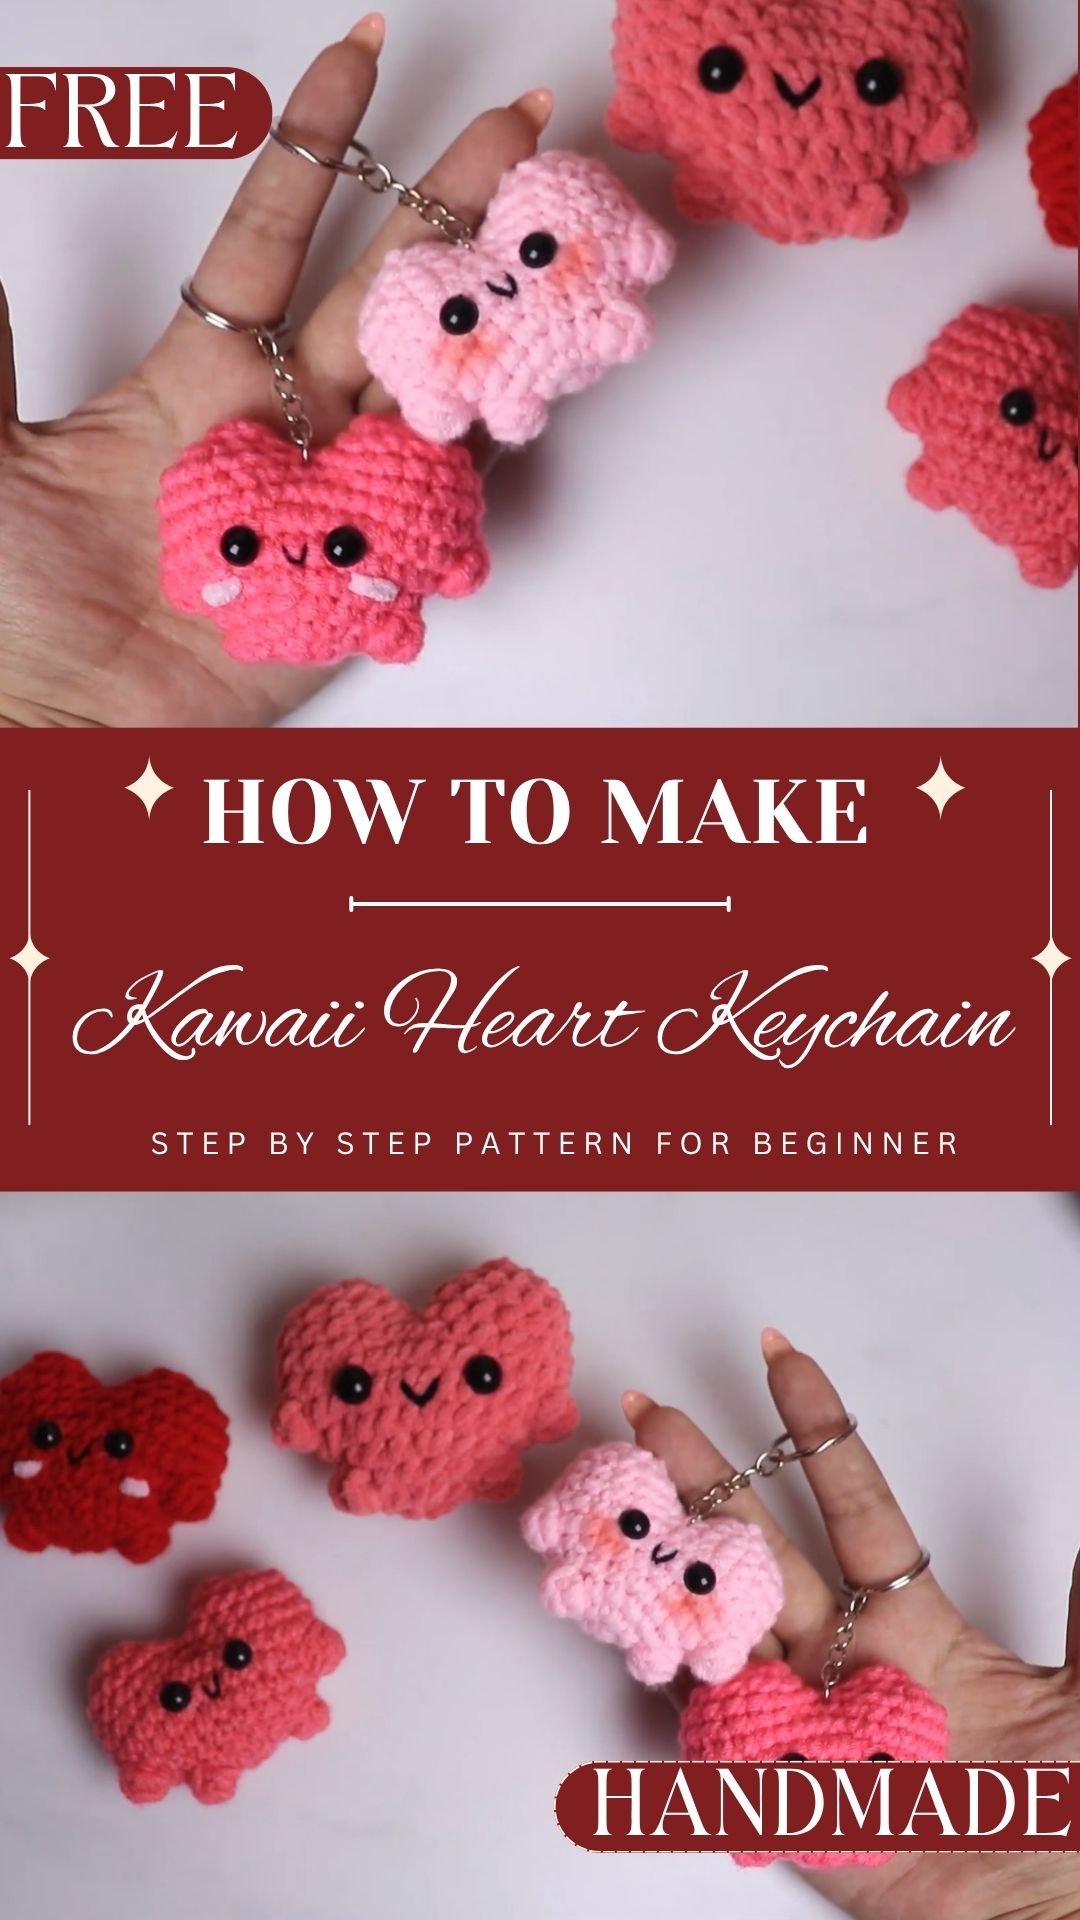
The amigurumi heart is worked in the round and stuffed lightly. In addition, a few details set it apart from a plain heart:
- A magic ring start with 7 single crochets
- Two bobble-stitch arms added in Round 3
- Bobble contours at the top in Round 6, which form the small rounded ears
- A top split into two humps of 14 stitches each
- 8 mm safety eyes and a smile embroidered in black thread
- An optional keychain ring
Since the piece is small, it works up quickly and makes good use of leftover yarn.
Skill Level for the Crochet Kawaii Heart Keychain Pattern
The pattern suits an advanced beginner. Anyone comfortable with single crochet, increases, and decreases can follow it. The magic ring, the bobble stitch, and dividing the stitches into two humps are the only new skills, and each is explained below.
Materials Needed for the Crochet Kawaii Heart Keychain Pattern
- Smooth yarn for the body (bright pink works well, and so do red, white, or soft pastels)
- Black thread for the mouth
- A crochet hook that suits the yarn
- 8 mm safety eyes
- Fiberfill stuffing
- A yarn needle
- A stitch marker
- Scissors
- A keychain ring (optional)
No yarn weight or hook size was specified. Therefore, choose a yarn first, then pick a hook small enough to make a firm fabric. Smooth, non-fuzzy yarn makes the bobbles stand out clearly. Also, a second strand of yarn is needed for the second hump.
Finished Size and Sizing Options
The finished size depends on the yarn and hook used. Thicker yarn with a larger hook makes a bigger heart, while thinner yarn with a smaller hook makes a smaller one. The stitch counts stay the same either way. Eight-millimeter eyes suit a small heart, so an oversized version may need larger eyes. For a keychain, a smaller size works best because it stays light and does not weigh down the keys.
Stitches and Abbreviations
- MR: magic ring
- sc: single crochet
- inc: increase (two single crochets in the same stitch)
- dec: decrease (two single crochets worked together)
- Bobble: five partial double crochets closed together into one stitch
- st: stitch
- Rnd: round
Gauge Information
No exact gauge is required, because the pattern makes a shape rather than a fitted piece. Instead, what matters is tight, even stitches so the stuffing stays hidden. Test the tension early by checking the first few rounds. If gaps show, move down a hook size.
Tips Before Starting the Crochet Kawaii Heart Keychain Pattern
- First, mark the first stitch of every round with a stitch marker.
- Then count the stitches at the end of each round.
- Keep the tension firm, especially around the bobbles.
- Also, pull the magic ring tight so no hole remains in the center.
- Check eye placement and secure the safety eyes before the final hump closes, because the backs lock from inside.
- Finally, leave a long tail at the end of the second hump for sewing.
Step-by-Step Crochet Kawaii Heart Keychain Pattern
Rounds 1–2: Magic Ring and First Increase Round
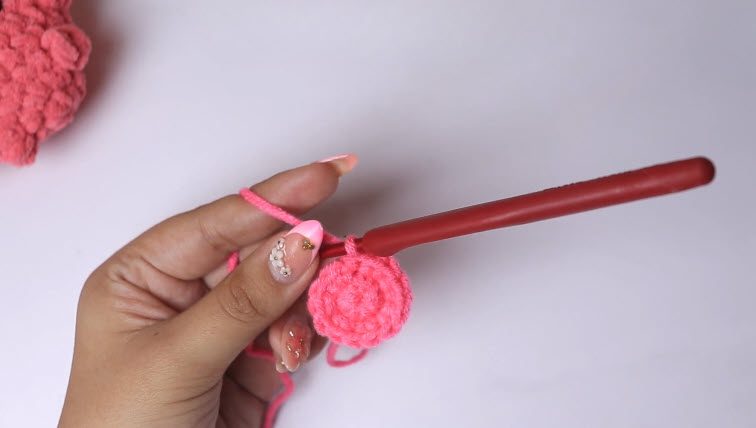
Round 1: Make a magic ring and work 7 sc into it. Then pull the tail to close the ring.
Round 2: Work an increase in every stitch around (14 sts).
Wrap the yarn over your left fingers for tension, and keep the tiny circle snug against the hook as each increase is made.

Round 3: Bobble Arms
Round 3: Work 2 sc, 1 bobble (arm), 5 sc, 1 bobble (arm), 5 sc (14 sts total). Since a bobble counts as one stitch, the total stays at 14.
Rounds 4–5: Shaping the Heart
Round 4: (1 sc, inc) around (21 sts).
Round 5: (2 sc, inc) around (28 sts).
At that point, the piece is a small, tightly packed disk. Make sure the edge looks even before moving on, and work each round evenly so the heart widens gradually.
Round 6: Upper Contour and Ears
Round 6: Work increases, bobble stitches for the top contours (the ears), and single crochets until the round reaches 35 sts.
Count carefully here, because Round 6 carries the most shaping. A stitch marker on the first stitch of the round helps keep the count accurate.
Rounds 7–8: Even Round and Decreases
Round 7: Work one even round of sc around (35 sts).
Round 8: (3 sc, dec) around (28 sts).
Dividing and Closing the Two Humps
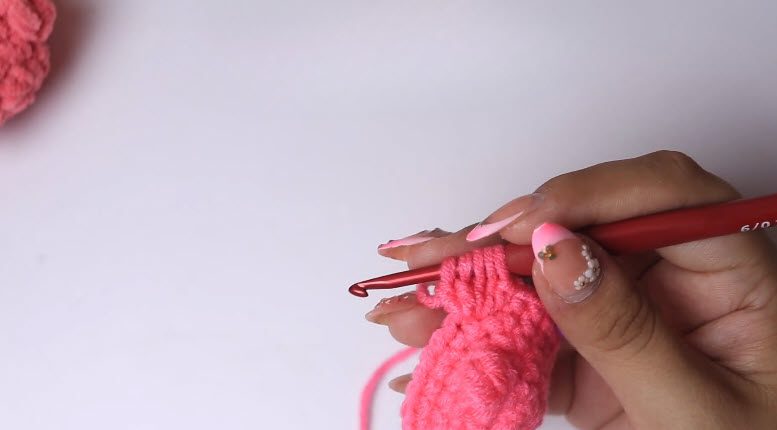
First, split the 28 stitches into two halves of 14 stitches each.
First hump: Work 14 sc around the first half. Next, stuff the piece lightly, then work 7 decreases in a row to close the opening. Finally, fasten off.
Second hump: Join new yarn to the remaining 14 stitches on the other side. Then work one round of sc, followed by 7 decreases to close. Leave a long tail, and use it to sew the small gap between the humps. As the opening narrows, the walls curve inward.


Assembly for the Crochet Kawaii Heart Keychain Pattern
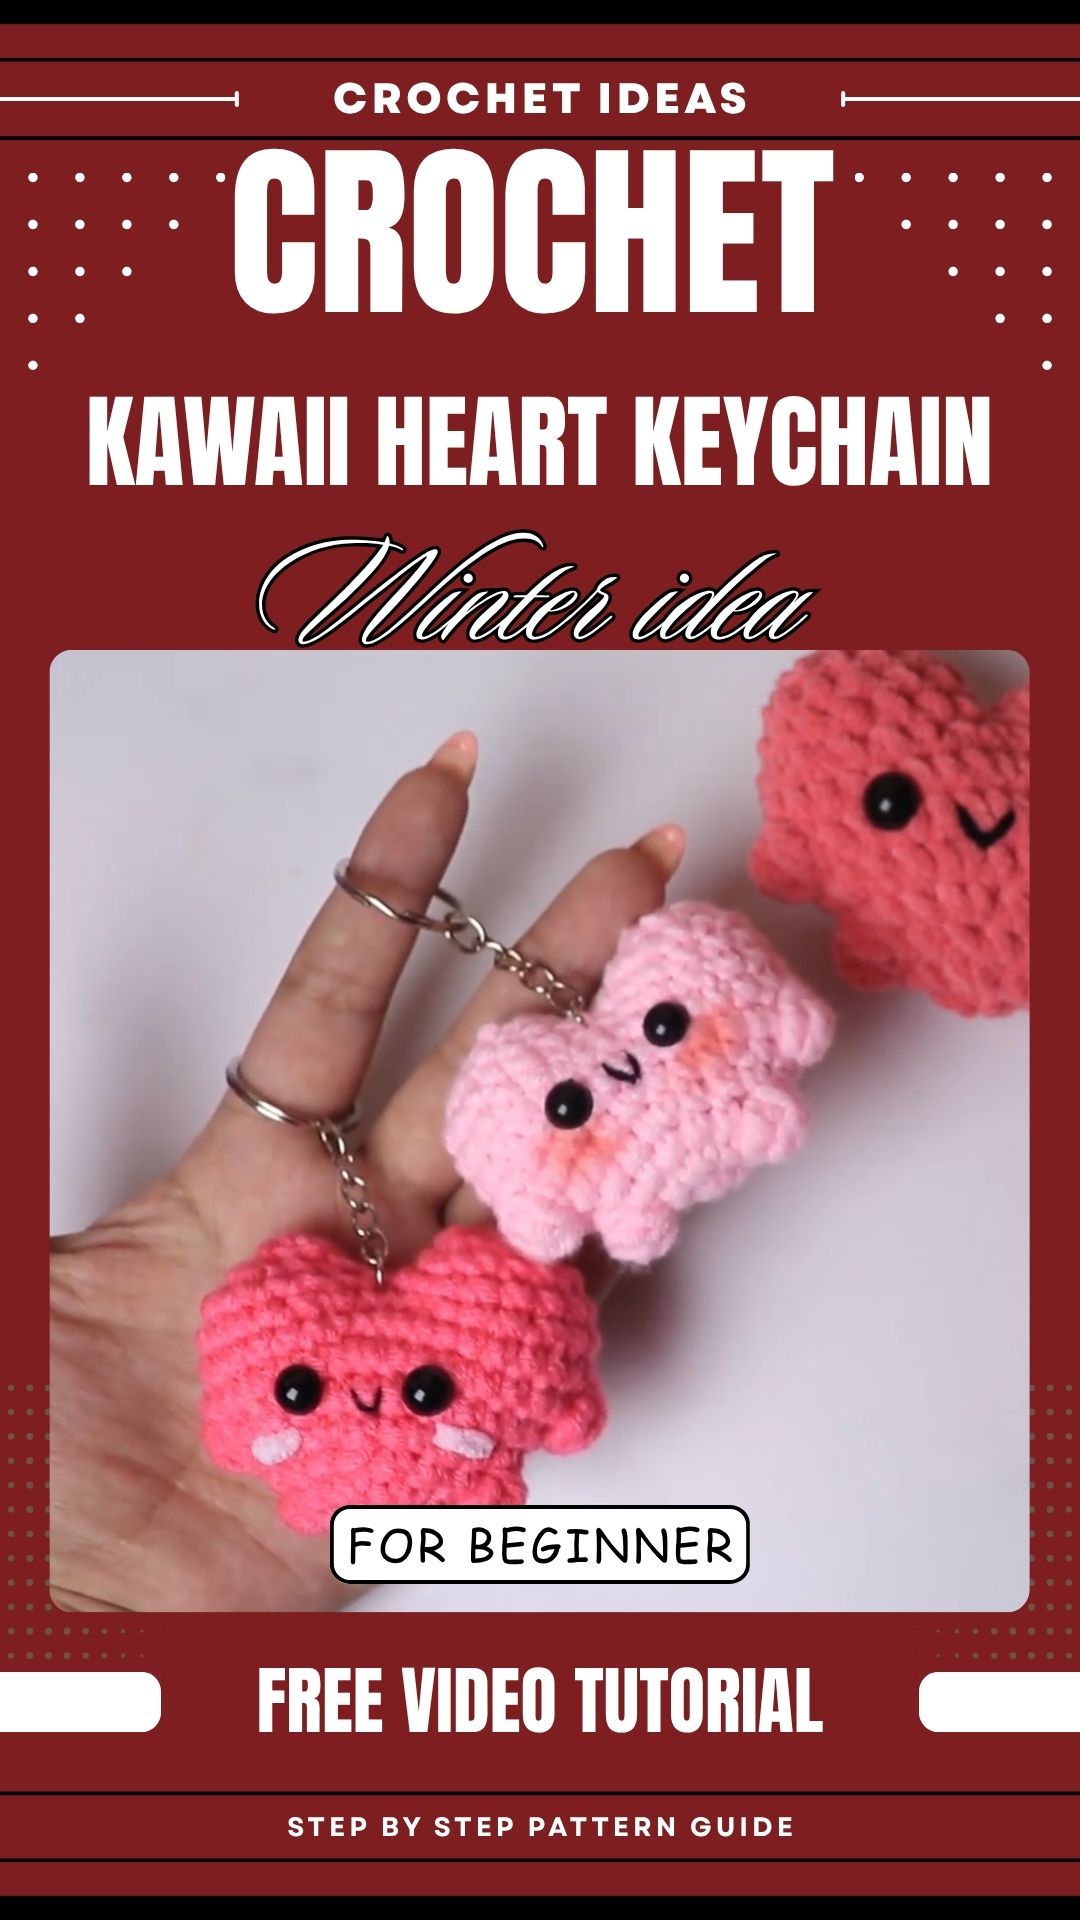
The heart is worked in one piece up to Round 8, then split into two stuffed humps. The bobbles in Round 3 become the arms, and the Round 6 bobbles form the ears. After closing both humps, sew the gap between them with the long tail so the heart holds its notch shape. Add stuffing before the last decreases, and use small pieces for a smoother fill. Finally, add the eyes and mouth, then attach the keychain ring.

Face Details
First, attach the 8 mm safety eyes to the front of the heart. Then use black thread to embroider a small smile between and below the eyes. Keep the stitches short so the smile stays neat.
Crochet Kawaii Heart Keychain Pattern Stitch Count Summary
Use the quick list below to confirm progress as you work:
- Round 1: 7 stitches
- Round 2: 14 stitches
- Round 3: 14 stitches
- Round 4: 21 stitches
- Round 5: 28 stitches
- Round 6: 35 stitches
- Round 7: 35 stitches
- Round 8: 28 stitches
- Humps: two halves of 14 stitches each
Ways to Customize the Crochet Kawaii Heart Keychain Pattern
- Color: Pink and red are classic, but white, lavender, or mint give the heart a different feel.
- Eyes: Keep black 8 mm eyes for the original look, or choose a different color for a playful twist.
- Mouth: Change the thread color or stitch a smaller smile.
- Size: Use thicker yarn and a bigger hook for a plush version.
- Use: Skip the ring and display the heart as a small ornament or bag charm.
Valentine’s Gift Packaging Ideas
A finished heart looks even better when presented well. For example, tuck it into a small card with a handwritten note, or place it in a little box with tissue paper. A set of three in different colors also makes a sweet group gift. Meanwhile, attaching the heart to a bag zipper before wrapping turns it into a gift that is ready to use right away.
Common Mistakes with the Crochet Kawaii Heart Keychain Pattern
- Gaps showing stuffing: Go down a hook size and keep the tension firm.
- Wrong stitch count: Recount at the end of every round and fix it before moving on.
- Uneven bobbles: Pull each loop to the same height before closing.
- Lopsided humps: Make sure both halves have exactly 14 stitches.
- Gap between humps: Sew it closed with the long tail from the second hump.
- Loose magic ring: Pull the tail snugly before moving to Round 2.
Finishing the Crochet Kawaii Heart Keychain Pattern
First, weave in all loose ends with the yarn needle and trim them close. Next, check that the eyes feel secure by tugging gently. Attach the keychain ring through a sturdy stitch or the sewn seam so it holds firmly. Afterward, spot clean with a damp cloth and mild soap, then air dry. Avoid soaking the piece, since stuffing takes a long time to dry.
Frequently Asked Questions (FAQs)
Is the crochet kawaii heart keychain pattern beginner-friendly?
It suits advanced beginners. The bobbles and the split into humps take some attention, but every round is listed with a stitch count.
What size will the finished heart be?
That depends on the yarn and hook. Thicker yarn makes a larger heart, and the stitch counts remain the same.
Can the heart be made without safety eyes?
Yes. Embroidered black eyes work as a substitute, especially if the keychain is for a small child.
How many stitches are in the heart after Round 6?
Round 6 reaches 35 stitches. After that, Round 8 decreases to 28, which is split into two halves of 14.
Is the keychain ring required?
No. The ring is optional, and the heart works as a plush charm without it.
Ready to Give a Little Heart Away?
A small crochet heart carries a lot of charm, and it is easy to personalize for anyone on the Valentine’s list. So gather the yarn, pick a favorite color, and start with the magic ring. Once the first heart is finished, a second one usually follows quickly. Save the crochet kawaii heart keychain pattern for later, and share a finished heart with someone who deserves a smile.