
Crochet Dog Keychain Pattern with Floppy Ears
Crochet dog keychain is a free pattern that turns soft beige plush yarn into a tiny amigurumi puppy with floppy brown ears. This crochet dog keychain has small arms and little legs that make it look extra lovable on any bag or set of keys. The step by step tutorial is beginner friendly and works up in a single evening with basic stitches. Stitch a few extra crochet dog keychains as Christmas stocking stuffers or secret santa gifts for dog lovers.
What sets this design apart is its proportion. A mini amigurumi puppy with an oversized head looks instantly cute, and the shaped cheeks give the face a squishy look. In addition, floppy ears add movement while a small white snout adds contrast. Because every piece starts from a magic ring, the pattern stays beginner-friendly. Once finished, the puppy works well as a floppy-eared bag charm for daily use, so the project truly earns its keep.
Watch the Crochet Dog Keychain Video
If you prefer to see the stitches in motion, this video follows the same steps. Meanwhile, you can pause it whenever you need a closer look.
Materials for the Crochet Dog Keychain Pattern
First, gather everything below, so the work flows without interruptions.
- Main yarn: fluffy velvet or chenille yarn in light brown or brown (Seria Princess Chenille works well)
- Accent yarn: a small amount of white for the snout and inner-ear detail
- Hook: size 6/0 (3.5 mm), or whichever size suits the chosen yarn
- Filling: polyester fiberfill
- Eyes: black safety eyes, 4.5 mm to 5 mm
- Notions: tapestry needle, scissors, tweezers, and craft glue
- Abbreviations: MR (magic ring), sc (single crochet), inc (two sc in one stitch), dec (two stitches together), st(s) (stitches)
Material Substitution Ideas
Cotton yarn creates a firmer, smoother puppy, although the fuzzy texture disappears. Meanwhile, a smaller hook gives denser fabric, so the stuffing stays hidden. For gifts going to small children, embroidered eyes can replace safety eyes. Also, felt works for the inner-ear accent when the white yarn runs short.
Time Needed for the Crochet Dog Keychain
Plan on roughly two to three hours of hands-on work. Since the pattern splits into small parts, you can finish the head in one sitting and make the extras later. Besides that, the glue needs a few minutes to set before you handle the puppy.
How to Make the Crochet Dog Keychain Pattern Step by Step
Step 1: Start the Magic Ring
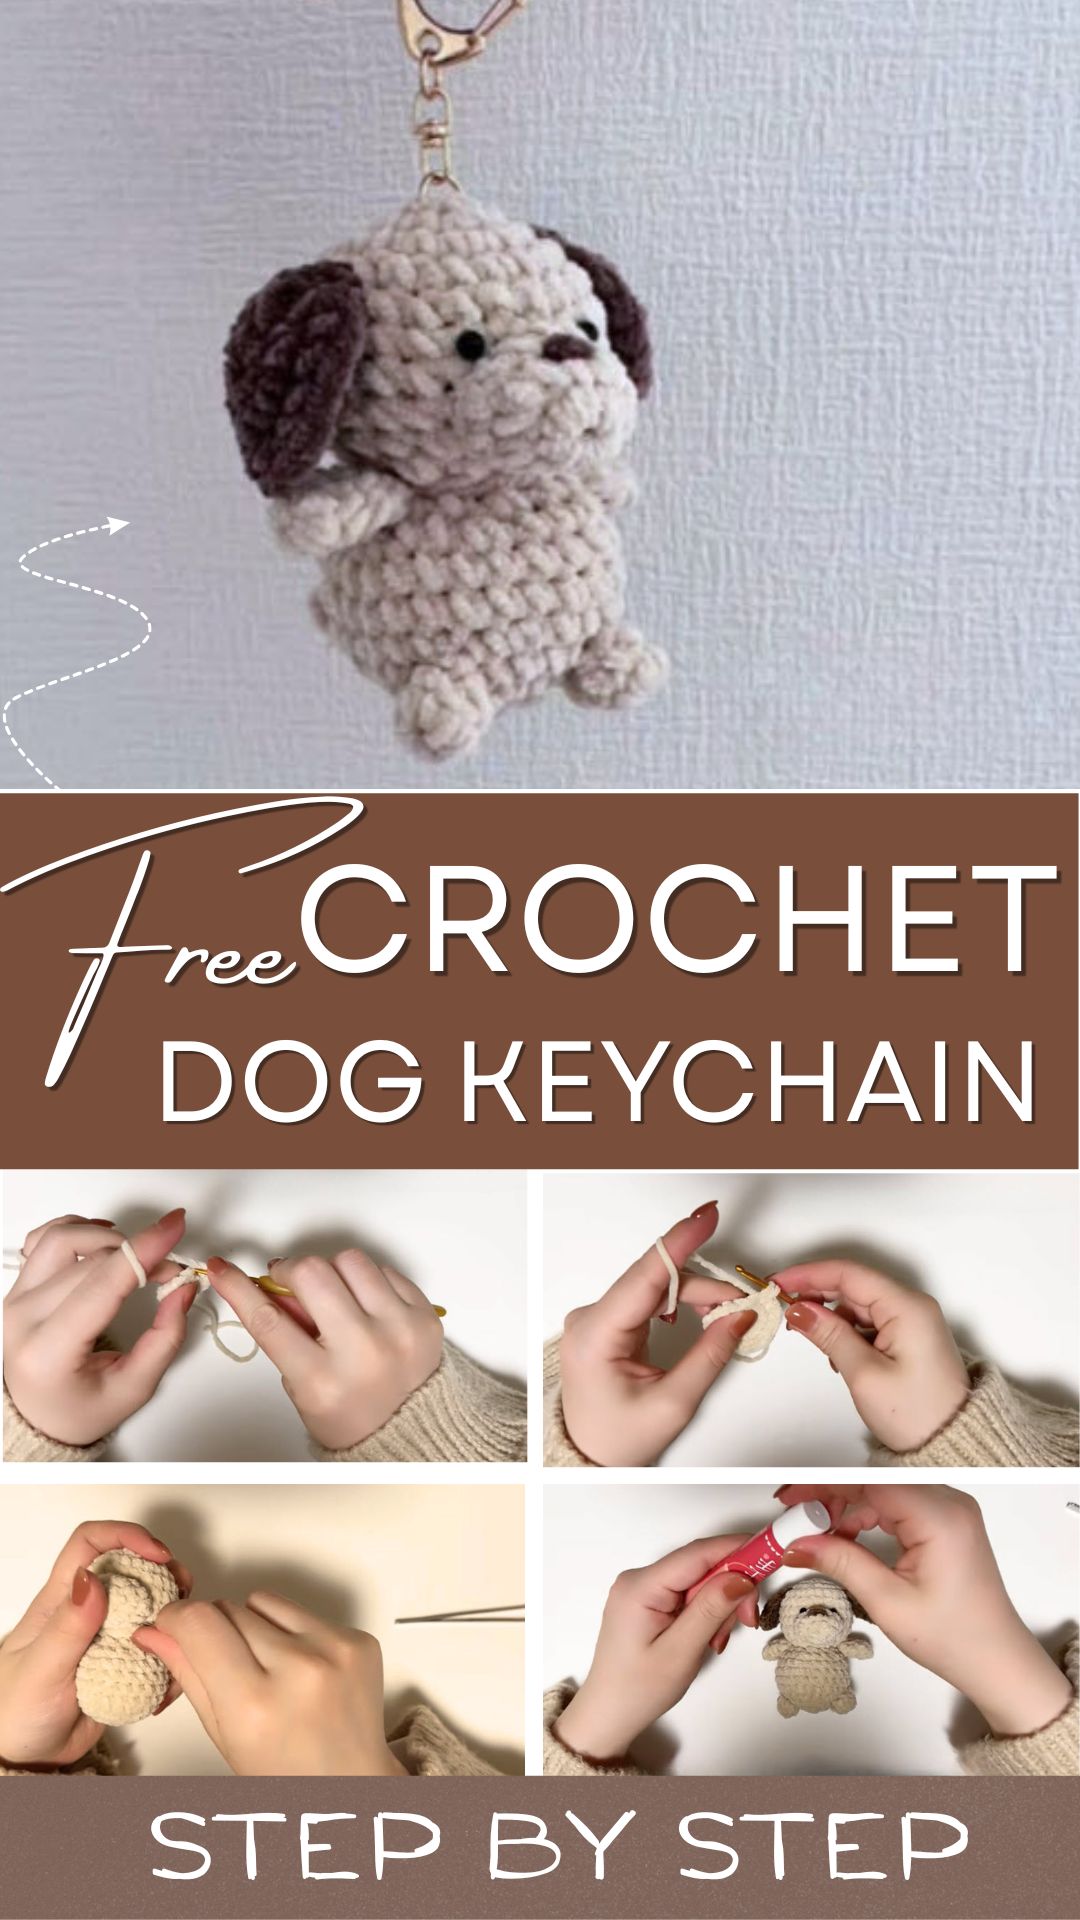
Form a magic ring and work 6 sc into it, giving 6 sts. Every piece begins this way, including the head, body, ears, snout, arms, legs, and tail. To keep the tension steady, rest the loop of yarn over your index finger.
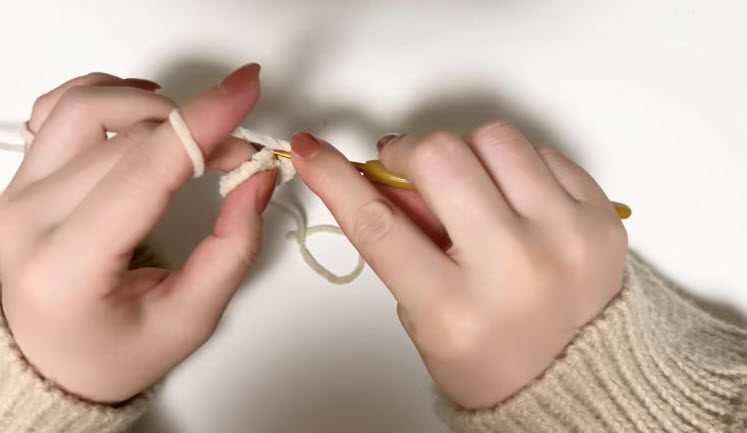
Step 2: Build the Head and Body Rounds
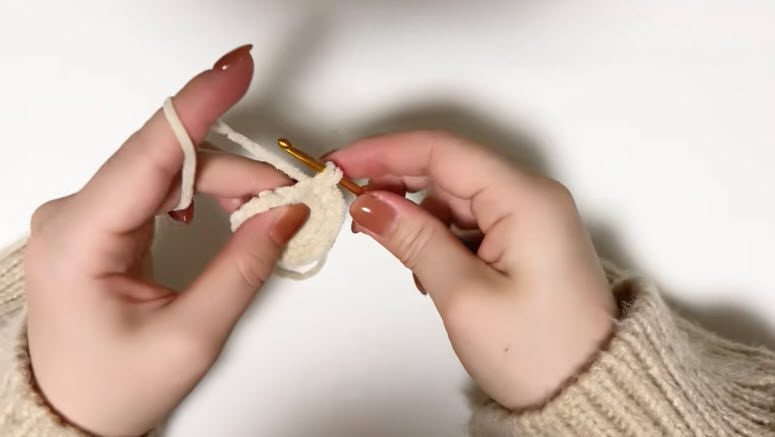
Work 1 inc in each stitch for 12 sts. Next, increase evenly by 6 sts in rounds 3 and 4 to reach 24 sts. Then, work plain sc rounds 5 through 7. For the head, add side increases in rounds 8 through 10 for puffy cheeks, decrease back for the chin, and finish with 6 dec per round in rounds 11 and 12. As for the body, repeat rounds 1 through 7, then decrease by 6 sts in rounds 8 and 9, leaving 12 sts.
Count now: 24 sts at the end of round 7 on both the head and the body.
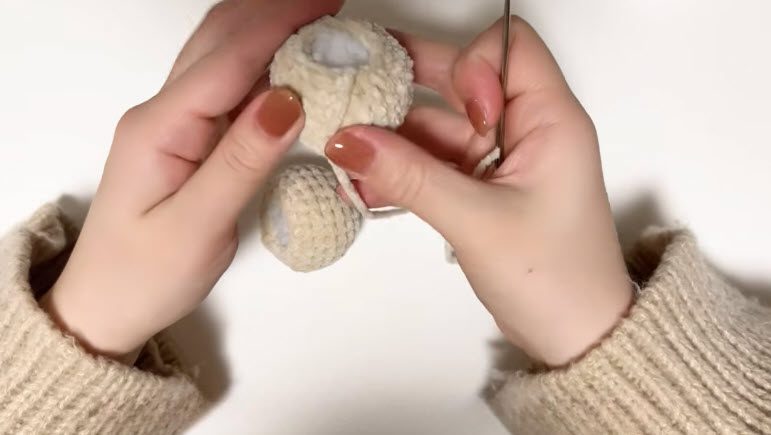
Step 3: Stuff and Join the Head to the Body
Stuff both pieces firmly, leaving a long tail on each. Then, thread the tapestry needle and sew the head securely onto the top of the body. Because firm stuffing and a secure seam stop the head from tilting after daily bumps, take your time here.
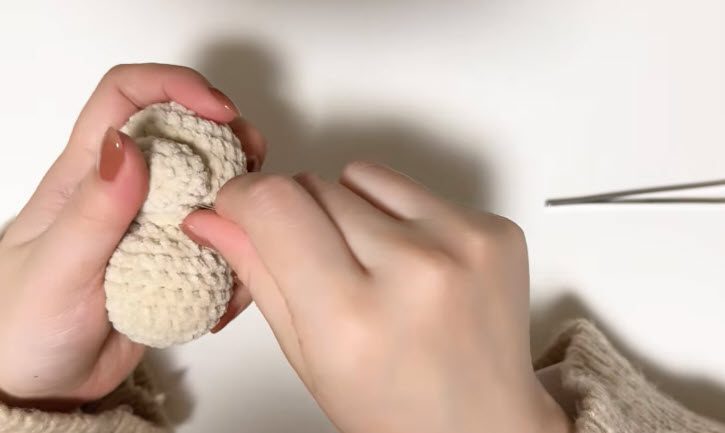
Step 4: Shape the Joined Form and Add Limbs
First, press and smooth the stuffed form so the head sits level. Next, make 2 legs: 6 sc in MR, then 9 sts in round 2, then rounds 3 through 7 with slight front decreases and light stuffing. After that, make 2 arms: 6 sc in MR, then rounds 2 through 4 of plain sc. For the tail, work 4 to 6 sc in MR for 2 rounds. Finally, sew the arms to the upper sides, the legs to the bottom, and the tail to the back.
Shape check: the body should sit upright without leaning when set on a table.
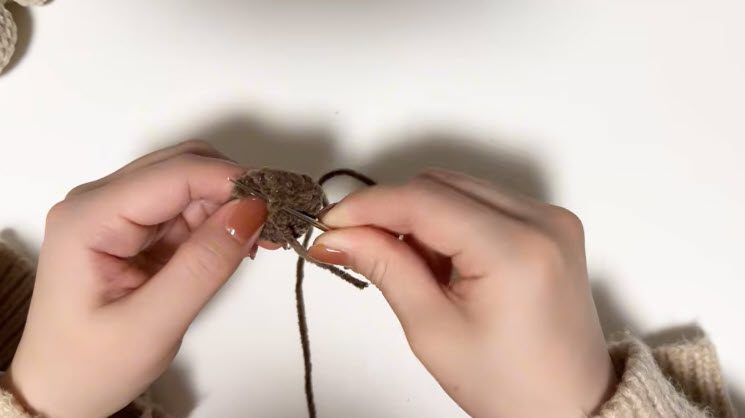
Step 5: Make and Attach the Floppy Ears
Make 2 ears: 6 sc in MR, then work [1 inc, 1 sc] around for 9 sts. Add a small white accent for the inner ear, and then flatten each piece. Next, sew one ear on each side of the head. Lastly, weave the yarn ends inside the head.
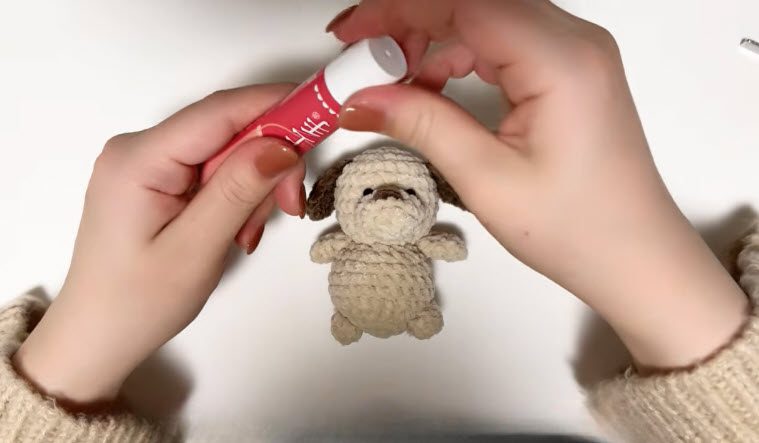
Step 6: Add the Snout, Eyes, and Face Details
Make the snout with 6 sc in MR, then 1 inc in each stitch for 12 sts. Sew it to the front center between the cheeks. Next, put a drop of glue on the back of each safety eye and press them in just above the snout. The glue keeps the eyes from twisting loose when the charm swings. Finally, embroider a small nose and mouth with black yarn.
Stitch check: both eyes sit level, and the ears hang at the same height.
Fixing Problems in the Crochet Dog Keychain Pattern
Signs You Did It Right
- The head looks round and slightly wider than the body.
- Stitches stay tight, with no stuffing visible through the fabric.
- Ears hang symmetrically on both sides.
- The snout sits centered between the cheeks.
- The finished puppy sits without tipping.
Common Mistakes and Their Fixes
- Problem: Stuffing shows through the stitches. Fix: Drop to a smaller hook, or double the yarn strand.
- Problem: The head leans forward. Fix: Add more fiberfill at the base, and then resew with extra anchor stitches.
- Problem: The cheeks look flat. Fix: Place the side increases farther apart in rounds 8 through 10.
- Problem: The ears curl inward. Fix: Flatten them firmly before sewing, and secure the base with two passes.
- Problem: The eyes sit crooked. Fix: Pin both eyes first, compare them, and then glue.
Troubleshooting Extra
Some issues appear only after assembly. For instance, fuzzy yarn can hide a loose seam, so tug each limb gently before attaching any hardware. If the neck wobbles, thread yarn through the seam again and pull it snug. When glue leaves a shiny patch, dab it with a tissue immediately. Meanwhile, loose tails that poke out need tweezers to push them back inside. Finally, a lopsided snout improves after you unpick one side and resew it.
Quick Reference for the Crochet Dog Keychain Pattern
- Hook: 6/0 (3.5 mm)
- Yarn: fluffy velvet or chenille, with a small white accent
- Head and body peak: 24 sts
- Ears and legs: 6 sts, then 9 sts
- Snout: 6 sts, then 12 sts
- Arms: 6 sts for 4 rounds
- Finished size: palm-sized, varying with yarn thickness
Ideas and Extras for Your Crochet Dog Keychain
Care and Cleaning Tips
Spot-clean with a damp cloth and a drop of mild soap. Blot gently instead of rubbing, because velvet fibers flatten easily. Afterward, air-dry the charm fully before storing it. To prevent fading, keep it in a cotton pouch away from sunlight. Also, keep it clear of rough zippers that snag the loops.
Bonus: Color Swaps for Other Dog Breeds
Cream bodies with dark ears suggest a spaniel, while grey yarn with white accents gives a husky look. Likewise, a solid black version with tiny tan cheeks resembles a terrier. Best of all, each swap keeps the same stitch counts.
Creative Projects You Can Make With This Pattern
The same shaping skills carry over to other small animals. For example, you can pair the puppy with matching bear, bunny, or kitten charms for a themed set. Scaled up with thicker yarn, the puppy also becomes a desk buddy. Alternatively, a row of mini pups makes a cheerful garland.
Who This Pattern Is Great For
Beginners get practice with magic rings and basic assembly. Meanwhile, intermediate crocheters enjoy the quick, satisfying finish. In addition, gift makers, craft-fair sellers, and dog lovers all find the design useful.
Why This Keychain Is Fun to Make
- Since velvet yarn feels so soft, the puppy is instantly huggable.
- Because the size is small, the yarn cost stays low.
- As the floppy ears add personality, the charm photographs well.
Crochet Dog Keychain Pattern FAQ
Can beginners make this puppy?
Yes. Since every piece starts with a magic ring and basic stitches, the skill level stays approachable.
How do I attach the charm to a keyring?
Sew a small yarn loop or a metal clasp securely into the top of the head. Then, clip it on.
What if velvet yarn feels hard to work with?
Use a slightly larger hook and stitch loosely at first. Also, count in good light, because the fuzzy loops hide the stitches.
Can the eyes be replaced for safety?
Yes, embroidered black yarn eyes work well and suit gifts for small children.
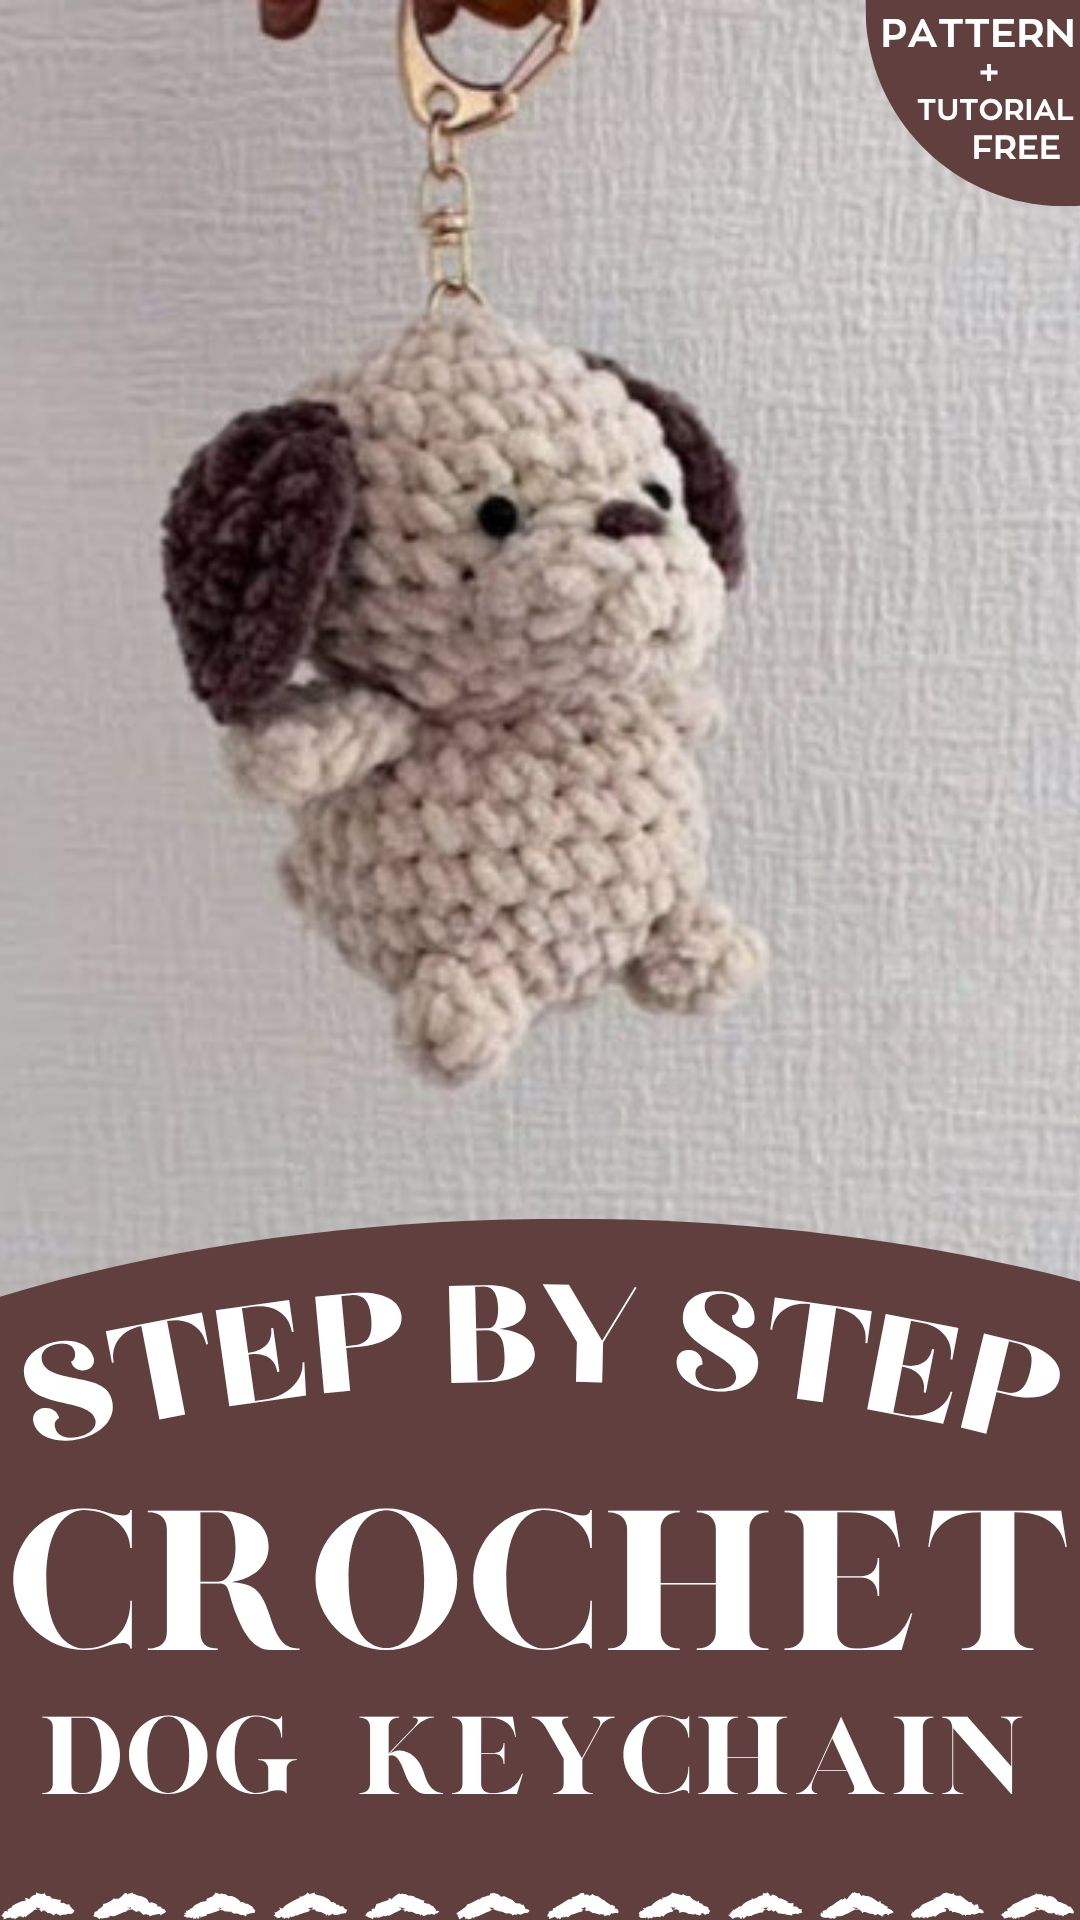
Your Pocket Pup Is Ready
Small stitches add up to a charming result. So, grab the hook, begin with a single magic ring, and let the little pup take shape. Each finished piece builds confidence for bigger amigurumi, which makes the next project even easier.

