Crochet Leg Warmers Pattern With Ribbed Cuffs
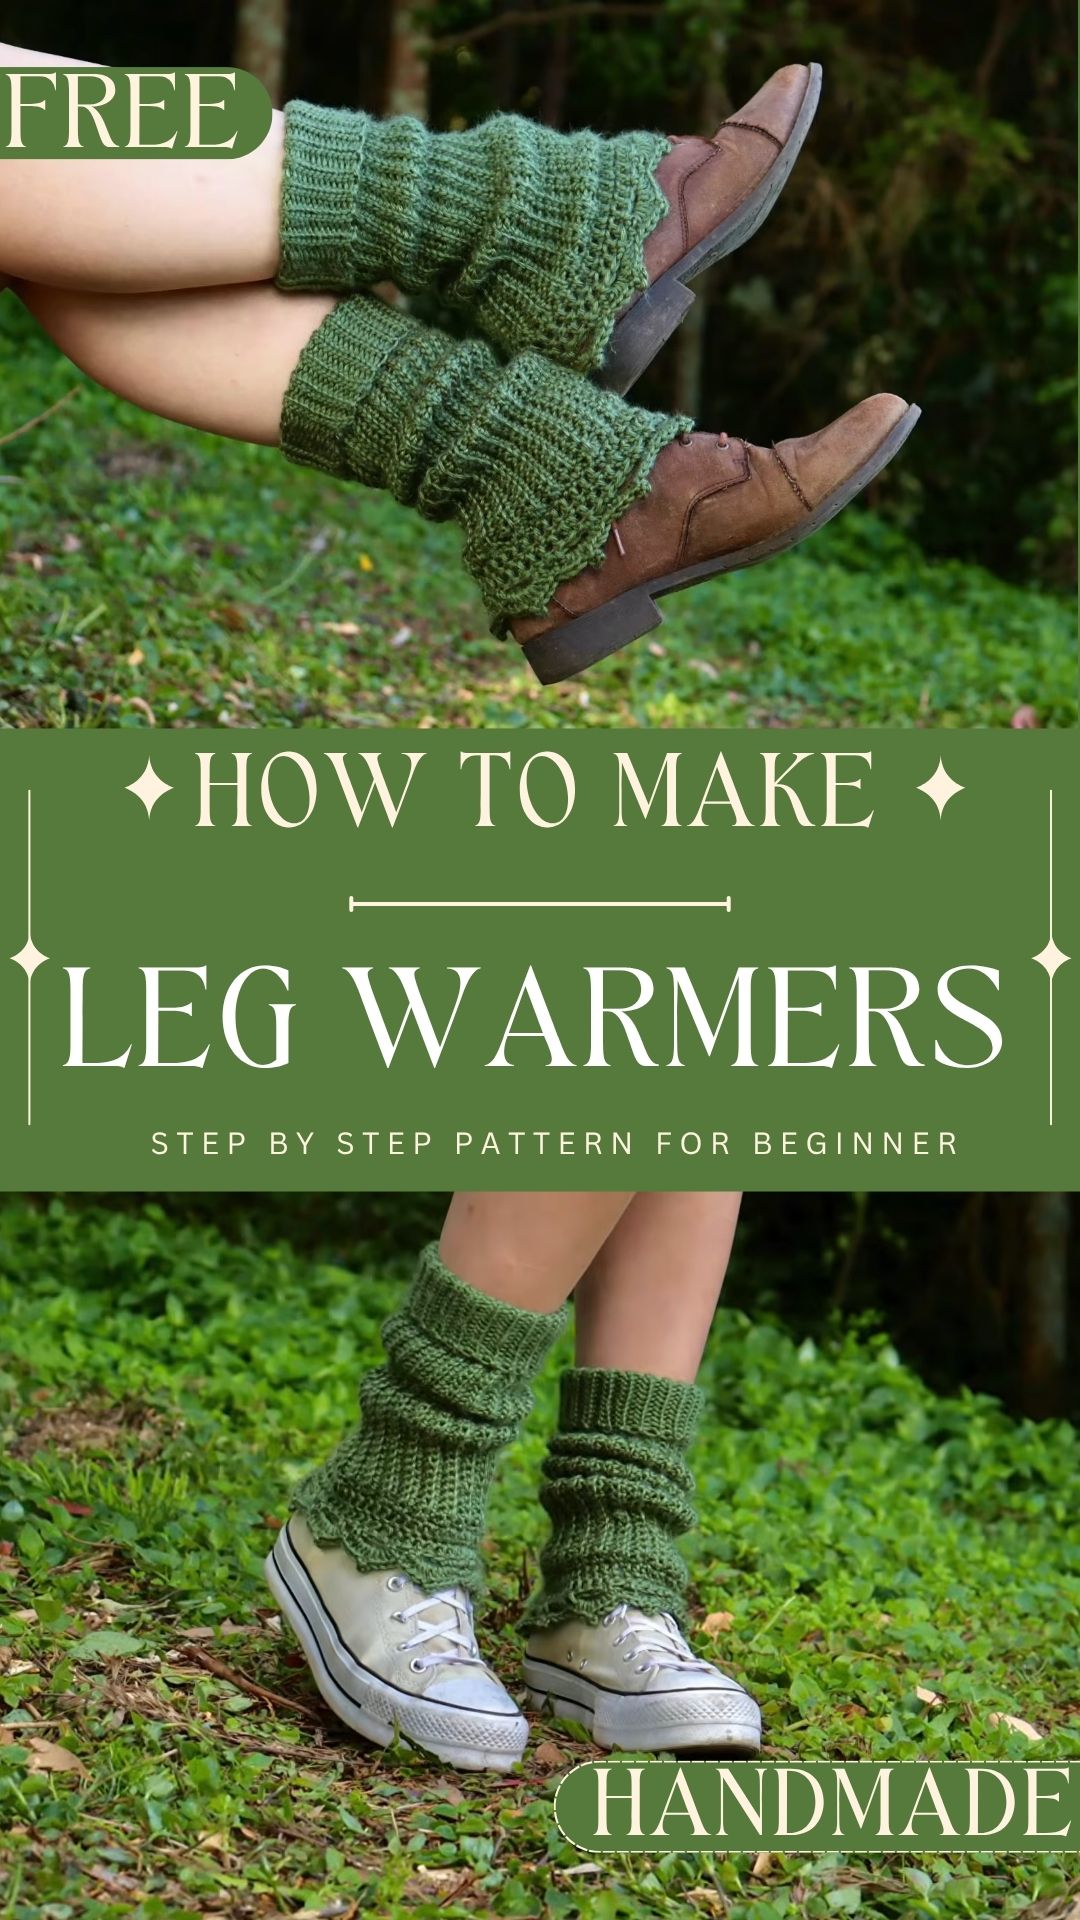
Soft ridges run across the fabric, a pretty scalloped edge sits at the bottom, and the whole piece wraps around the leg like a cozy sleeve. The Crochet Leg Warmers Pattern With Ribbed Cuffs is made to your own measurements, so the same steps work for any leg size, any yarn, and any length.
If you are searching for a crochet leg warmers pattern, you probably want a pair that fits well, works with the yarn you already have, and comes with clear directions. Because the pieces are made flat in rows and then sewn into a loop, these ribbed cuff leg warmers need only a tape measure and a little patience. Also, no complicated shaping is needed.
About the Crochet Leg Warmers Pattern and Key Features
The leg warmer starts as a long chain. Next, rows of slip stitches and single crochets, both worked in the back loop only, build a stretchy, ribbed fabric that grows sideways. Once the strip is long enough to wrap the leg, a seam joins the short ends. Finally, a scalloped lace border finishes the bottom edge.
Key features:
- Made to measure with any yarn weight and its matching hook
- Back-loop-only rows that create ribbing
- Stitch markers to mark sections for custom ribbing lengths
- A seam worked with slip stitches for a clean, flat join
- An optional scalloped edge with chain spaces and double crochet clusters
- Optional extra double crochet rounds for added length
Skill Level for the Crochet Leg Warmers Pattern
Confident beginner. The crochet leg warmers pattern uses only chain, slip stitch, single crochet, and double crochet, plus a seam. However, the back loop only technique and the scalloped border call for a little attention. Even so, neither needs advanced skills.
Materials and Yarn for the Crochet Leg Warmers Pattern
- Yarn: Any weight works, because the pattern is designed to be made to measure. Acrylic yarn is a reliable choice for easy care.
- Hook: Use the hook size that matches the yarn. For example, a 5 mm hook works well with acrylic yarn. A 4 mm hook is optional for the ribbed and scalloped edges, since a smaller hook creates tighter, neater stitches there.
- Stitch markers: Two markers, or safety pins or scrap yarn as substitutes.
- Tapestry needle: For weaving in ends.
- Scissors
- Measuring tape: For checking the strip against the leg.
Because thicker yarn works up quickly, it gives a chunkier, warmer pair. Thinner yarn, on the other hand, creates a lighter pair that layers easily under boots. Before buying, check the yardage on the label.
Crochet Leg Warmers Pattern Size and Sizing Options
Because finished size depends entirely on personal measurements, the crochet leg warmers pattern suits kids, teens, and adults.
- Length: The starting chain sets the length of the leg warmer, from ankle to the desired top edge.
- Width: The number of rows sets how far the strip wraps around the leg.
While the work is still in progress, wrap it around the leg. It should close comfortably without pulling tight. Since ribbing stretches, a slightly snug fit usually stays up better than a loose one.
If a scalloped edge is planned, remember one rule: the total row count should be a multiple of 5.
Stitches and Abbreviations
All terms use US crochet language.
- ch: chain
- sl st: slip stitch
- sc: single crochet
- dc: double crochet
- BLO: back loop only
- st(s): stitch(es)
- ch-sp: chain space
Gauge Information
No exact gauge is required for the crochet leg warmers pattern, because the leg warmer is sized by wrapping it around the leg rather than by counting stitches. In fact, testing the fit as the work grows matters more than matching a number. So measure the leg first, then check progress against the tape every few rows.
Tips Before Starting the Crochet Leg Warmers Pattern
- Before chaining, measure the leg from the ankle to the desired top edge.
- Chain loosely, since a tight foundation chain limits stretch along the length.
- Keep tension relaxed in the back loop rows, because tight stitches make ribbing hard to pull on.
- Finally, write down the row count to match the second leg warmer.
Crochet Leg Warmers Pattern Step-by-Step Instructions
Step 1: Chain and Place Markers
First, chain the length needed for the leg warmer. Then slide a stitch marker, safety pin, or scrap yarn into the chain at each point where a new section begins, with one marker at each end of the section planned for ribbing. Because the markers divide the work into sections, the length of the ribbing is easy to adjust to personal preference.
Step 2: Work the Body Rows
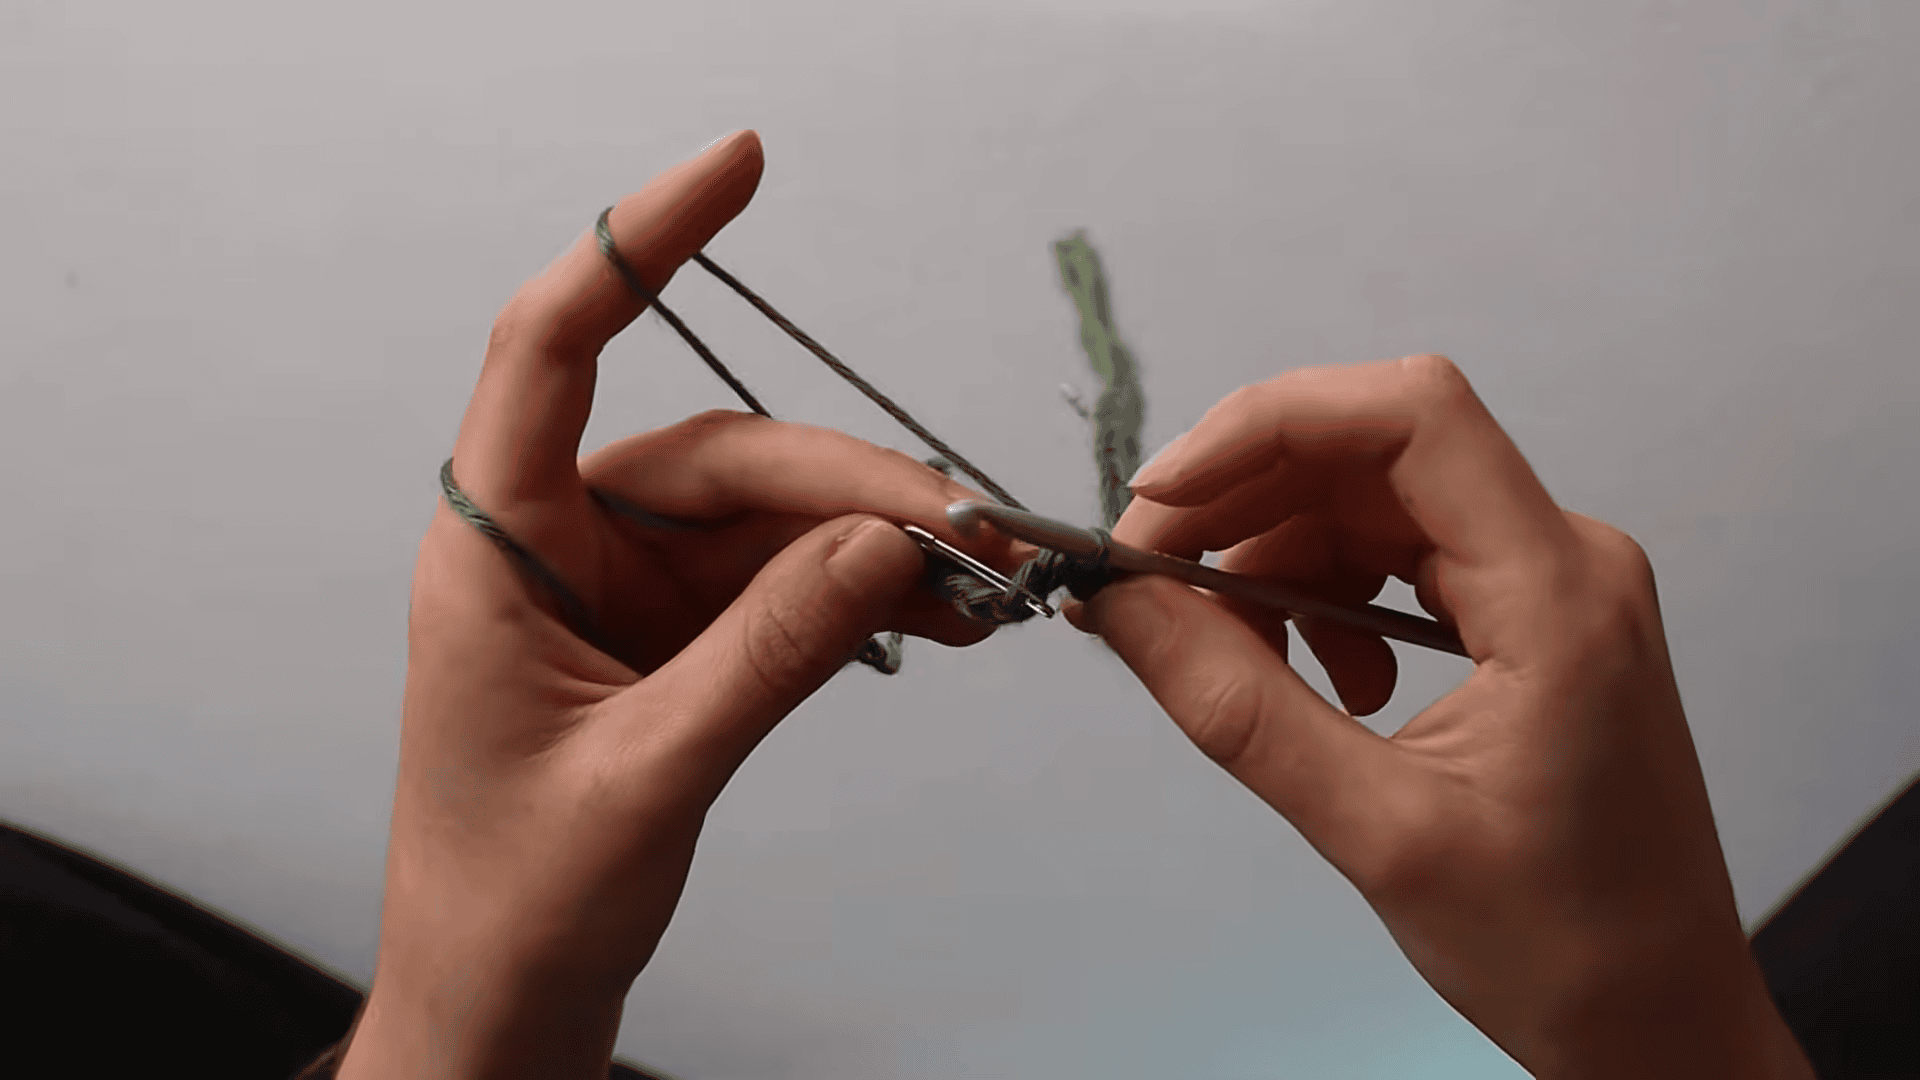
First, work a row of slip stitches in the back loop only across the entire length. Turn the work. Next, work a row of single crochets in the back loop only, and turn again.
After that, repeat the two rows, alternating slip stitch rows and single crochet rows, always through the back loop only. As a result, ridges form along the surface and create the ribbed texture.
Row check: Count the rows regularly. If a scalloped edge is planned, stop when the total is a multiple of 5.
Pro-Tip: Wrap the strip around the leg every few rows, so the ends meet comfortably with a little stretch to spare.
Step 3: Fold and Seam the Edges
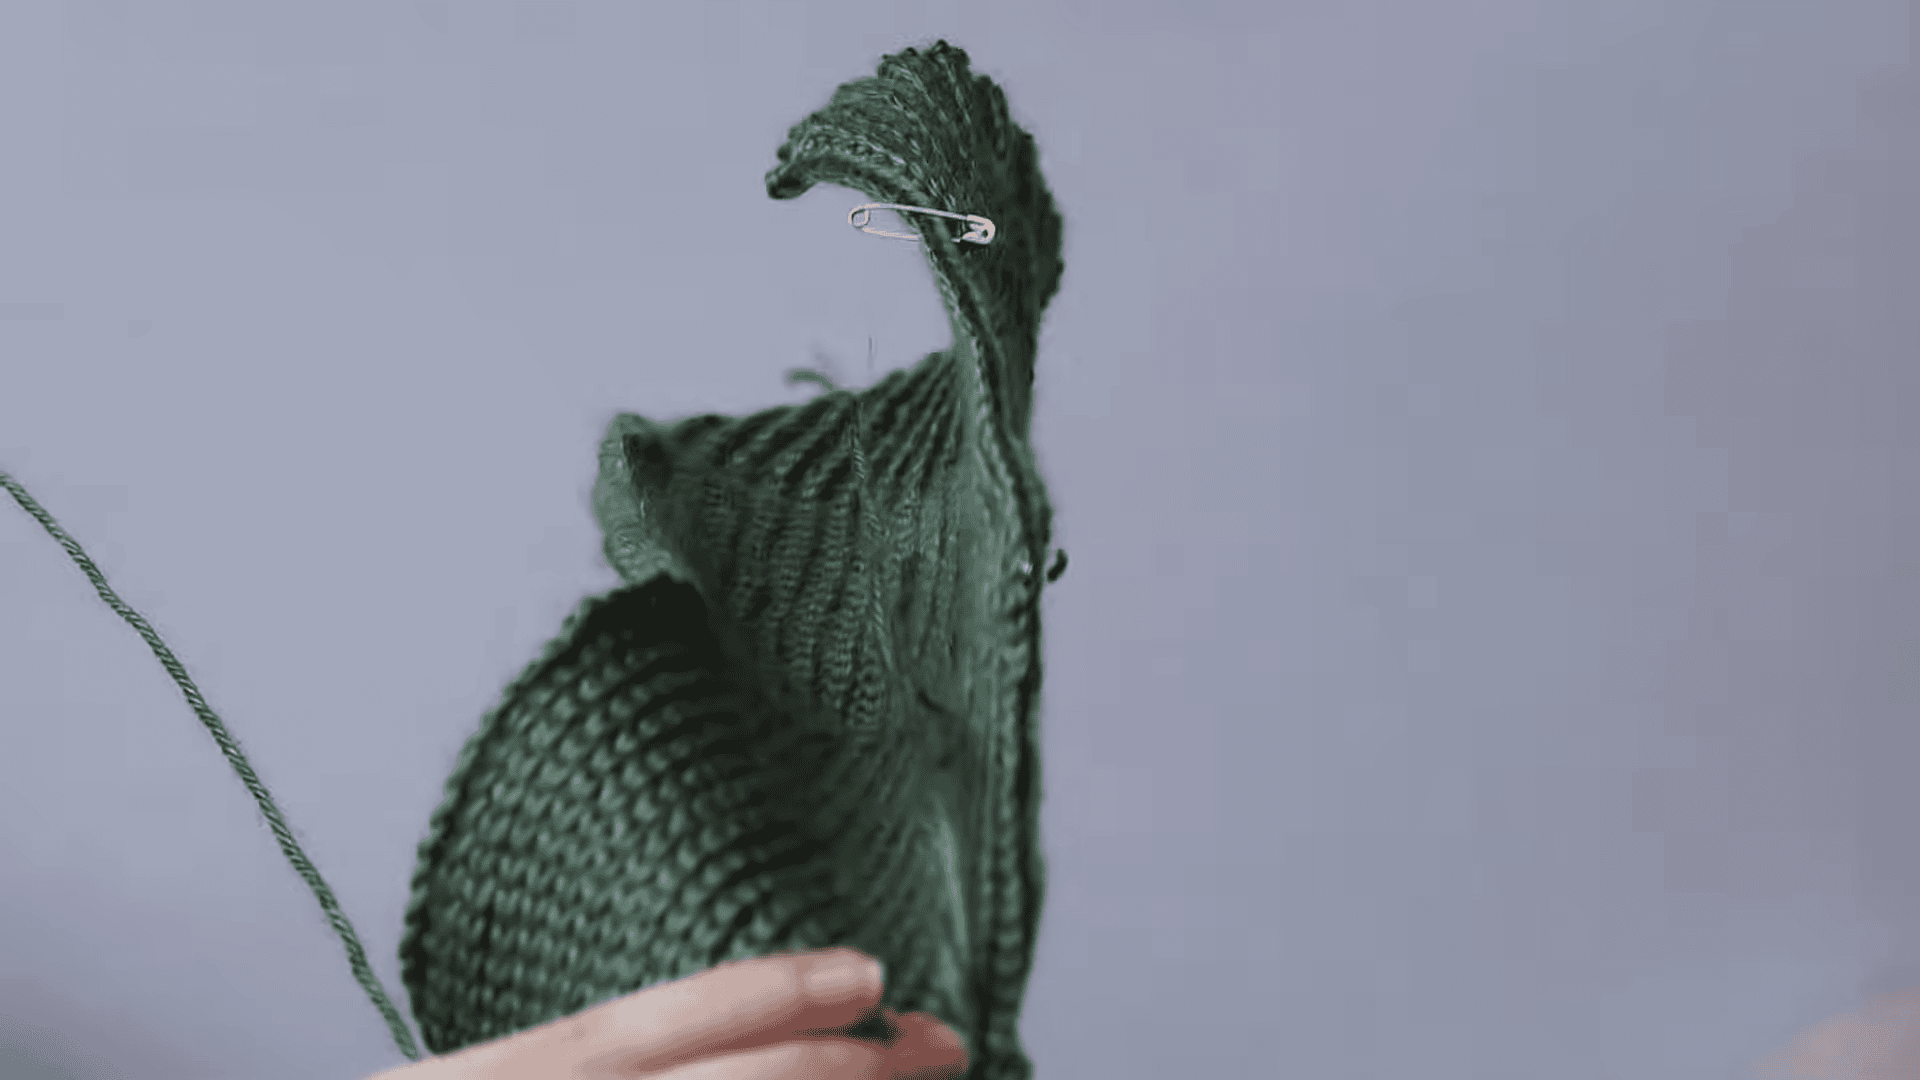
Once the strip is long enough to wrap the leg, fold it so the right side faces outward. Then line up the two short edges and keep the rows level. A safety pin at the top corner holds the fold in place.
Next, insert the hook through the stitches on both edges at once, and work slip stitches along the full length to join them. Keep each stitch snug but not tight, so the seam lies flat and resembles the ribbed rows around it.
Fit check: Slide a hand through the finished loop. It should open easily, then spring back into shape.
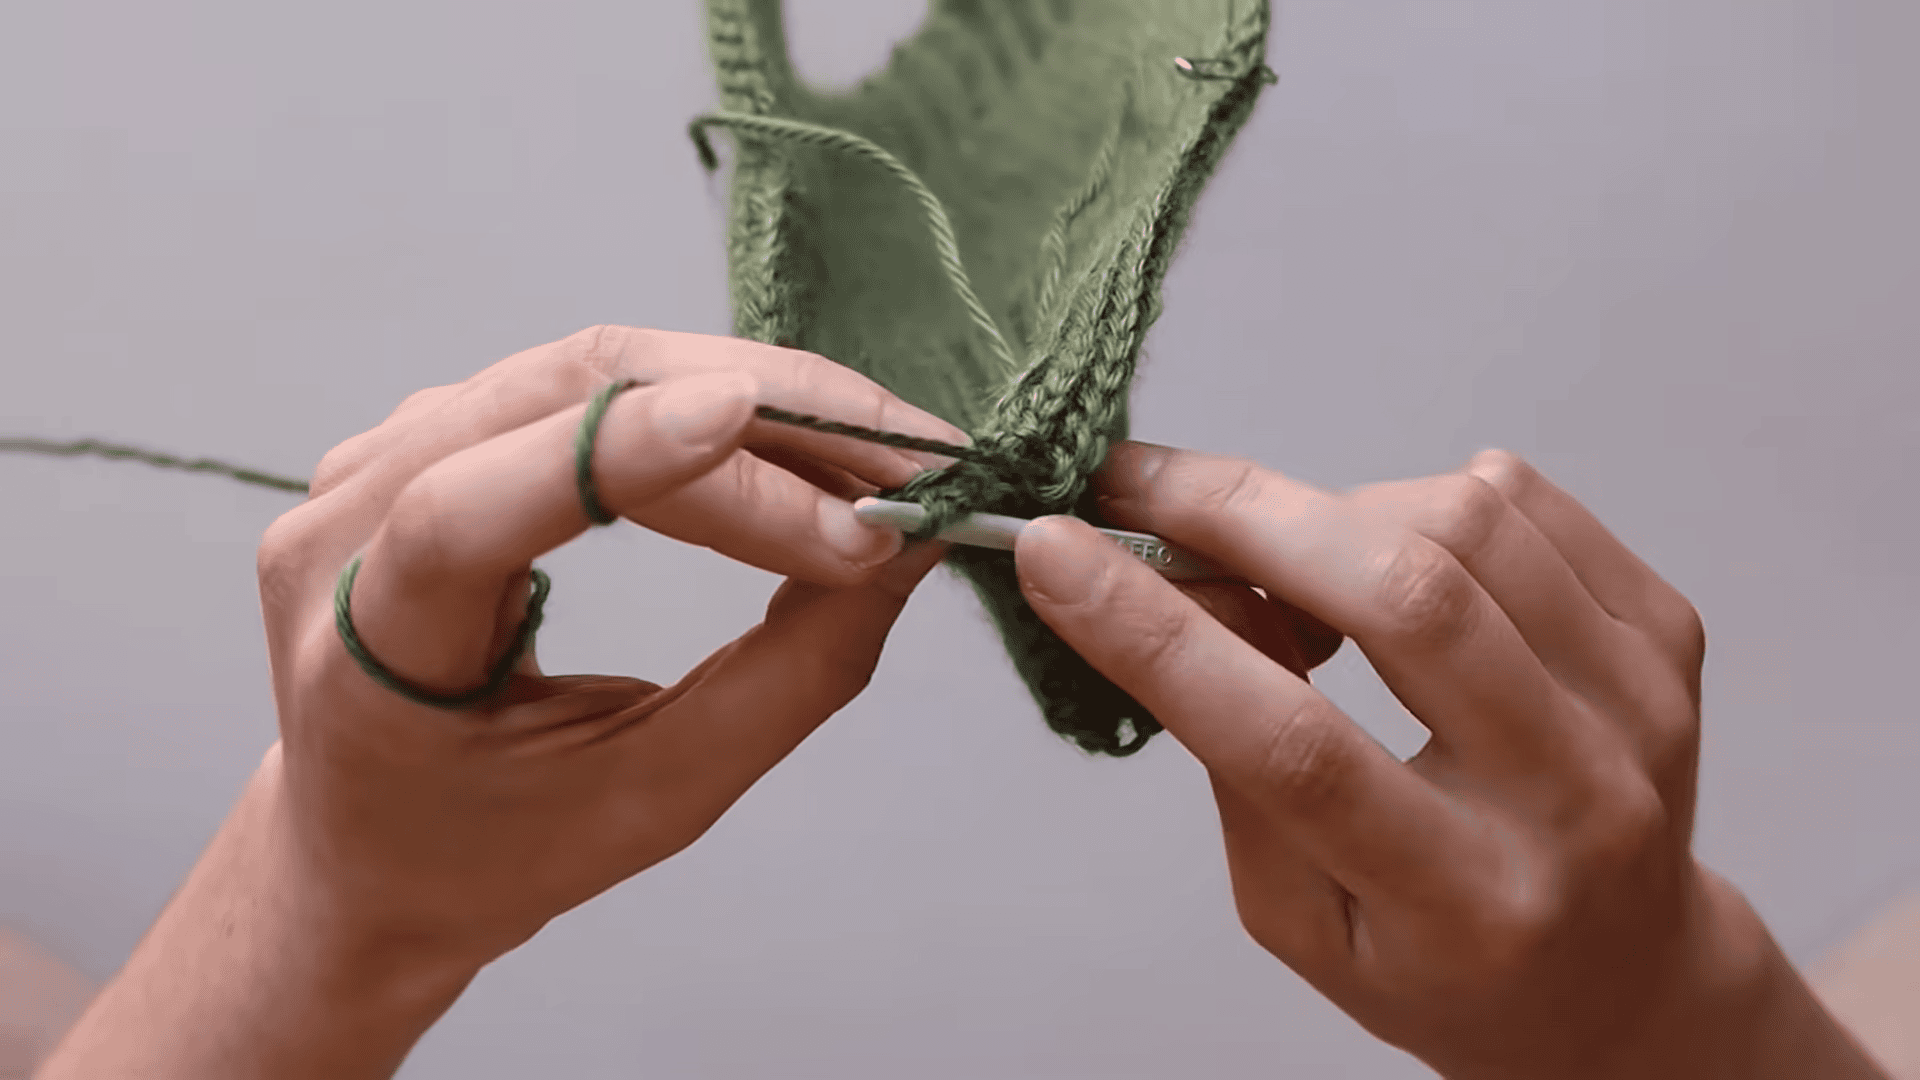
Step 4: Work the First Round Around the Bottom Edge
For a tidier edge, switch to the optional 4 mm hook. Then join the yarn at the seam along the bottom edge. Next, work a round of single crochets evenly around the full edge, placing one single crochet into each row end. Because the ridges guide the placement, the stitches stay evenly spaced.
After each round, move the stitch marker up, and join the last stitch to the first with a slip stitch.
Stitch check: Count the stitches in the round, since a count that divides evenly makes the scalloped border easier.
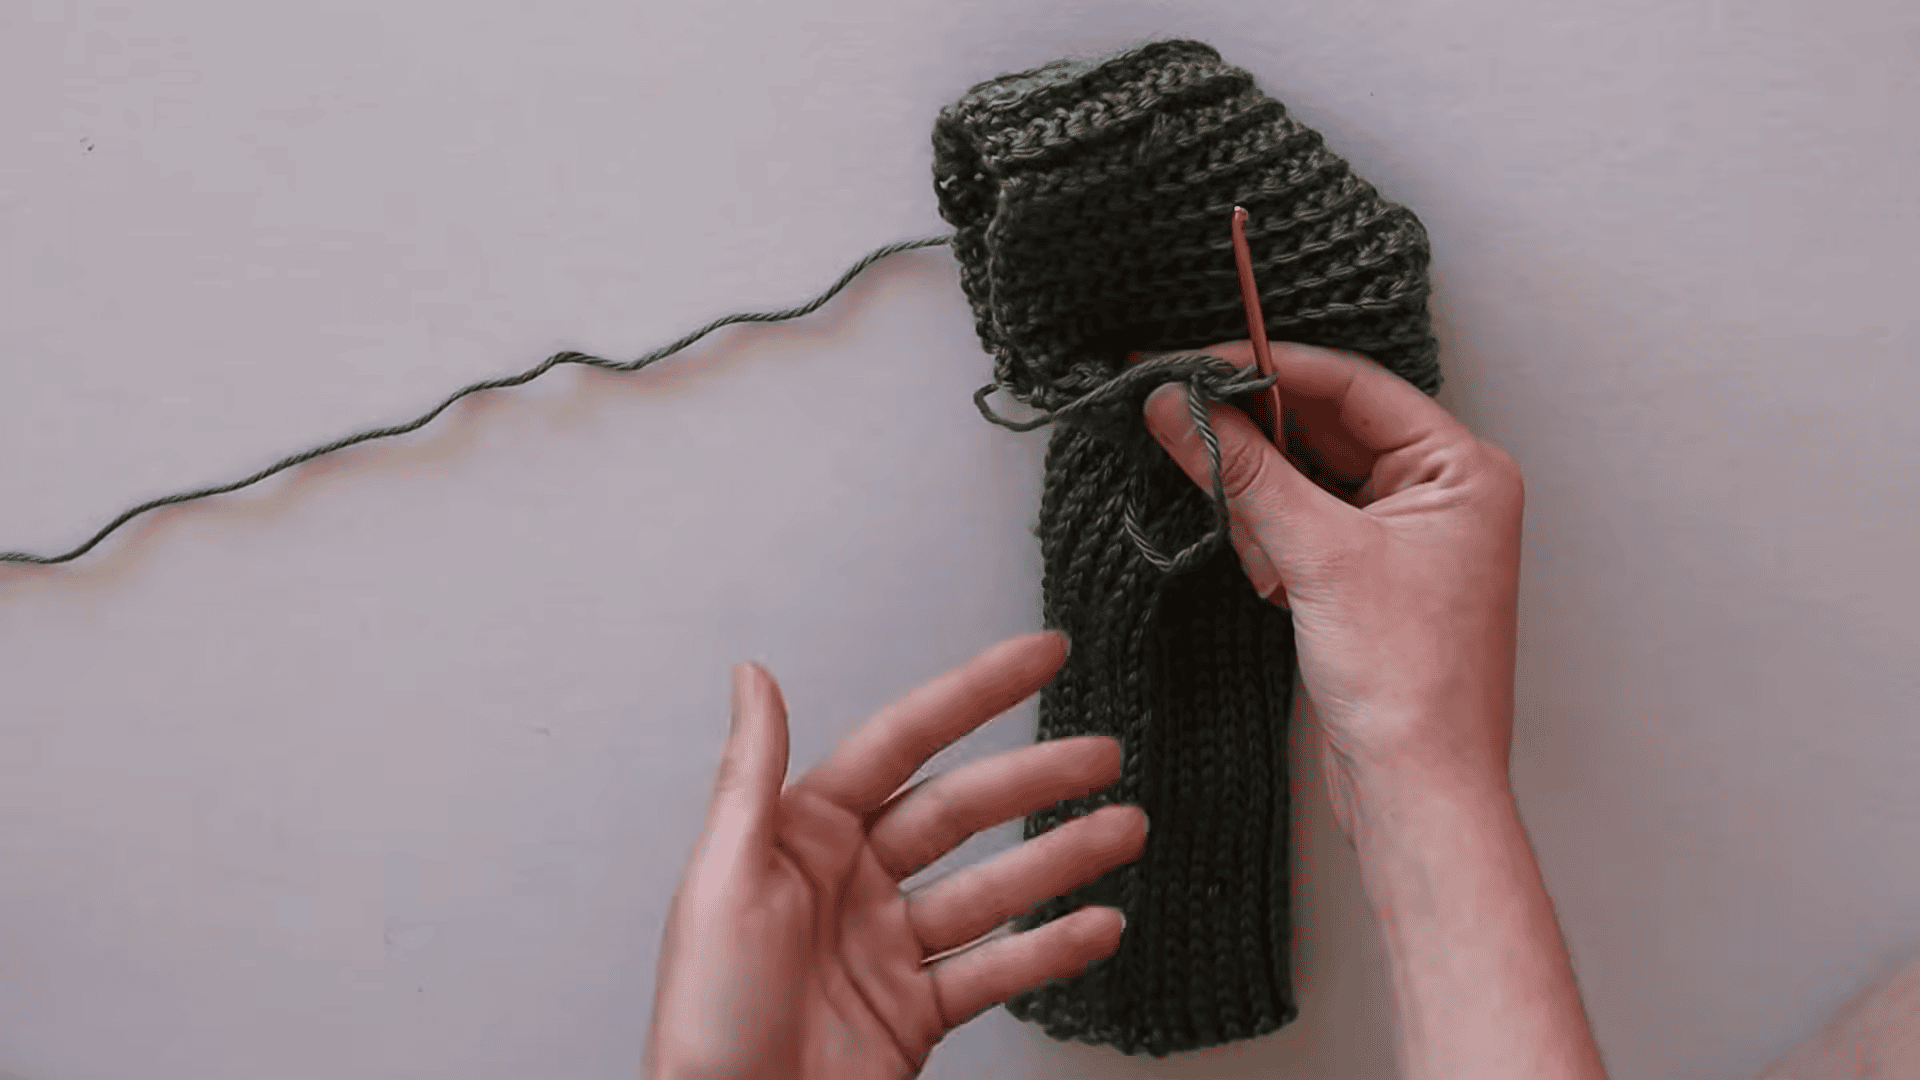
Step 5: Add Optional Rounds for Length
To make a longer leg warmer, work extra rounds of double crochet along the edge. Since each round adds a little length, the number depends on how far down the leg the pair should reach. Join each round with a slip stitch, and keep the tension relaxed so the edge stays stretchy.
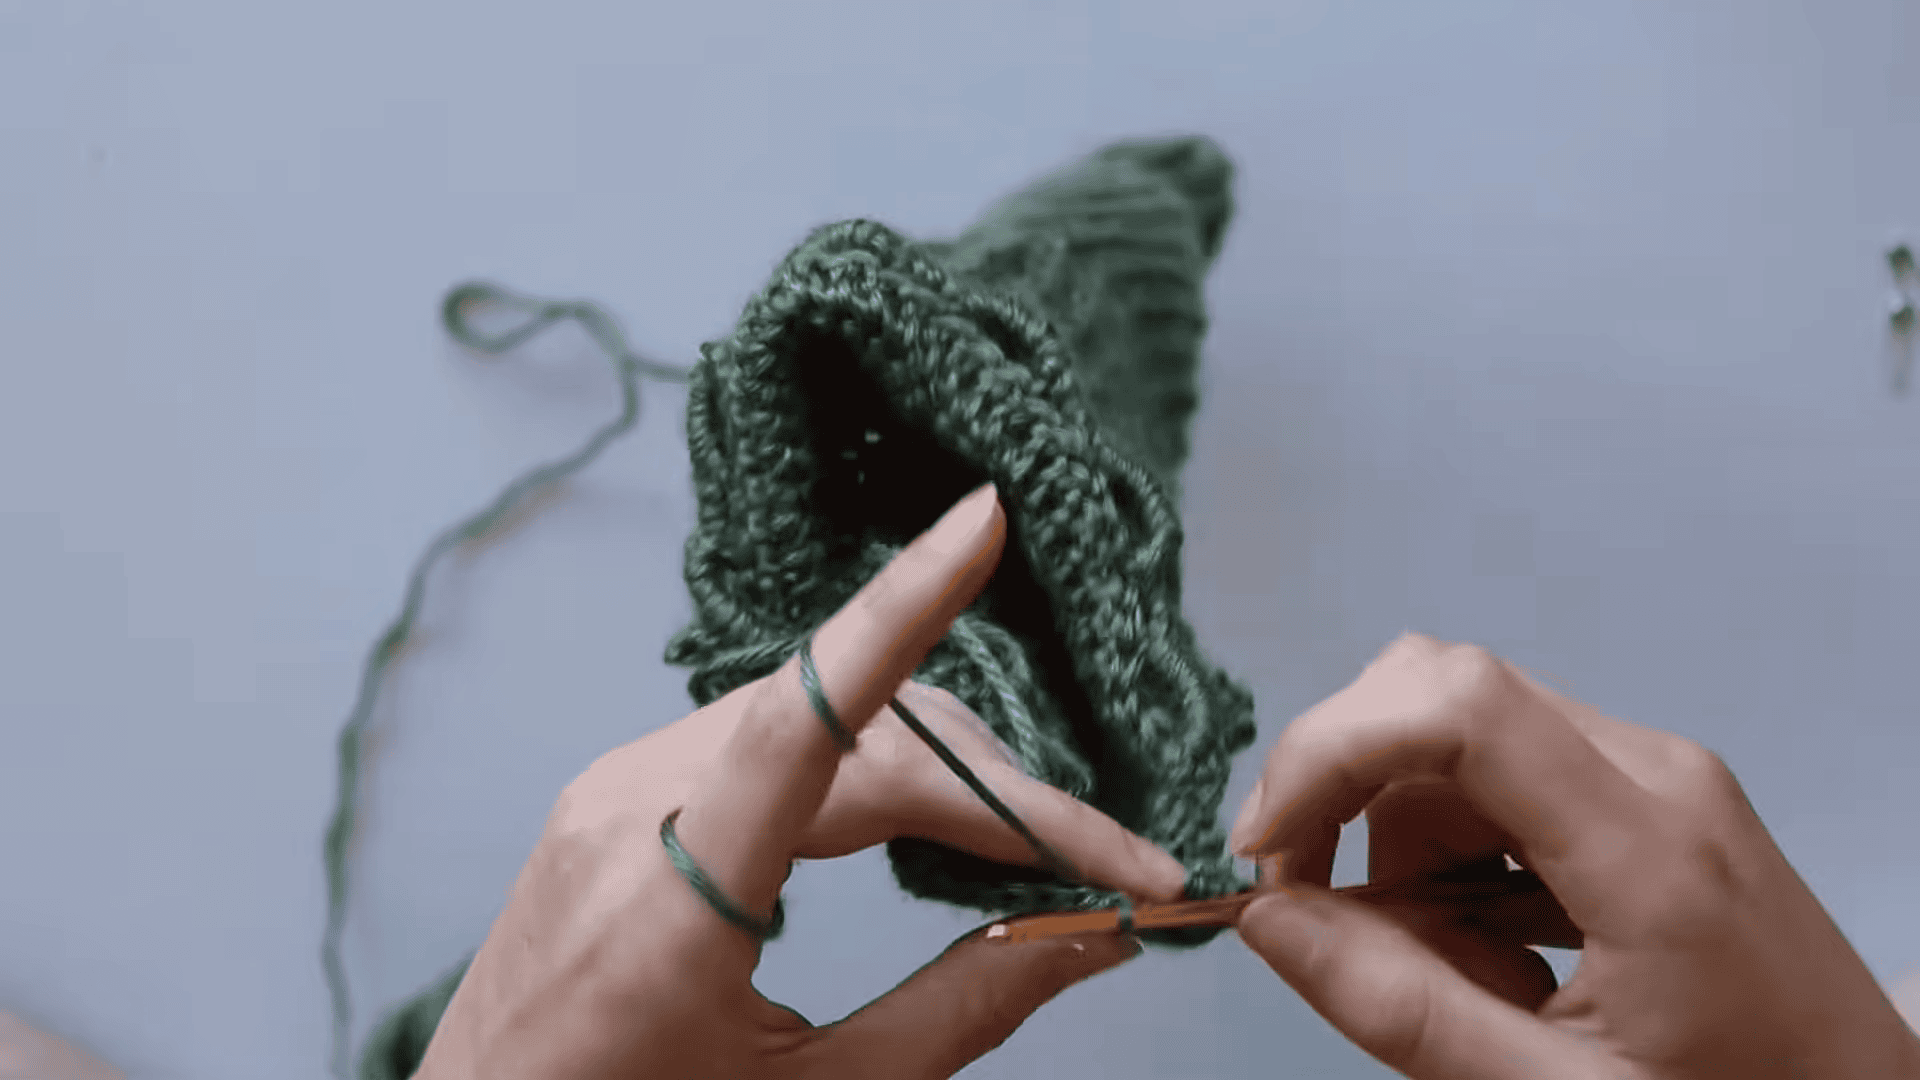
Step 6: Finish With the Scalloped Border
Finally, the last round creates the decorative lace edge. Work chain spaces and double crochet clusters around the full edge, repeating the same group of stitches all the way around. Each repeat forms one scallop. When the round is complete, join, fasten off, and weave in the ends with a tapestry needle.
Pattern Construction and Assembly
Construction of the crochet leg warmers pattern is simple: a chain becomes a ribbed strip, the strip becomes a loop through the seam, and the loop then gains a scalloped bottom edge. Also, no separate pieces need sewing, and no shaping is required.
Because the ribbing runs around the leg, the fabric stretches in the direction that matters most. Since the seam is the only join, keep it flat and even.
Customisation Options for the Crochet Leg Warmers Pattern
- Ribbing length: Move the stitch markers to change the size of each section.
- Length: Add double crochet rounds before the border.
- Edge style: Skip the border for a simple ribbed finish, or keep it for a lacy look.
Crochet Leg Warmers Pattern Troubleshooting and Common Mistakes
The strip curls or twists. Usually, the back loop was skipped in a few rows, so check that every stitch goes through the back loop only.
The ribbing feels stiff. Tension is probably too tight, so try a larger hook or relax the grip.
The seam looks bumpy. The edges were likely not lined up row for row. Therefore, undo the seam and match the ridges again.
The scallops will not divide evenly. In that case, the row count is not a multiple of 5, so add or remove rows before seaming.
The pair is mismatched. To fix it, compare the chain length and row count of both pieces.
Crochet Leg Warmers Pattern Finishing Instructions and Care
First, weave in all ends along the ridges, changing direction once to lock them in. Then check the seam and tidy any loose stitches along the scalloped edge.
Next, wash according to the yarn label. For example, acrylic yarn usually handles a gentle machine cycle, while wool blends generally prefer cool water. Lay the pair flat to dry, so the ribbing keeps its shape and the scallops stay neat.
Gift Ideas and Pairing
A handmade pair makes a thoughtful gift in a favourite colour. Also, wear it over leggings, under boots, or around the house on chilly mornings.
Frequently Asked Questions (FAQs)
Is the crochet leg warmers pattern beginner-friendly?
Yes, because it uses only basic stitches and a simple seam. However, the back loop-only rows take a little practice.
Can any yarn be used?
Yes. Since the pattern is made to measure, any yarn weight works with its matching hook.
What hook size works best?
A 5 mm hook works well with acrylic yarn. Meanwhile, a 4 mm hook is optional for the ribbed and scalloped edges.
Can the scalloped edge be skipped?
Yes. The ribbed body works on its own, so the border is optional.
How is the length adjusted?
Change the starting chain for overall length. Otherwise, add double crochet rounds before the border.
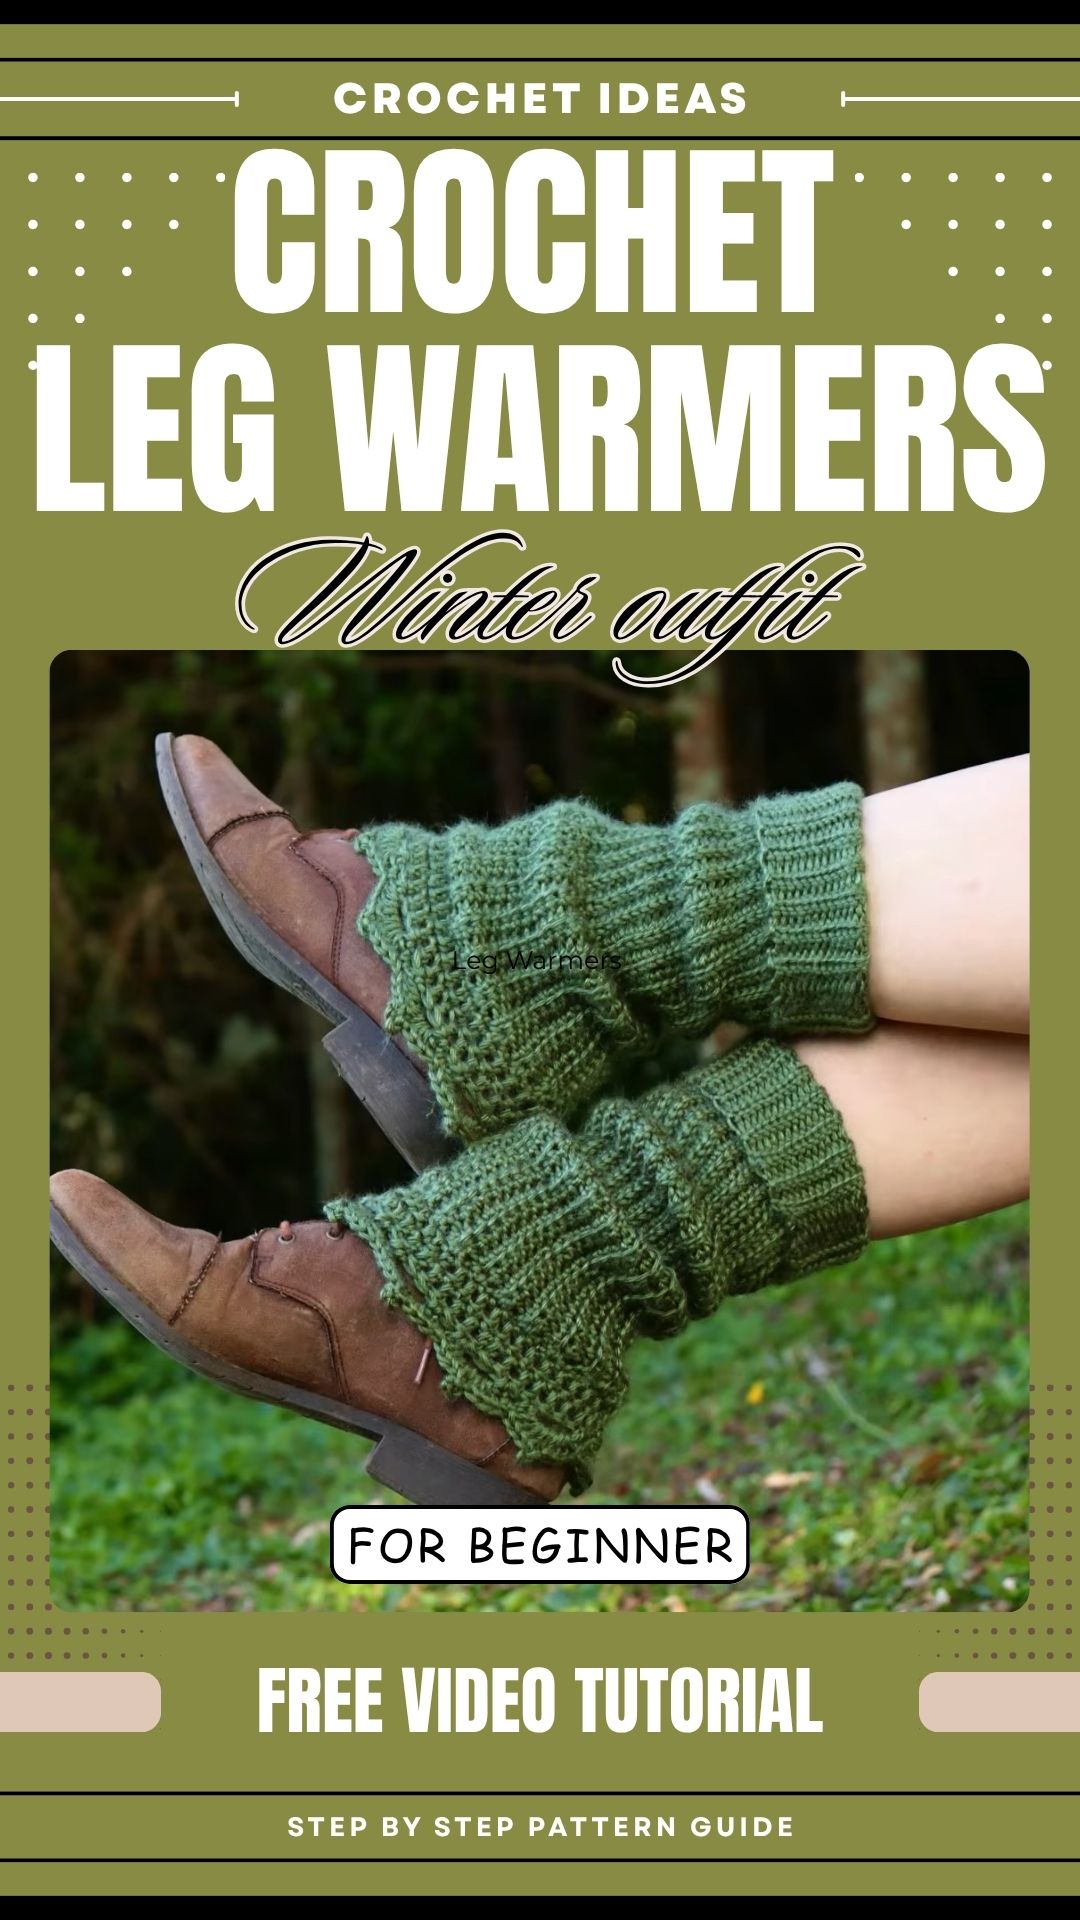
Ready to Start Your First Pair
With ribbing, a smooth seam, and a delicate scalloped edge, the crochet leg warmers pattern turns a few basic stitches into a pair that fits just right. So pick a favourite yarn, measure the leg, and start chaining. Afterwards, share colour ideas or questions in the comments, and save the pattern for the next gift.