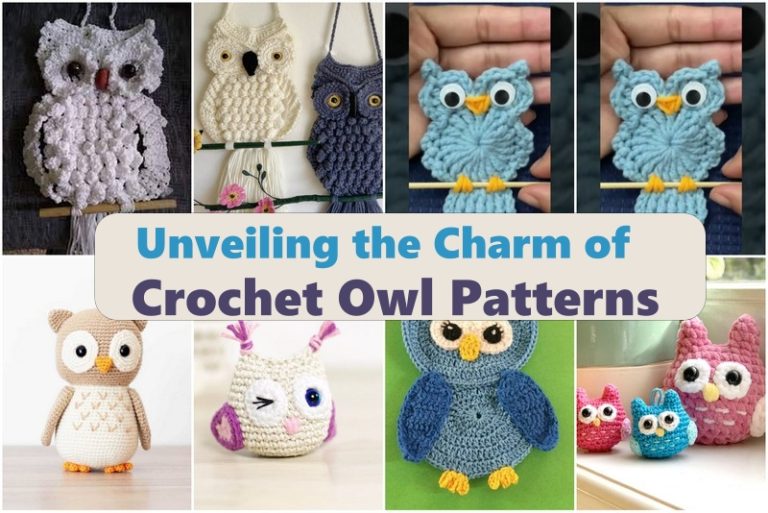
Crochet Heart Dress Pattern with a Flowy Heart Motif Skirt
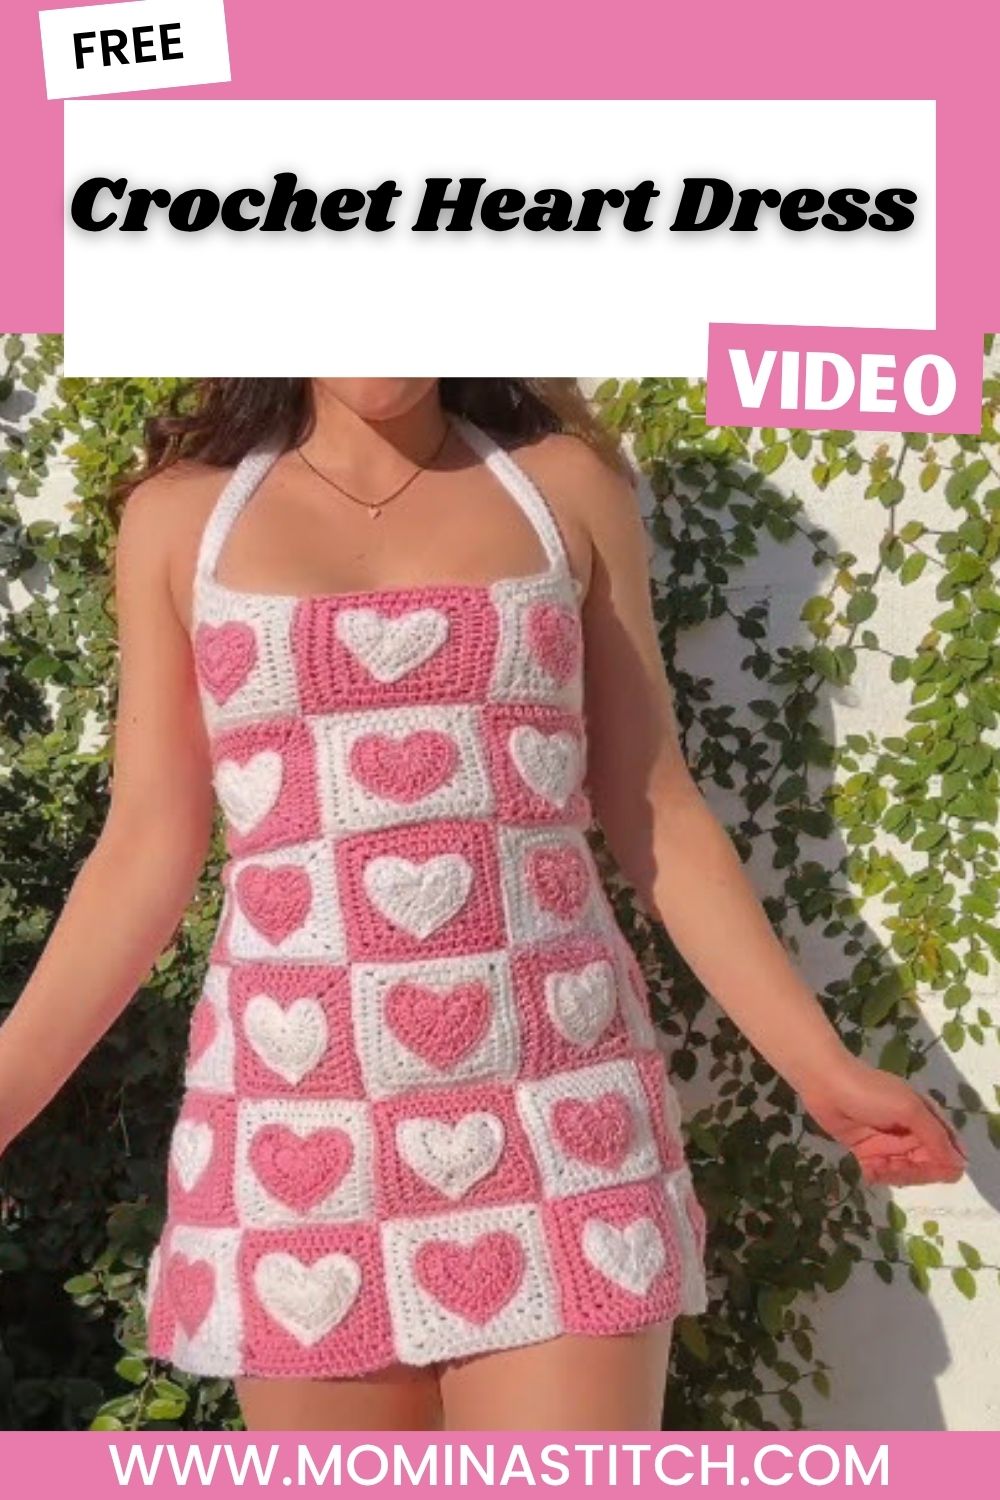
Each square starts as a plain granny base before a small crocheted heart gets stitched right on top, creating a raised, textured detail across the entire dress. Alternating pink and white backgrounds give the finished piece a playful checkerboard rhythm that flatters the body while keeping the construction refreshingly simple.
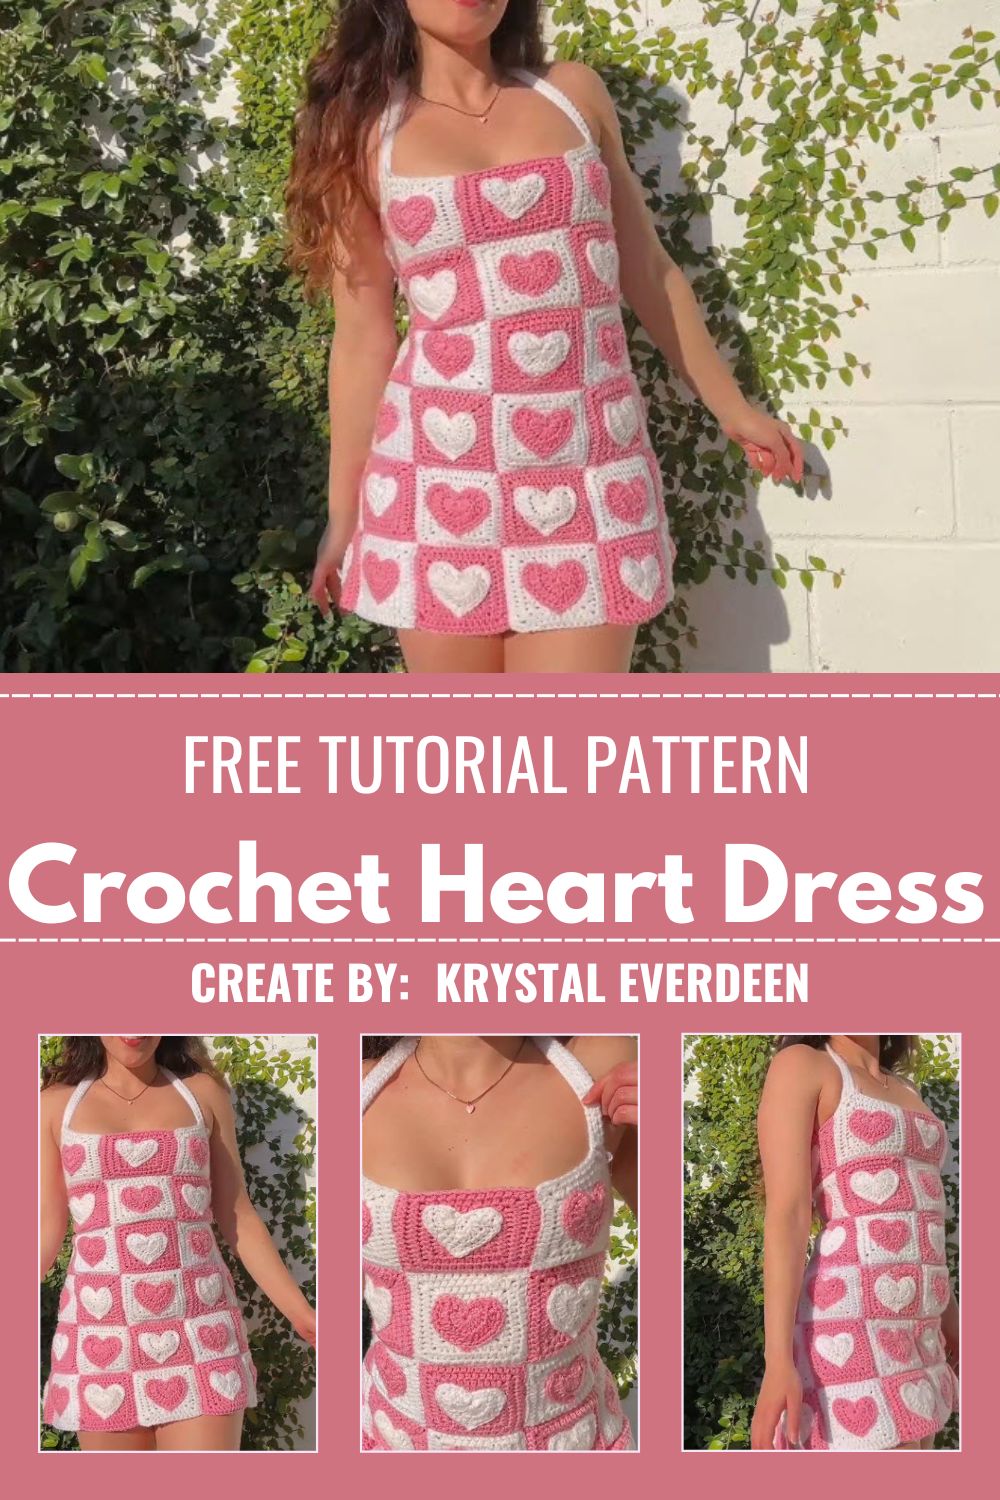
Repetition is really what makes this pattern shine, since every square follows the same comforting sequence while still allowing small variations in placement to keep the overall look interesting. Crocheters who enjoy portable, square-by-square projects will appreciate how easily each piece fits into a quick session before joining everything into the final dress shape.
Project Details
- Skill Level: Beginner to Intermediate
- Finished Size: Customizable, sized by number and arrangement of squares (each square approximately 4×4 inches)
- Estimated Time Required: 20–25 minutes per square, several hours total depending on size
- Recommended Yarn Weight: DK or worsted weight cotton for a breathable, structured fabric
- Crochet Hook Size: 4mm–5mm
Materials Needed
- Yarn in pink and white
- Crochet hook (4mm–5mm)
- Tapestry needle for sewing squares together
- Stitch markers
- Scissors
- Measuring tape (for sizing the dress to fit)
Crochet Stitches & Techniques
- Magic Ring
- Chain Stitch
- Single Crochet (sc)
- Half Double Crochet (hdc)
- Increase (inc)
- Color Changes
- Fastening Off
- Sewing Pieces Together
Keeping the stitch list this simple makes the pattern approachable, even for someone who has only made a few granny squares before trying a wearable project.
Pattern Instructions
Every square in this dress follows the same rhythm, starting with a small heart motif before building outward into the full granny base. Working through the stages in order keeps each square consistent, which matters most once it’s time to arrange the squares into the dress shape and join everything together.
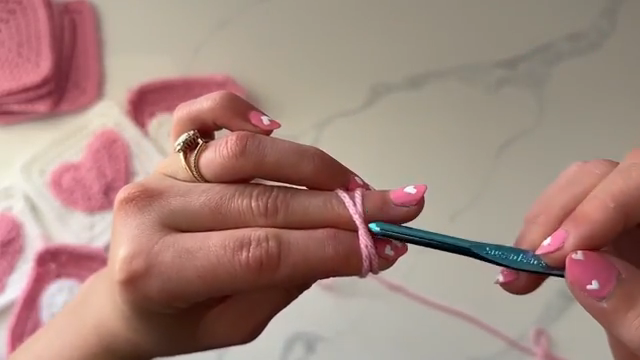
Step 1: Starting the Heart Motif With a Foundation Chain
Begin by chaining a small foundation and working your first row of stitches to establish the base of the heart shape. Hold your tension snug here, since this opening row determines how symmetrical the finished heart will look once both lobes are shaped. This little starting point becomes the anchor for the entire motif that sits on top of each square.
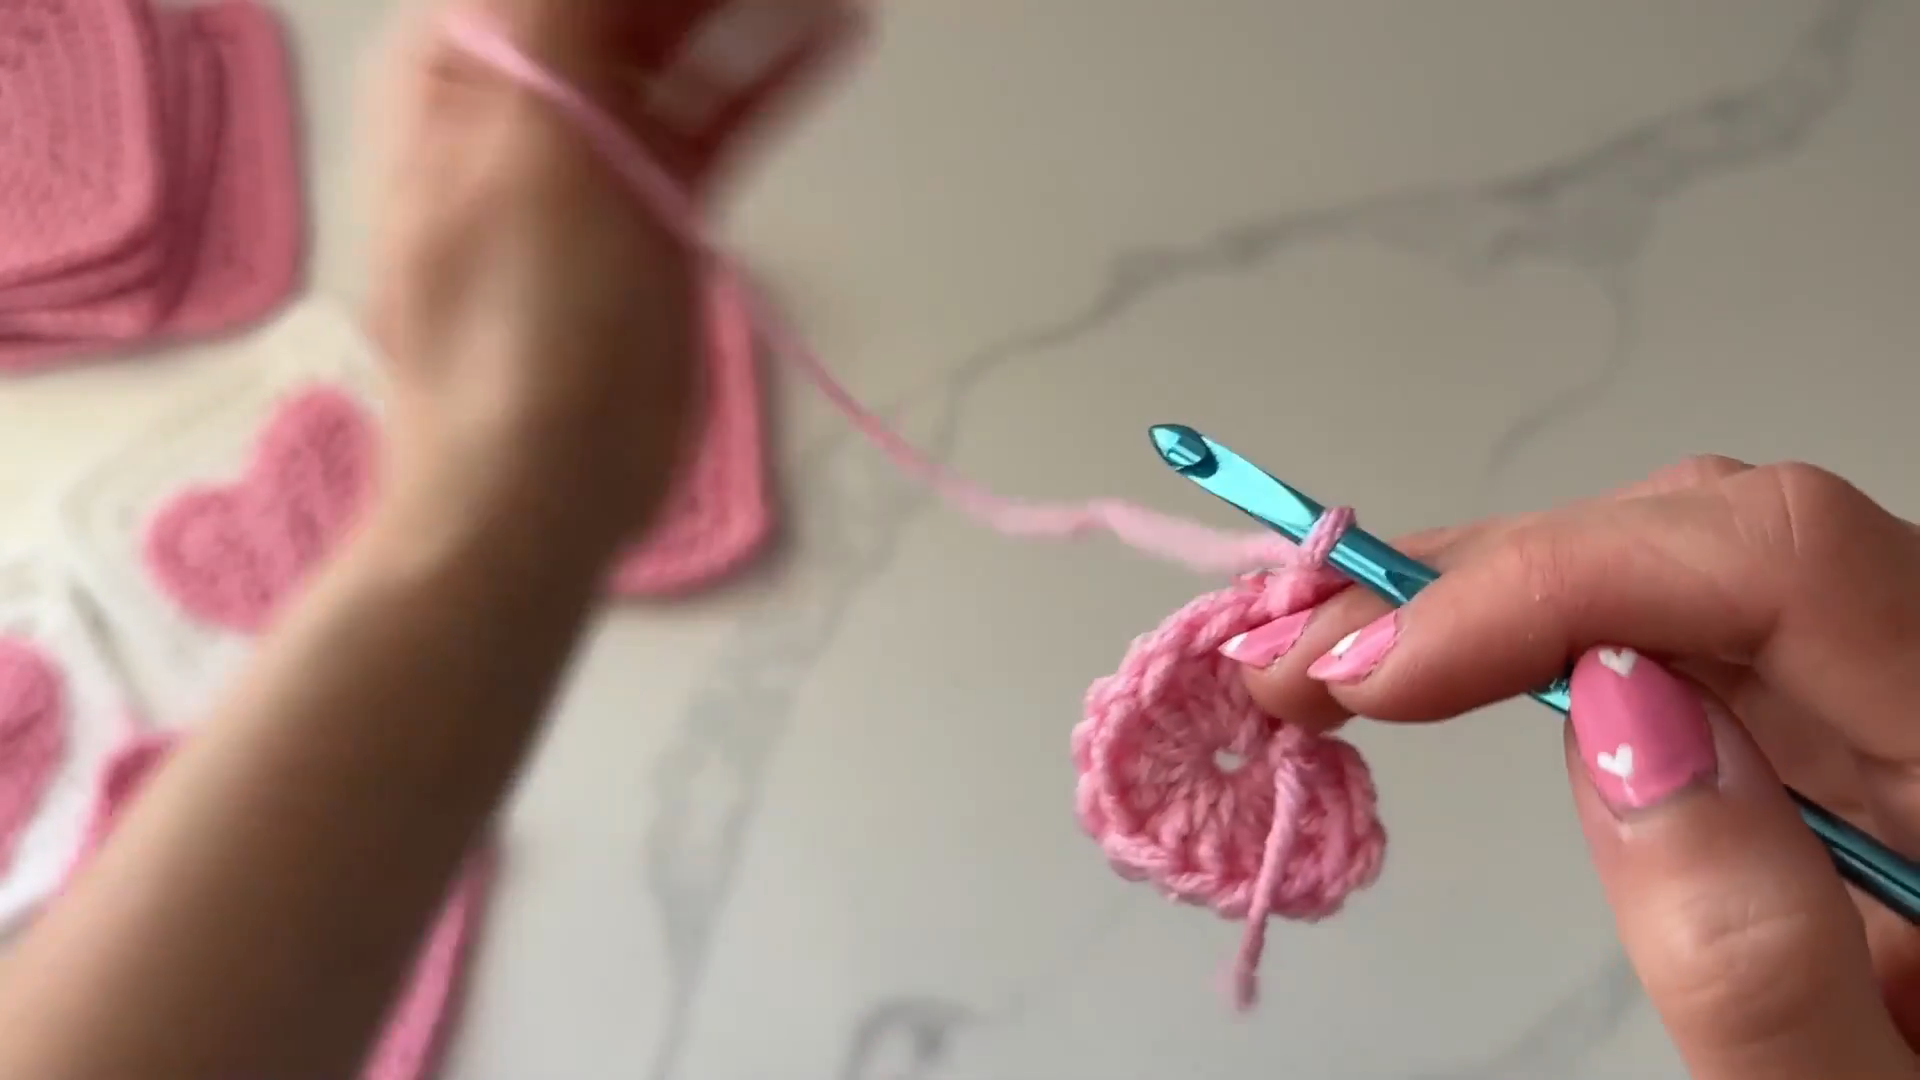
Step 2: Shaping the Two Heart Lobes
Continue building upward from the foundation row, working increases on either side to form the two rounded lobes at the top of the heart. Notice how the piece naturally splits into a V-shape between the lobes as the stitches progress, giving the motif its unmistakable heart silhouette. Keep an eye on both sides to make sure they match in height and width before moving forward.
Step 3: Attaching the Heart to the Square Base
Lay the finished heart motif onto a plain crocheted square base and pin it in place before stitching it down securely with a tapestry needle. Position the heart centered within the square, checking the spacing on all four sides so it doesn’t sit lopsided against the border. A few evenly spaced stitches around the heart’s edge hold it flat and snug against the background fabric.
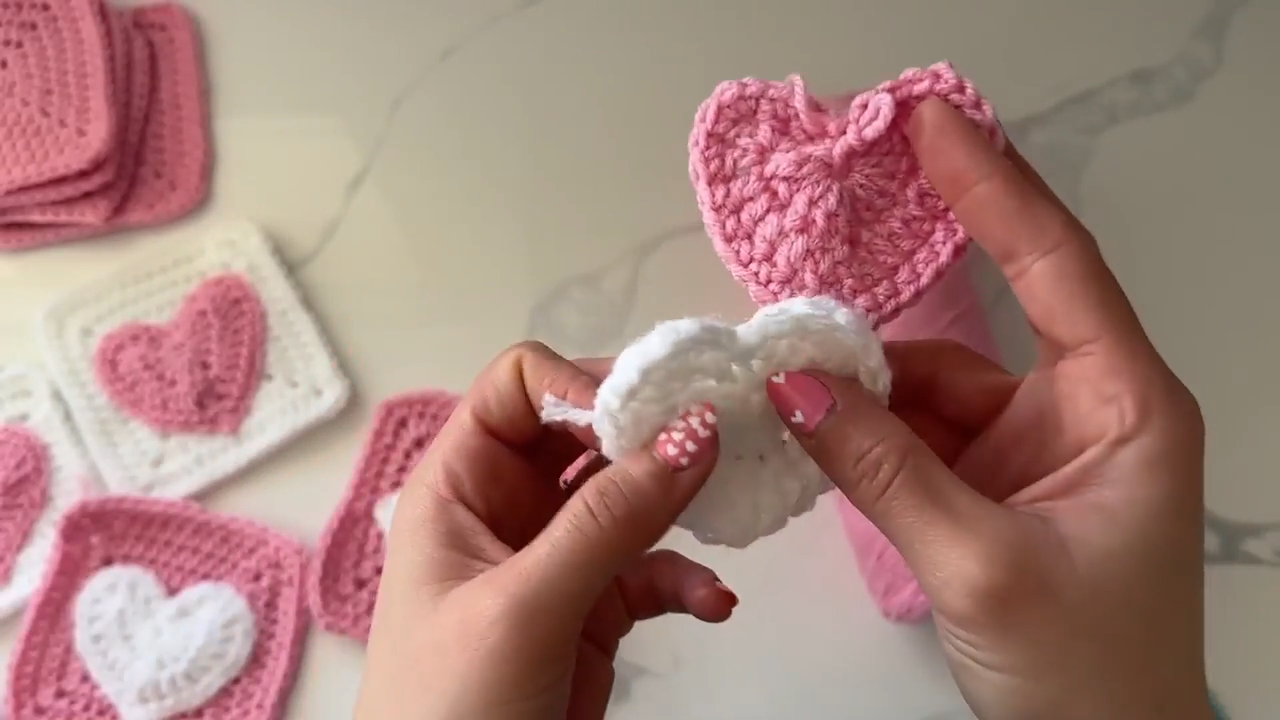
Step 4: Completing the Granny Square Border
Work the remaining rounds of the granny square around the heart-topped center, adding your border color to frame the piece cleanly. This is where the contrast between pink and white really comes alive, giving each square its crisp, defined edge. Repeat this entire sequence until you have enough squares to cover the bodice and skirt sections of your dress, sizing the count to match your own measurements.
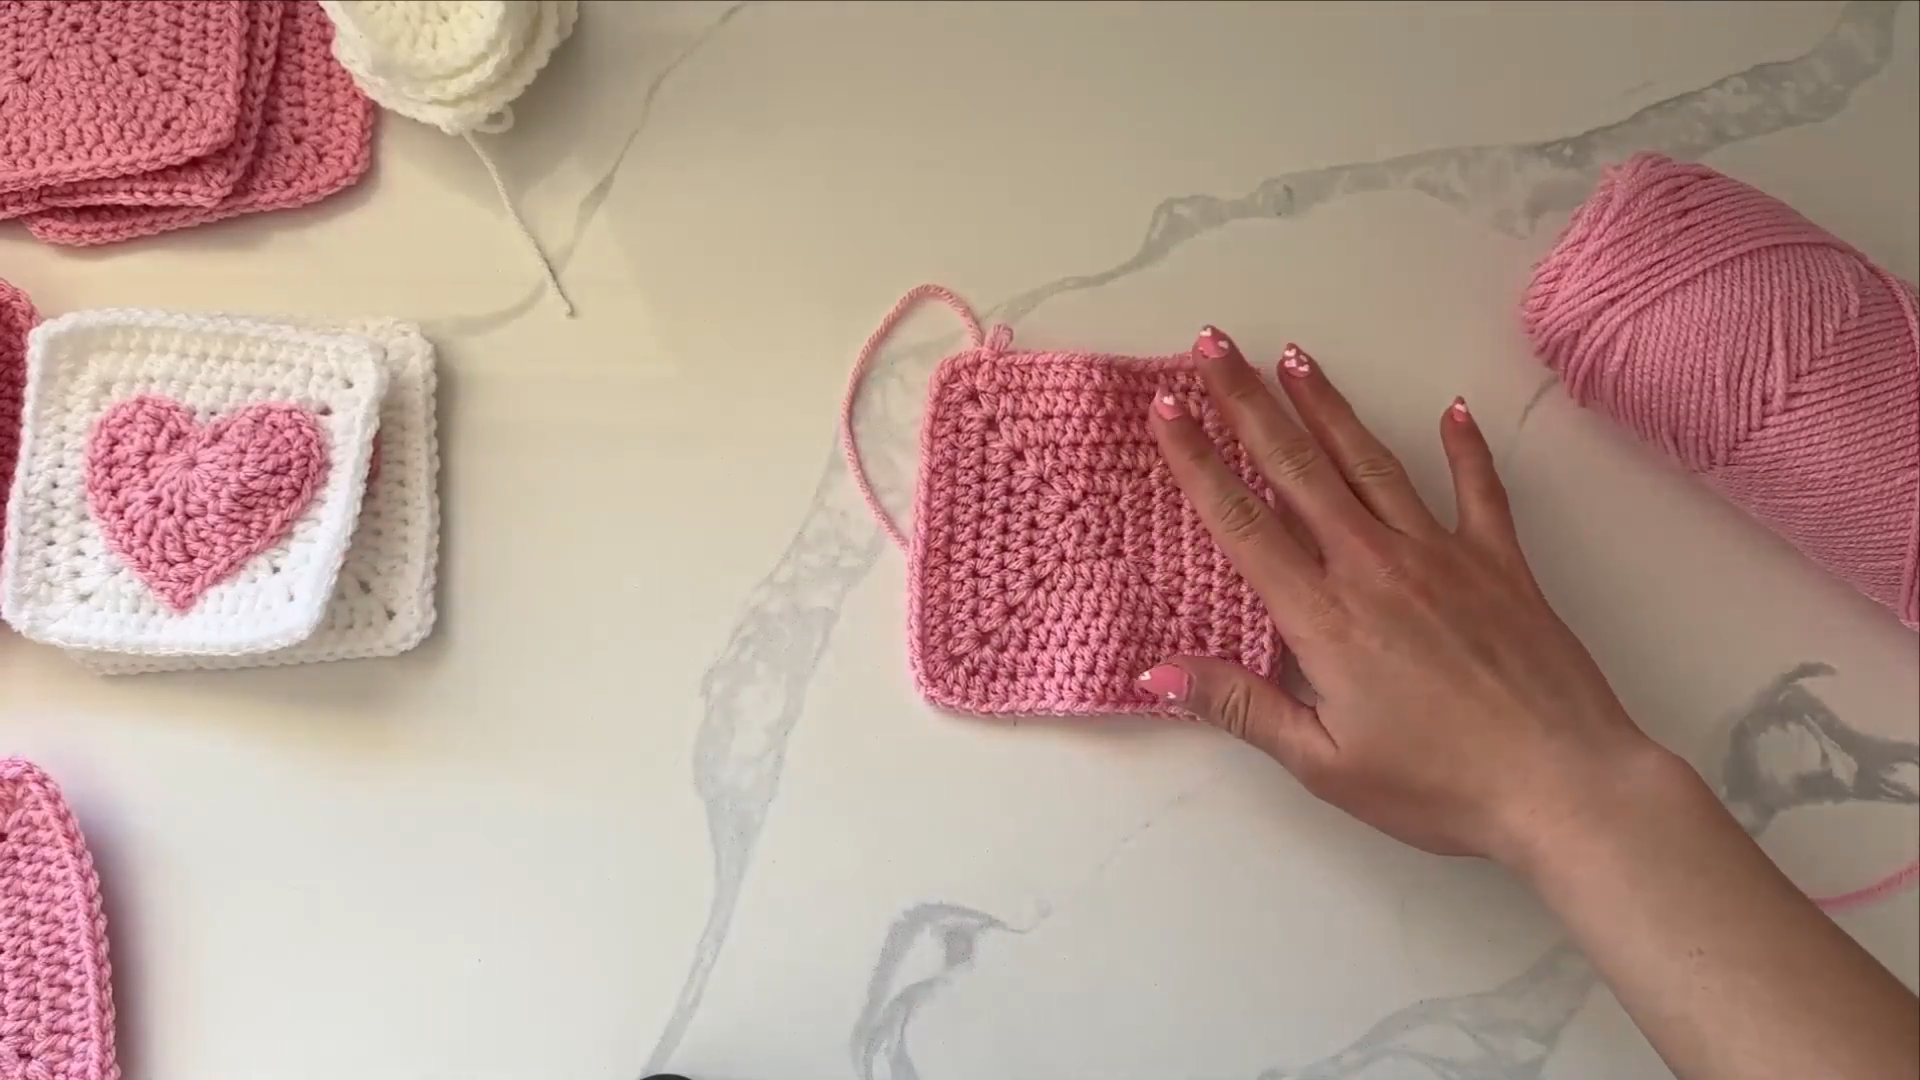
Joining the Squares Into the Dress Shape
Lay all finished squares out on a flat surface in your intended layout, alternating pink and white backgrounds so the hearts create a balanced, rhythmic pattern down the front of the dress. Arrange the top rows slightly narrower to form the bodice and widen the arrangement gradually toward the hem for a flattering A-line skirt silhouette. Whipstitch or single crochet the squares together along their edges, working row by row to keep the seams straight throughout.
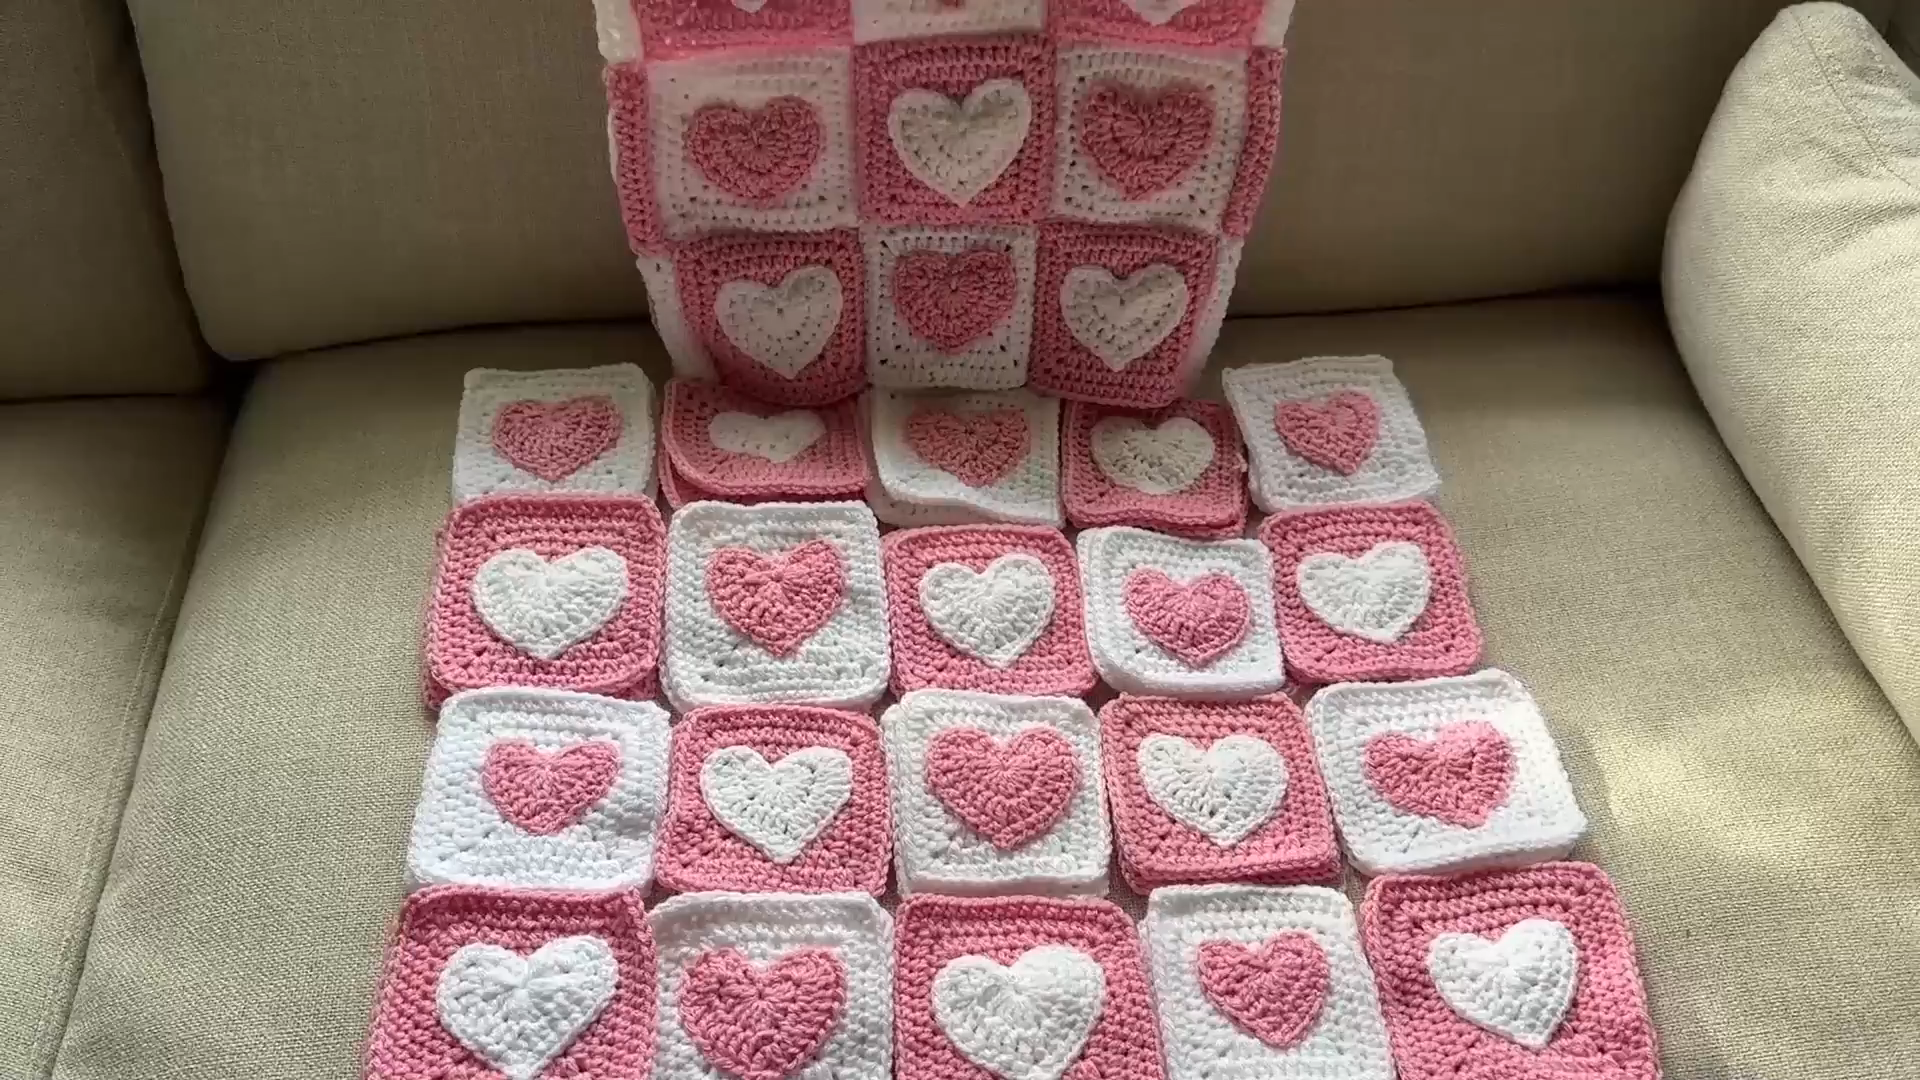
Creating the Halter Straps and Neckline
Once the bodice section is joined, work a length of chain stitches from each top corner to form the halter straps that tie behind the neck. Try the dress on as you go, adjusting strap length until the fit feels comfortable and secure around the neckline. Reinforce the strap attachment points with a few extra stitches, since this area carries the most weight of the finished piece.
Final Assembly
Weave in every loose yarn end neatly through the back of the stitches once all squares and straps are joined. Add a simple border round around the hem and neckline for a clean, finished edge, and give the whole piece a light steam block so the squares lie flat and the dress drapes smoothly.
Tips for Success
- Keep every square the same size by counting rounds carefully before moving to the next one.
- Center each heart motif evenly before stitching it down to the base.
- Measure your bust and hip width before deciding how many squares each row needs.
- Lay squares out in your intended layout before joining to avoid repositioning later.
- Try the dress on partway through joining to catch fit issues early.
- Block finished squares individually for the cleanest, flattest final result.
Personalization Ideas
Swapping the pink and white palette for red and cream creates an instant Valentine’s Day statement piece, while a soft pastel combination softens the look for everyday summer wear. A rainbow-colored heart sequence adds a playful, unexpected twist to the classic checkerboard layout.
Lengthening the skirt section with a few extra rows of squares turns this into a midi-length dress instead of a mini, and adding a tie at the waist creates a more fitted silhouette. Swapping the halter straps for wider shoulder straps offers a different neckline option for anyone wanting extra coverage.
Common Mistakes to Avoid
- Uneven heart lobes: Compare both sides as you shape them to catch asymmetry early.
- Off-center hearts: Measure spacing on all sides before stitching the motif down permanently.
- Inconsistent square sizes: Count rounds and rows carefully across every square you make.
- Skipping fit checks: Try the dress on periodically while joining to avoid sizing surprises at the end.
- Weak strap attachments: Reinforce strap joins with extra stitches since they bear the dress’s weight.
Frequently Asked Questions
1. What yarn works best for this heart square dress?
DK or worsted weight cotton gives crisp stitch definition and a breathable, structured drape.
2. How many squares do I need for a full dress?
This depends on your measurements, but most sizes require somewhere between 30 and 50 squares total.
3. Can I adjust the length of the dress?
Yes, simply add or remove rows of squares from the skirt section to shorten or lengthen it.
4. Is this Crochet Heart Dress pattern good for someone newer to garment crochet?
Yes, since the squares are made individually first, it’s far less intimidating than shaping a garment from scratch.
5. What’s the best way to keep the hearts looking symmetrical?
Count your stitches on each lobe as you shape it to make sure both sides match evenly.
6. Can I join the squares as I go instead of at the end?
Yes, join-as-you-go is a great option if you’d rather avoid weaving in as many ends later.
7. How do I make sure the dress fits well before finishing?
Measure your bust and hip width in advance and try the piece on periodically while joining rows.
Conclusion
This Crochet Heart Dress Pattern granny square dress proves that a few simple, repeated steps can build into something truly show-stopping once every square finds its place. Take your time shaping each heart, enjoy the rhythm of completing square after square, and don’t hesitate to adjust the fit as you go to make it your own. Once finished, this eye-catching dress makes a stunning handmade statement piece so pick up your hook and share your finished creation with fellow crochet lovers.