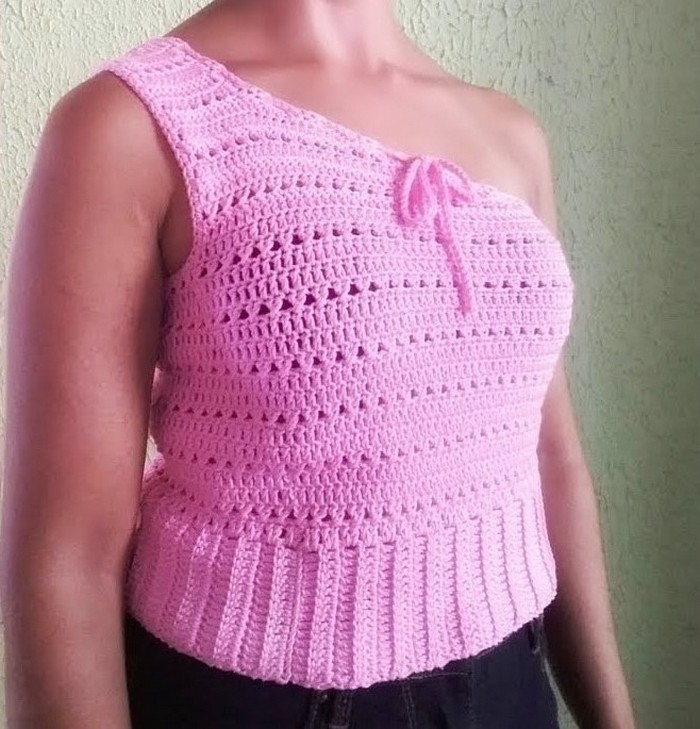
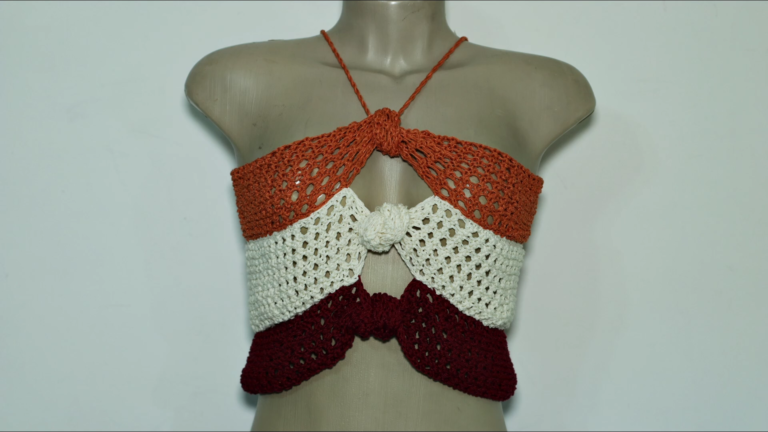
Crochet Butterfly Crop Top With Halter Ties
Four striped wing panels meet at a center point, and long halter ties wrap around the body, so the Crochet Butterfly Crop Top With Halter Ties adjusts to your shape instead of relying on fixed sizing.
You work each wing separately, join them in a butterfly layout, and add the ties last. Below you will find the materials, the first six steps with photos, fit checks, common mistakes, and finishing notes, so you know what to plan for before you pick up your hook.
How to Make the Crochet Butterfly Crop Top With Halter Ties
Pattern Overview
This top is built from separate pieces rather than one long tube. Each wing is made on its own, the pieces are arranged into a butterfly shape, and the ties go on at the end. That makes the project forgiving, because you can fix one wing without ripping back the whole top.
Skill level: advanced beginner. The stitches are simple, but the joining takes patience.
Time: plan for several evenings. The wings take the longest, while the joining and ties go faster.
Materials
- Worsted or DK cotton or cotton-blend yarn in two colors. The photos show orange with cream, and red with black.
- A crochet hook that gives a firm fabric. The hook in the photos has a pink handle, but its size is not visible, so check the label on your own hook.
- Stitch markers.
- A yarn needle and scissors.
- A tape measure.
Yarn Selection
Cotton gives structure and helps the wings hold their shape. Acrylic is softer and lighter but can stretch, so swatch before you commit. If you want the stripes to read clearly, pick two colors with strong contrast. For help matching yarn weights and hook sizes, the Craft Yarn Council standards are a handy reference.
Hook Size and Gauge
Make a swatch at least 4 inches wide in your main stitch and measure it after a gentle wash. If your swatch comes out larger than you want, go down a hook size. If it comes out smaller, go up. A tight, even fabric matters here because the wings need to keep their curve.
Abbreviations (US Terms)
- ch: chain
- sl st: slip stitch
- sc: single crochet
- dc: double crochet
- st(s): stitch(es)
Before You Start
Take your bust and underbust measurements first, then decide how long you want the ties. Long ties give you more styling options, including crossing them at the back or tying them at the neck. You can trim ties later, but you cannot add length without joining new yarn.
If you like wearable tops built from simple pieces, the Free Crochet Bia Crop Top Pattern is another good project to try.
Step-by-Step Crochet Instructions
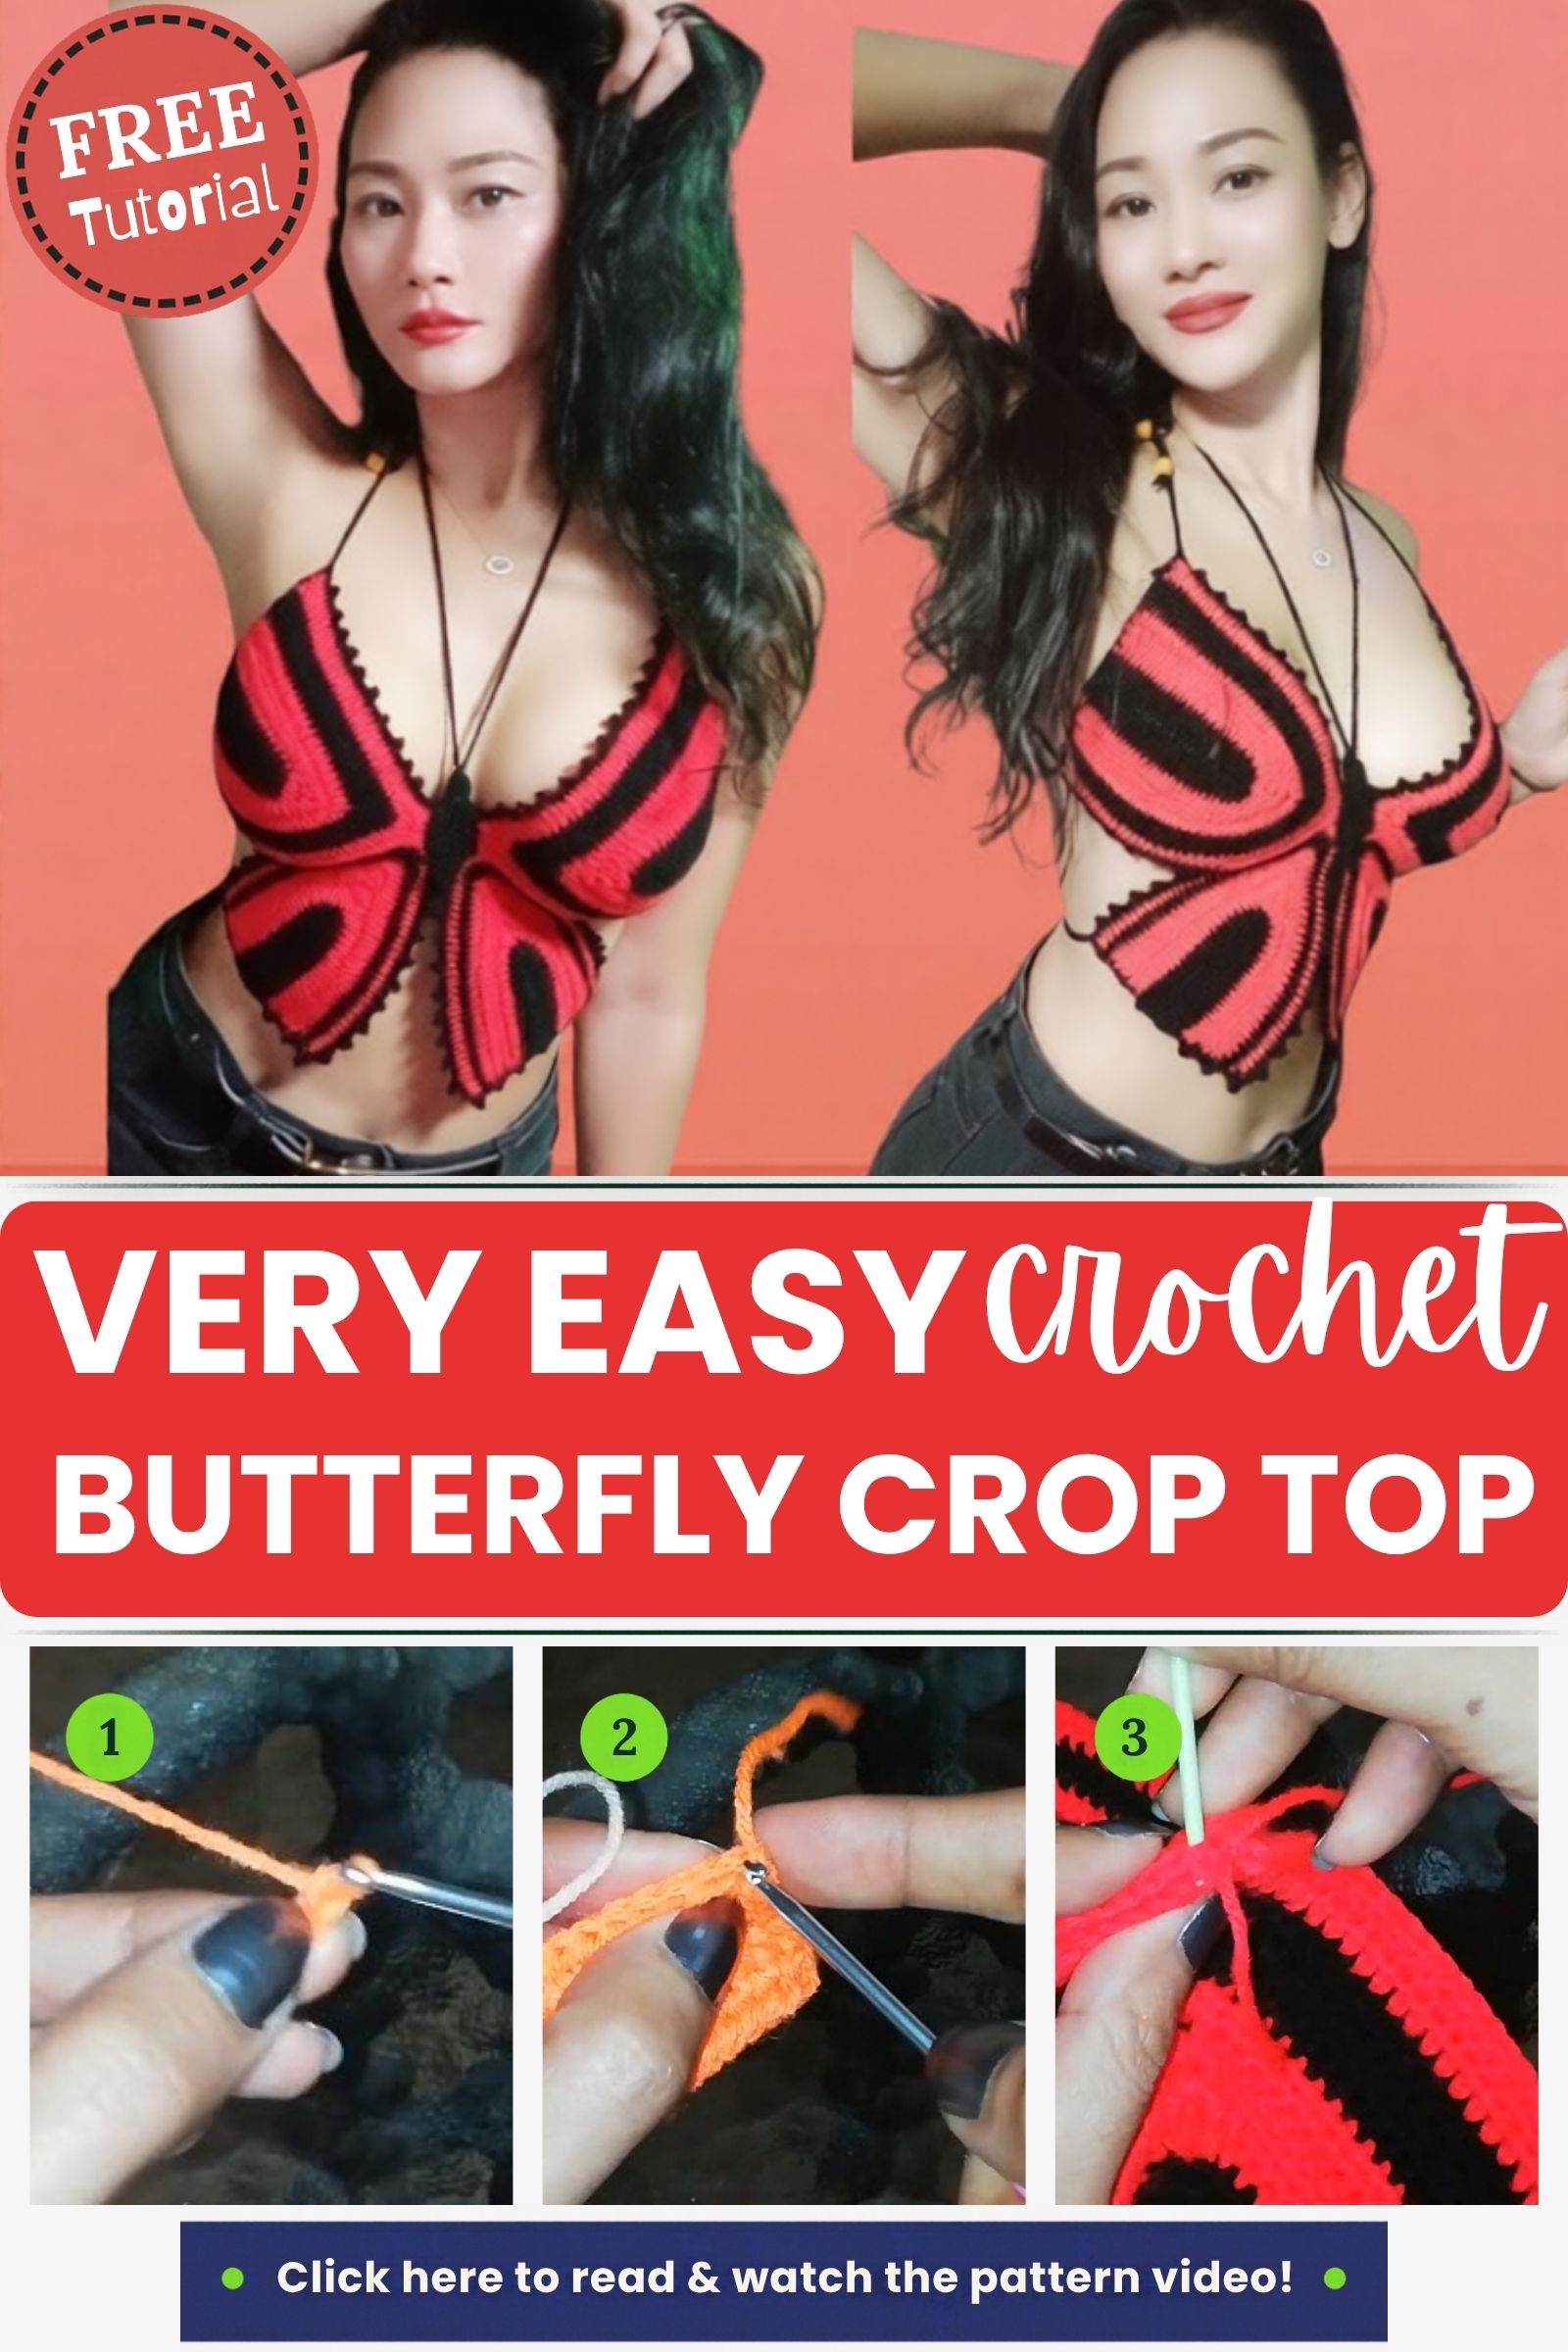
Please note: Steps 1 to 4 show orange and cream yarn, while steps 5 and 6 show red and black wings. The photos come from different pieces, so match the colors to your own project. The photos also do not show exact stitch counts, so work the wings to the size that fits you, using your swatch and measurements as a guide.
1: Start the Foundation Chain
- Make a slip knot and place it on your hook.
- Drape the working yarn over your left index finger and hold the tail with your thumb and middle finger.
- Chain loosely, keeping the tension the same in every chain.
- Count your chains when you finish. A miscount here carries through the whole wing.
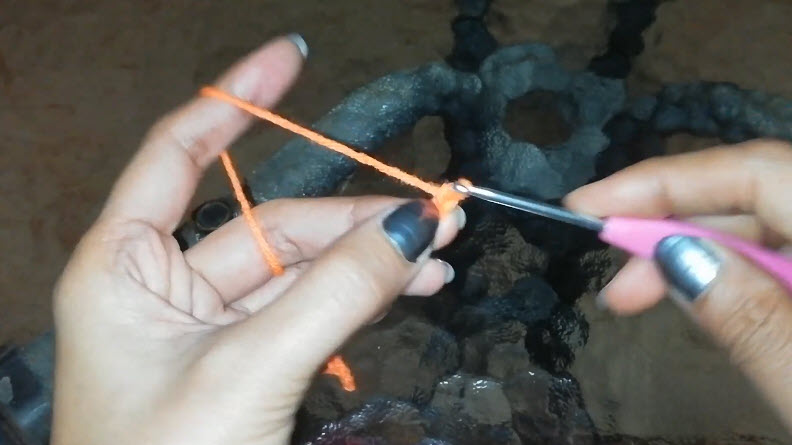
2: Work the First Row Into the Edge
- Turn your work so the right side faces you.
- Insert the hook into the edge stitch, not between stitches.
- Yarn over, pull up a loop, and complete the stitch.
- Keep the working yarn over your index finger so the tension stays steady.
- The small orange piece in the photo shows a dense, even fabric. Aim for the same look.
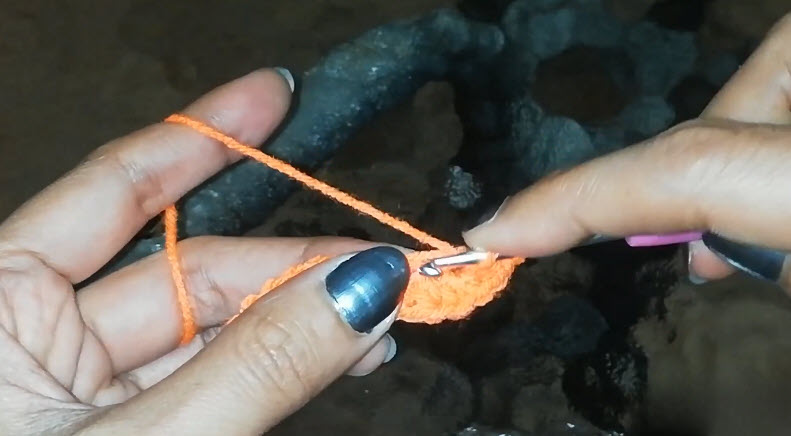
3: Continue Along the Strip and Prepare the Color Change
- Work down the long side of the strip, inserting the hook under both loops of each edge stitch.
- The cream yarn waits on the left in the photo. Keep it out of the way while you finish the orange section.
- Leave the orange tail at the top so you can weave it in later.
- Check that the strip lies flat before you move on.
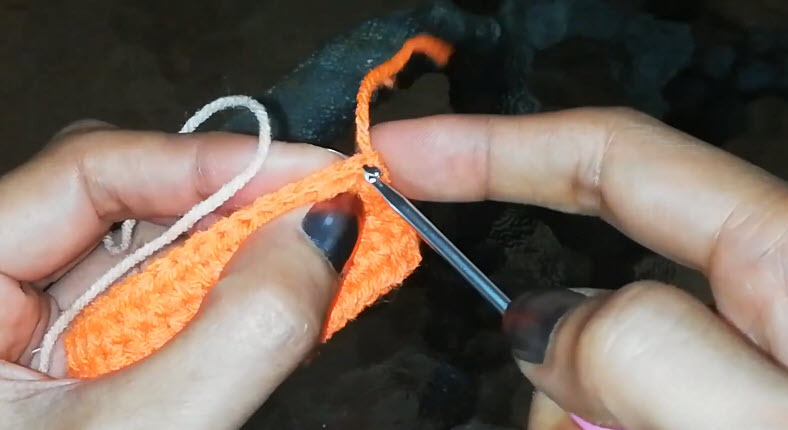
4: Join the New Color
- Insert the hook into the edge of the orange piece.
- Place the cream yarn on the hook and pull a loop through.
- Make a slip stitch to anchor the new color, then continue in your stitch pattern.
- Hold the cream strand firmly for the first few stitches so the join does not loosen.
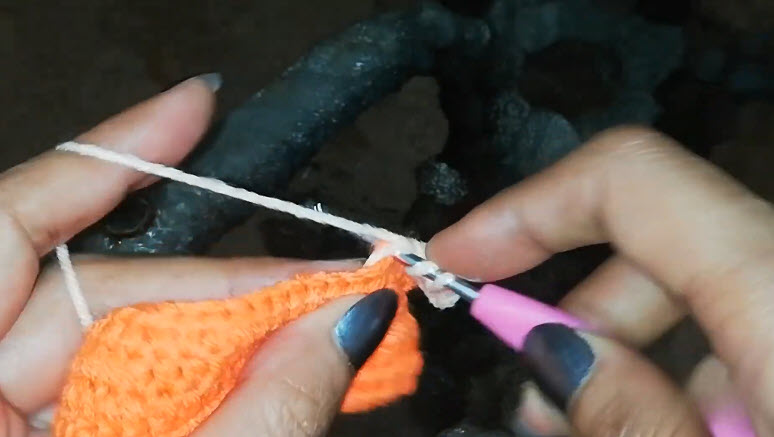
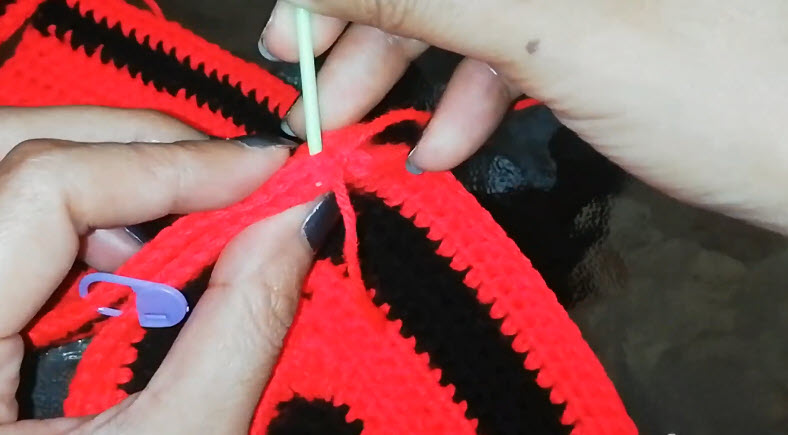
5: Mark the Center Joining Point
- Lay two wings side by side so their center points touch.
- Place a stitch marker through both layers where they meet. The photo shows a locking marker on the left.
- Use a pointed tool, such as the pale green one in the photo, to line up the stitches before you join.
- Check that the stripes match across the join.
6: Check the Full Butterfly Layout
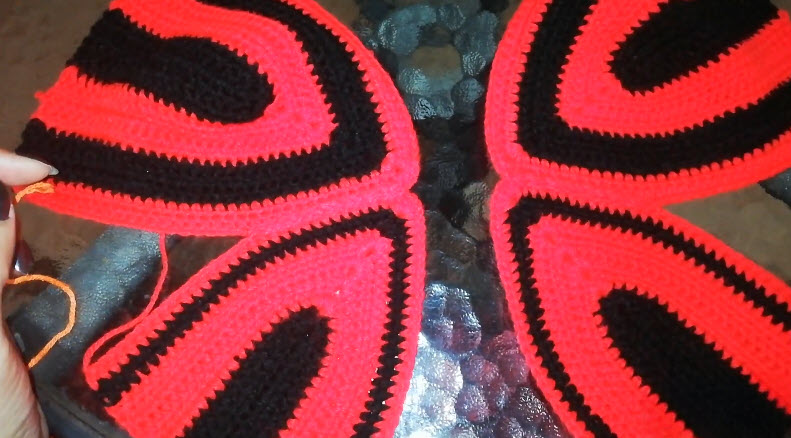
- Arrange all four wings with the two upper wings at the top and the two lower wings below.
- Leave a small gap at the center. That space is where the body and tie openings sit.
- Confirm that both sides mirror each other in stripe order and shape.
- Keep the orange tail visible on the left, as in the photo, until you are sure the layout is right.
Pro Tip
Before you join anything, take a phone photo of the laid-out wings. Seeing the layout on a screen makes lopsided shaping obvious in seconds.
Sizing, Fit, and Assembly
Sizing and Fit Guidance
Hold the wings against your body before joining. The upper wings should cover the bust fully, and the lower wings should sit comfortably under it. If the wings look small, add rows before you join. If they look large, remove rows from the next wing, but only after you compare it to the first.
Size Modification
Add or remove rows in the wings to change the cup depth, and lengthen the ties for a lower tie point. Test every change on a single wing before repeating it on the others.
Checkpoints
- The foundation chain is counted twice.
- Every wing has the same row count.
- Stripe colors match on mirrored wings.
- All edges lie flat with no ruffling.
Assembly
Join the wings at the center point, working through the marked stitches. Next, attach the ties at the neck points and the lower back points. Weave in all tails securely, especially where the colors change.
Finishing
Block lightly, then check that every tie is attached firmly. The ties carry the weight of the top, so they need to hold.
Common Mistakes and Troubleshooting
Common Mistakes
- Loose first chain: it stretches and makes the wing wider at the base than at the top.
- Skipped edge stitches: gaps appear along the sides and show in the finished top.
- Mismatched stripes: one wing ends up with the color order reversed.
- Twisted ties: the tie spirals and will not lie flat.
Troubleshooting
- If the edges curl, block each wing lightly or work a row of single crochet along the edge.
- If the color change leaves a hole, tighten the first stitch after the join.
- If the wings cup unevenly, compare row counts first, then tension.
Color Ideas, Care, and Personal Touches
Color Variations
Try black with hot pink, cream with soft blue, or two shades of one color for a quieter look. Strong contrast makes the wing stripes stand out more. You can find more wearable ideas in the crochet top patterns collection.
Care Instructions
Hand wash in cool water and lay flat to dry. Cotton can shrink in a hot dryer.
Personalization Ideas
Add a scalloped edge, beads on the tie ends, or a contrasting yarn for the ties.
Bonus: Three Ways to Wear the Halter Ties
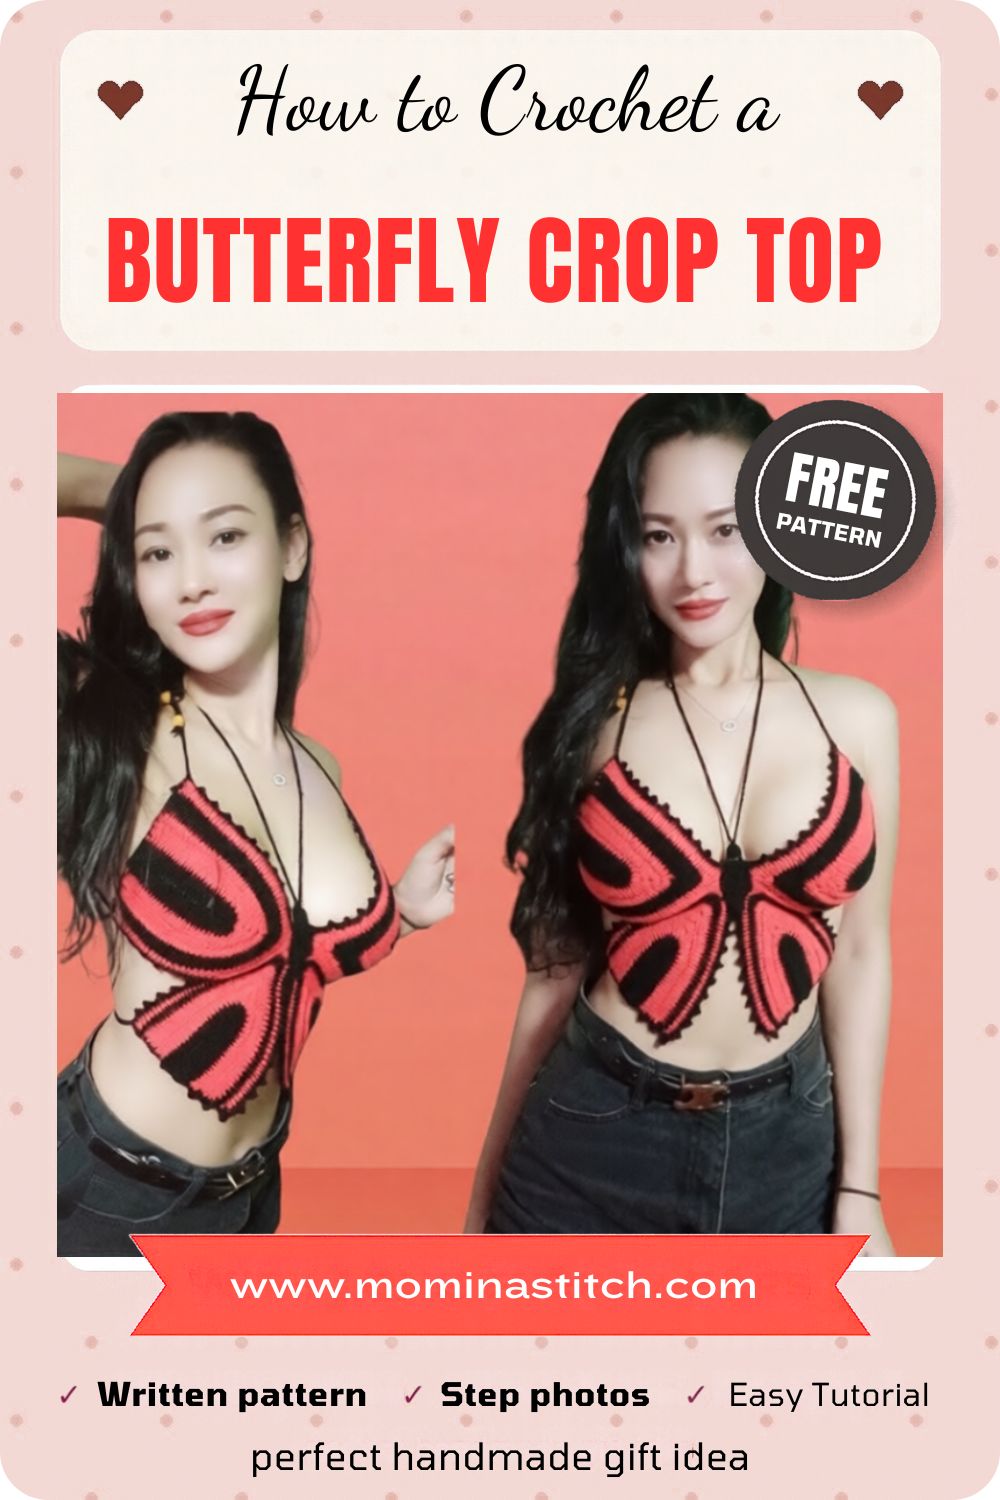
Long ties make the top easy to restyle, so try a few options before you trim anything. Tie them at the neck for a classic halter look, or cross them at the back for a different line across the shoulders. Because the ties are adjustable, you can also tighten or loosen them at the neck and back to fine-tune the fit.
FAQs
Can a beginner make the crochet butterfly crop top with halter ties? Yes, if you can chain, slip stitch, and work basic stitches evenly. The joining is the part that needs the most patience.
What yarn works best? Cotton or a cotton blend holds its shape best.
How long should the ties be? Measure from your neckline around your back and add extra for knotting. You can trim them later if they run long.
Can I fix one wing without redoing the whole top? Yes. Each wing is worked separately, so you can adjust or redo a single wing before joining.
Wear It Your Way
Slow, careful joining is what makes this top work. Take your time at the center point, keep your tension even, and let the ties handle the final fit. Once the last tail is woven in, you will have a butterfly crop top shaped to your own measurements.