Crochet Cutout Top Pattern With a Classic Shirt Collar
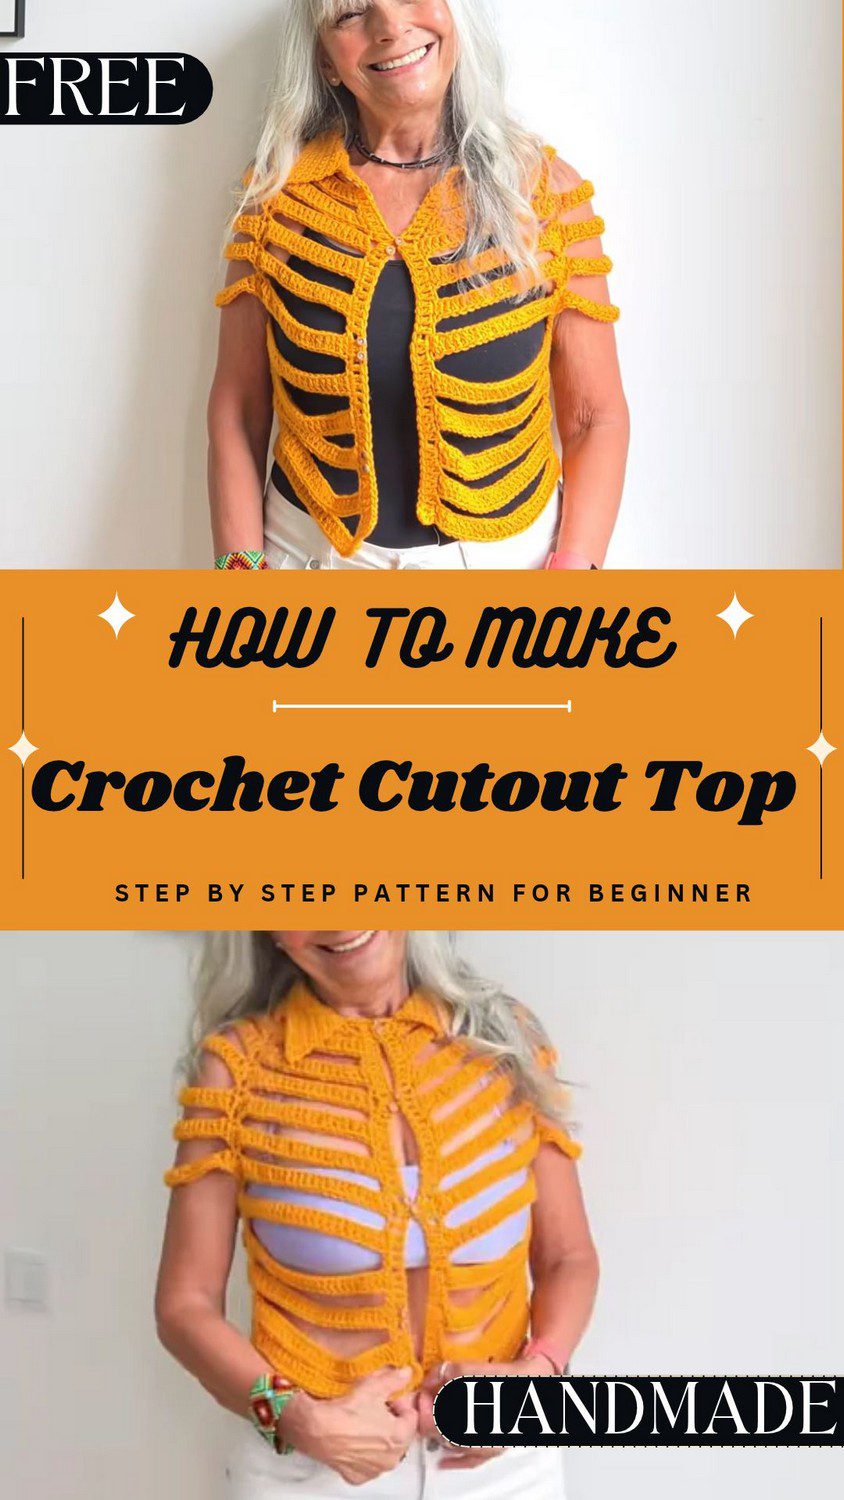
This crochet cutout top pattern is fun to wear because it has open gaps and a collar just like a shirt. Best of all, the pattern is free and every step is easy to follow. So make it this summer, or pin it and crochet it later.
Here you will find a top with open gaps on the front and sleeves. Besides that, it has a classic collar and small buttons down the front. Because the instructions are simple, you can wear this collared top on warm days in no time. Also, it makes a nice handmade gift for a friend or for yourself. Save this pin now and start your own soon.
Crochet Cutout Top Pattern Overview
This crochet cutout top pattern is worked from the neckline down in alternating rows. One row is double crochet, and the next is a chain-space row, which gives the openwork look. Next, increases are made at four corners in raglan style. After that, the sleeves are separated, and finally the body is worked straight down.
Skill level: Intermediate
Finished size: Estimated 40 cm long from the neckline, with a 54 cm neck opening and an armhole depth of 18–19 cm.
Materials for the Crochet Cutout Top Pattern
- Yarn: Hilo Caricia Classic, 100% acrylic, 300 m per 100 g, colour #65 (yellow)
- Hook: 4.5 mm crochet hook
- Stitch markers
- Measuring tape
- Buttons for the front border
Stitch Abbreviations
- ch = chain
- sc = single crochet (punto bajo)
- dc = double crochet (punto alto)
- sp = space
- rep = repeat
Helpful Notes Before You Start
- Always work into the back loop of the chains, because this gives a clean, flexible edge.
- Count your stitches often, since the chain counts change in every row.
- Keep a measuring tape close too, as the armhole depth and the final length are both measured while you work.
Crochet Cutout Top Pattern Instructions
Phase 1: Crochet Cutout Top Pattern Foundation and Yoke Setup
Foundation Chain for the Crochet Cutout Top Pattern
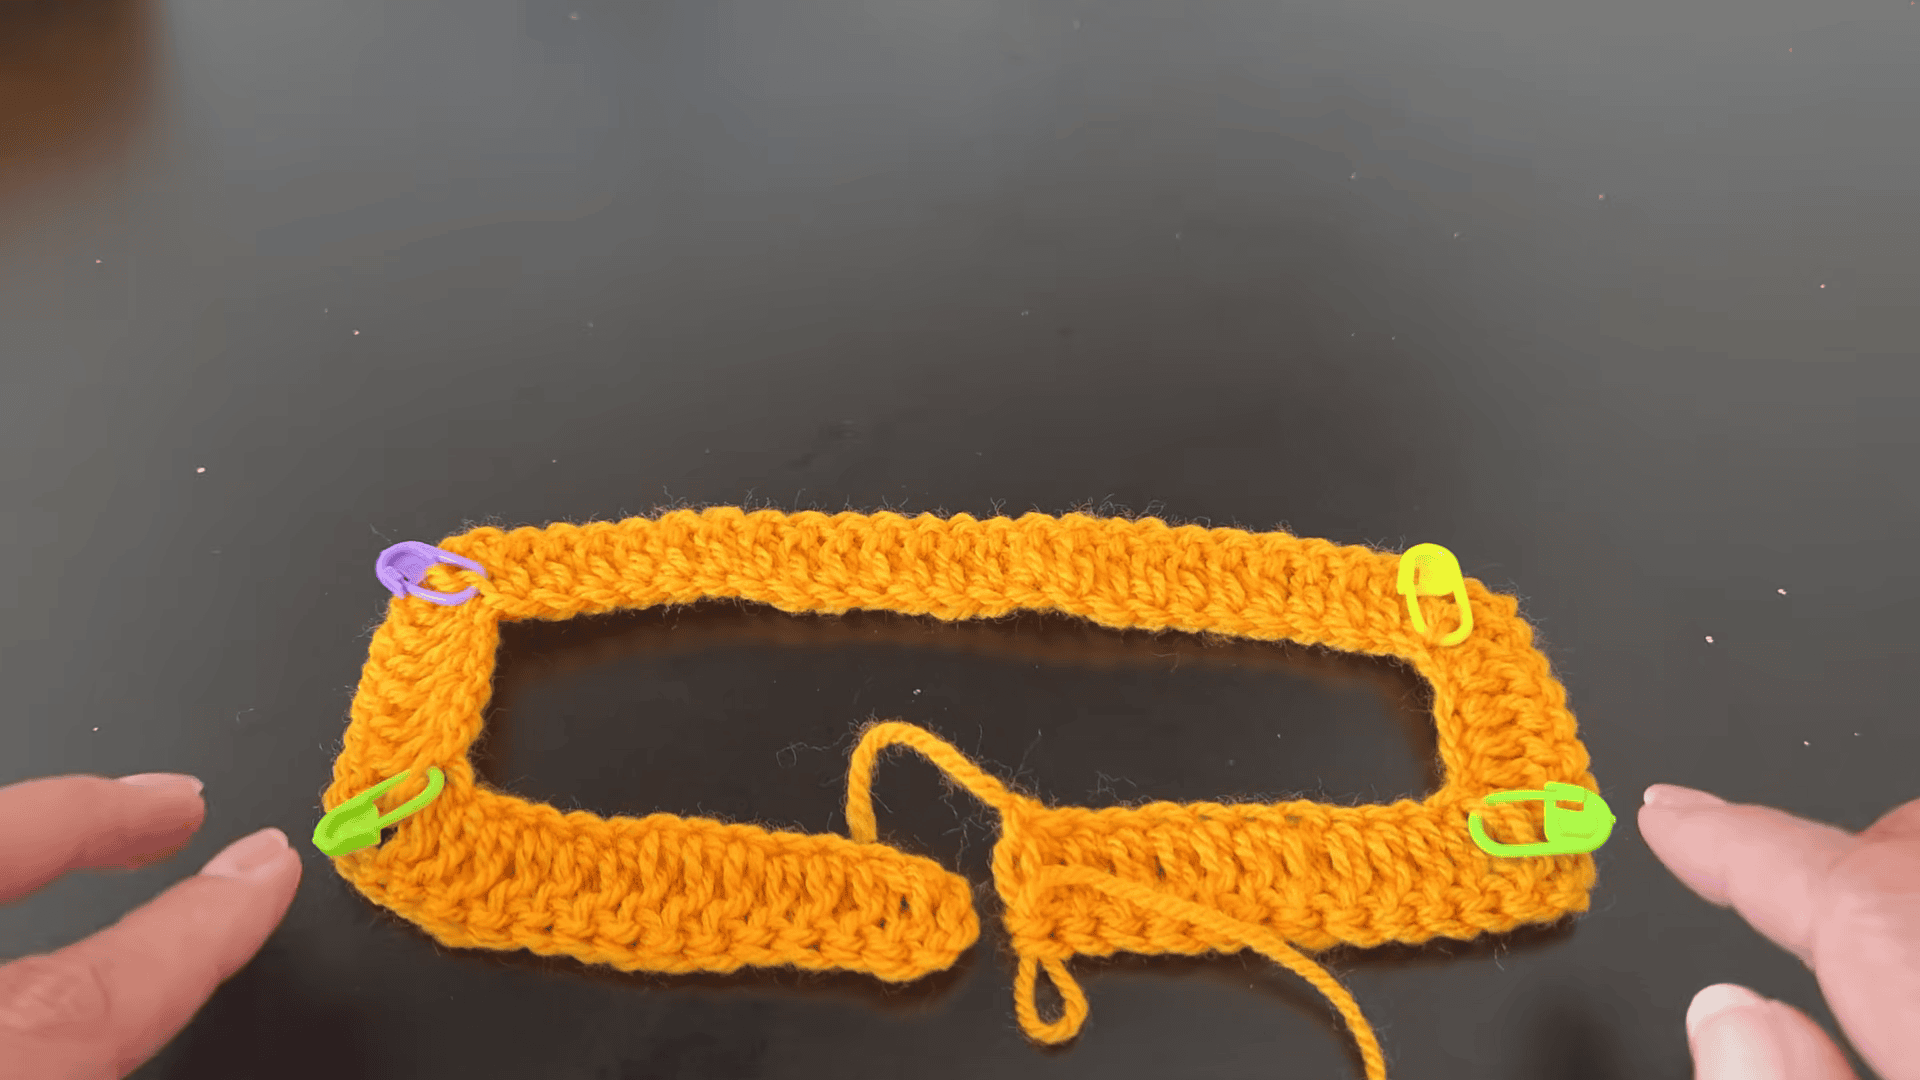
To begin, make 60 loose chains. Together they should measure about 54 cm, which is the neck circumference for size S.
Placing the Markers
Next, place the stitch markers in the back loop of the chains. This keeps the yoke flexible. Count from the start of the chain like this:
Put the first marker after 12 chains for the front. Add the second after 6 more chains for the shoulder, and the third after 24 more for the back. The fourth comes after another 6 chains for the second shoulder, which leaves the last 12 chains for the front.
In total, this makes 60 chains and divides the yoke into four corners.
Row 1: Double Crochet Row
- First, start in the 4th chain from the hook. The first 3 chains do not count as a stitch.
- Work 1 dc into each chain next, using the back loop.
- At every marker, make the corner increase: 1 dc, ch 2, 1 dc in the same stitch.
Row 2: Chain Space Row
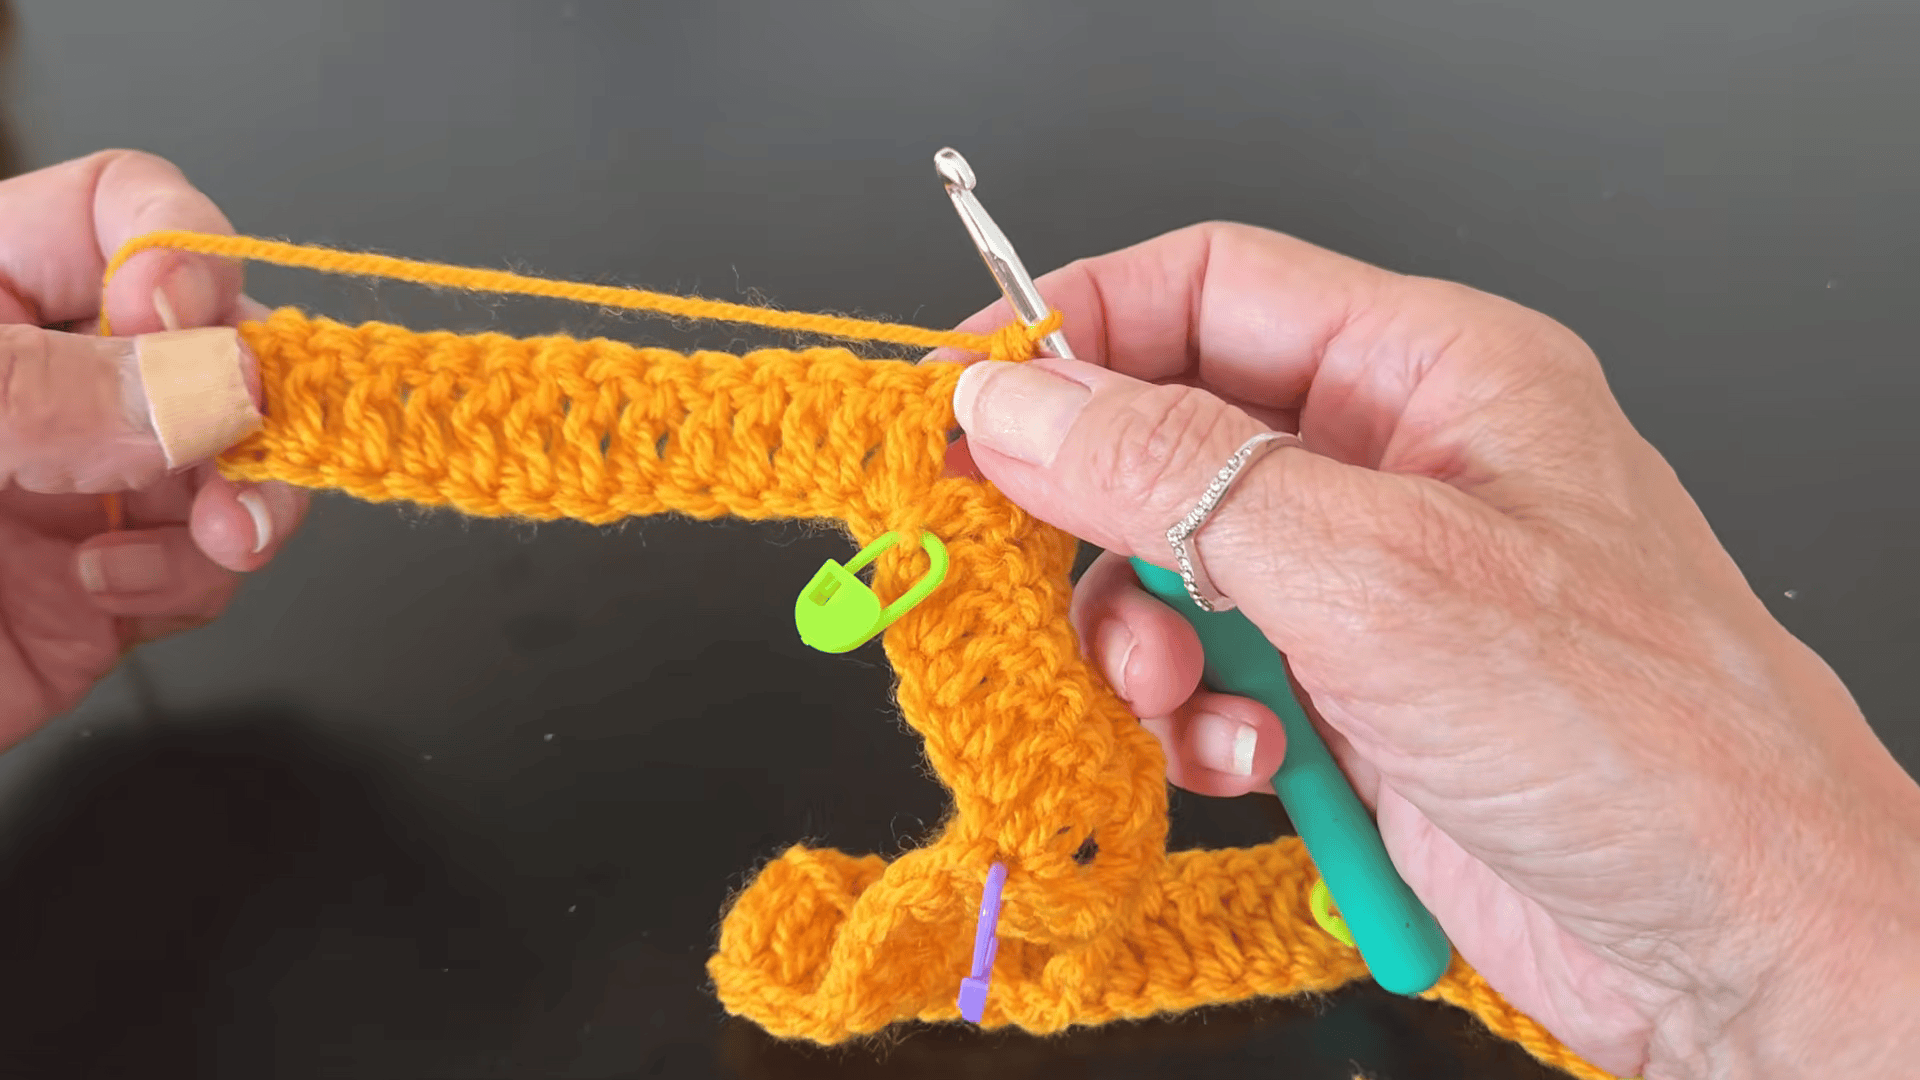
- To start, ch 1 and turn, and then put 1 sc into the first dc.
- Next, chain enough stitches to reach the next marker. The chain counts between markers are 12, 7, 25, 7, 12.
- At each corner (the ch-2 space from the previous row), work 1 sc, ch 2, 1 sc into the space.
Row 3: Double Crochet Row
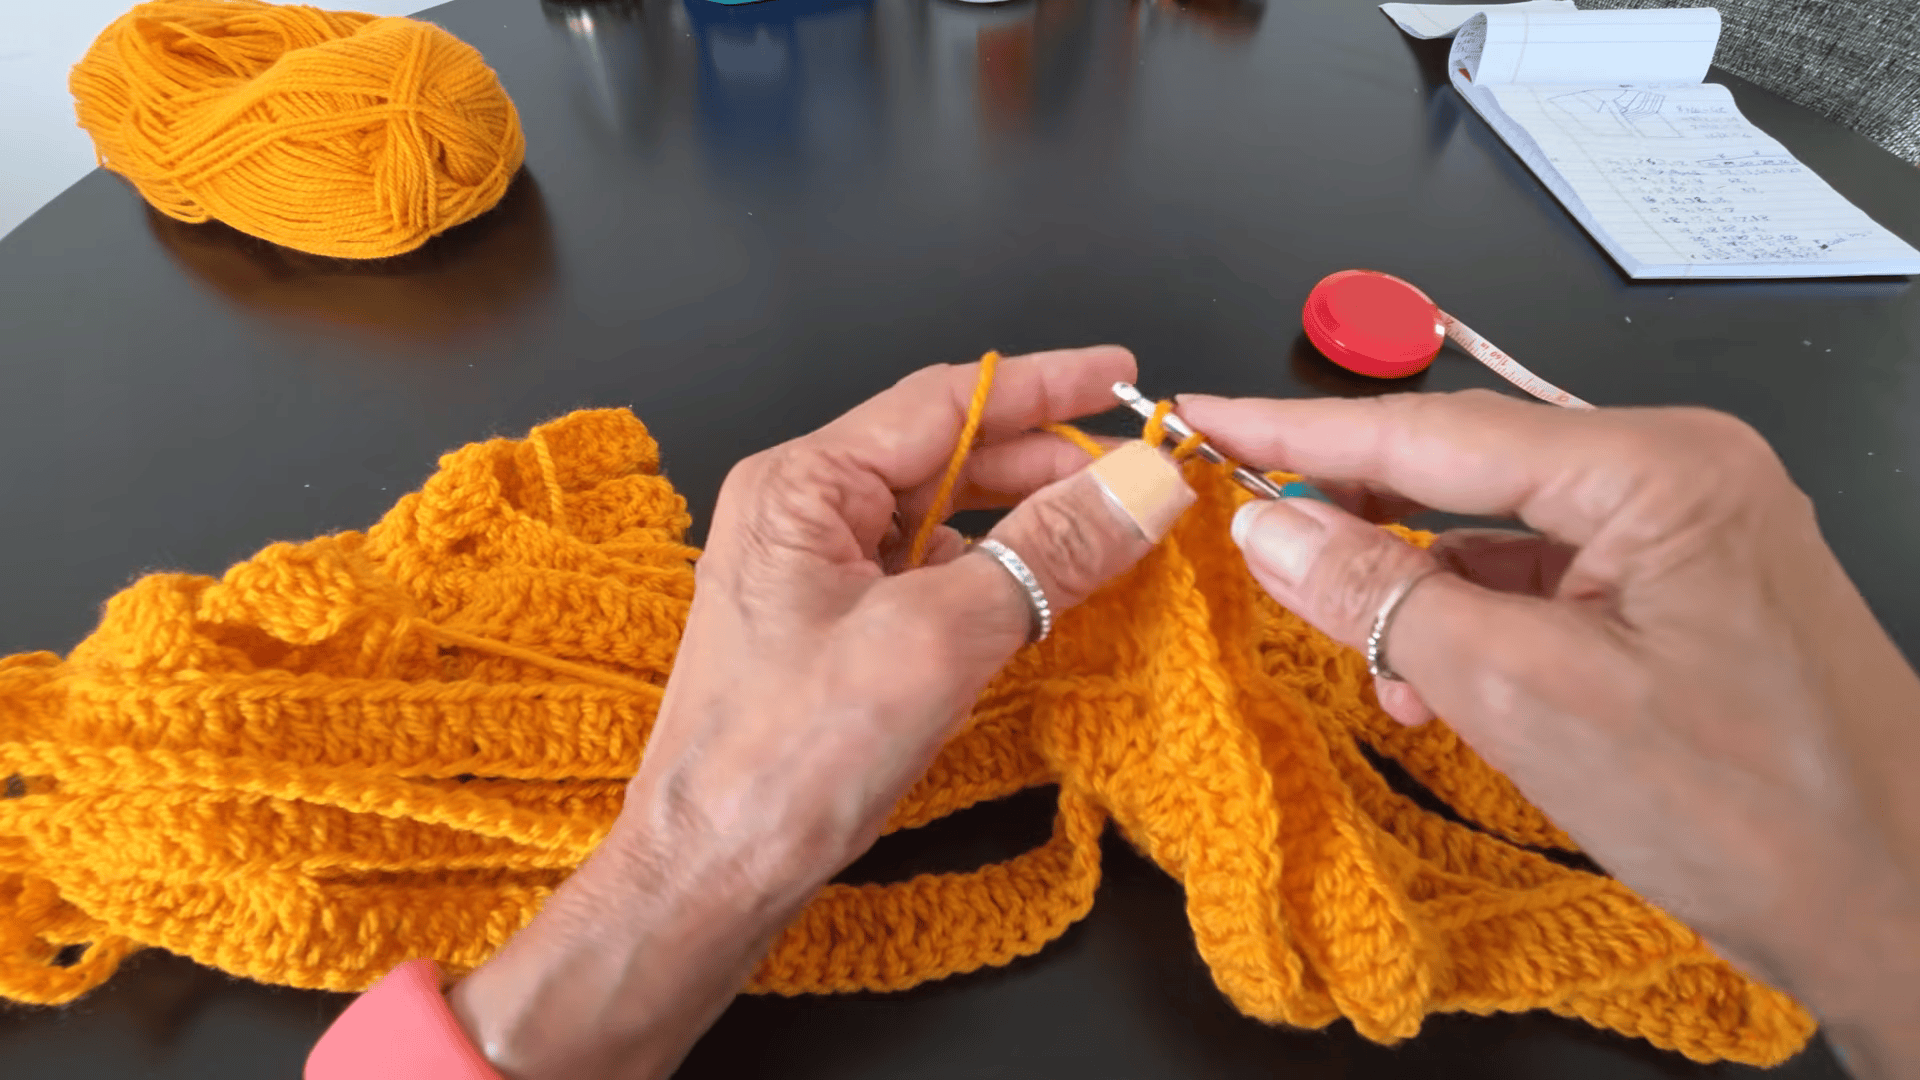
- To begin, ch 3 (does not count as a stitch) and turn, then add 1 dc into the first sc.
- After that, work 1 dc into each chain stitch of the previous row.
- At each corner ch-2 space, make the increase: 1 dc, ch 2, 1 dc.
Phase 2: Crochet Cutout Top Pattern Yoke Expansion and Sleeve Joining
Repeating the Rows
Now repeat Rows 2 and 3 until the armhole depth reaches 18–19 cm, which is about 14 rows in total. Every dc row has increases at the four corners (1 dc, ch 2, 1 dc), so the neckline expands into a square shape. Since the number of chains changes each row as the piece grows, count your stitches regularly.
Joining the Sleeves in the Crochet Cutout Top Pattern
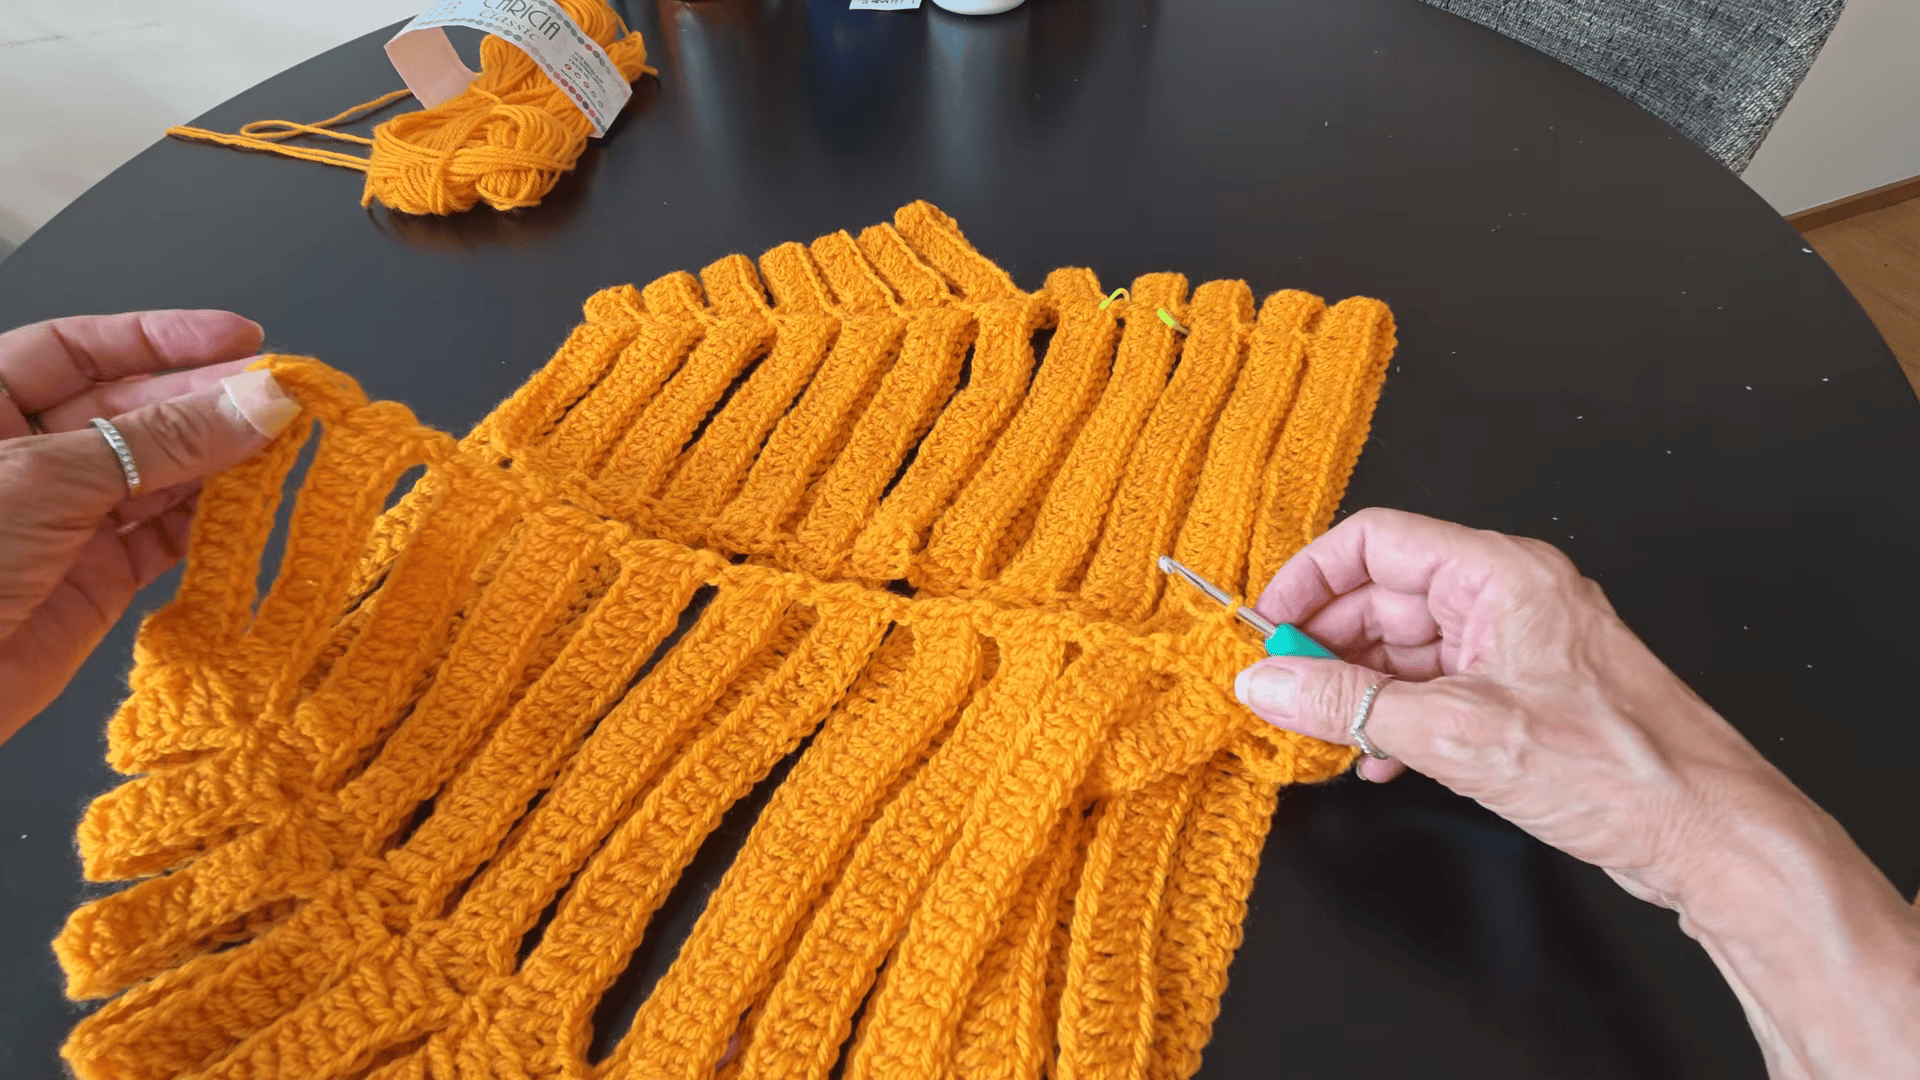
Do this on a chain-space row.
- First, work up to the first corner space.
- Then ch 8 for the underarm width. Skip the whole shoulder section and join with 1 sc in the next corner space.
- Afterward, continue across the back section.
- At the next corner, ch 8 for the second underarm. Finally, skip the other shoulder section and join to the last corner.
As a result, you get the two armhole openings.
Phase 3: Crochet Cutout Top Pattern Body and Finishing
Body Rounds
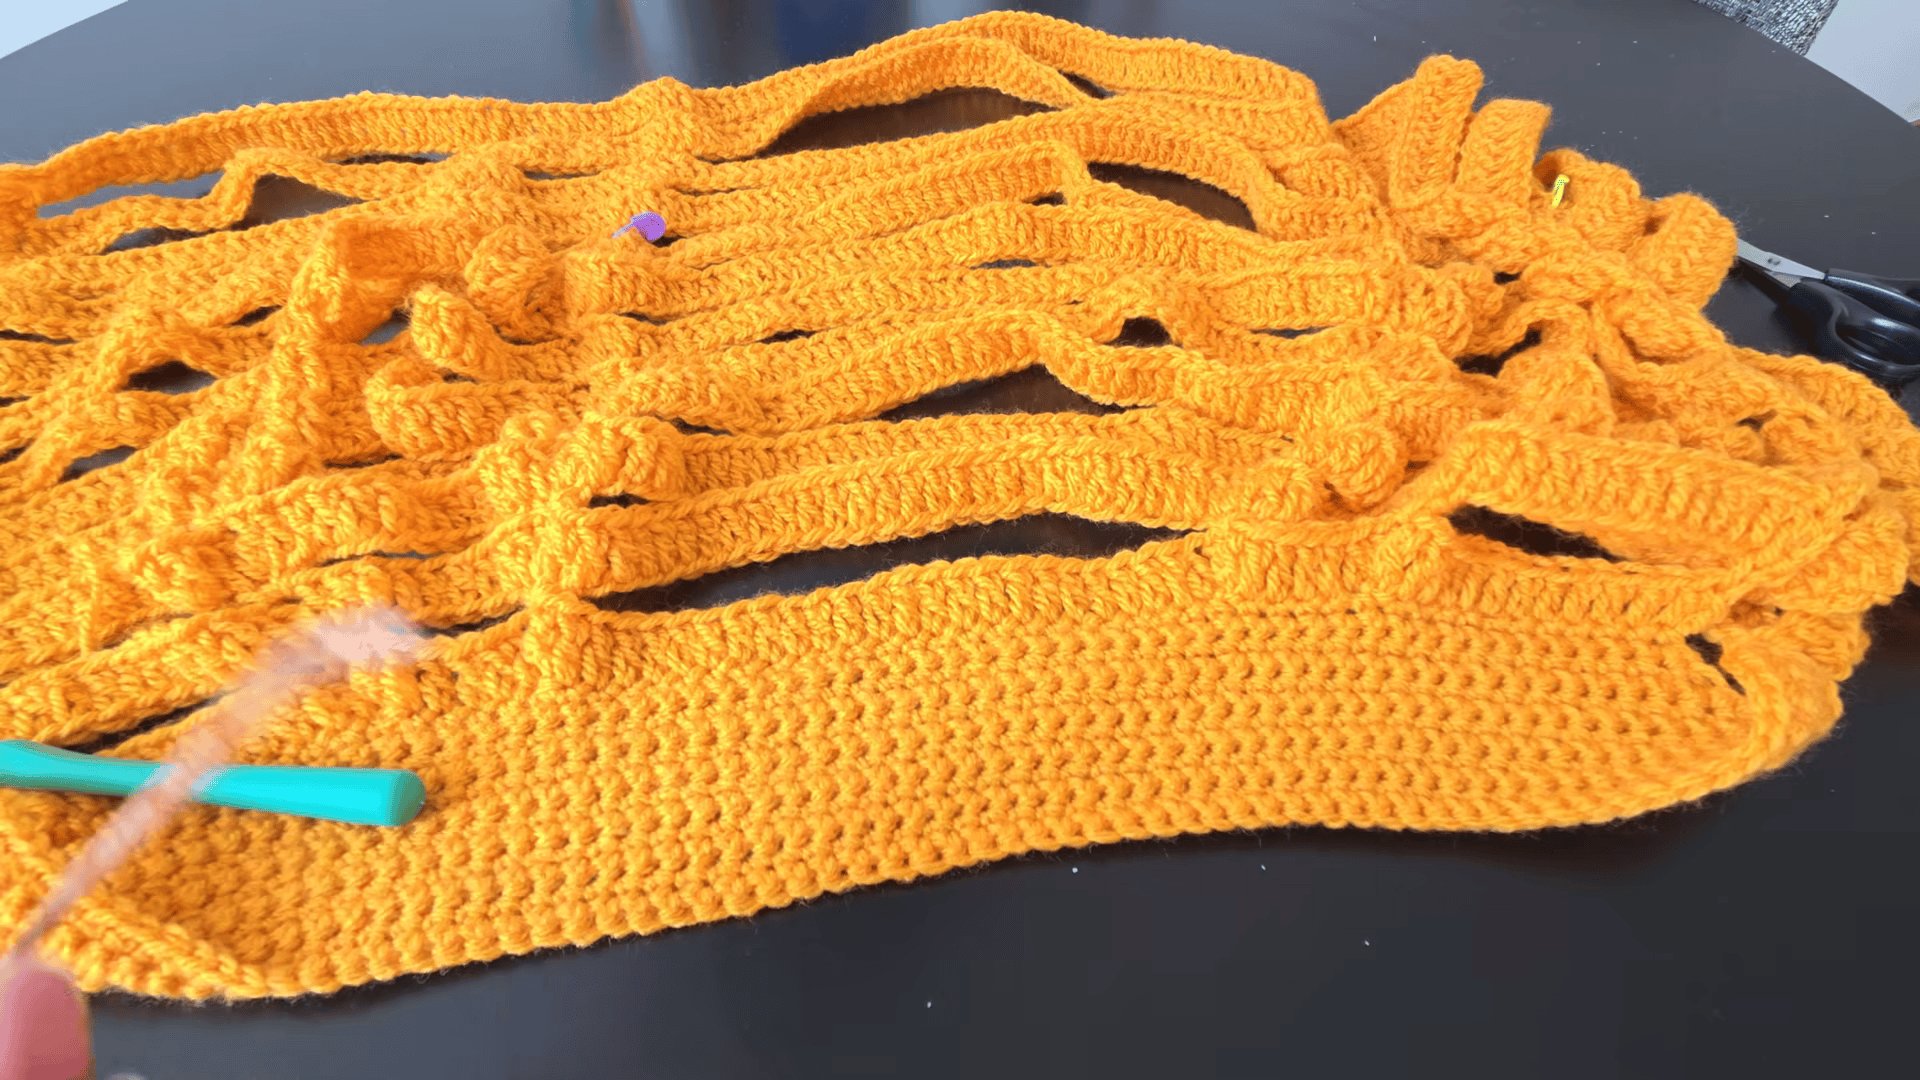
Once the armholes are joined, the top is worked in the round. Keep alternating one round of dc with one round of chain spaces. However, make no more increases at the corners. Continue until the top measures about 40 cm from the neckline.
Front and Bottom Border
To finish the edge, work one last round of dc. Work 3 dc into the side of each dc row segment, and 1 dc into the side of each chain-space row segment. This keeps the edge flat and even.
Collar Edging for the Crochet Cutout Top Pattern
The collar edging is worked in single crochet (sc, punto bajo), back and forth around the neck opening, for a total of 12 rows.
- First, join the yarn at the corner of the neckline and secure it with a chain.
- After that, work 1 sc into each stitch around the neck opening, working back and forth.
- At every corner junction, skip 1 stitch in each sc row, because this keeps the collar snug and properly formed.
- Next, alternate your rows to shape the collar. One row has increases (work 2 sc into the corner stitch to expand the edge), while the next row has none.
- Keep alternating the increase row and the plain row until you reach row 12.
- By row 12, the collar measures about 6 cm wide from the base, and it has a clean, structured triangular shape.
Buttons for the Crochet Cutout Top Pattern
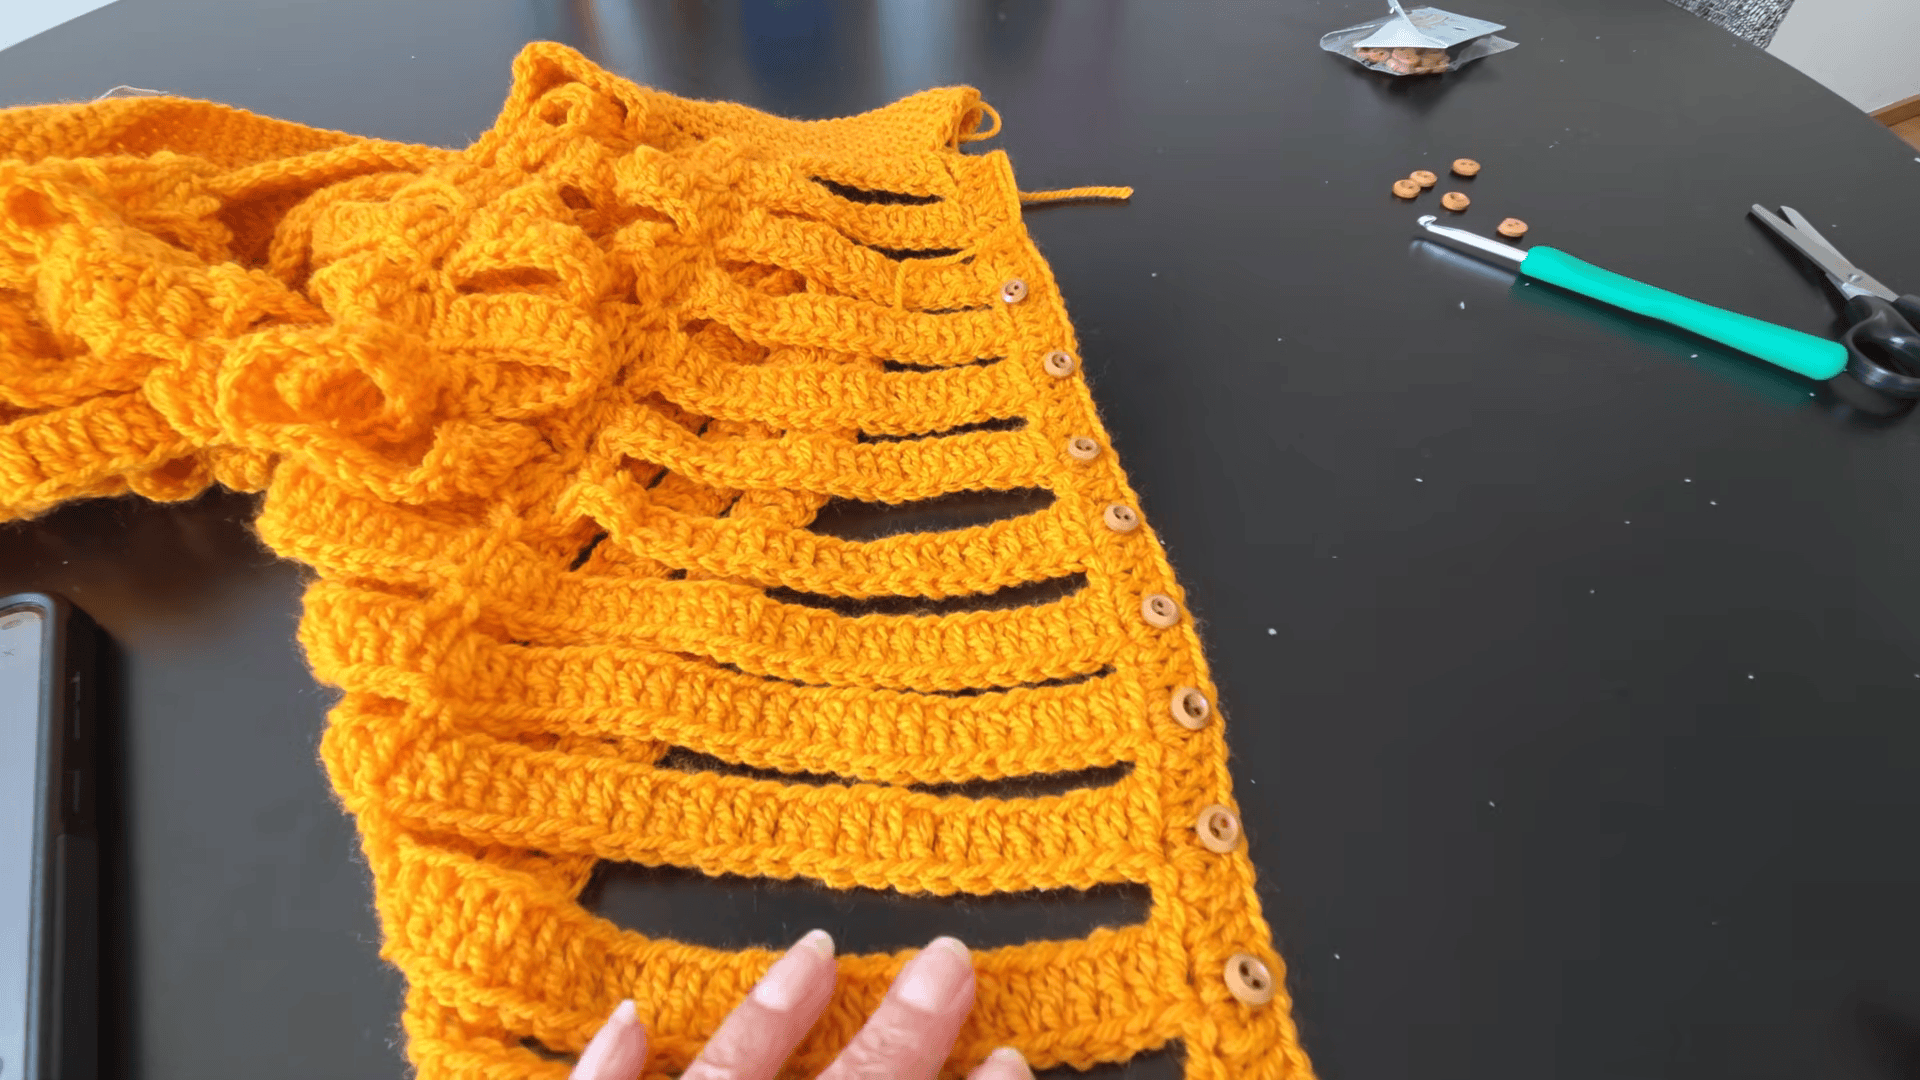
The buttons are added to the front border, and most of them are only for decoration.
- To begin, sew a row of small buttons along the front edge.
- Only the top two buttons are meant to work, so use them to close the top.
- Lastly, sew the remaining lower buttons on purely for looks. They give the top the design look that was inspired by Pinterest.
Bonus Ideas for Your Crochet Cutout Top Pattern
Bonus: Sizing Adjustments
The measurements are customizable. To make a different size, change the number of starting chains (60 chains is size S). In addition, you can change how many rows you work before joining the sleeves, which sets the armhole depth.
Bonus: Styling Your Collared Top
The yellow shade works well on its own for a bright, sunny look. If you would like something calmer, try a plain neutral yarn instead. Likewise, button choice changes the mood. Small wooden buttons feel relaxed, while pearl-style ones look a little dressier.
Tips for a Neat Crochet Cutout Top Pattern
Pro Tips for a Neat Result
- Keep your foundation chain loose so the neckline does not pull tight.
- Place every marker before you begin Row 1, and then double-check the counts.
- Slide a marker into each corner space as you go, since it is much easier to find them in the next row.
- Measure the armhole depth flat, without stretching the fabric.
Finishing Tips
- Weave in all your ends before adding the buttons.
- Next, sew the buttons on firmly, especially the top two that act as the closure.
- Finally, lay the top flat and gently shape the collar so it sits evenly.
Common Mistakes in the Crochet Cutout Top Pattern
- Skipping the back loop on the chains. This changes the look of the edge, so keep to the back loop.
- Miscounting the chain spaces. Because the chain count changes each row, count regularly.
- Adding increases after the sleeves are joined. The body rounds have no more corner increases.
- Forgetting the corner increase in dc rows. Every dc row increases at the four corners.
Uses, Benefits and Gift Ideas for This Crochet Cutout Top Pattern
Uses and Benefits
- It is a light, open top that suits warm days.
- Moreover, it is a good project for building your confidence with chain-space rows.
- Because it is worked from the top down, you can check the fit as it grows.
- Lastly, it is easy to resize by changing the starting chains and the rows before the sleeves.
Gift Ideas
A sister, a friend, or a daughter who loves handmade clothes will appreciate this top as a thoughtful gift. For a more personal touch, pair it with a set of pretty buttons. You could also make it in her favourite colour.
FAQ About This Crochet Cutout Top Pattern
What is the skill level for this crochet cutout top pattern?
The rating is intermediate because you will work with chain spaces, corner increases and sleeve joining.
Which yarn and hook are used?
The pattern uses Hilo Caricia Classic, 100% acrylic, in colour #65 (yellow), with a 4.5 mm hook.
Where do I place the stitch markers?
Place them in the back loop of the chains, following the 12, 6, 24, 6, 12 chain layout. This divides the yoke into four corners.
What does the corner increase look like?
The increase is 1 dc, ch 2, 1 dc in the same stitch (or in the ch-2 space on later rows).
When do I stop repeating Rows 2 and 3?
Stop when the armhole depth reaches 18–19 cm, which is about 14 rows in total.
Do I still increase after joining the sleeves?
No. Once the armholes are joined, you make no more increases at the corners, so just keep alternating dc rounds and chain-space rounds.
How do I make a different size?
Change the number of starting chains, since 60 chains is size S. Besides that, you can change how many rows you work before joining the sleeves.
Which buttons actually close the top?
The top two buttons work as the closure, while the lower buttons are decorative only.
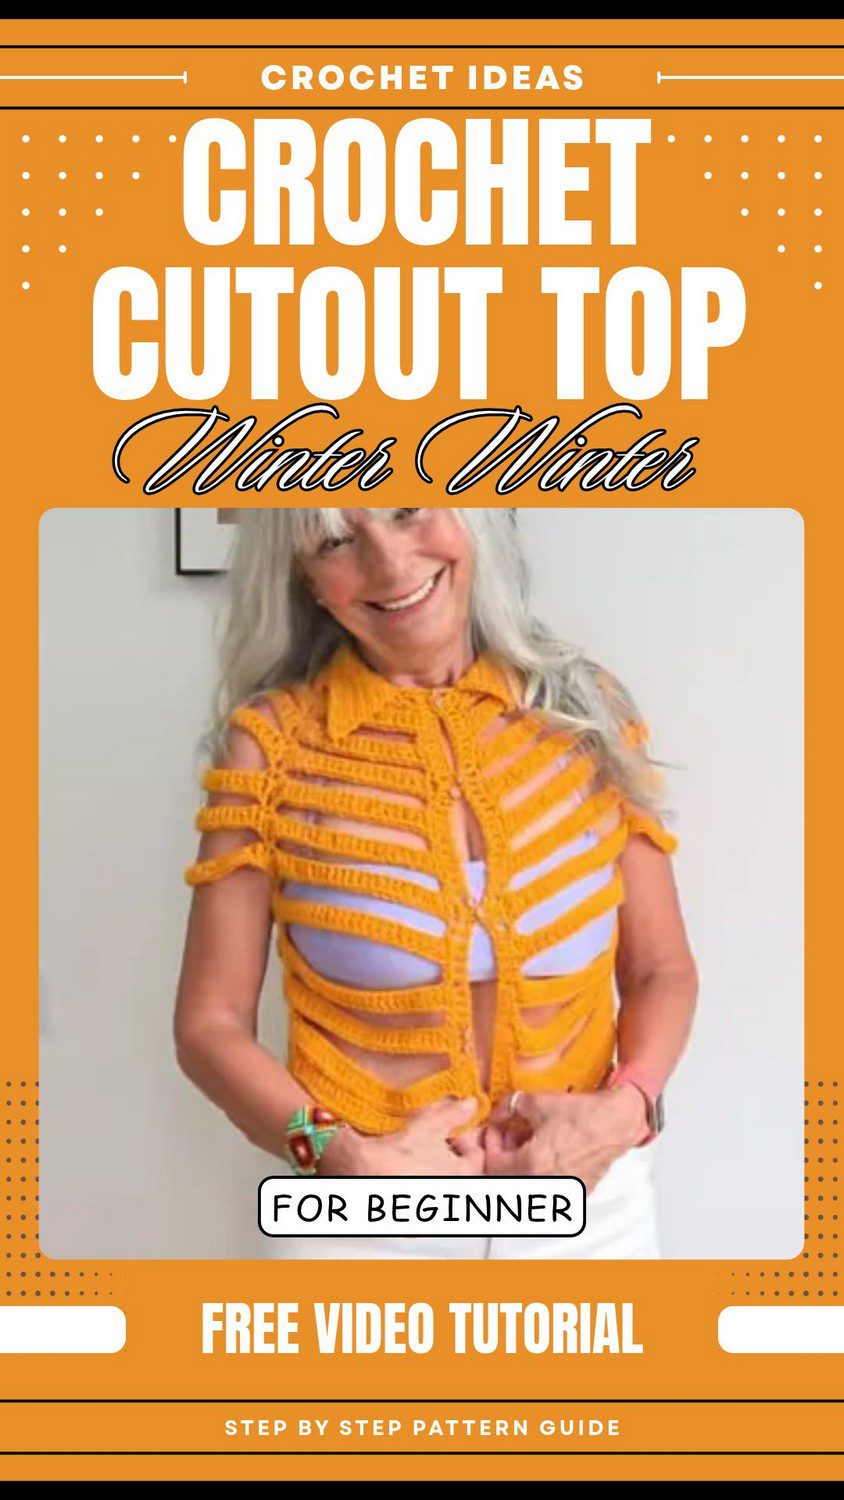
Wrapping Up Your Yellow Collared Top
That is the whole crochet cutout top pattern, from the first loose chain to the last button. It takes some counting, but each phase is clear on its own: set up the yoke, join the sleeves, work down the body, and then finish with the collar. If you take it one phase at a time, you will end up with a top that looks far more complicated than it was to make. Once you are done, share your finished version.