Stylish Crochet Velvet Crop Top Pattern for All Sizes
Looking for a crochet crop top that feels light and looks special? This motif crop blouse is breathable, comfortable and easy to style with jeans or skirts. Make it and wear it to casual outings, festive gatherings and relaxed evenings.
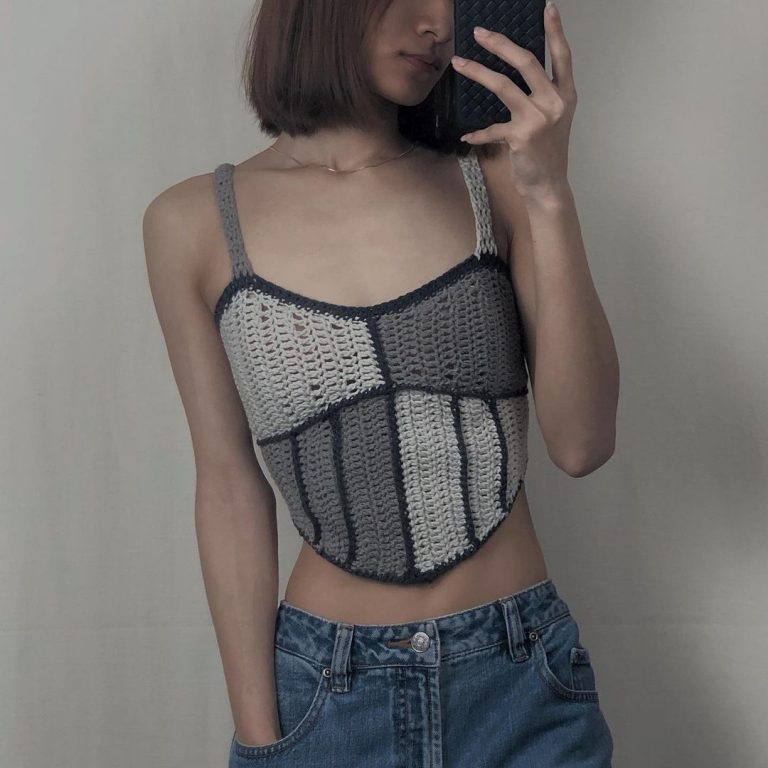
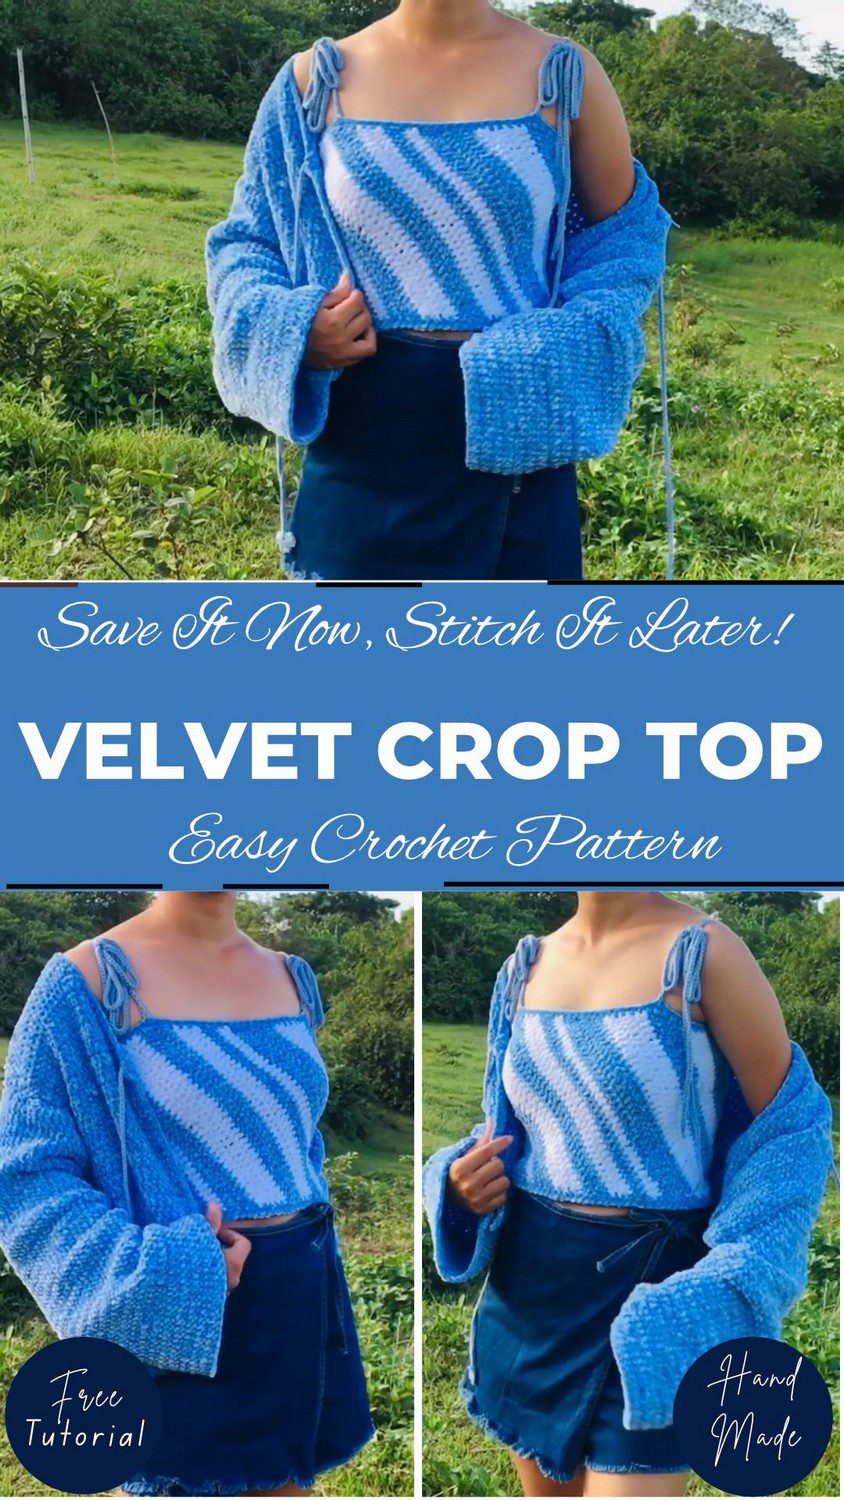
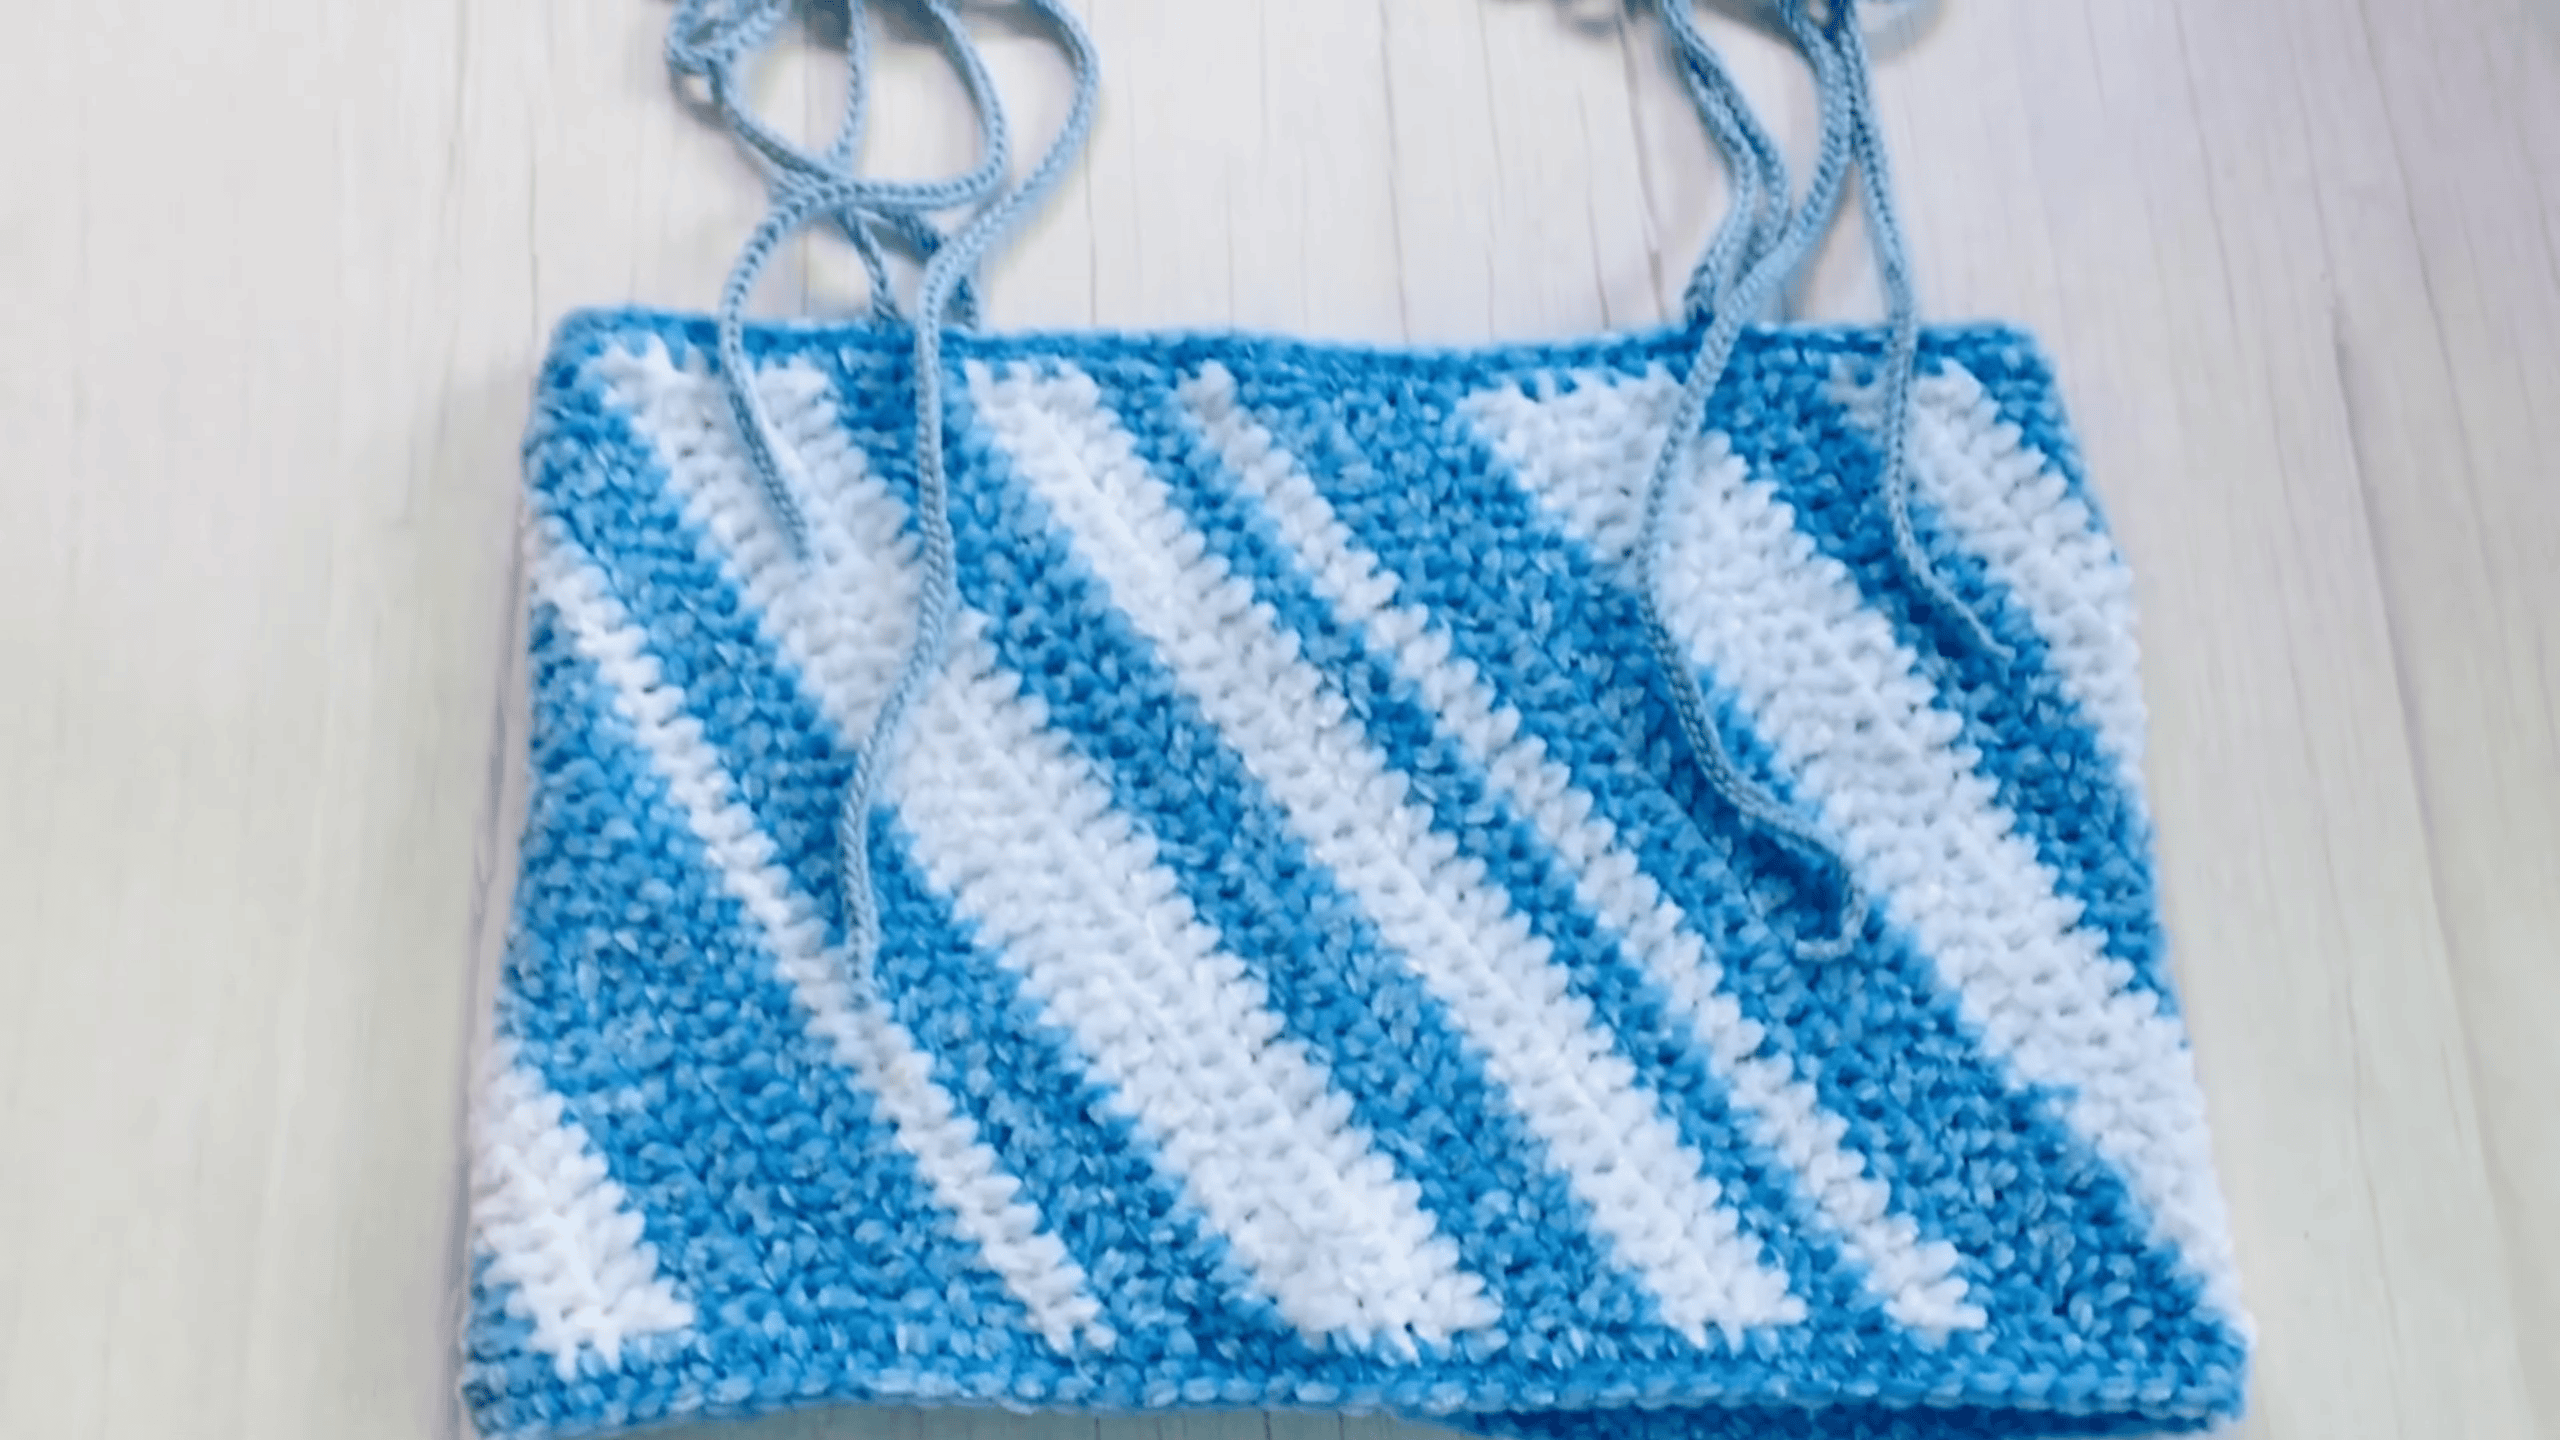
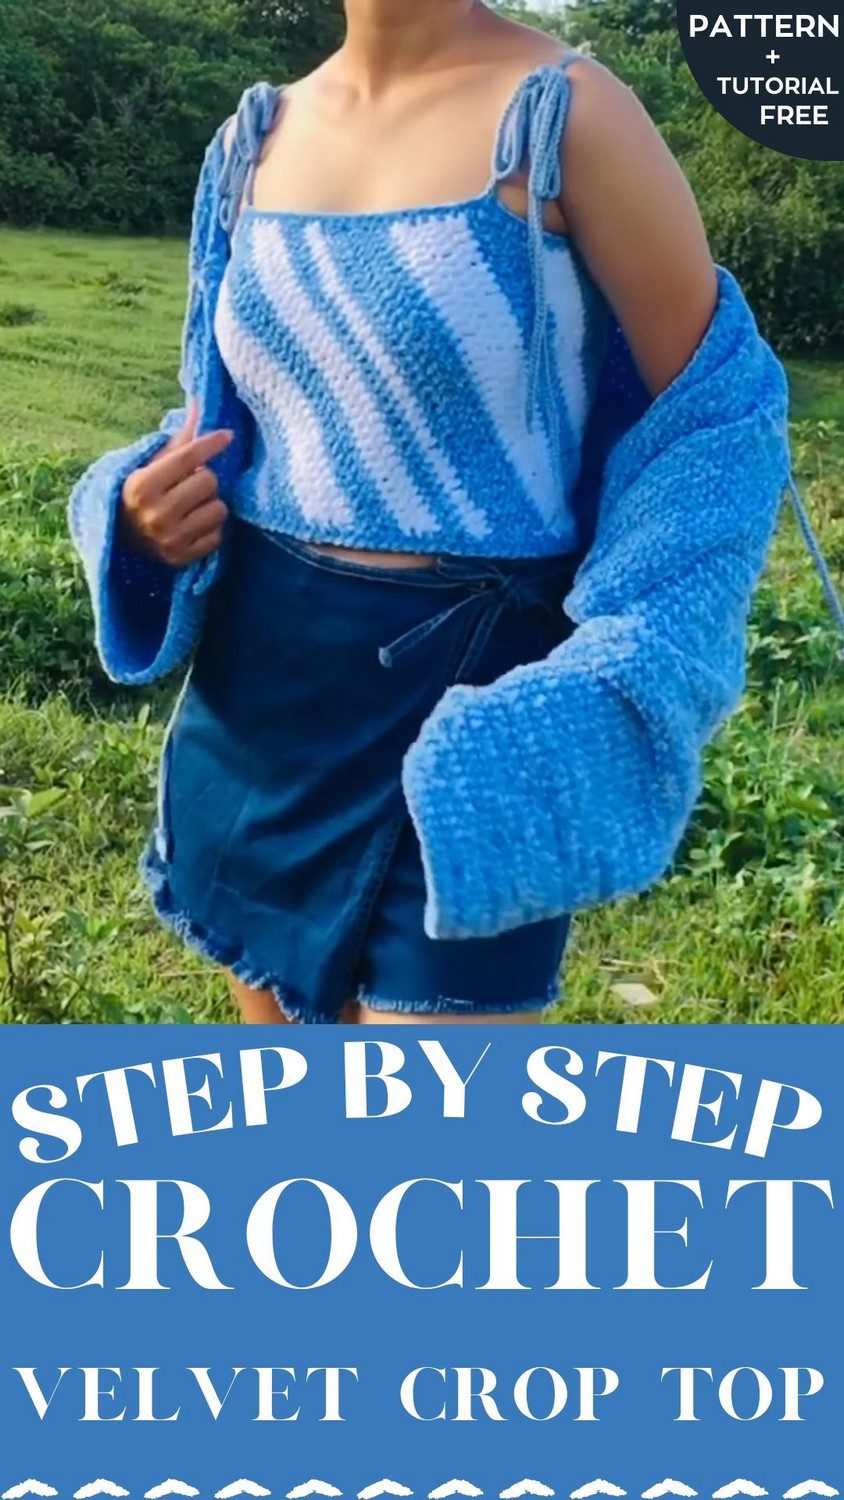
This crochet velvet crop top pattern is simple to follow. The top has blue and white stripes, and the yarn is very soft, like velvet. You make one piece and sew the sides. Then, four ties are added for the straps. Because it looks nice with a cardigan and a skirt, you can make it for yourself or as a gift.
Crochet Velvet Crop Top Pattern Overview
Skill level: Beginner-friendly.
Finished size: XS, slanted side length about 11 inches and wrap about 28 inches around the bust.
Soft, plush velvet drapes across the body in a gentle diagonal with this slanted crochet top. Most crop tops are worked bottom up, but here one trapezoid panel is stitched in rows and then wrapped around the torso. One side grows while the other shrinks, and that is what creates the lean. Afterward, the short ends close with a neat side seam, both openings get a single crochet edging, and four tie-on cord straps go on last. Everything is written in US terms. Also, the sample is worked in XS, and every measurement can be changed to fit you. Velvet yarn asks for a little patience because stitches are hard to see. Still, the pattern itself is simple.
Materials for the Crochet Velvet Crop Top Pattern
Gather everything before you start, since velvet is easier to work when you are not hunting for tools mid-row.
- Main yarn: Velvet yarn in Colour A, plus Colour B for stripes. About 2 skeins (roughly 250-300 yards) for size XS.
- Strap yarn: Light cotton yarn, 8 meters (about 8.7 yards) per strap, 32 meters total for 4 straps.
- Hook: 5.5 mm (US I-9). Anything from 5.0 mm to 6.5 mm works, depending on how snug you want the fabric.
- Tapestry needle: Needed for the side seam.
- Stitch markers: 4 markers for strap positions.
- Scissors: Any small pair works.
Abbreviations
ch = chain
dc = double crochet
sc = single crochet
sl st = slip stitch
st(s) = stitch(es)
dc2tog = double crochet 2 stitches together
rep = repeat
Special Techniques for the Crochet Velvet Crop Top Pattern
Four small techniques carry this whole top. So, read them once, and the pattern below will feel familiar.
Slanted Shaping
Each row increases at one edge and decreases at the opposite edge. As a result, the edges shift sideways row after row, and the fabric leans into a diagonal. That steady shift is the whole trick behind a sideways crochet crop top, and it is easier than it sounds.
Double Crochet 2 Together (dc2tog)
This decrease shows up in Rows 1 and 3, so it is worth learning first.
- First, yarn over, insert the hook into the stitch, and pull up a loop.
- Next, wrap the yarn and pull through 2 loops.
- Then insert the hook into the next stitch after a yarn over, and pull up a loop.
- After that, wrap the yarn again and pull through 2 loops.
- Finally, pull the yarn through all 3 loops on the hook.
Whip-Stitch Seam
The two short ends are joined with a tapestry needle and the long tail, stitching over the edges for a flat, firm seam.
Crocheted Cord Straps
Because two strands of cotton yarn are worked together, they make a sturdy round cord. You will find the full details in Step 4.
Gauge and Sizing for the Crochet Velvet Crop Top Pattern
No stitches-per-inch gauge is provided with this pattern, so fit is set by body measurement.
- Starting chain: Measure from your upper bust down to your side length. For XS, 34 chains measure about 11 inches slanted at a 55-degree angle.
- Test it: Work a short chain and a few dc rows to confirm the chain length gives the diagonal measurement you want.
- Wrap length: Work alternating rows until the panel wraps comfortably around the bust. XS takes 40 rows.
- Ease: Velvet has plush give, so aim for 0 to 1 inch of negative ease. That way, it stays snug and does not slide down.
Adjusting the fit is simple. More chains make a taller side, while fewer chains make a shorter crop. Likewise, more rows make a wider wrap, and fewer rows give a tighter one. Take a few minutes to test before you commit, because a good start saves you from ripping out rows later.
Crochet Velvet Crop Top Pattern Instructions
Work in order: panel first, then the seam, the edging, and the straps for your velvet yarn crop top.
Step 1: Main Body Panel
This is the longest step, but after Row 1 it is just two rows repeated.
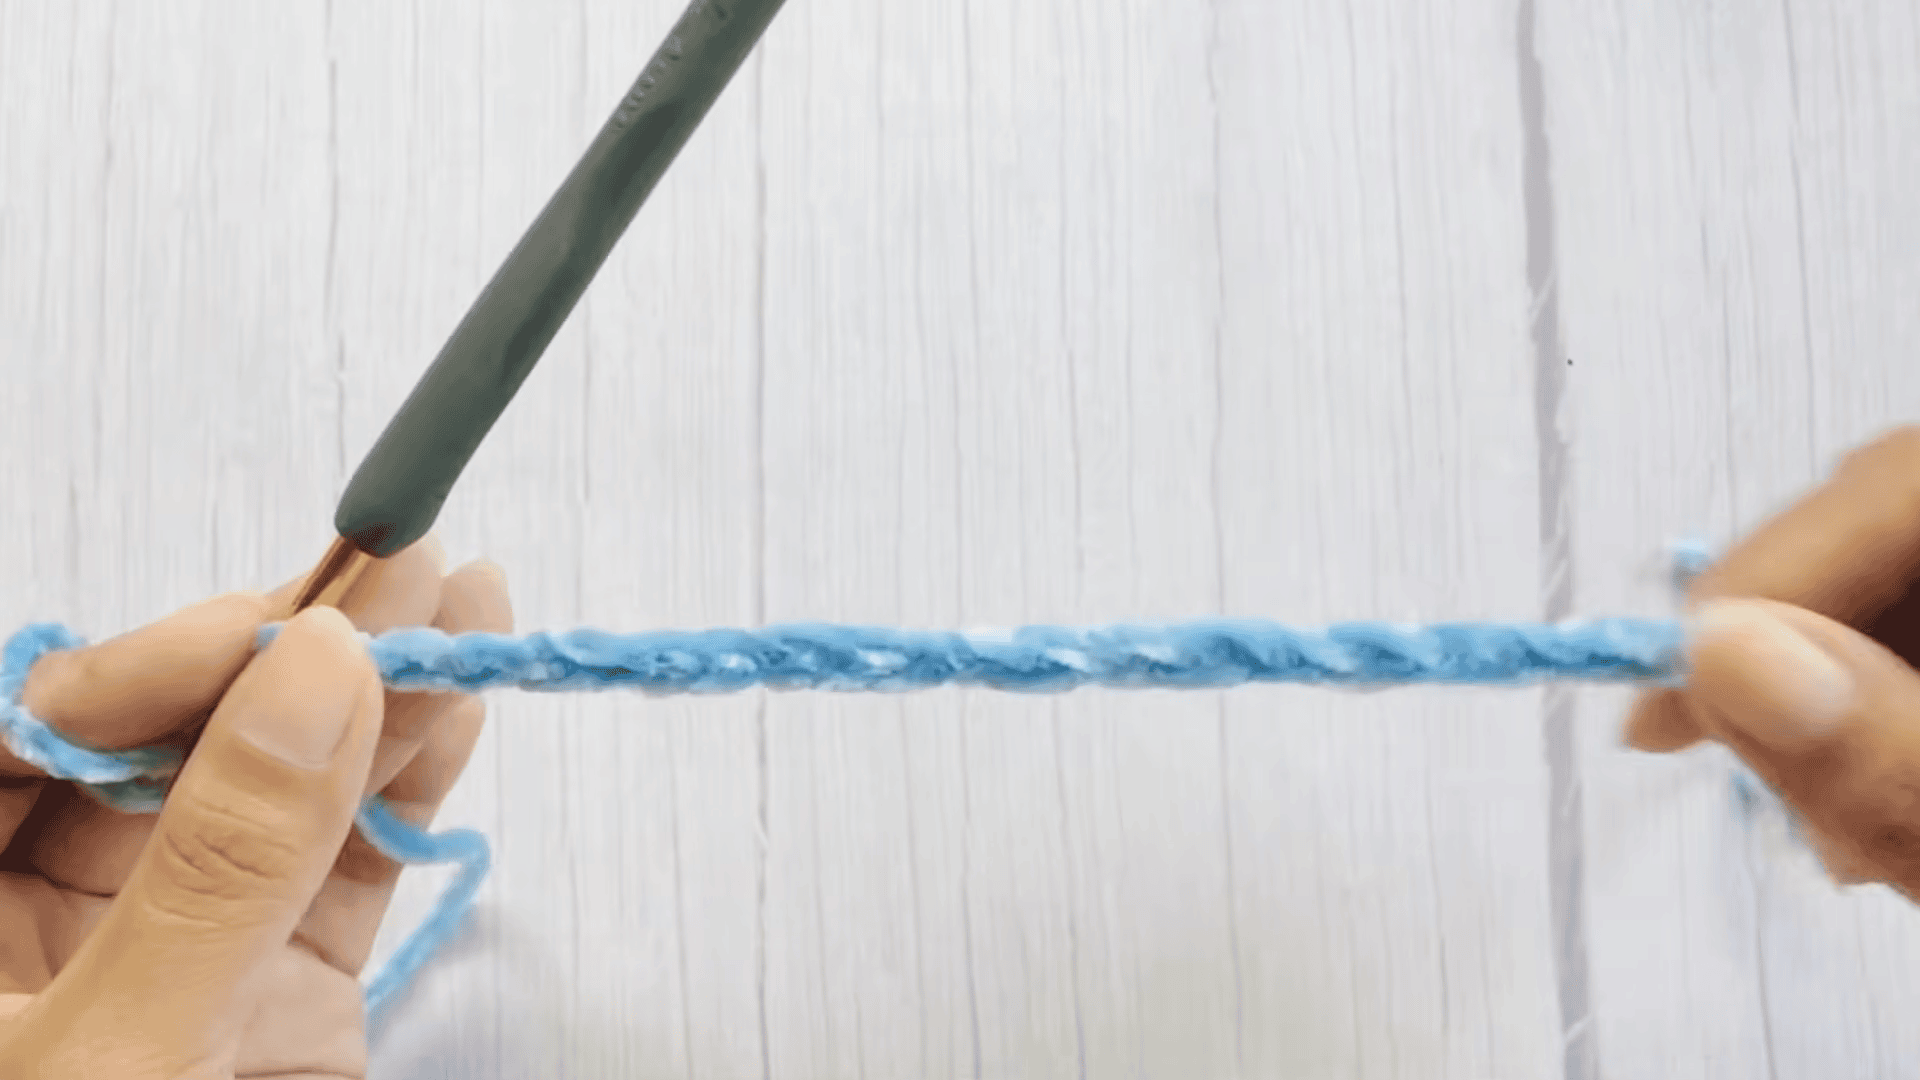
First, make a slip knot and chain 34 for size XS.
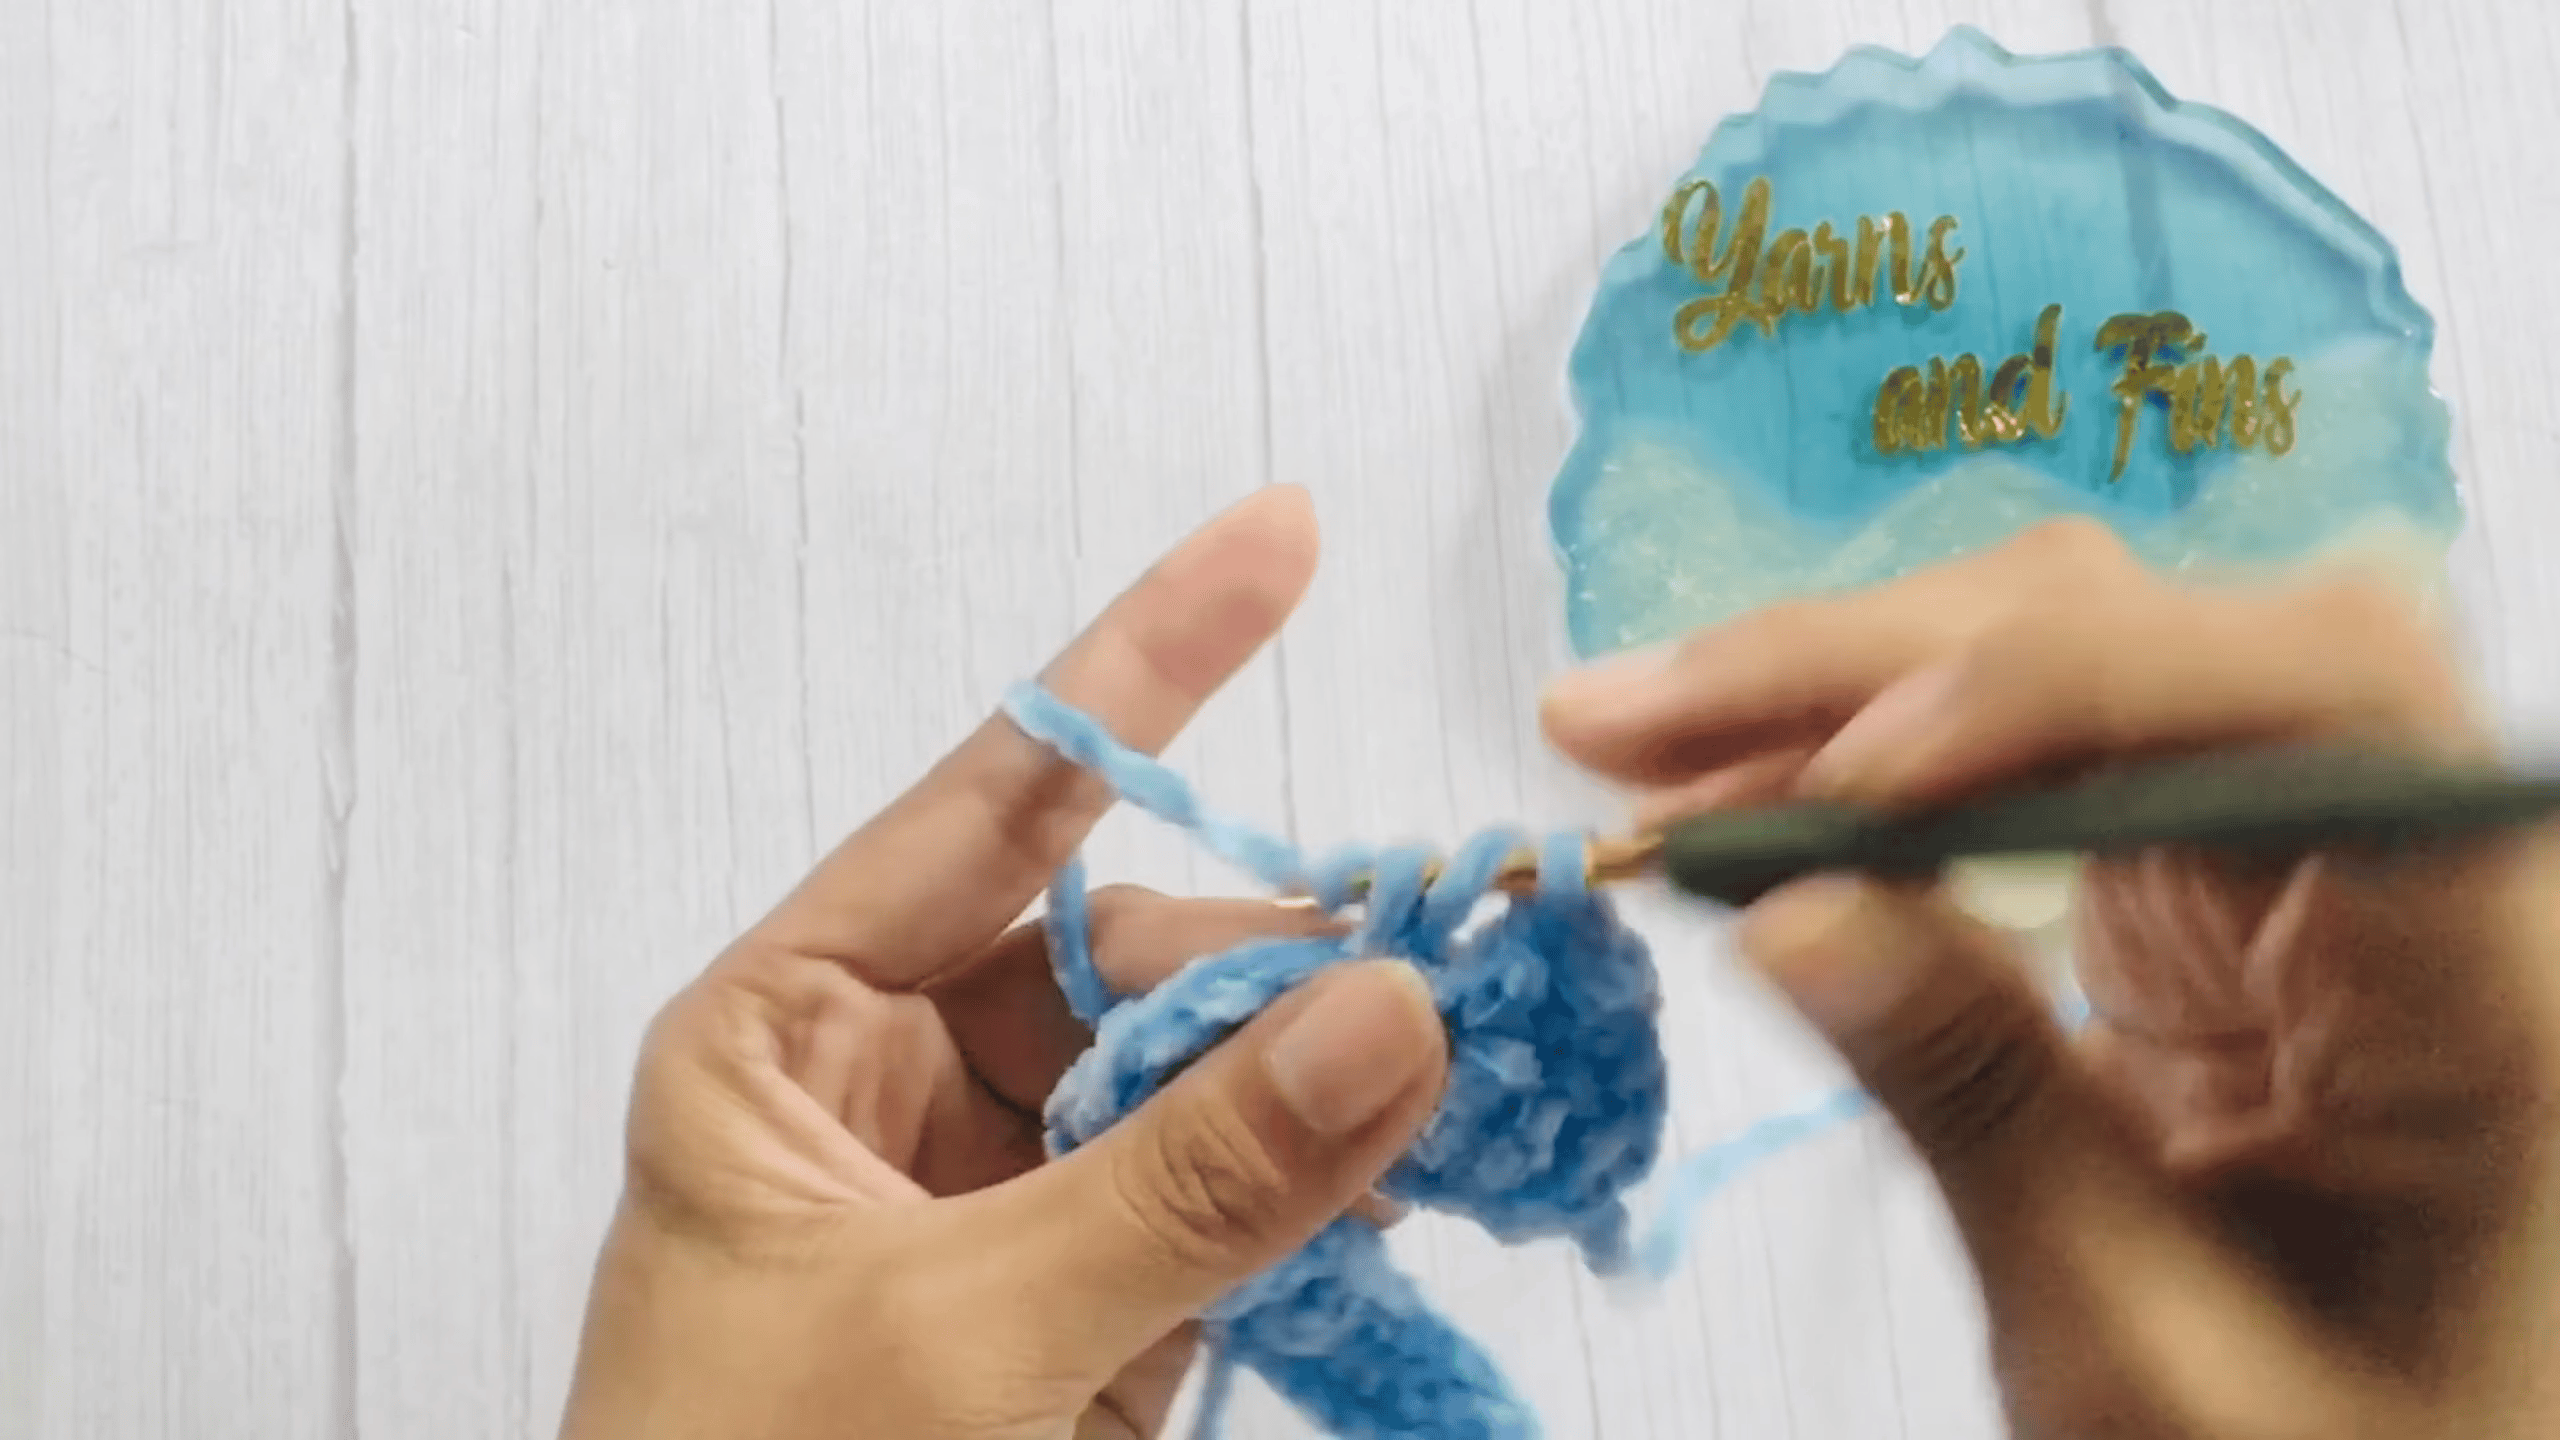
Row 1: Work 2 dc in the 3rd chain from the hook. Then work 1 dc in each chain across. On the last 2 chains, work dc2tog. Turn.
Row 2: Ch 2 (does not count as a stitch). Next, work 1 dc in each stitch across, ending with 2 dc in the very last stitch. Turn.
Row 3: Ch 2 (does not count as a stitch). After that, work 2 dc in the first stitch and 1 dc in each stitch across to the last 2 stitches. Then work dc2tog over them. Turn.
Rows 4-40: Alternate Row 2 and Row 3. Color changes can happen at the start of any row. In the original tutorial video, Color B comes in at Row 4.
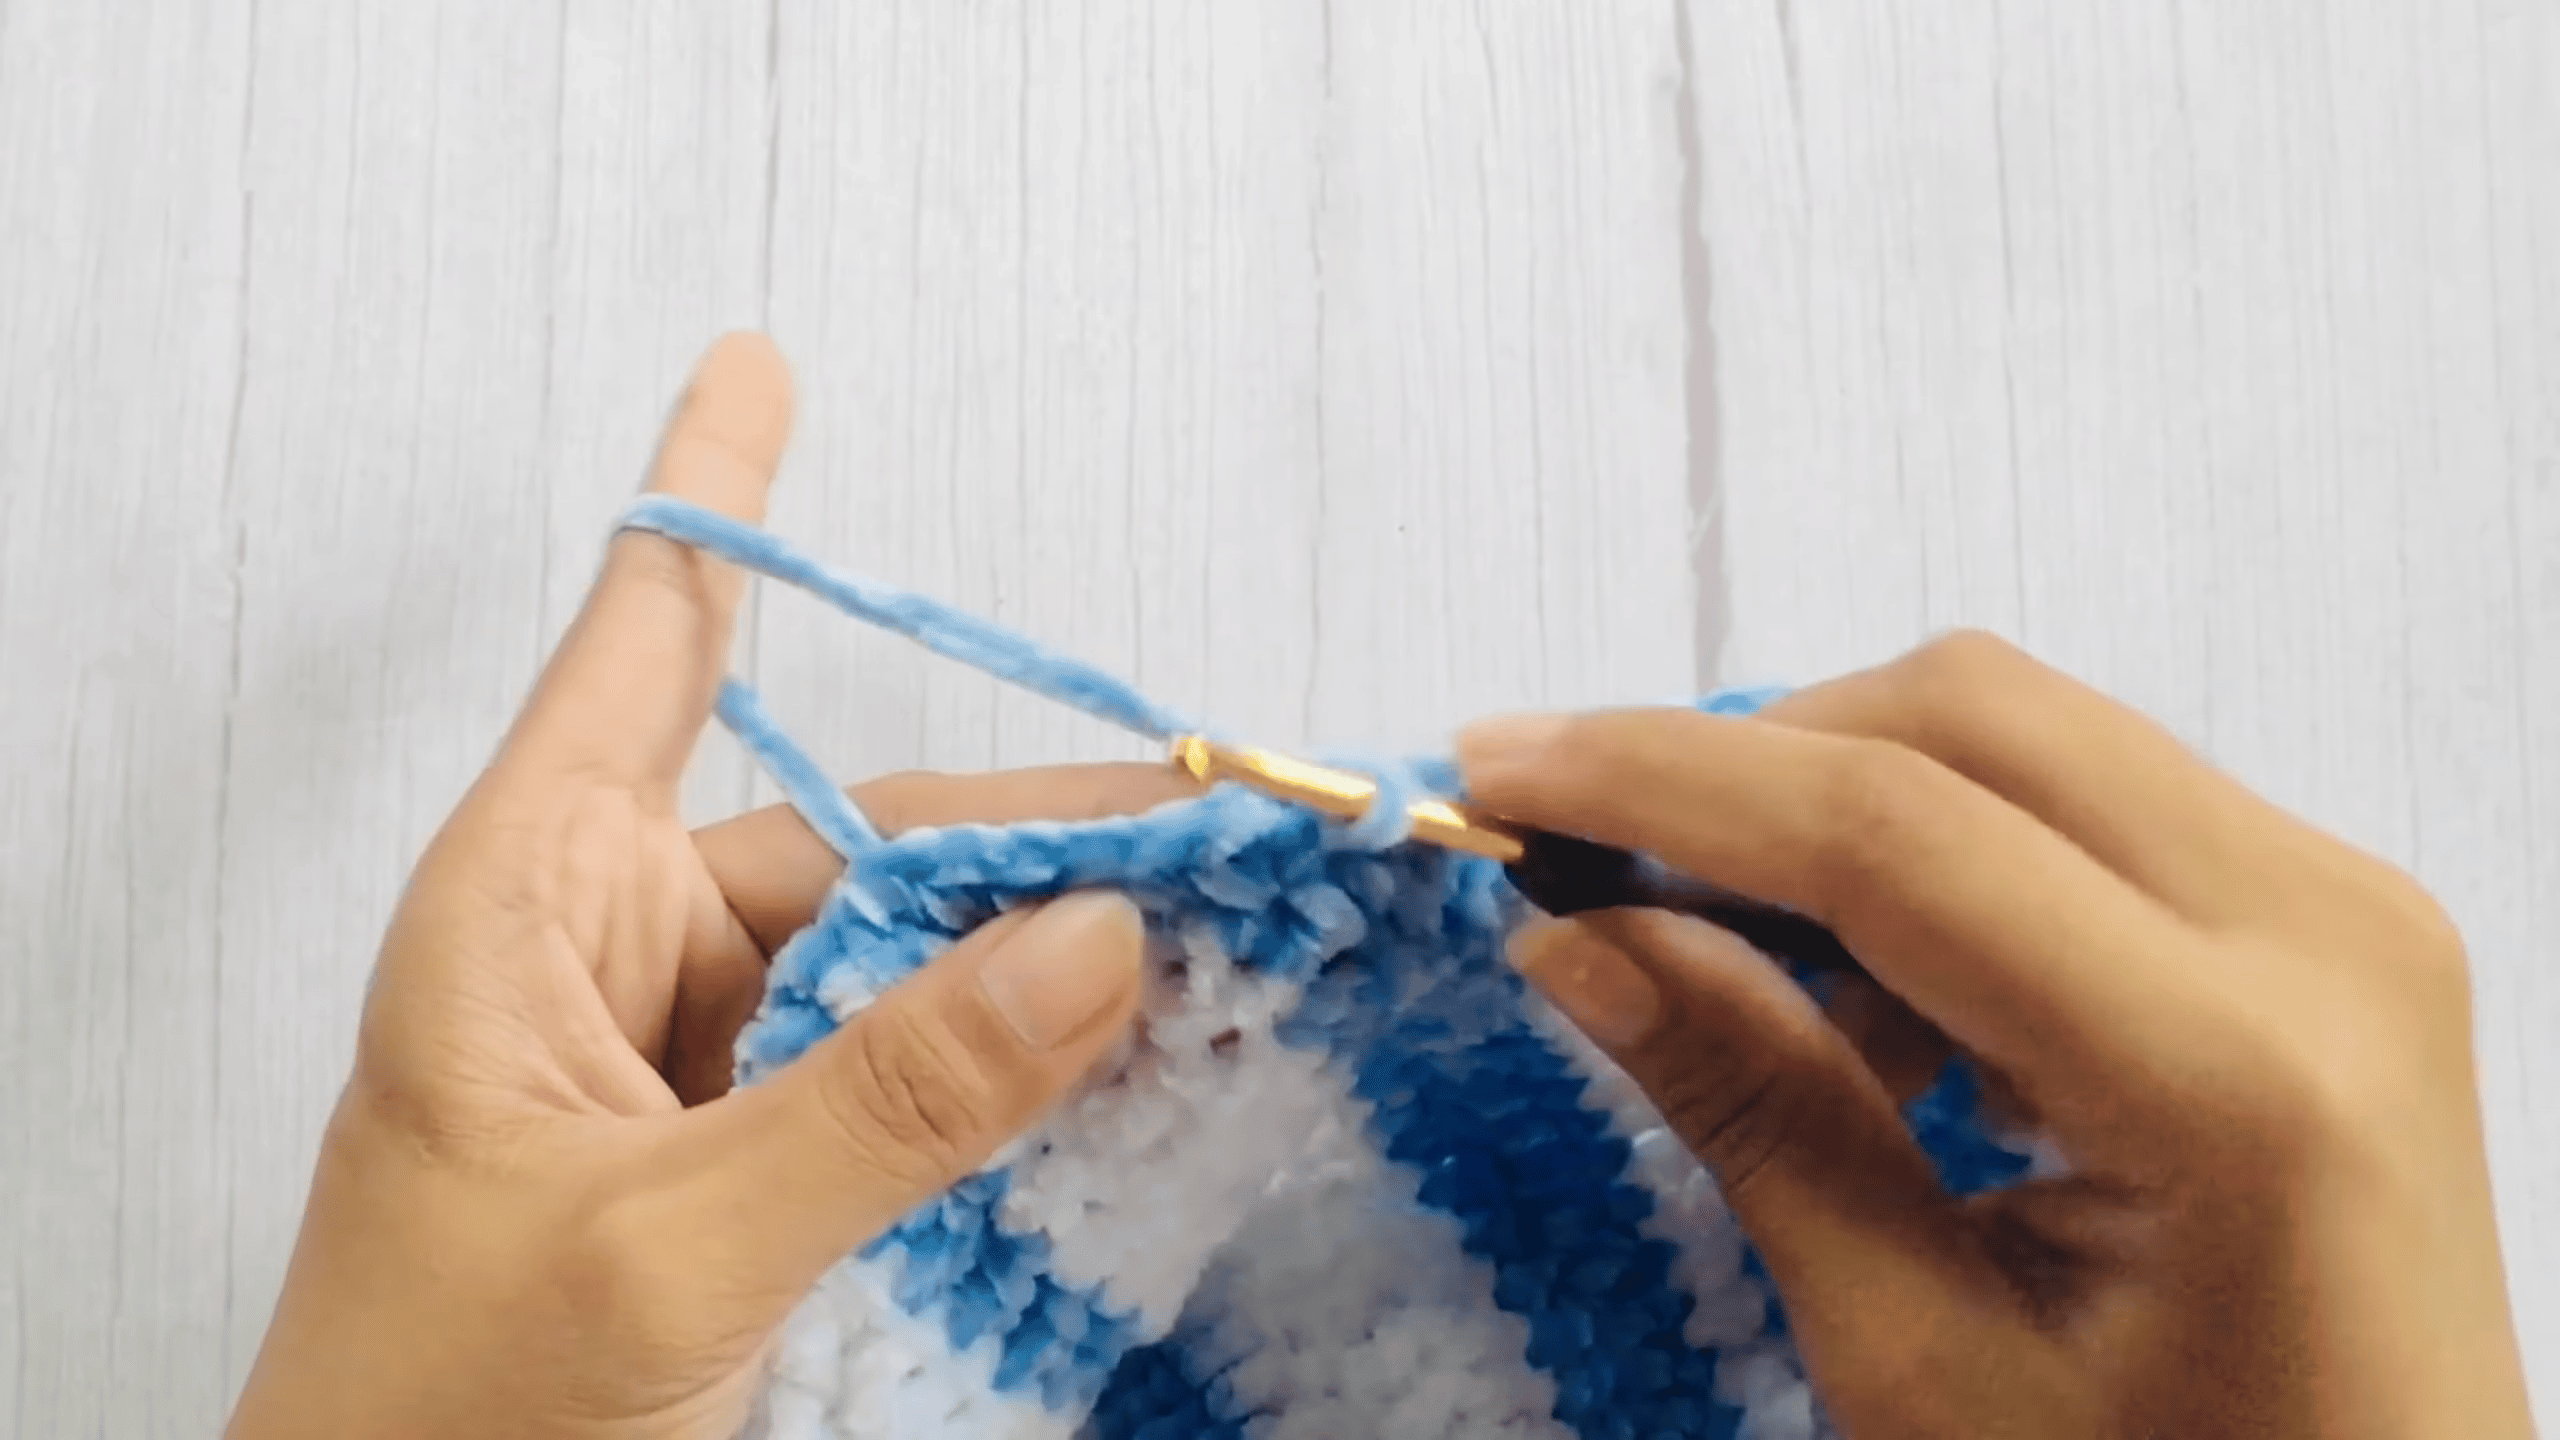
Pro tip: Velvet hides its stitches, so pull each loop up slightly before you finish the stitch. That way, you can see the hook go into the right place and avoid skipping or crowding stitches.
Fit check: Wrap the growing panel around your bust every few rows. Then stop when it meets comfortably at the side, and fasten off with a long tail for seaming.
Step 2: Side Seam
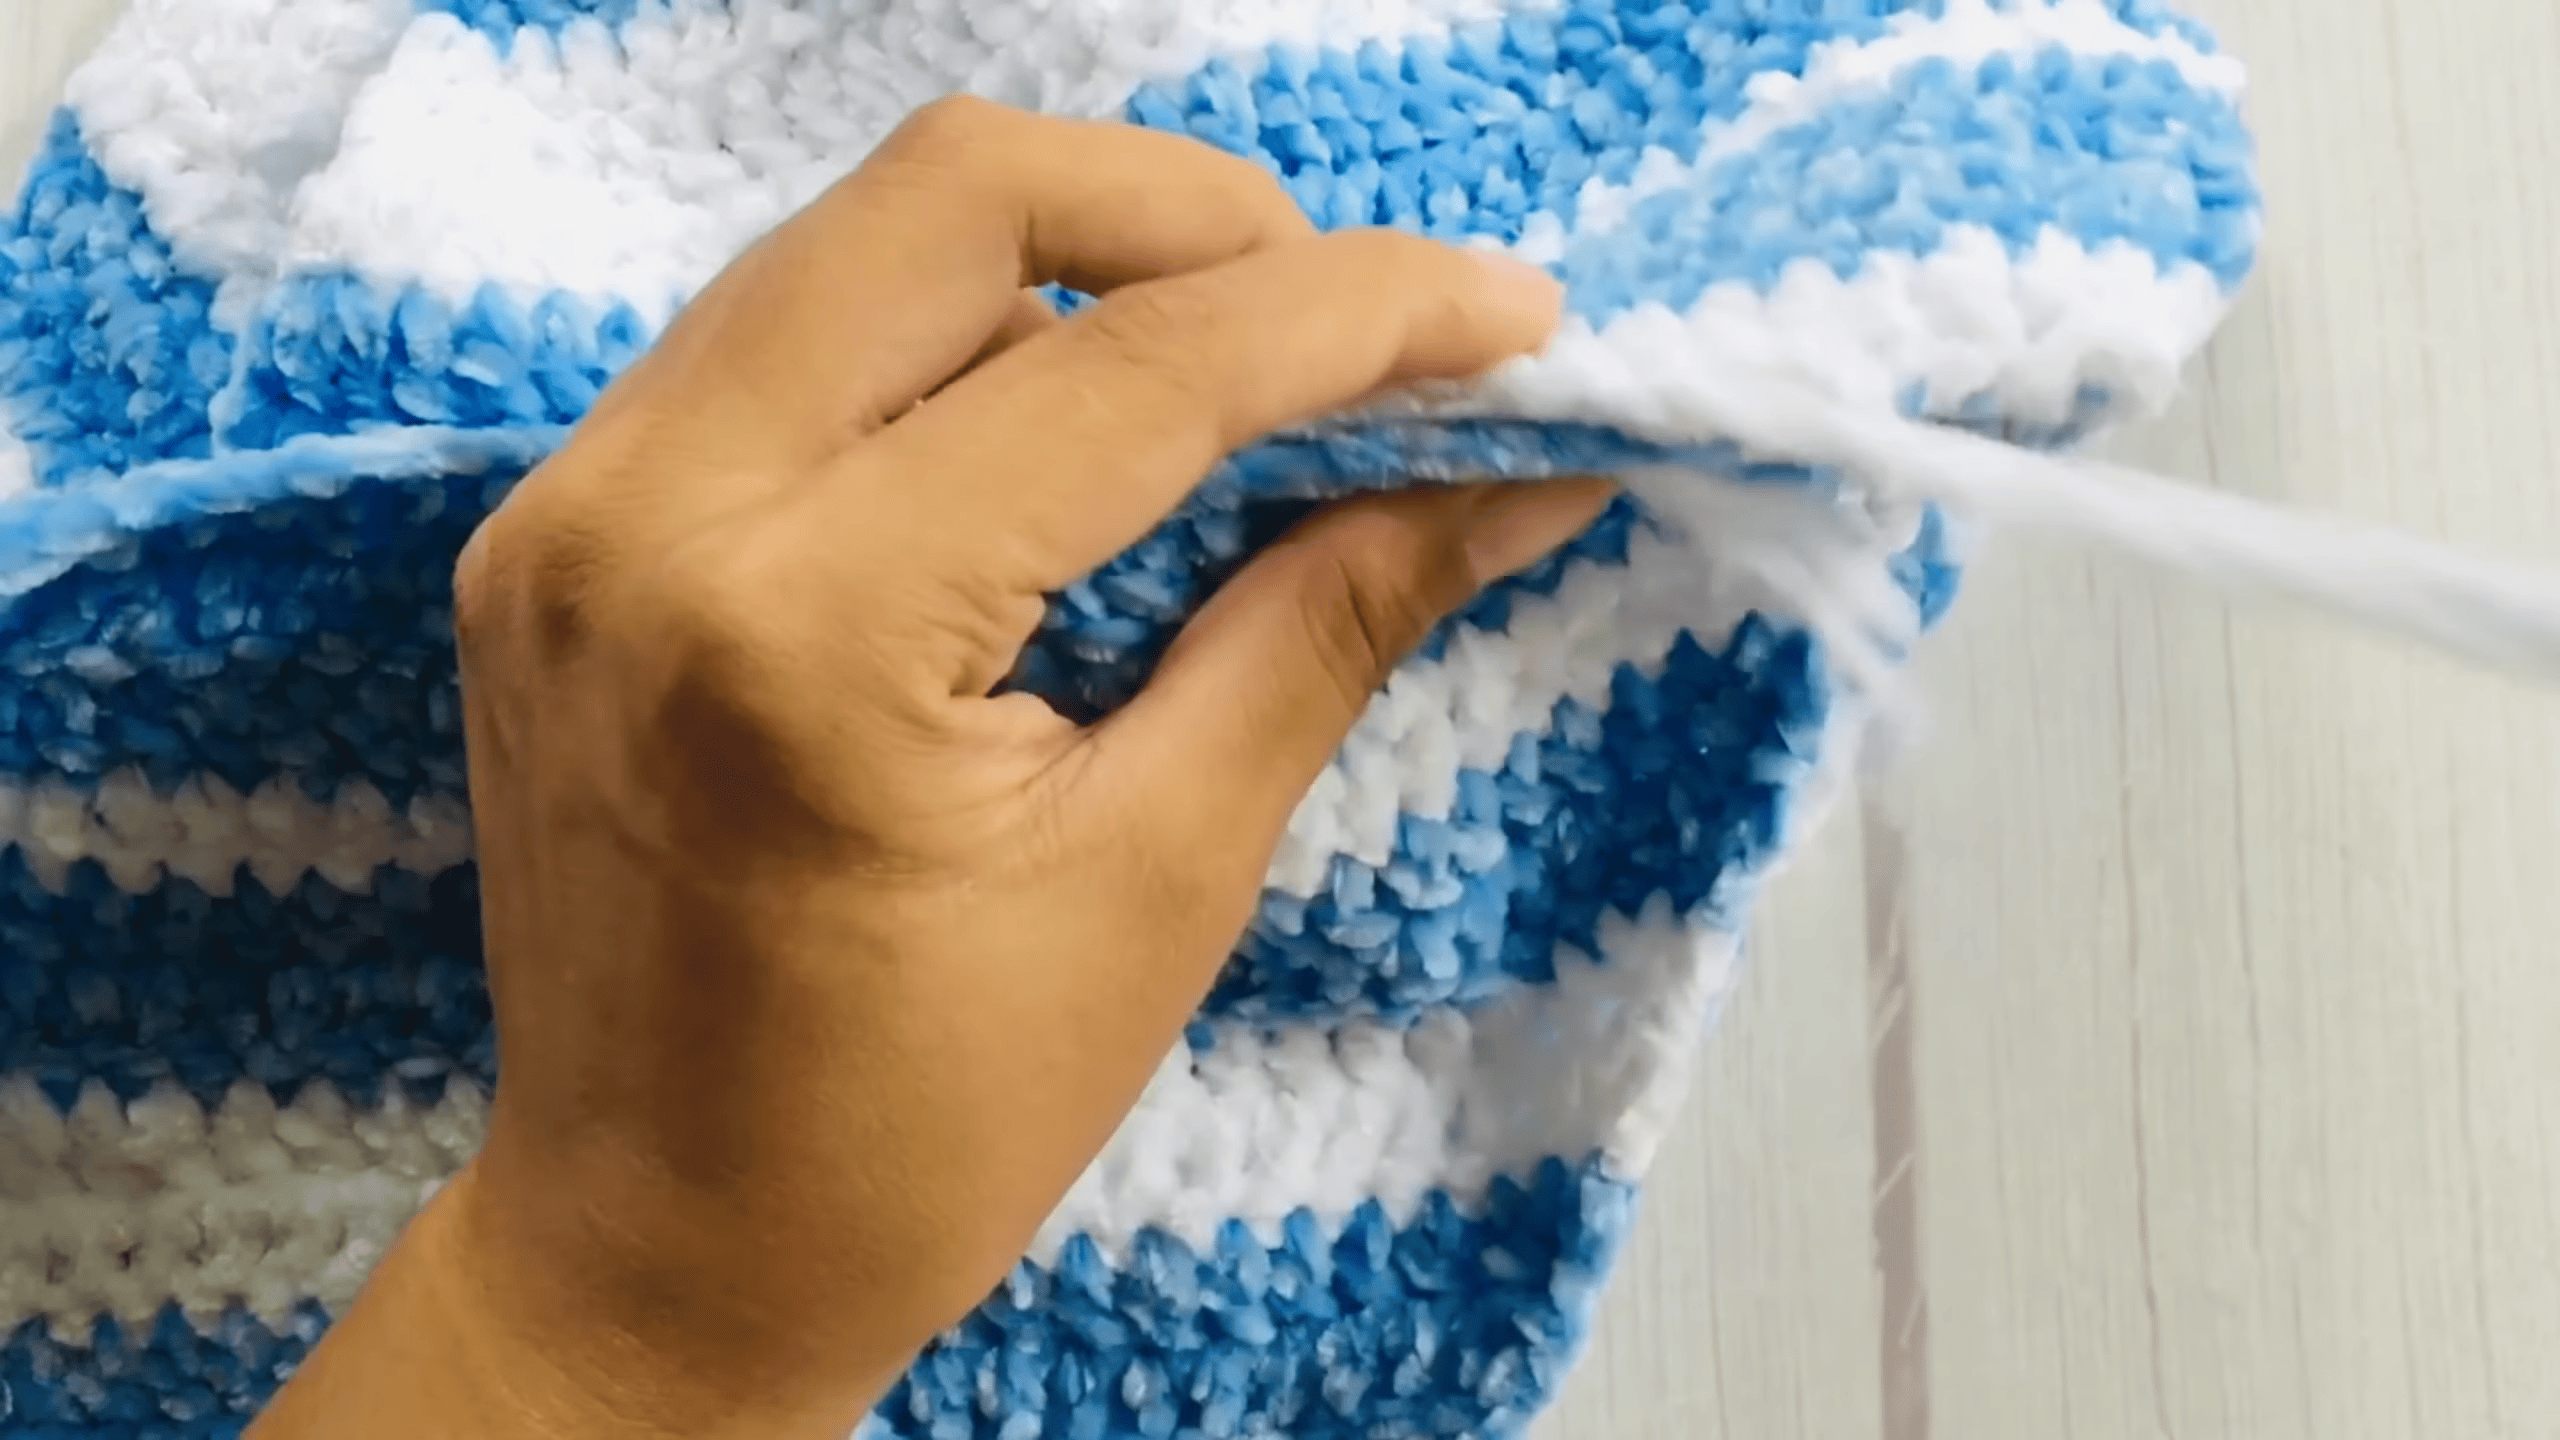
To start, bring the two short ends together to form a tube. Next, thread the long tail onto a tapestry needle and whip-stitch the ends together. Finally, secure the end firmly.
Seam check: Make sure the slant lines up on both sides before you pull the stitches tight.
Step 3: Top and Bottom Edging
Edging also gives both openings a clean, finished line.
To begin, attach yarn (Color A or B) anywhere along the raw edge.
Round 1: Work 2 sc into the end of each row all the way around. Then join with a sl st to the first sc.
Round 2: Ch 1, then work 1 sc in each stitch around. After that, join with a sl st to the first sc, ch 1 to secure, and cut the yarn.
Finally, repeat both rounds on the other opening.
Step 4: Cord Straps
Straps go on last, so the top is already seamed and edged.
- First, divide the top edge into 4 equal sections and place a stitch marker at each point.
- For each strap, fold an 8-meter length of cotton yarn in half.
- Next, insert the hook into the marked stitch, yarn over, pull up a loop, and pull it through both strands to anchor the yarn.
- Then work the cord by wrapping the lower strand around the hook, and yarn over with the other strand to pull up a loop. Twist the strands halfway through so they stay even.
- Finally, pull the final loop through, tie it off securely, and knot the end.
- Lastly, repeat at all four markers.
Symmetry check: Count the stitches between markers before you attach the straps. The straps sit evenly if each section has the same number.
Finishing and Care for the Crochet Velvet Crop Top Pattern
Take your time here, because neat finishing makes a velvet top look tidy and polished. Weave in all tails from colour changes and the side seam. Also, secure the knots at the end of each strap. However, do not wet block velvet yarn. Instead, steam gently or handle lightly, following the yarn label.
Common Mistakes in the Crochet Velvet Crop Top Pattern
Most problems with this top come down to four small slips. Each one has an easy fix.
- Skipped stitches: Velvet makes stitches hard to see, so pull loops up a little and check placement.
- Chain too short or too long: Measure from upper bust to side length before starting.
- Panel too short: Test the wrap against your bust before fastening off.
- Uneven straps: Place markers first, and then count stitches between them.
Colour Pairing Ideas for the Crochet Velvet Crop Top Pattern
Stripes are where Colour B gets to play. Because velvet has a deep, plush look, a quiet pairing often feels richer than a loud one. Try these ideas:
- Pair a deep shade with a soft neutral for an easy, calm stripe that goes with almost everything.
- Choose two colours from the same family, one darker and one lighter, for a gentle tone-on-tone look.
- Alternatively, set a bold Colour B against a muted Colour A when you want the stripes to be the star.
- Also, hold both skeins side by side in daylight before you start, since velvet can look different under indoor light.
As for outfits, high-waisted jeans make it an everyday look, while a long, flowy skirt turns it into an evening one. An open shirt layered over the top works nicely too, and two colours in stripes give a bolder finish.
FAQs About the Crochet Velvet Crop Top Pattern
Is this crochet velvet crop top pattern beginner friendly?
Yes, it works well as a beginner crochet top. The panel is simple and worked in rows, so the only thing that takes patience is seeing the stitches in velvet.
Can I change the size?
Yes. The pattern is worked in XS, but every measurement can be changed. For example, more chains make a taller side, and more rows make a wider wrap.
What hook size should I use?
A 5.5 mm (US I-9) hook is used here. However, anything from 5.0 mm to 6.5 mm works, depending on how snug you want the fabric.
Why is velvet yarn hard to see?
Velvet hides its stitches. So, pull each loop up slightly before you finish the stitch, which lets you see where the hook goes and avoid skipping stitches.
How do I care for the finished top?
Wet blocking is not suitable for velvet yarn. Instead, steam it gently or handle it lightly, following the yarn label.
Go Grab Your Velvet and Start
So that’s the whole thing. Honestly, the crochet velvet crop top pattern is easier than it looks, even though velvet makes you slow down and pull those loops up. Check your fit every few rows, count your stitches before the straps, and you’ll end up with a top that hangs on a slant and feels great to wear. And do that little test piece first, it really does save a headache. Go grab your yarn and give it a try.