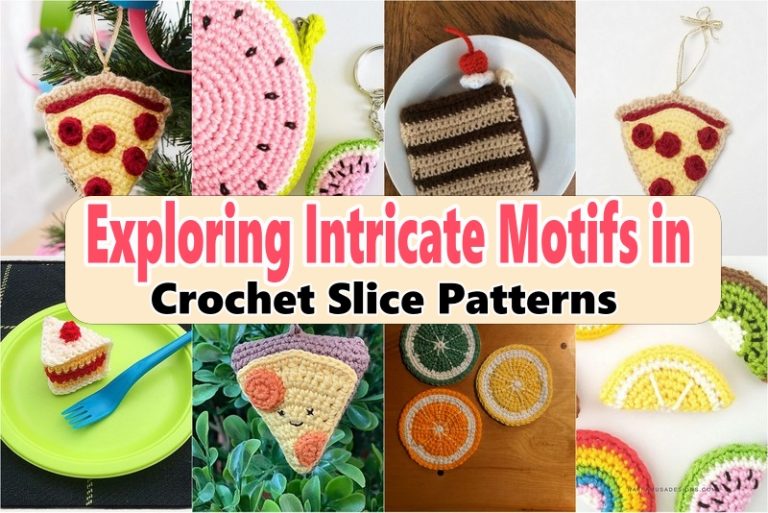
Mini Crochet Christmas Tree Pattern for a Festive Look
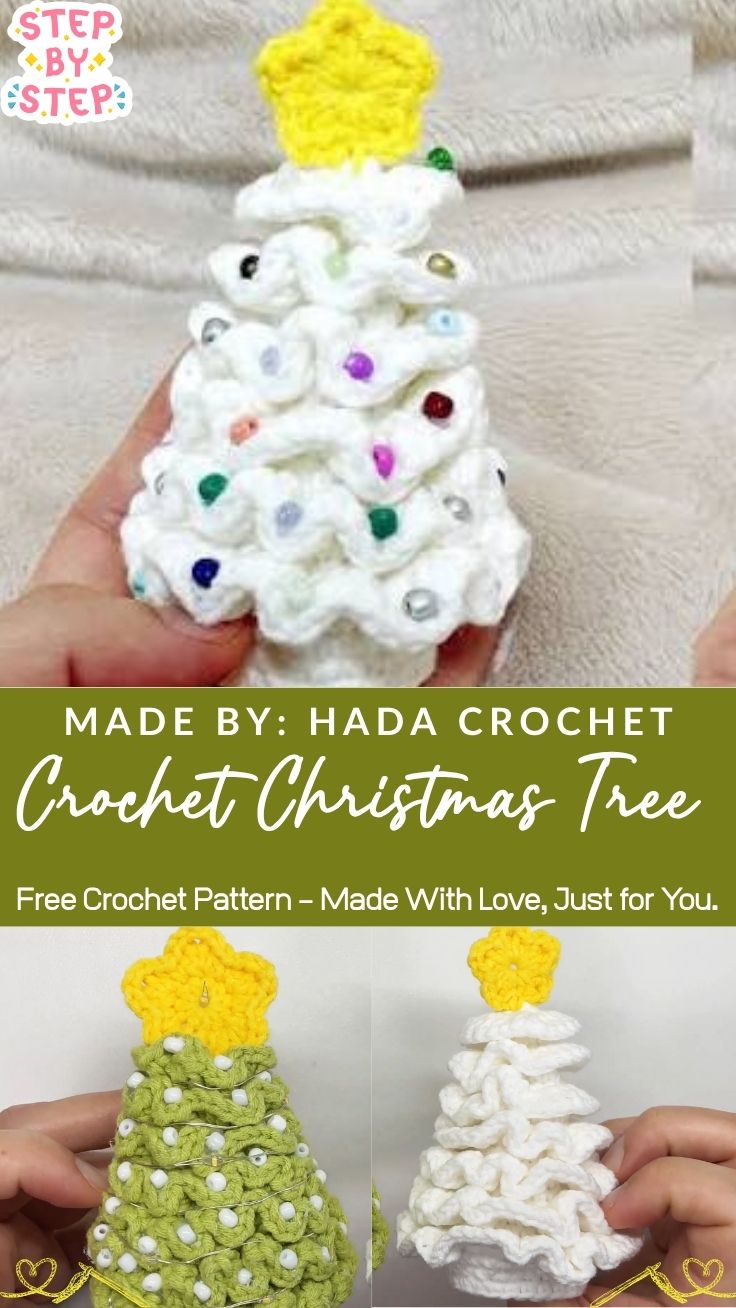
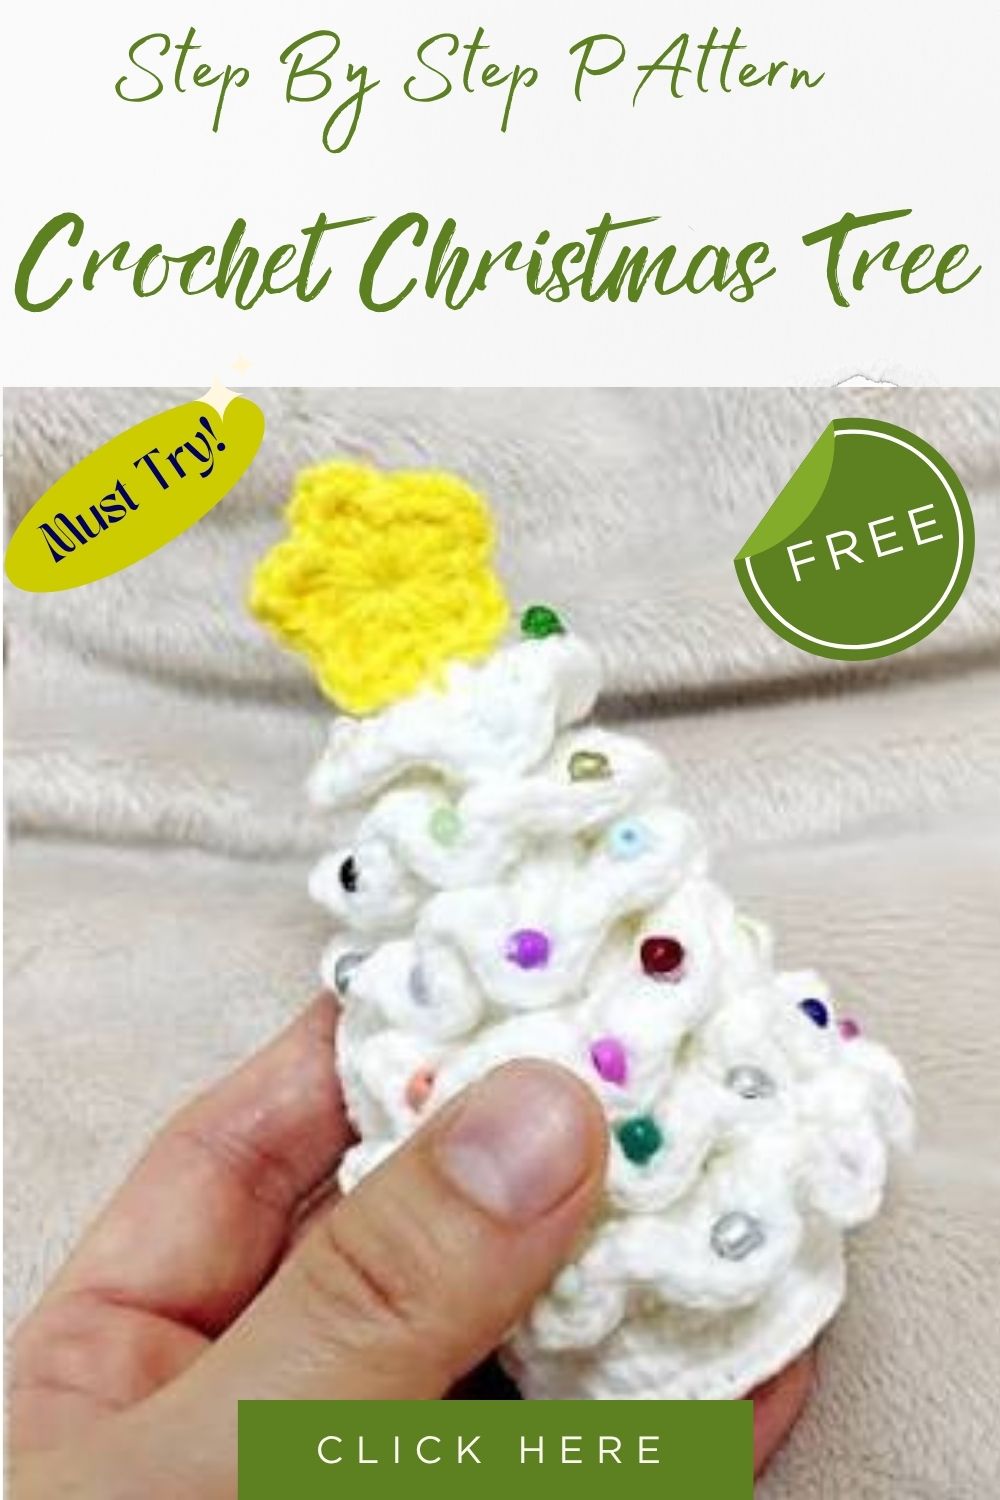
Tiny stitched cones rise into neat little points, each one capped with a golden star that’s the magic of the Mini Crochet Christmas Tree Pattern, a small holiday piece that brings festive warmth to any shelf or table. Every round builds the shape naturally, giving beginners a quick, satisfying project full of seasonal cheer.
What makes this mini tree stand apart is its balance of simplicity and detail: the cone shape comes together through basic increases and decreases, yet the star topper adds a polished, finished look that feels far more advanced than the actual stitch count. Unlike flat ornaments, this design has real dimension, standing upright on its own without extra support. The pattern also welcomes easy color swaps, so crafters can match their holiday decor or experiment with a whole miniature forest in varying shades and heights.
A Quick Look at This Project
The mini crochet Christmas tree pattern works up from the base to the tip in simple continuous rounds, shaping a cone through gradual increases and decreases. Crafters of nearly any skill level can complete one tree in a single sitting, making it a satisfying weekend project.
Once the body is finished, a small star or flower topper adds the final festive touch. The result is a charming decoration for shelves, tables, or gift baskets.
Skill Level & Time Box
- Skill Level: Beginner to Intermediate
- Prep Time: 5 minutes
- Stitching Time: 40–55 minutes
- Finishing Time: 10 minutes
- Total Time: Around 1 hour
Anyone who knows the basics of single crochet and rounds can complete this project without trouble.
Materials You Will Need
- Worsted weight cotton or acrylic yarn in beige or brown (tree body)
- A small amount of contrasting yarn in yellow, gold, or red (topper)
- A crochet hook sized to match your yarn weight (typically 3.5mm–4mm)
- Stitch marker or scrap yarn (to track the start of each round)
- Yarn needle for weaving in ends
- Polyester fiberfill or stuffing
- Small scissors
Key Techniques Used in This Pattern
The mini crochet Christmas tree pattern relies on a handful of simple techniques repeated in a rhythm:
- Magic ring start — creates a tight, gap-free center for the base
- Single crochet increases — widen the base gradually to shape the cone’s bottom
- Straight rounds — build the main body without adding or removing stitches
- Gradual decreases — narrow the top toward a neat point
- Stuffing as you go — keeps the shape firm and upright
- Small appliqué topper — a star or flower stitched to the tip finishes the design
Step-by-Step Guide
Step 1: Start With a Magic Ring
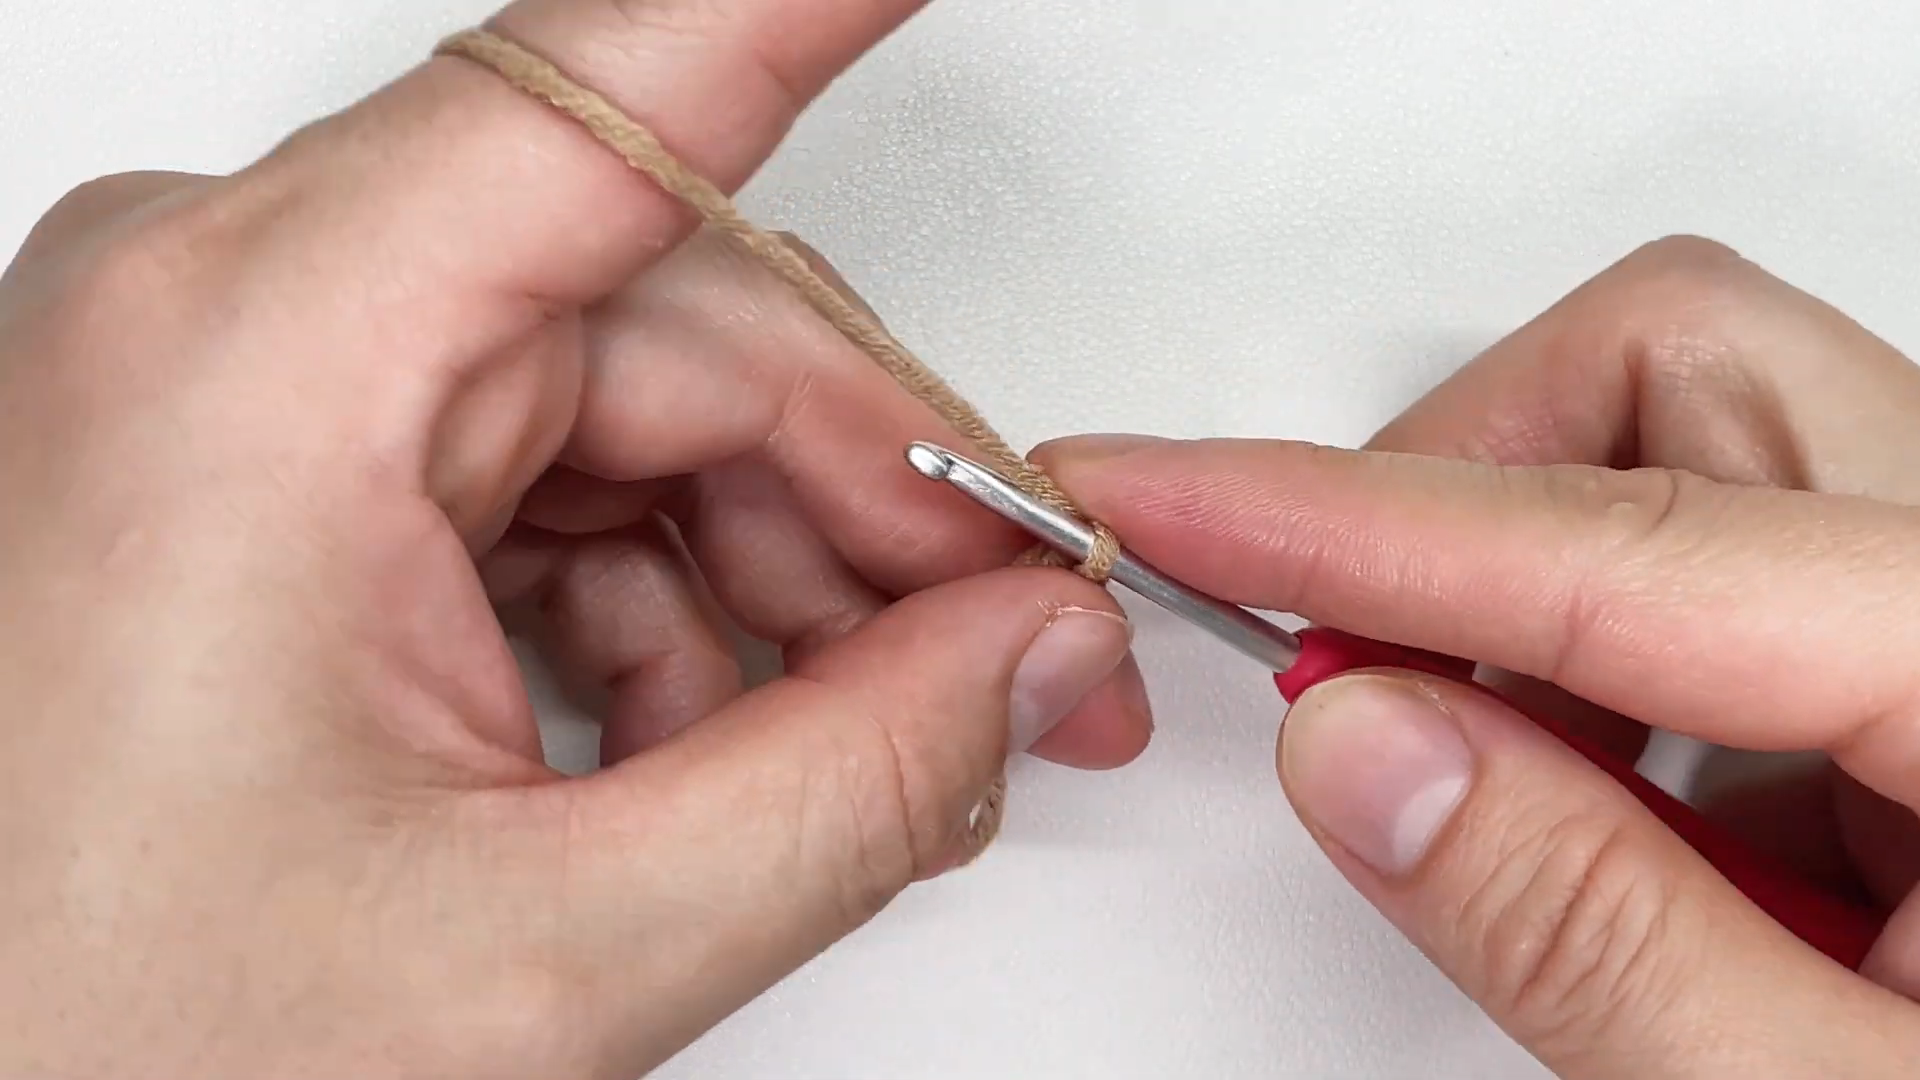
Begin with a magic ring using your beige or brown yarn. Insert the hook through the loop, catch the working yarn, and pull it through to form the first stitch. This adjustable loop keeps the base of the tree snug with no visible hole at the center.
Work several single crochet stitches directly into the ring before pulling the tail tight to close the circle completely.
Step 2: Build the Base Round
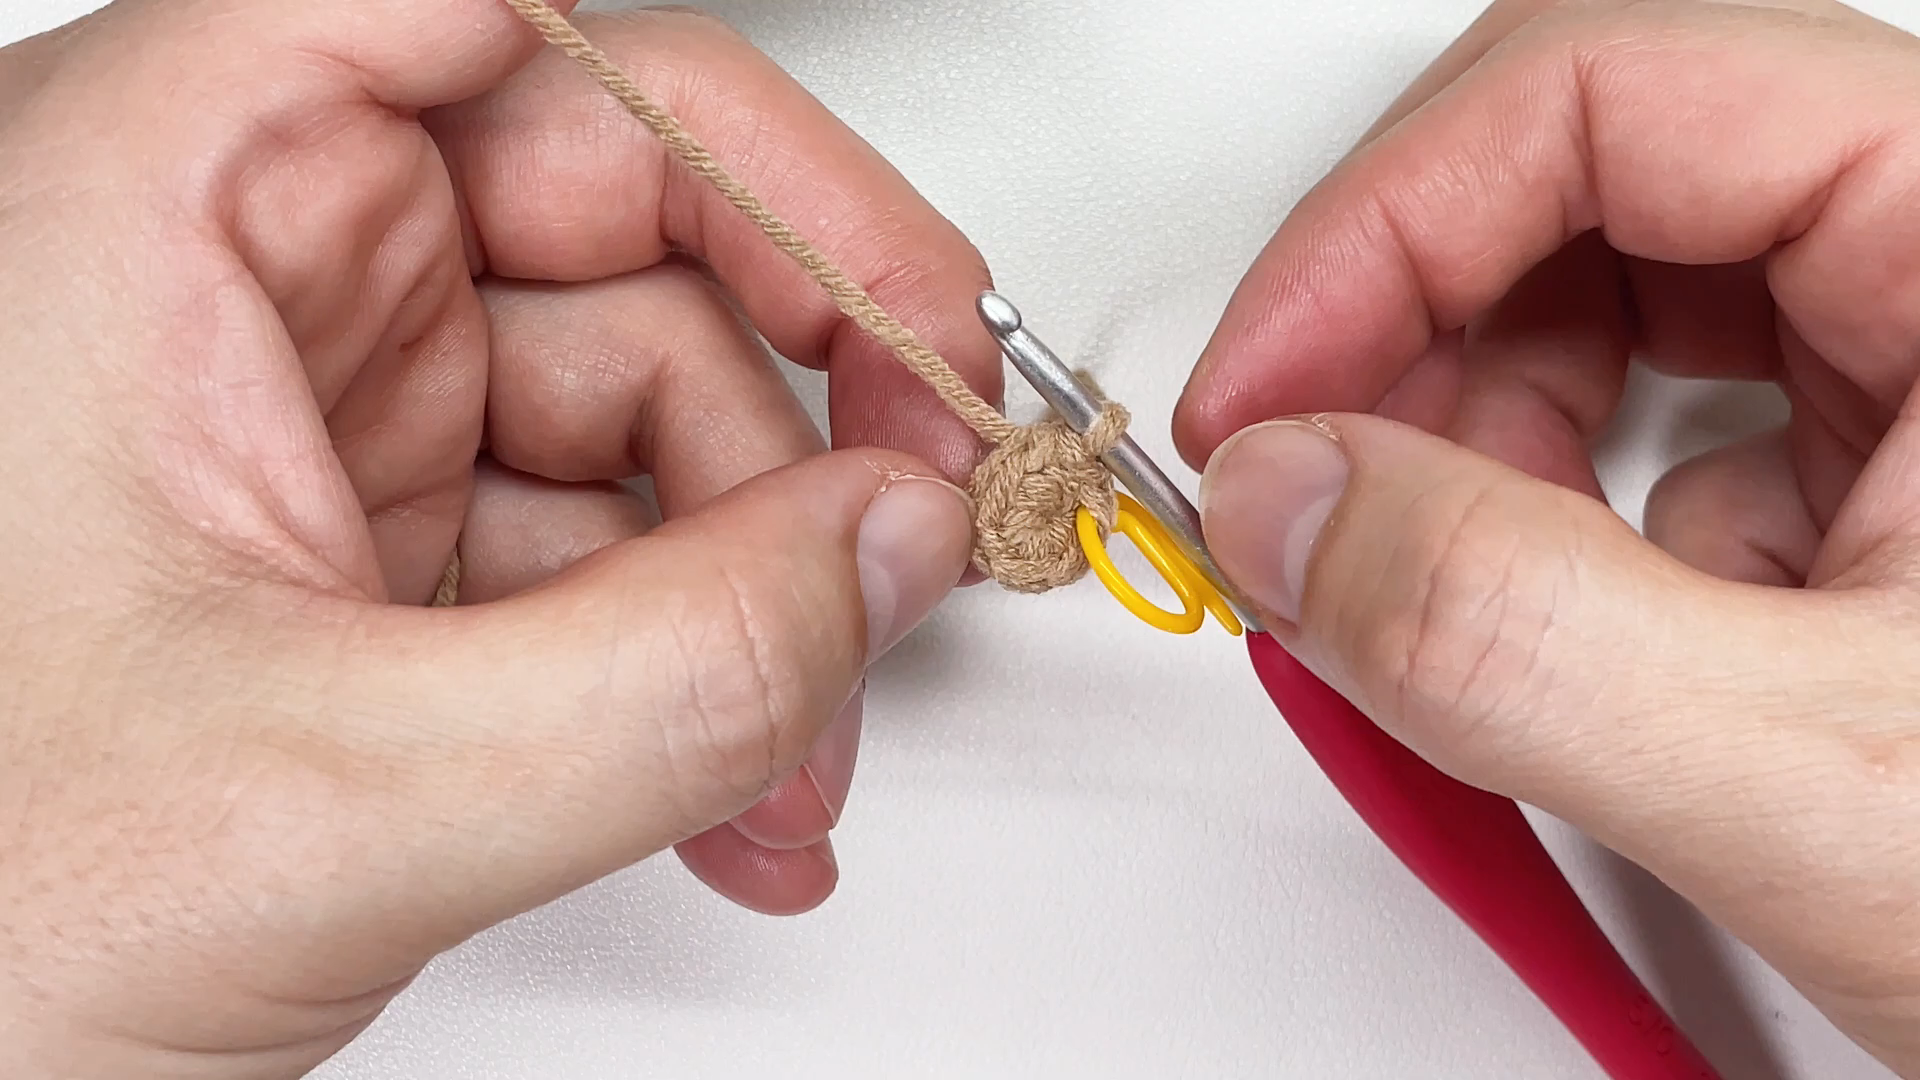
Continue working single crochet stitches into the closed ring, increasing evenly around so the circle lies flat. Place a stitch marker in the first stitch of the round to keep track of where each new round begins. This small habit prevents confusion as the rounds stack up.
Keep increasing every round until the base reaches your desired diameter for the bottom of the tree.
Step 3: Shape the Lower Body
Once the base is wide enough, stop increasing and work straight rounds of single crochet without adding stitches. This section forms the lower, wider portion of the cone. Hold the piece gently between your fingers, keeping tension even so the stitches stay uniform and tight.
Pro Tip: Stuff the tree lightly as you go rather than waiting until the very end. It is much easier to shape a cone evenly when the fiberfill goes in gradually, round by round.
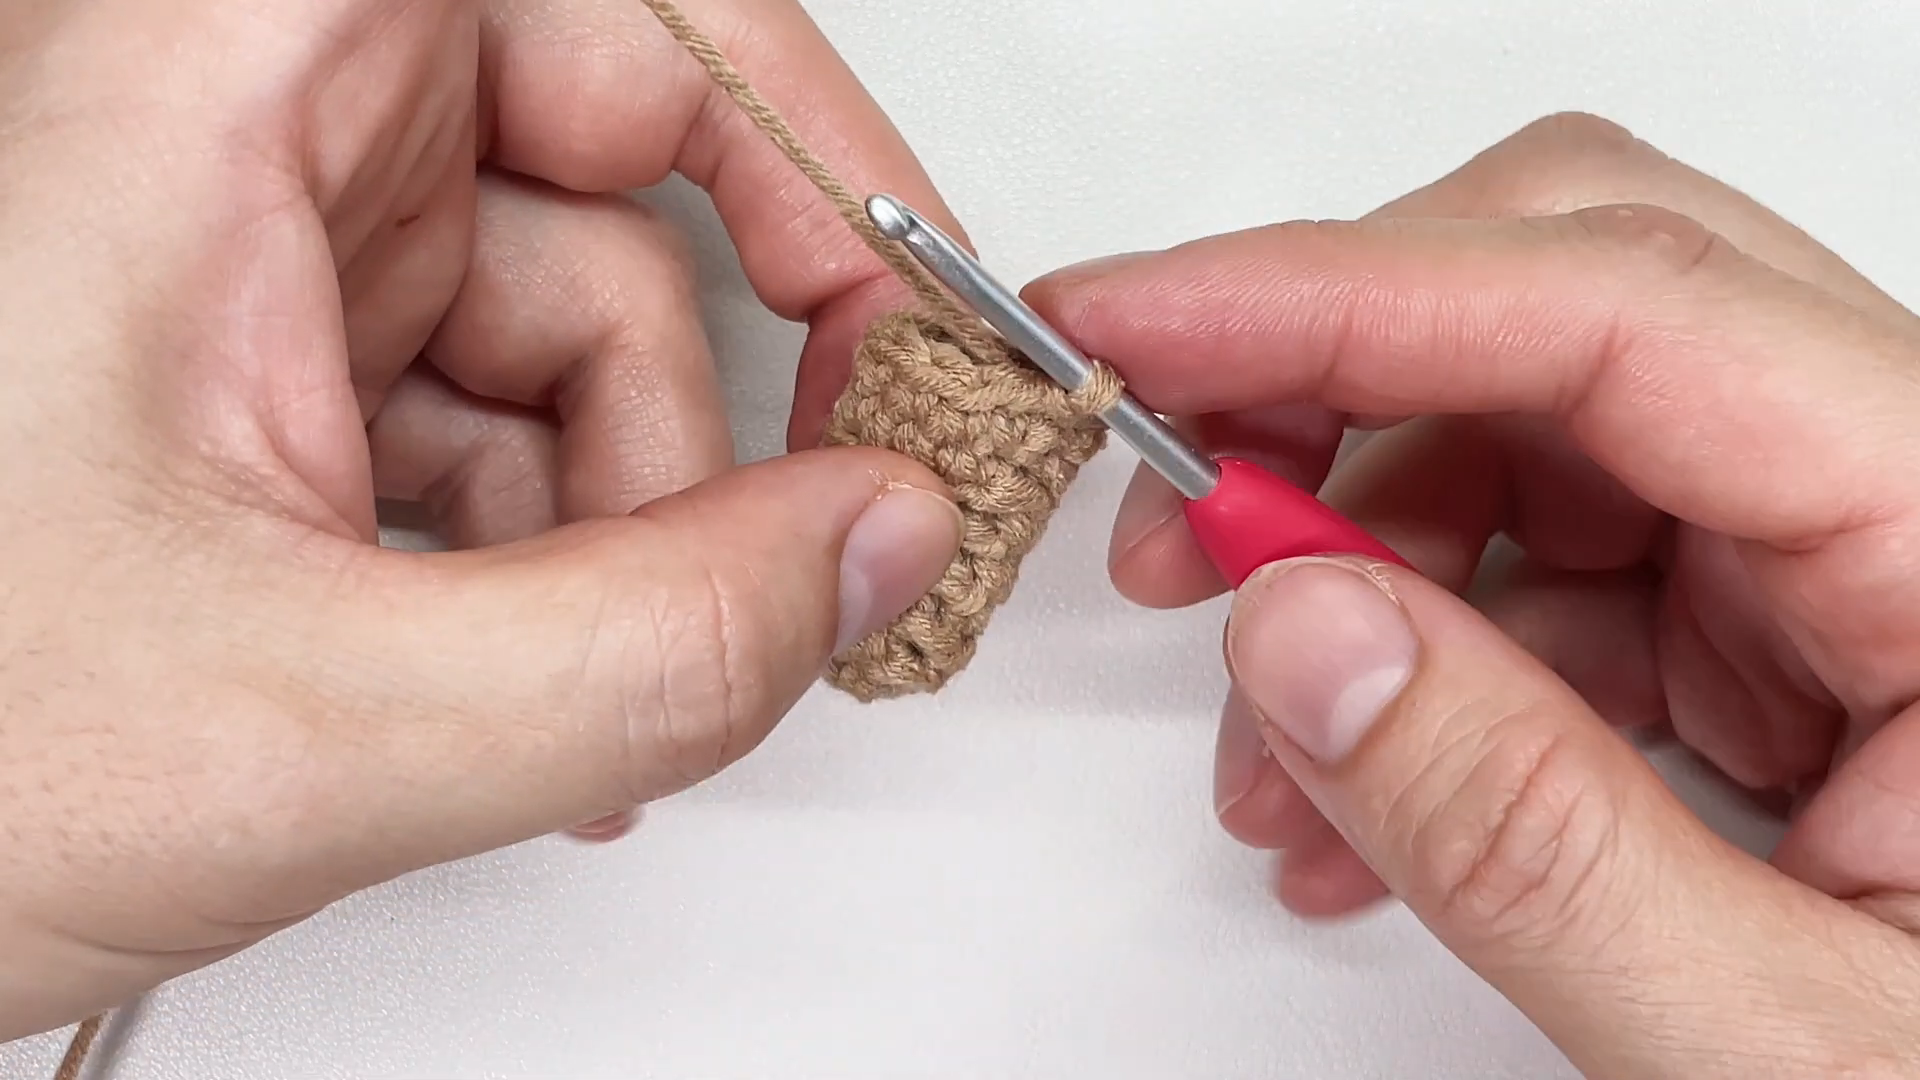
Step 4: Continue Building Upward
Keep working straight rounds, checking every few rounds that the sides remain smooth and the cone is growing taller rather than bulging outward. Add small amounts of stuffing periodically to maintain a firm, upright shape as the piece lengthens.
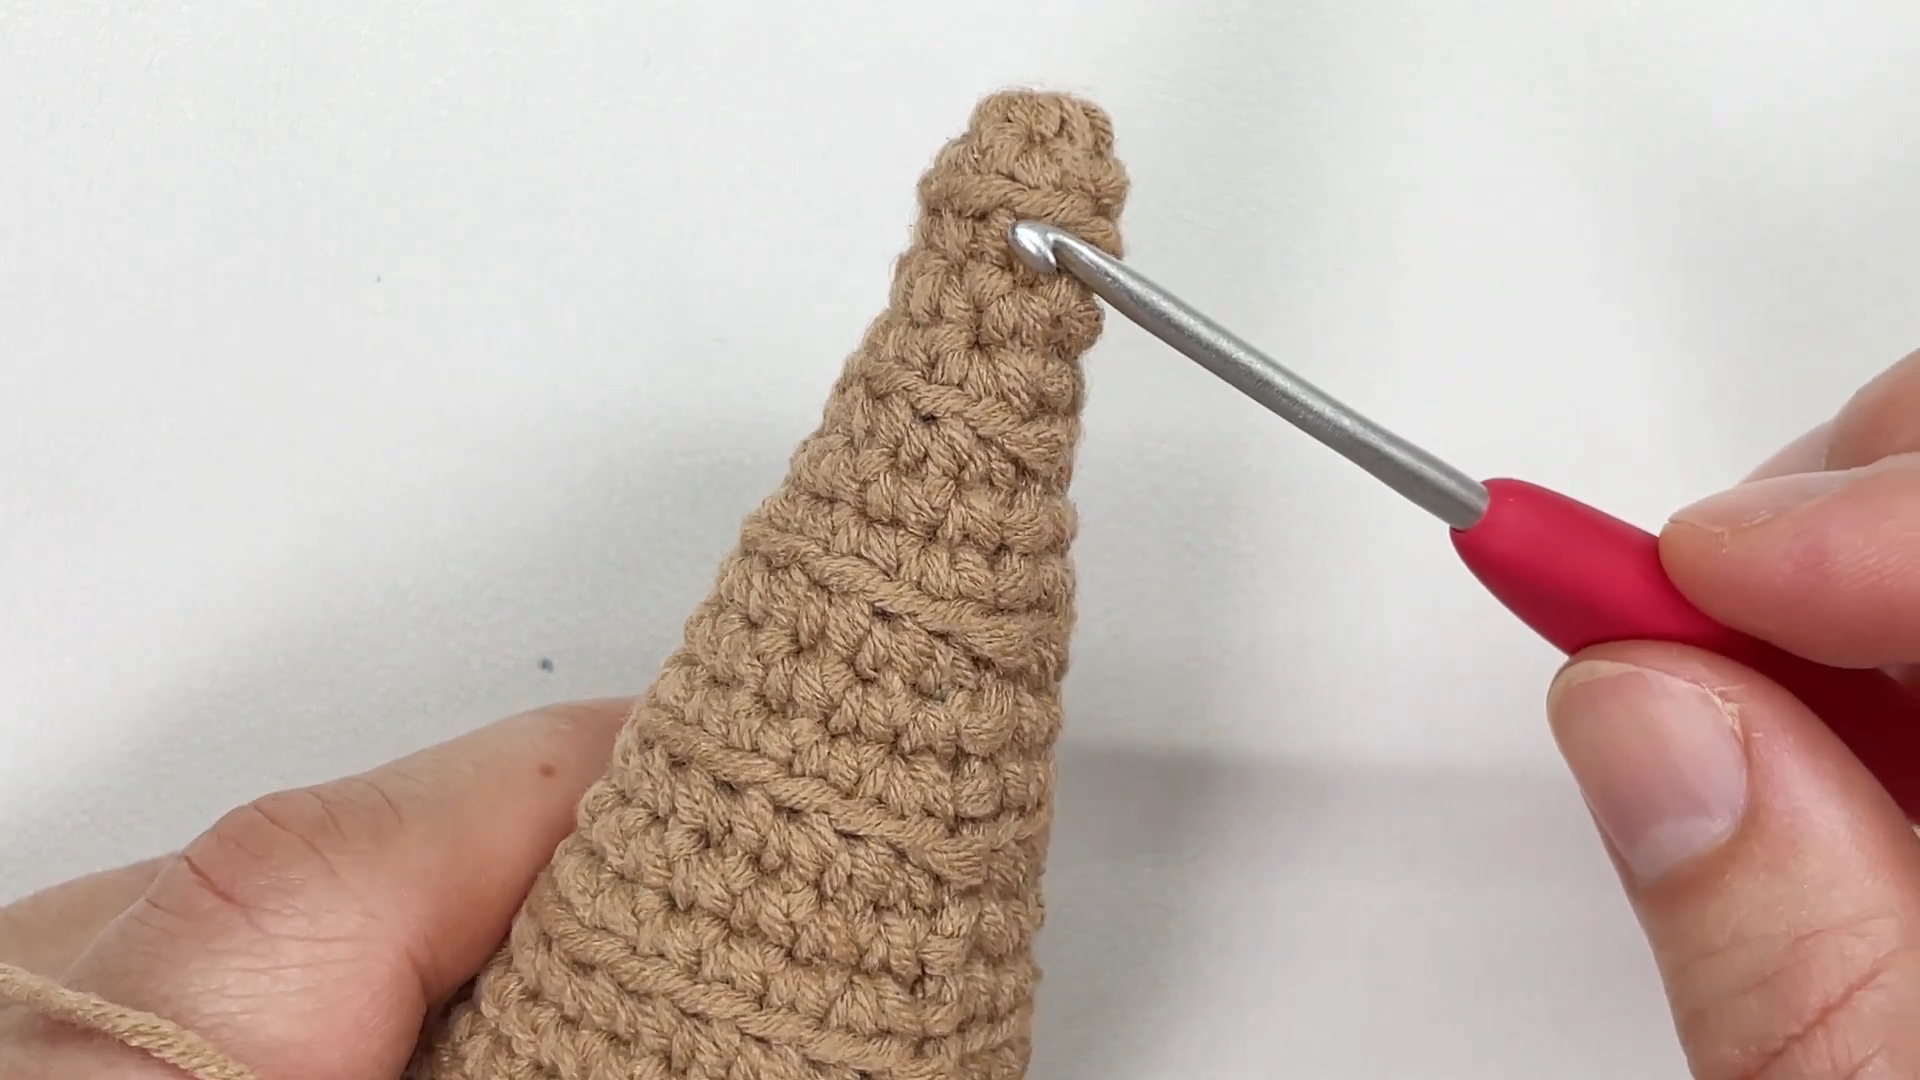
Step 5: Decrease Toward the Point
Begin decreasing gradually near the top of the cone, spacing the decrease stitches evenly around the round. Work slowly here since the stitch count drops quickly, and the shape needs to narrow smoothly into a rounded point rather than an abrupt tip.
Finish stuffing the top section firmly before closing the last few stitches, then fasten off and weave in the tail through the tip.
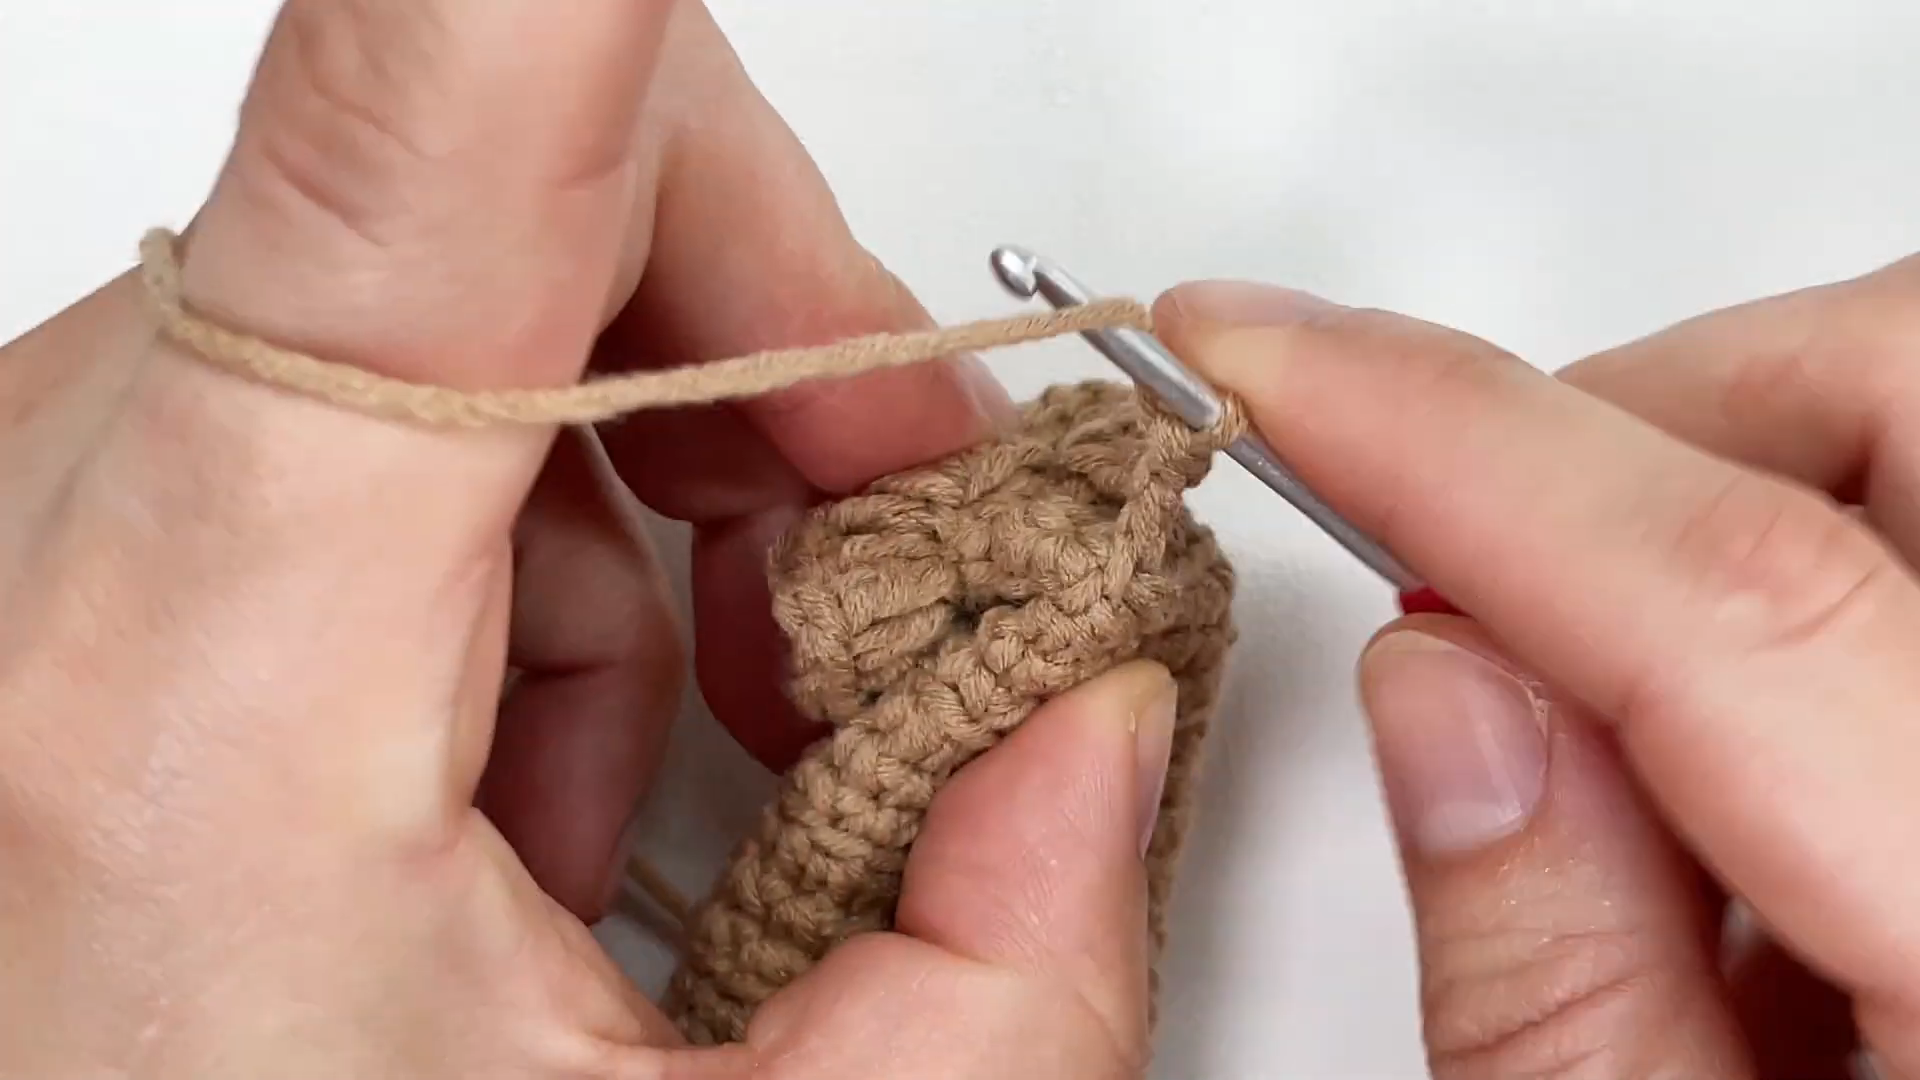
Step 6: Attach the Star Topper
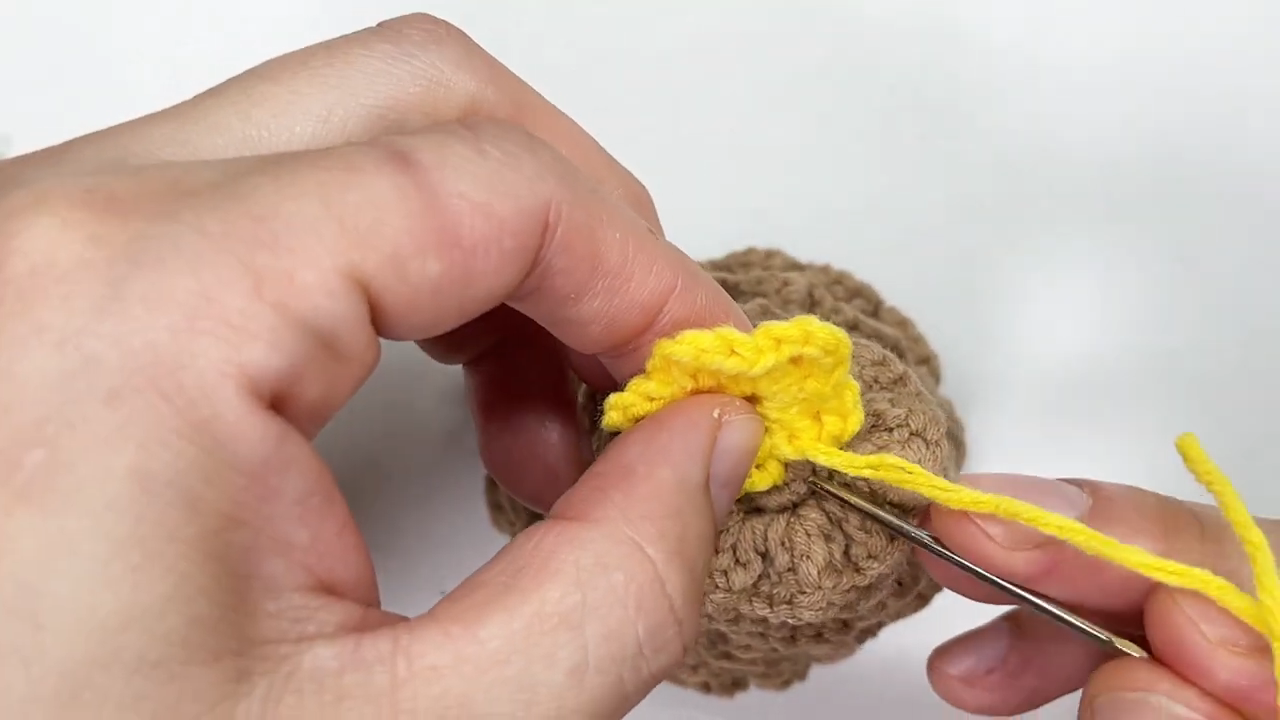
Crochet a small star or flower shape using yellow or gold yarn, then stitch it securely to the very top of the tree using a yarn needle. Weave the tail through several stitches at the base of the topper to anchor it firmly in place.
Trim any excess yarn, and your mini crochet Christmas tree pattern project is complete and ready for display.
Helpful Tips for Beginners
- Count stitches at the end of every round to catch mistakes early
- Use a stitch marker consistently so rounds never get lost
- Keep tension firm but relaxed to avoid a floppy or misshapen cone
- Stuff in small amounts rather than one large handful at the end
- Work under good lighting so increase and decrease points stay easy to spot
Common Mistakes to Avoid
- Skipping the stitch marker, which often leads to spiraling rounds and uneven shaping
- Overstuffing too quickly, which can stretch stitches and distort the cone
- Rushing the decrease rounds, causing a lopsided or off-center point
- Forgetting to weave in the tail securely, leaving loose ends that unravel over time
- Using yarn that is too thin for the hook size, resulting in visible gaps
Customization Ideas
Try Different Colors
Swap the classic beige or brown for deep green, white, or even metallic yarn for a modern winter look.
Add Texture
Work a few rounds in a bobble or popcorn stitch partway up the cone to mimic the look of tree branches or ornaments.
Change the Topper
Replace the star with a tiny bow, snowflake, or pom-pom for a completely different finishing style.
Adjust the Size
Work fewer or additional straight rounds in Step 4 to create a whole family of trees in varying heights for a tiered display.
Bonus Idea: Turn It Into a Gift Set
Group three or four mini trees in graduating sizes, tie them together with a ribbon, and present them as a handmade holiday gift set. A small tag with the recipient’s name adds a personal touch that turns a simple decoration into a memorable present.
Frequently Asked Questions
How long does one mini tree take to finish?
Most crafters complete a single tree in about an hour, including stuffing and attaching the topper.
What yarn weight works best for this pattern?
Worsted weight yarn gives the cleanest stitch definition and holds its shape well once stuffed.
Can the tree stand upright on its own?
Yes, firm stuffing combined with a wide, flat base allows the tree to stand without additional support.
Is a stitch marker really necessary?
It is highly recommended, since working in continuous rounds without one makes it easy to lose track of where a round starts and ends.
Can I make the tree without a topper?
Absolutely a plain cone still looks charming, though a small topper adds extra festive detail.
What is the best way to store finished trees after the holidays?
Keep them in a soft fabric bag or box away from moisture to preserve their shape and color for next season.
Final Thoughts
The mini crochet Christmas tree pattern proves that a few simple rounds of stitching can produce a genuinely festive piece of decor. From the first magic ring to the final star topper, each step builds naturally into a charming little tree perfect for shelves, mantels, or gift baskets. Beginners will find the repetition easy to follow, while more experienced crafters can experiment with colors, textures, and toppers to make every tree unique. Gather your yarn, grab a hook, and start stitching a whole forest of handmade holiday cheer is just a few rounds away.