Free Crochet Granny Square Top Pattern for Cozy Style
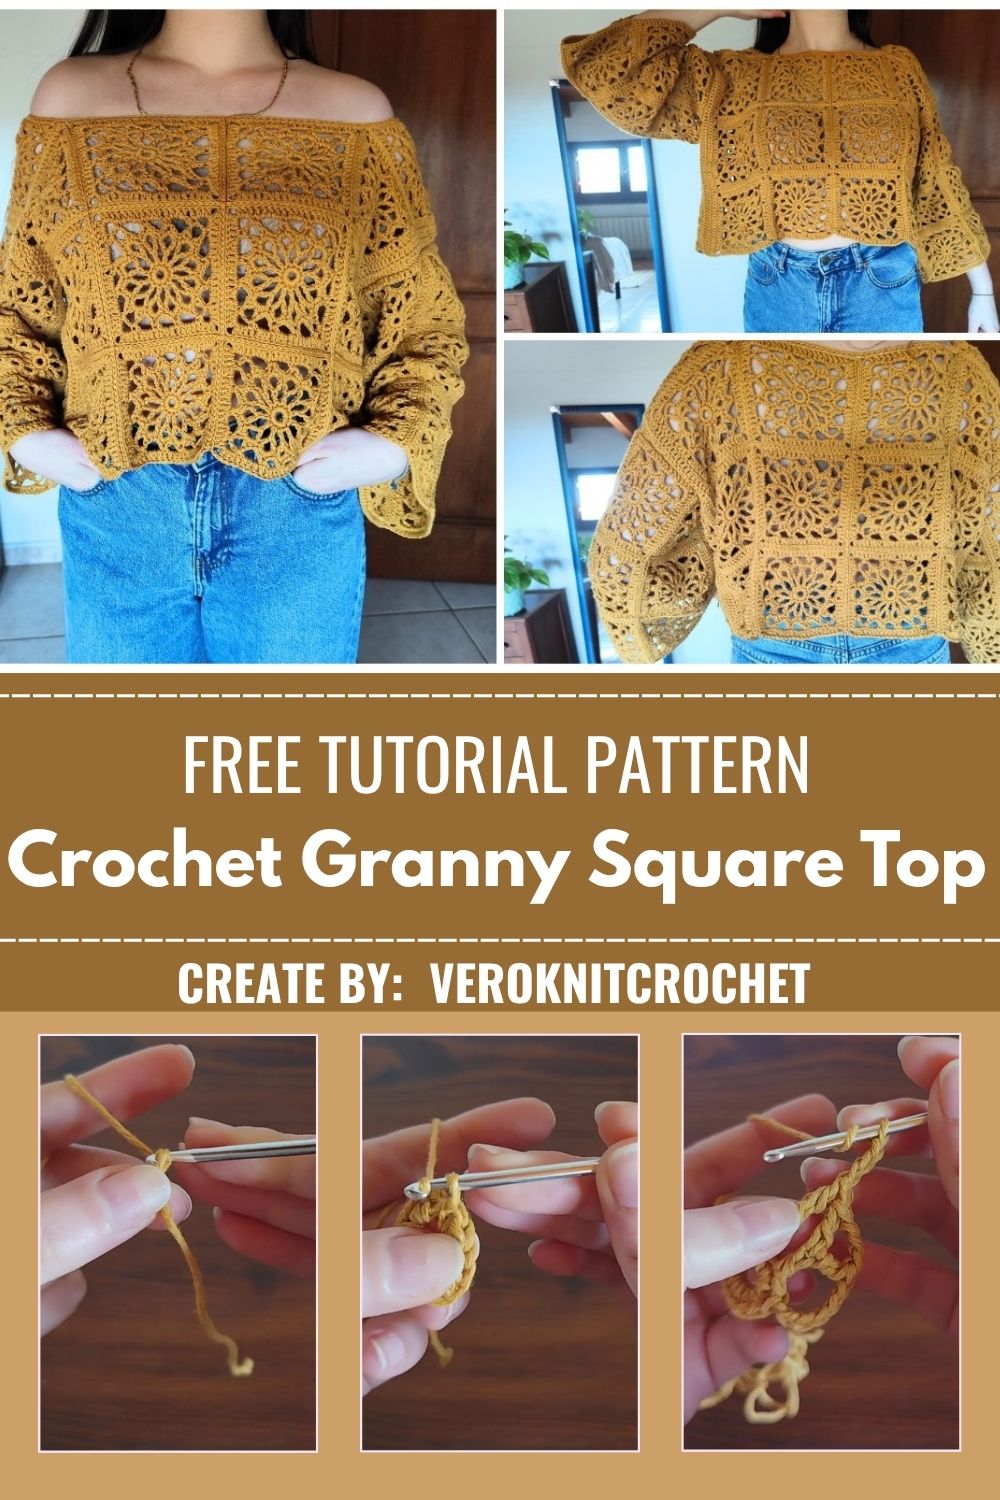
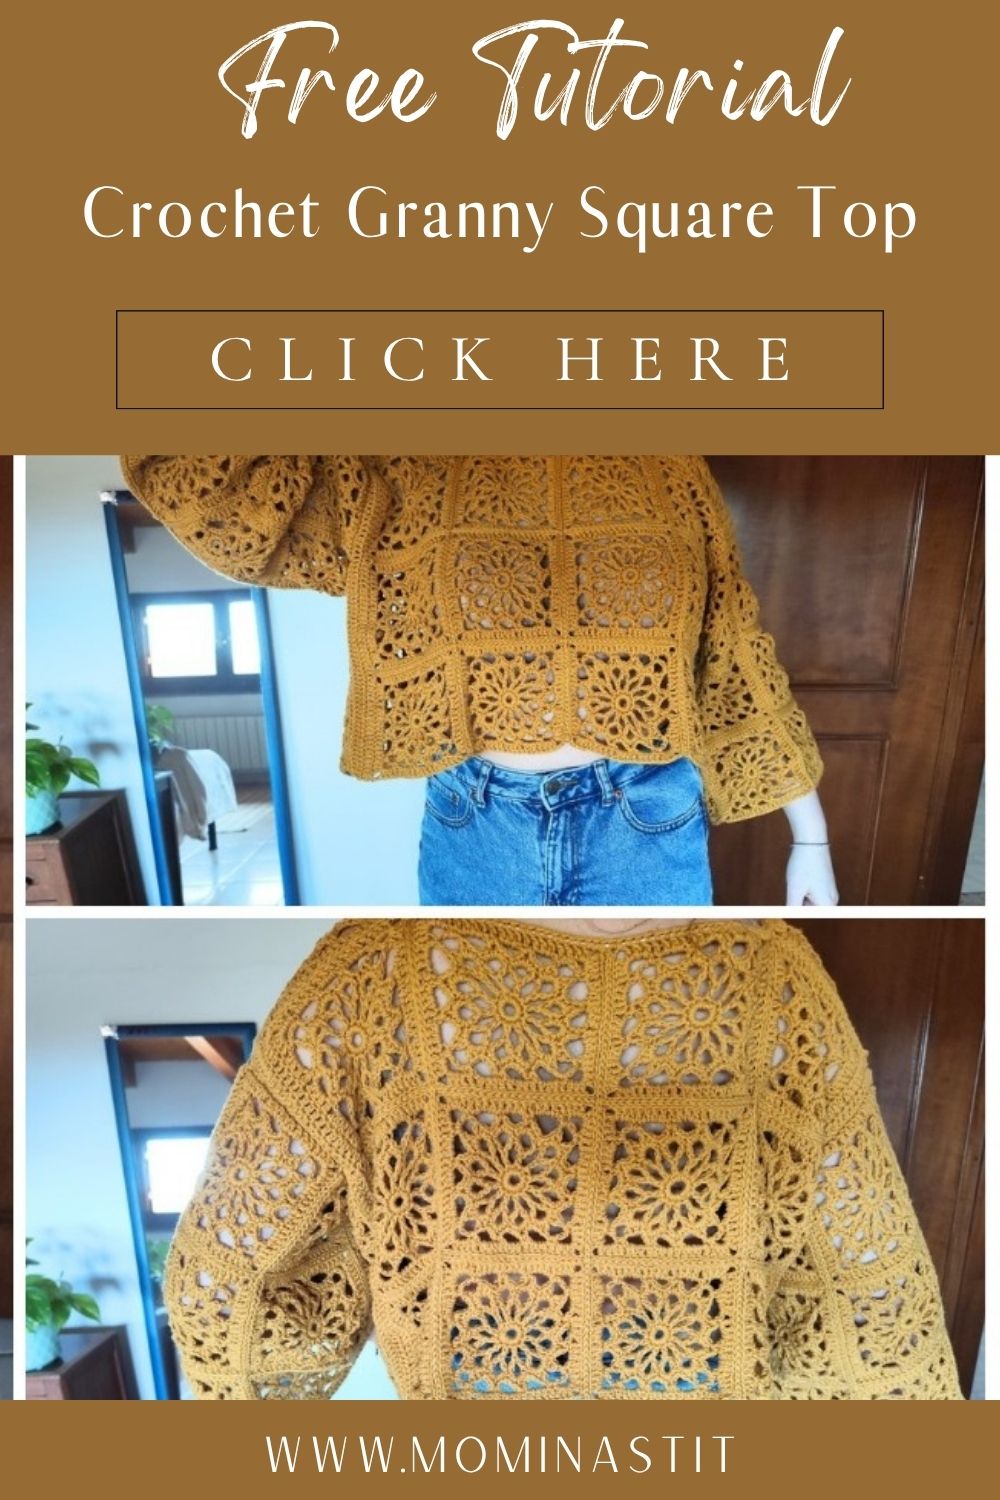
Sunlight catches the open lattice of a mandala granny square, and a stack of yarn scraps suddenly looks like something worth wearing. Free Crochet Granny Square Top Pattern for Cozy Style turns that same flower-motif square into a breezy, textured top with enough warmth for cool evenings.
What sets this design apart is the round-to-square build: petals bloom outward from a magic ring, then squares off into a granny square grid instead of stopping at a simple circle. That layered construction gives the fabric a raised, floral texture most flat granny patterns don’t have, making this crochet top feel more like a statement piece than a basic layer.
What is this pattern?
The design starts from a round mandala center, a tight ring of stitches that blooms outward into petals, then squares off into a classic granny grid. Rather than stopping at coaster or blanket size, the motif scales up and joins into wearable panels for a top. Petal-and-lattice texture gives the fabric its signature look: dense at the center, airy toward the edges, drapey rather than stiff.
Anyone who has made a standard granny square recognizes the bones of it. The twist comes from layered rounds of shells and picots building the flower shape before corners get squared off, slower and more deliberate than a basic four-round granny.
What do I need to make it?
- Worsted weight cotton or cotton-blend yarn (a natural tan or oatmeal shade shows stitch detail best, though any color works)
- A 4.0mm–5.0mm crochet hook, depending on gauge preference
- Yarn needle for weaving ends
- Stitch markers to track round starts
- Measuring tape and a blocking board with pins
- Scissors
Nothing exotic on the list. Cotton yarn earns its small extra cost over acrylic for drape and stitch definition on a mandala motif depend on a fiber with body.
Pattern Instructions — Building the Mandala Square
Round 1: Starting the ring
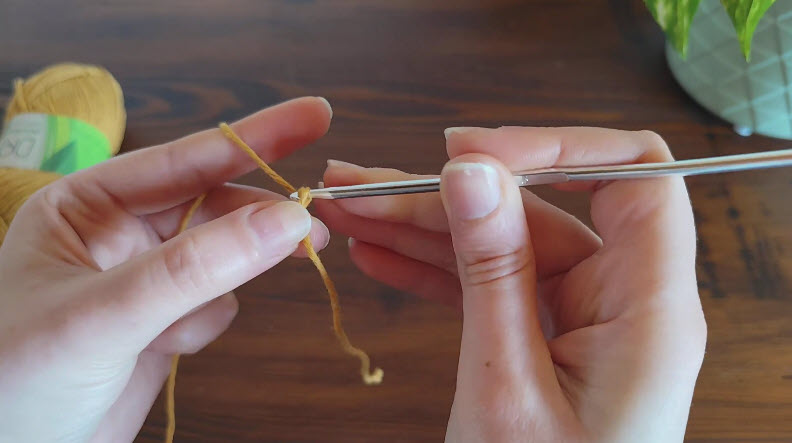
Make a magic ring (or chain 4, join with a slip stitch to form a ring). Chain 3 (counts as first double crochet), then work 11 double crochet stitches into the ring — 12 stitches total. Join with a slip stitch to the top of the starting chain. Pull the magic ring tail tight to close the center.
Round 2: Building the first petals
Chain 1. Work 2 single crochet into each stitch around 24 stitches total. Join with a slip stitch. Foundation for the petals now sits ready, evenly spaced around the circle.
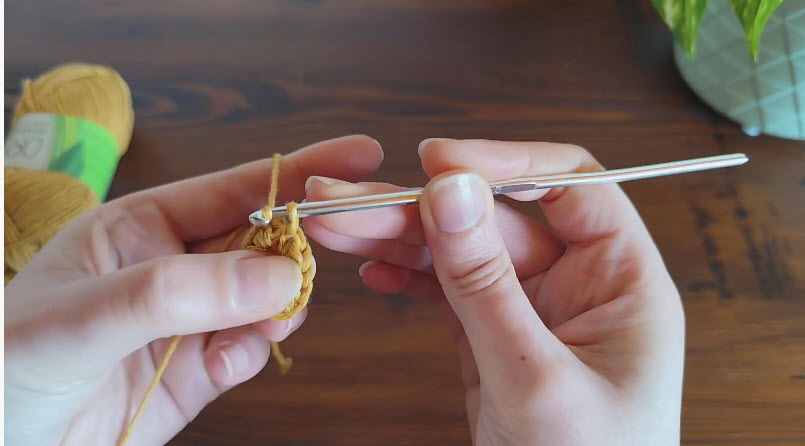
Round 3: Shell petals
Skip the first stitch. Into the next stitch, work 1 double crochet, 3 treble crochet, 1 double crochet (this forms a single petal). Slip stitch into the next stitch to anchor the petal, then skip a stitch and repeat around 8 petals total, joined with a final slip stitch to the base of the first petal.
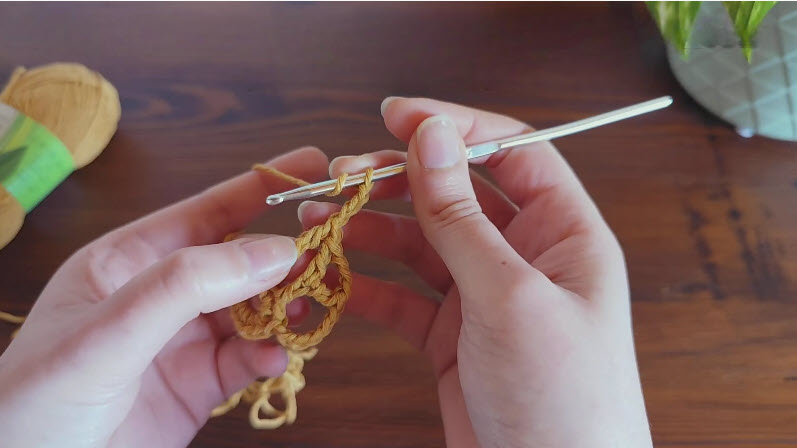
Round 4: Picot lattice
Working behind the petals, attach yarn into the gap at the base between two petals. Chain 5, slip stitch into the third chain from the hook to form a picot, chain 2, slip stitch into the next gap between petals. Repeat around for 8 picot loops, joining at the start.
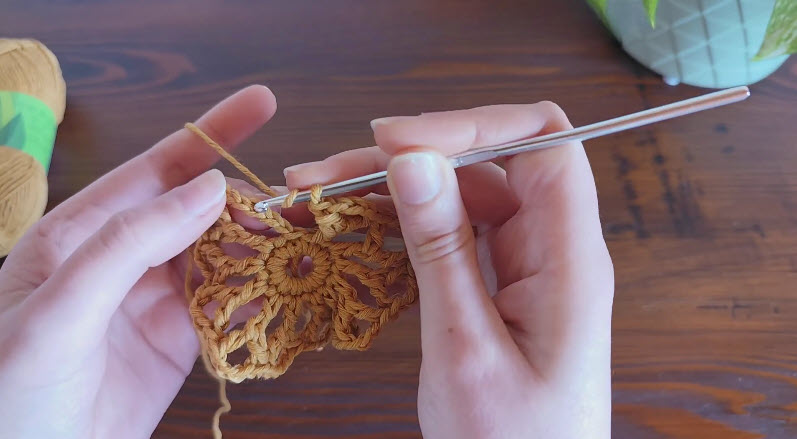
Round 5: Squaring off the corners
Mark four evenly spaced picot loops as corner points before starting this round. This step prevents the shape from drifting into an octagon instead of a square. Into each non-corner loop, work 3 double crochet, chain 2, 3 double crochet. Into each marked corner loop, work 3 double crochet, chain 3, 3 double crochet (the extra chain gives the corner room to turn a true 90-degree angle). Join with a slip stitch.
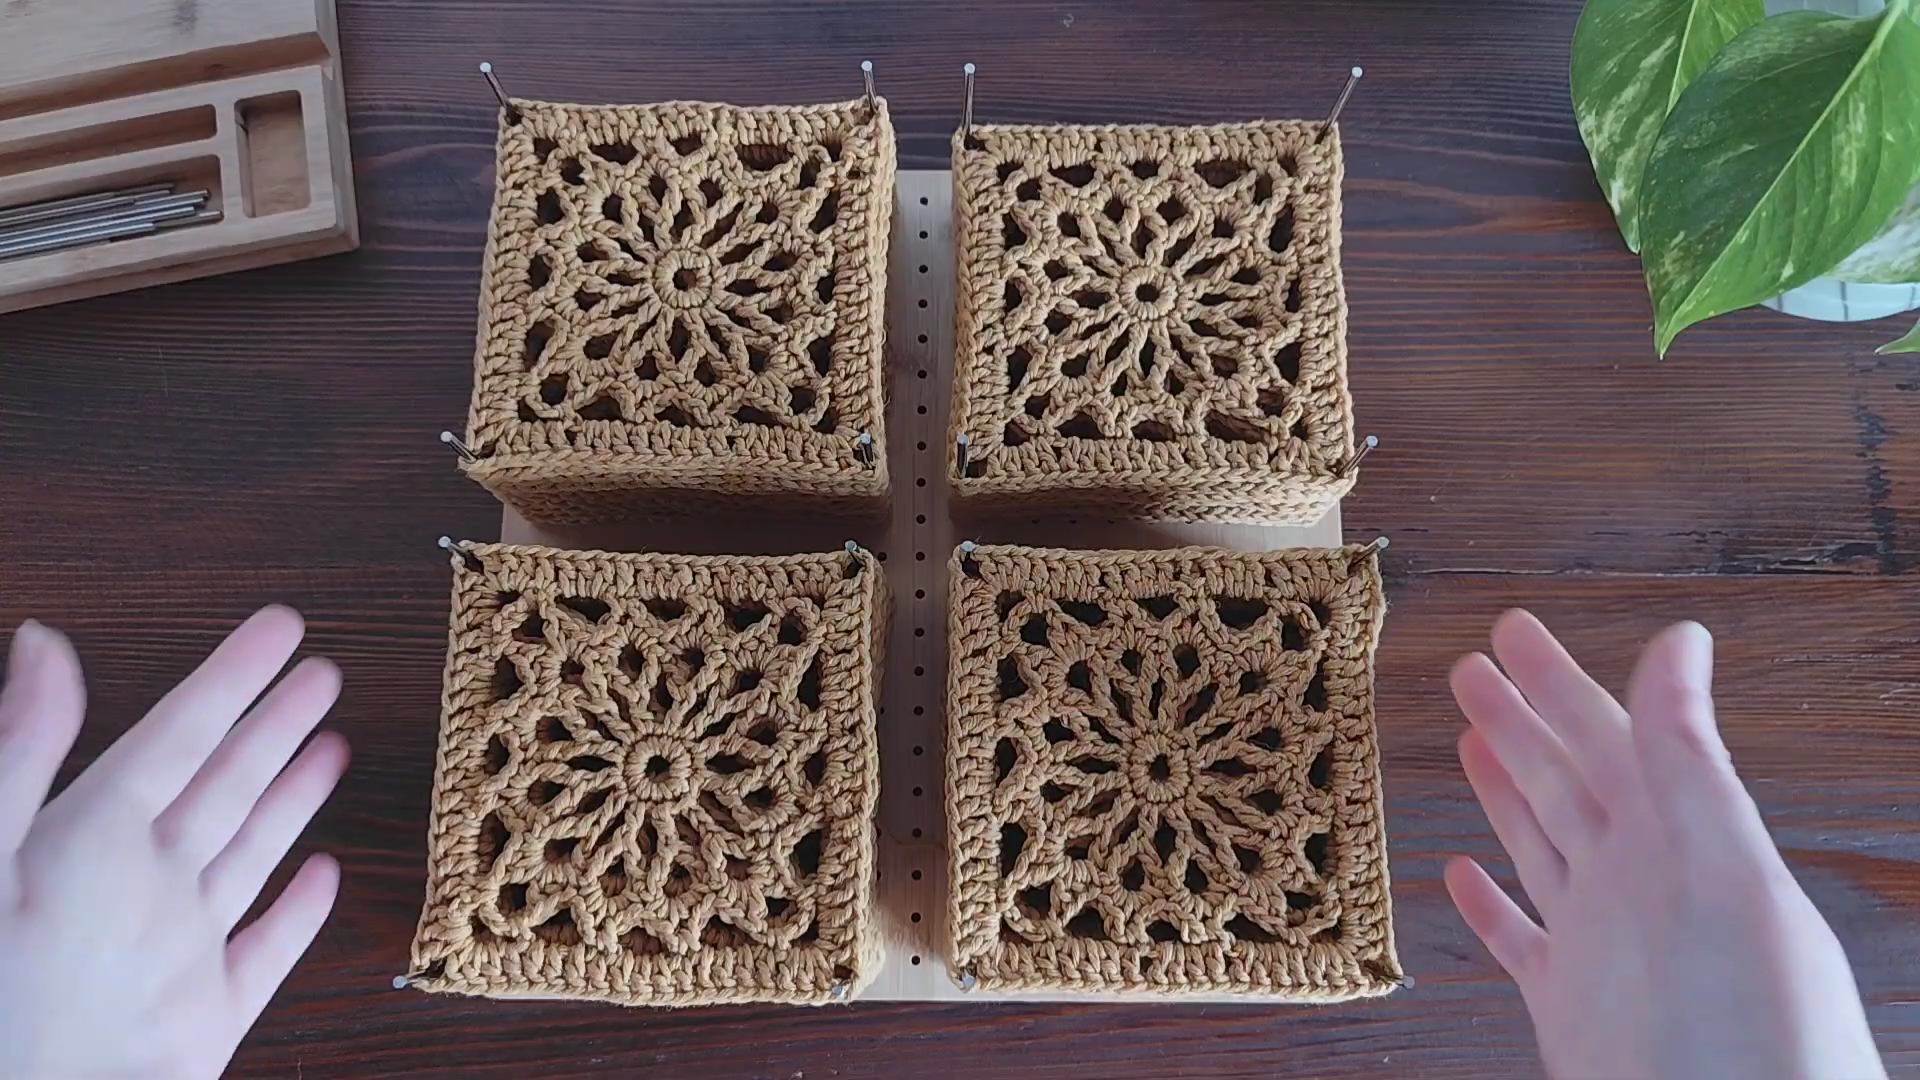
Round 6: Final square-up round
Work double crochet stitches evenly along each side, with (3 double crochet, chain 2, 3 double crochet) into every corner chain-3 space to keep corners crisp. Fasten off and weave in ends.
Repeat Rounds 1–6 for every square the chosen size requires.
How long does it actually take?
A single motif square runs about 45 minutes to an hour once the rounds feel familiar, closer to 90 minutes for a beginner still counting stitches carefully. Multiply that by however many squares the size requires a fitted crop top might need 12–16 squares, and a longer, looser silhouette can climb past 20.
Realistic time budget:
- One evening per square once the pattern feels familiar
- A full weekend for joining and edging
- An extra hour or two for blocking and drying flat
Total project time lands between 15 and 25 hours spread across a couple of weeks closer to a weekend-warrior project than a single-sitting make.
What usually goes wrong?
Tension creeping tighter as rounds progress trips up more crocheters than anything else. Petal rounds naturally pull inward, so a stitch count that felt loose in Round 1 can feel cramped by Round 4. Checking gauge every couple of rounds, rather than only at the start, catches drift before it distorts the whole motif.
Corner placement ranks second. Squaring off a round motif means adding extra stitches at four specific points, and skipping even one throws the shape into a soft octagon instead of a crisp square. Marking the four corner loops with a scrap of contrasting yarn before Round 5 removes the guesswork.
Joining seams too tightly ranks third. Mandala squares already carry visual weight from the dense center; a stiff, over-pulled seam fights the drape the pattern is going for. A join that matches the tension of the motif keeps the finished top hanging naturally.
Assembly — Joining the Squares
Lay finished squares out in the intended layout before joining anything, right side facing up, and pin corners in place on a blocking board to check spacing. Join adjoining squares along one edge using a flat slip-stitch seam or a woven mattress stitch, working through the outer loops only to keep the seam low-profile against the open lattice. Join side seams last, once front and back panels are both fully assembled and blocked.
What’s it good for / how can I use it?
Layered over a slip dress or fitted tank, the top adds texture without bulk. The open lattice lets a contrasting color peek through underneath, making the detail feel intentional rather than accidental. Paired with high-waisted denim, it works as a standalone summer piece for anyone comfortable showing skin through the gaps between motifs.
Beyond wear, the same square scales down for other projects. Four or six squares joined flat make a table runner. A single oversized motif, backed with fabric, turns into a floor cushion cover. Smaller versions stitched onto ribbon become ornaments or gift tags.
Any tips before I start?
Swatch the mandala round on its own before committing to a full project gauge on a flower motif behaves differently than gauge on a plain granny square, and 20 minutes confirming size saves hours of frogging later.
Block every square before joining, not after. Blocking flat squares individually opens the lattice evenly across the piece; blocking an already-joined top stretches seams unevenly and leaves some motifs flatter than others.
Keep a small notebook tracking round counts per square. Petal-based motifs are easy to lose count on mid-round, especially past square number six or seven when muscle memory starts working against careful counting.
Why are people making this right now?
Crochet clothing is moving beyond oversized shapes. Boxy silhouettes are giving way to structured pieces. Mandala granny squares add structure and detail. Handmade texture is also trending in fashion. Visible stitches now feel stylish and intentional. They no longer look like old-fashioned craftwork.
Cottagecore and boho styles remain popular. Both favor warm neutral colors. Floral motifs also fit these styles well. A lattice granny top works beautifully with both. Its design feels fresh rather than dated. The round-to-square construction is fun to watch. Each round adds more visual interest. The finished pattern is wearable and easy to style.
Frequently Asked Questions
Can beginners make this Crochet Granny Square Top?
Comfort with basic granny square construction and shell stitches is enough to attempt it, though a first-time crocheter picking up a hook for the very first project might find the corner-squaring round frustrating. Practicing a plain granny square first builds the muscle memory the mandala version leans on.
What size range does the Crochet Granny Square Top cover?
Sizing typically ranges from XS through XL by adjusting the number and size of squares used per panel, plus adding or removing rounds to each motif for a custom fit.
Can the yarn weight be swapped?
DK weight yarn works well with a smaller hook, around 3.5mm–4.0mm, for a more delicate, lacy result. Chunky yarn with a 6mm hook produces an oversized, statement version. Either way, check your gauge against the intended finished measurements.
How are the squares joined together?
A flat slip-stitch join or a woven mattress-stitch join both work well; the mattress stitch gives a nearly invisible seam and suits the open lattice pattern especially well since bulky seams stand out against the airy background.
Does the top need lining underneath?
Depends entirely on the wearer’s comfort with the open-weave gaps. A slip or cami underneath solves coverage without hiding stitch detail, while some crocheters wear it entirely on its own over a swimsuit for beach cover-up styling.
Ready to Start?
Few projects reward patience the way a mandala Crochet Granny Square Top does. Every round adds visible progress, and the finished piece looks far more complex than the actual stitch count suggests. Grab a skein, block out a weekend, and let the squares stack up one flower at a time.