
Crochet Jersey Top Pattern for Fashion Lovers
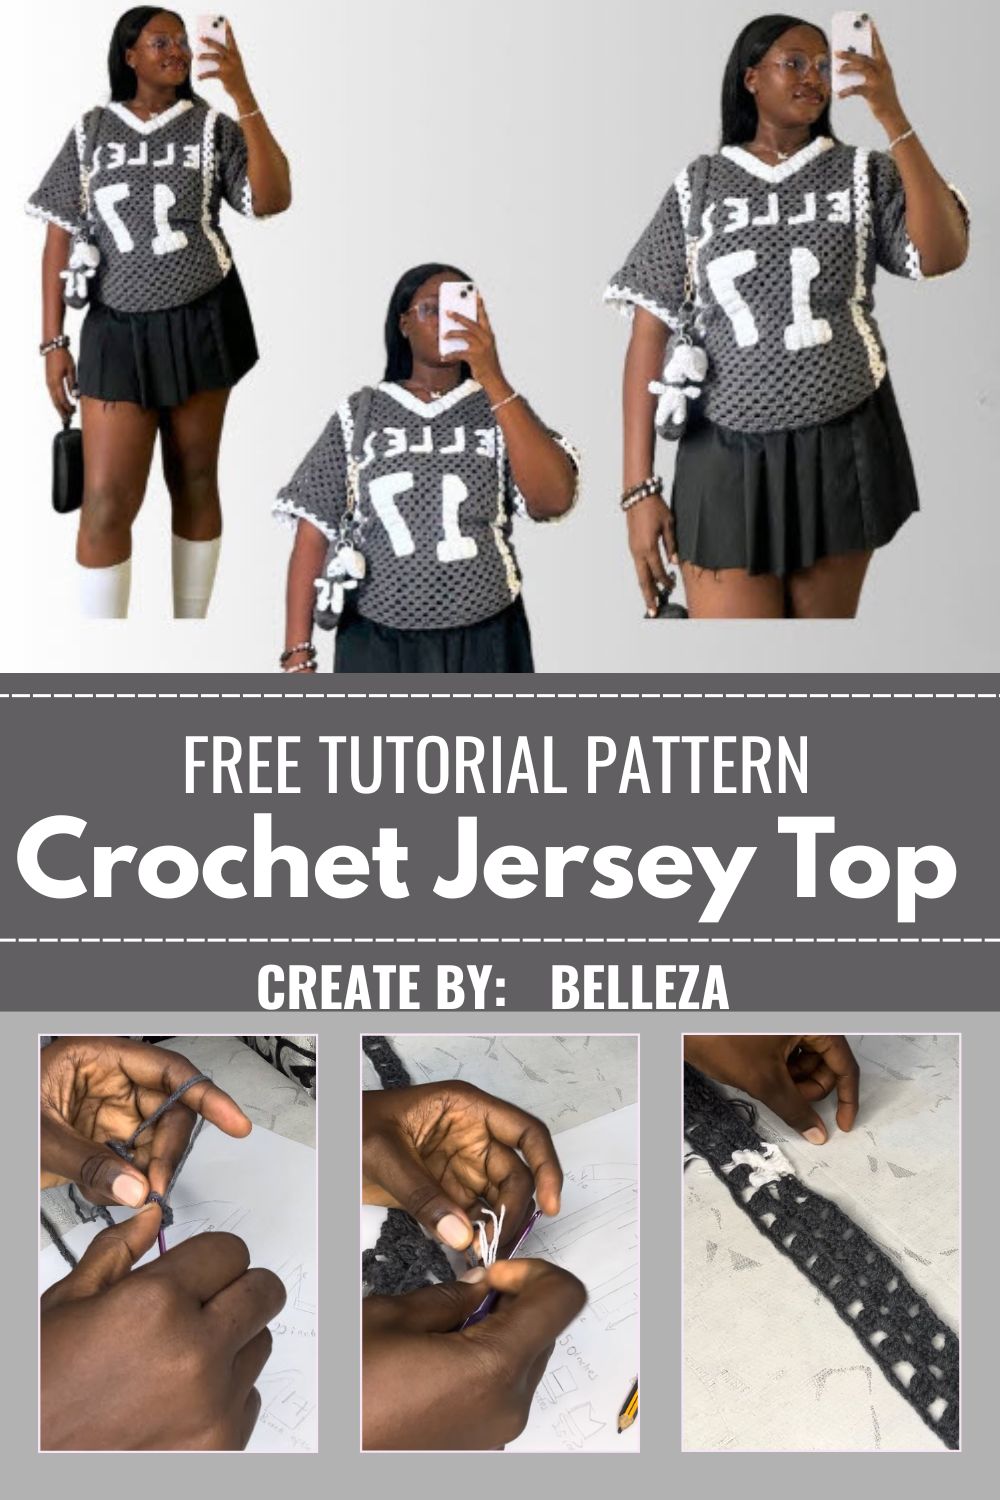
Color changes happen at specific points rather than randomly, which is what gives the finished top its clean, sporty structure instead of a blended, mixed look.
Skill Level
Intermediate. Working from a planned layout with multiple measured panels takes more organization than a straightforward single-color project, even though the individual stitches themselves aren’t overly complex.
What You’ll Need
- Grey yarn for the main body panels
- White yarn for the contrast trim sections
- A crochet hook matched to your yarn weight
- A yarn needle for joining panels and weaving in ends
- Scissors
- Paper and pencil for sketching your panel layout and measurements
- Measuring tape for checking sizing as you work
- Stitch markers for tracking color change points
Techniques Behind This Pattern
- Starting loop and foundation chain: Sets the base width for each panel section.
- Planned panel layout: Uses a sketched diagram to map measurements before stitching begins.
- Color blocking: Switches cleanly between grey and white at set points in the design.
- Open textured stitch: Builds the main body with a breathable, patterned fabric.
- Panel shaping: Forms the neckline and sleeve edges through targeted increases and decreases.
Why Planning the Layout First Makes a Real Difference
Jumping straight into stitching without a plan often leads to mismatched panel sizes or color transitions that land in the wrong spot. Sketching out measurements and marking exactly where each color section begins, as shown in this pattern’s preparation stage, keeps the finished top looking intentional rather than improvised. It’s an extra step that takes a few minutes upfront but saves considerably more time than unpicking a misaligned panel later.
Step-by-Step Instructions
Step 1: Sketch Your Layout and Start the First Loop
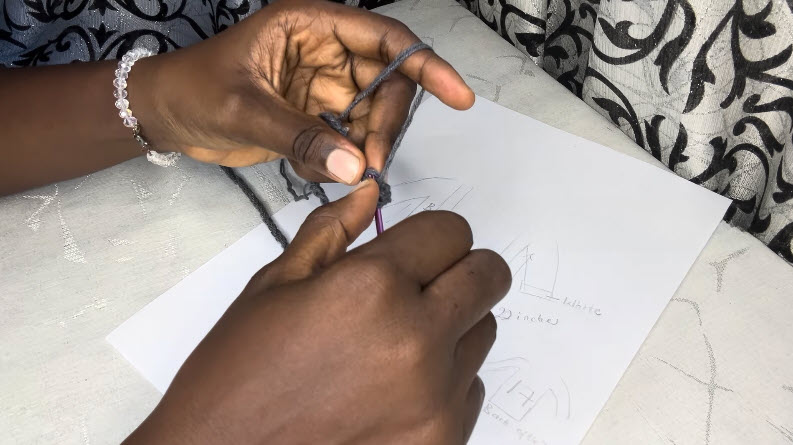
Before picking up your hook, sketch a simple diagram noting your panel widths, color sections, and target measurements in inches. Once your plan is ready, pull your first loop through with grey yarn, keeping it snug enough to hold steady as you begin your foundation chain.
Step 2: Introduce Your Contrast Color
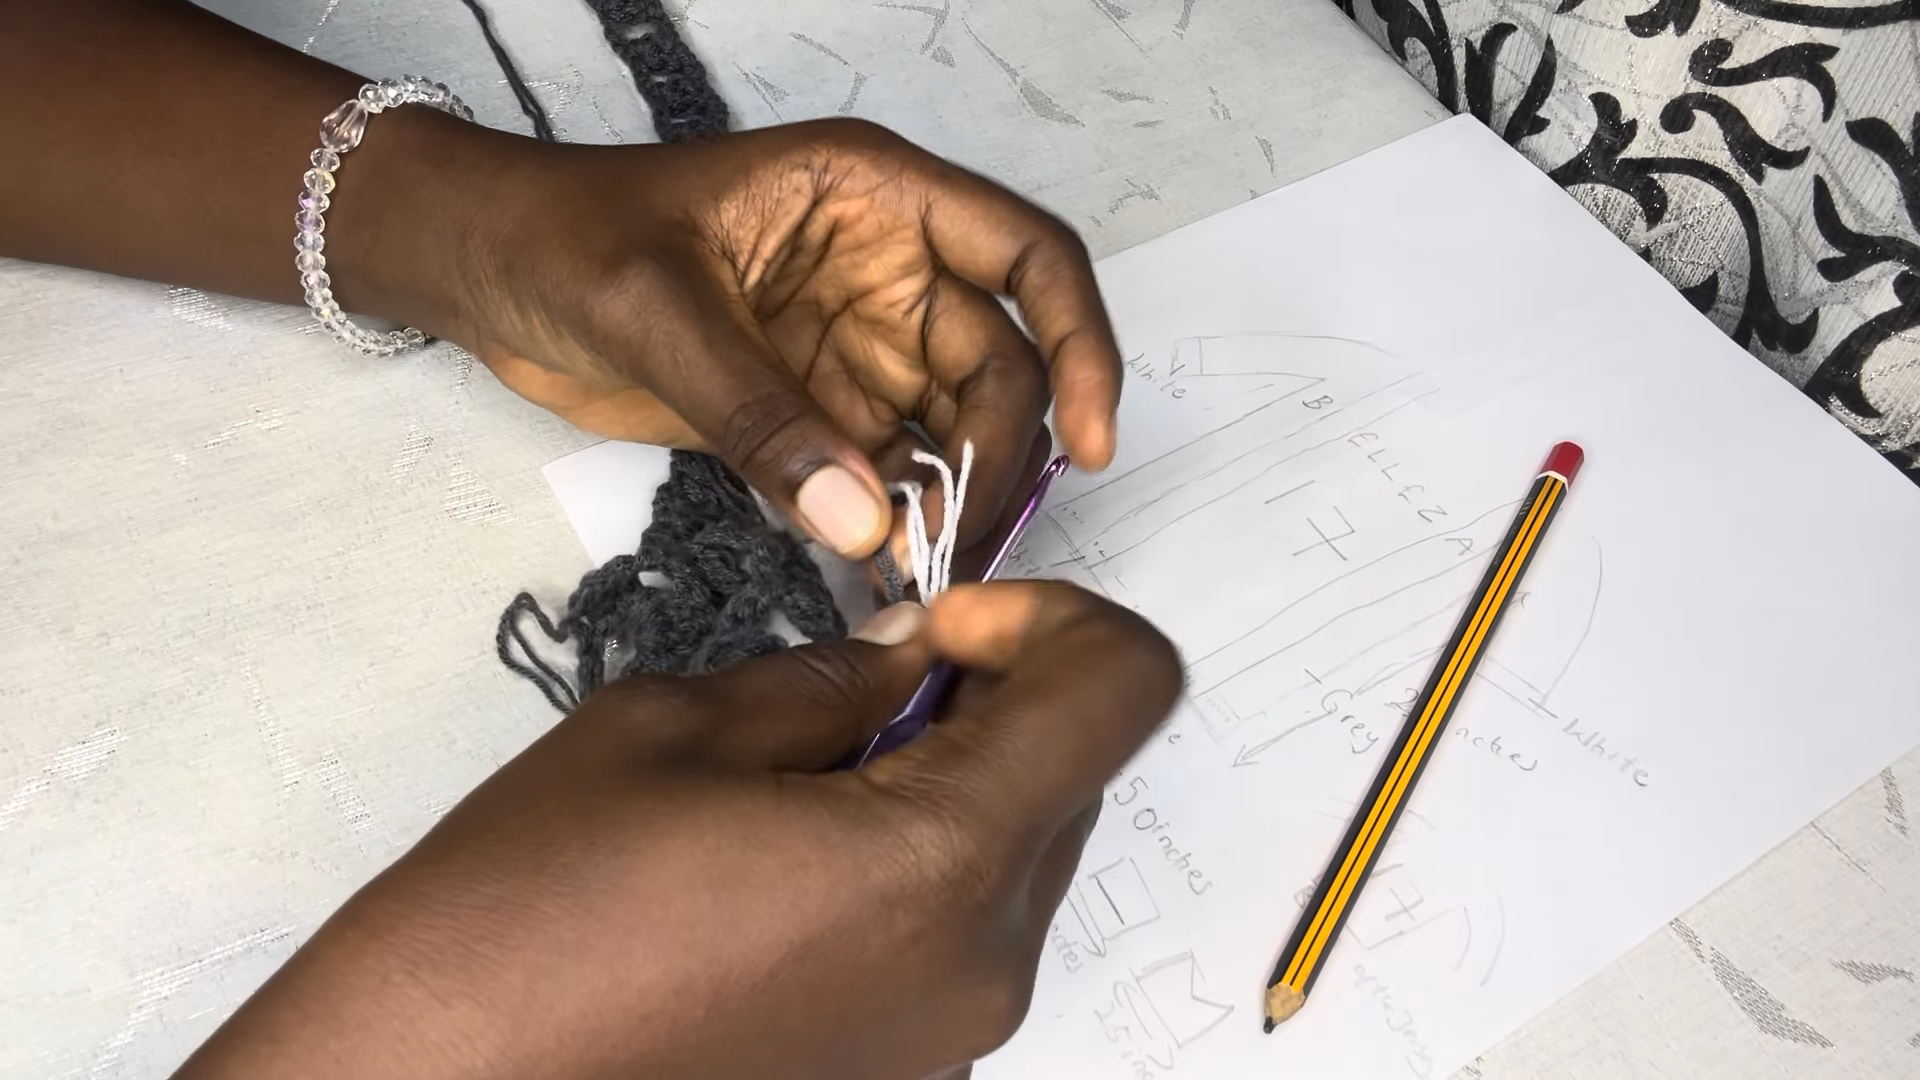
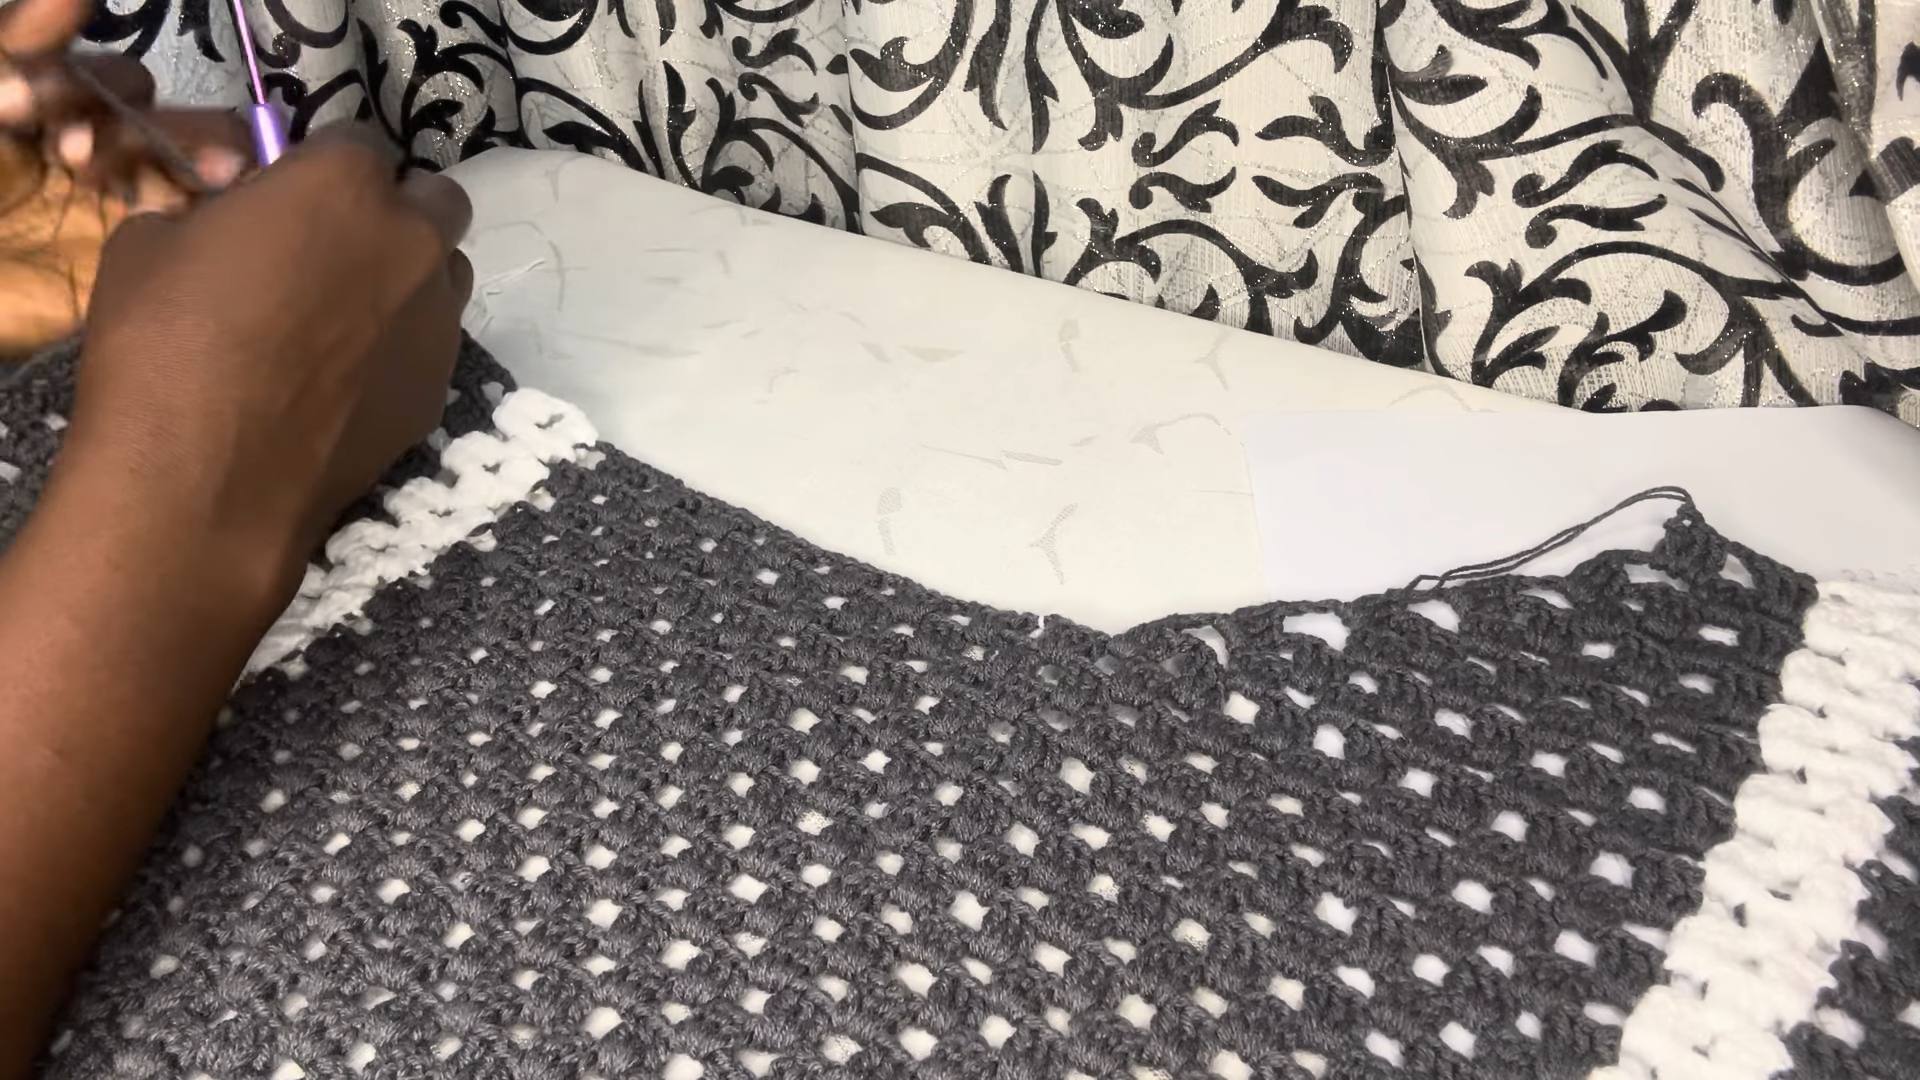
Work your first several rows in grey, then switch to white yarn at the point marked on your layout sketch. Carry or cut your grey yarn depending on your preferred method, and secure the new color firmly before continuing so the transition stays clean.
Step 3: Build the Striped Panel Section
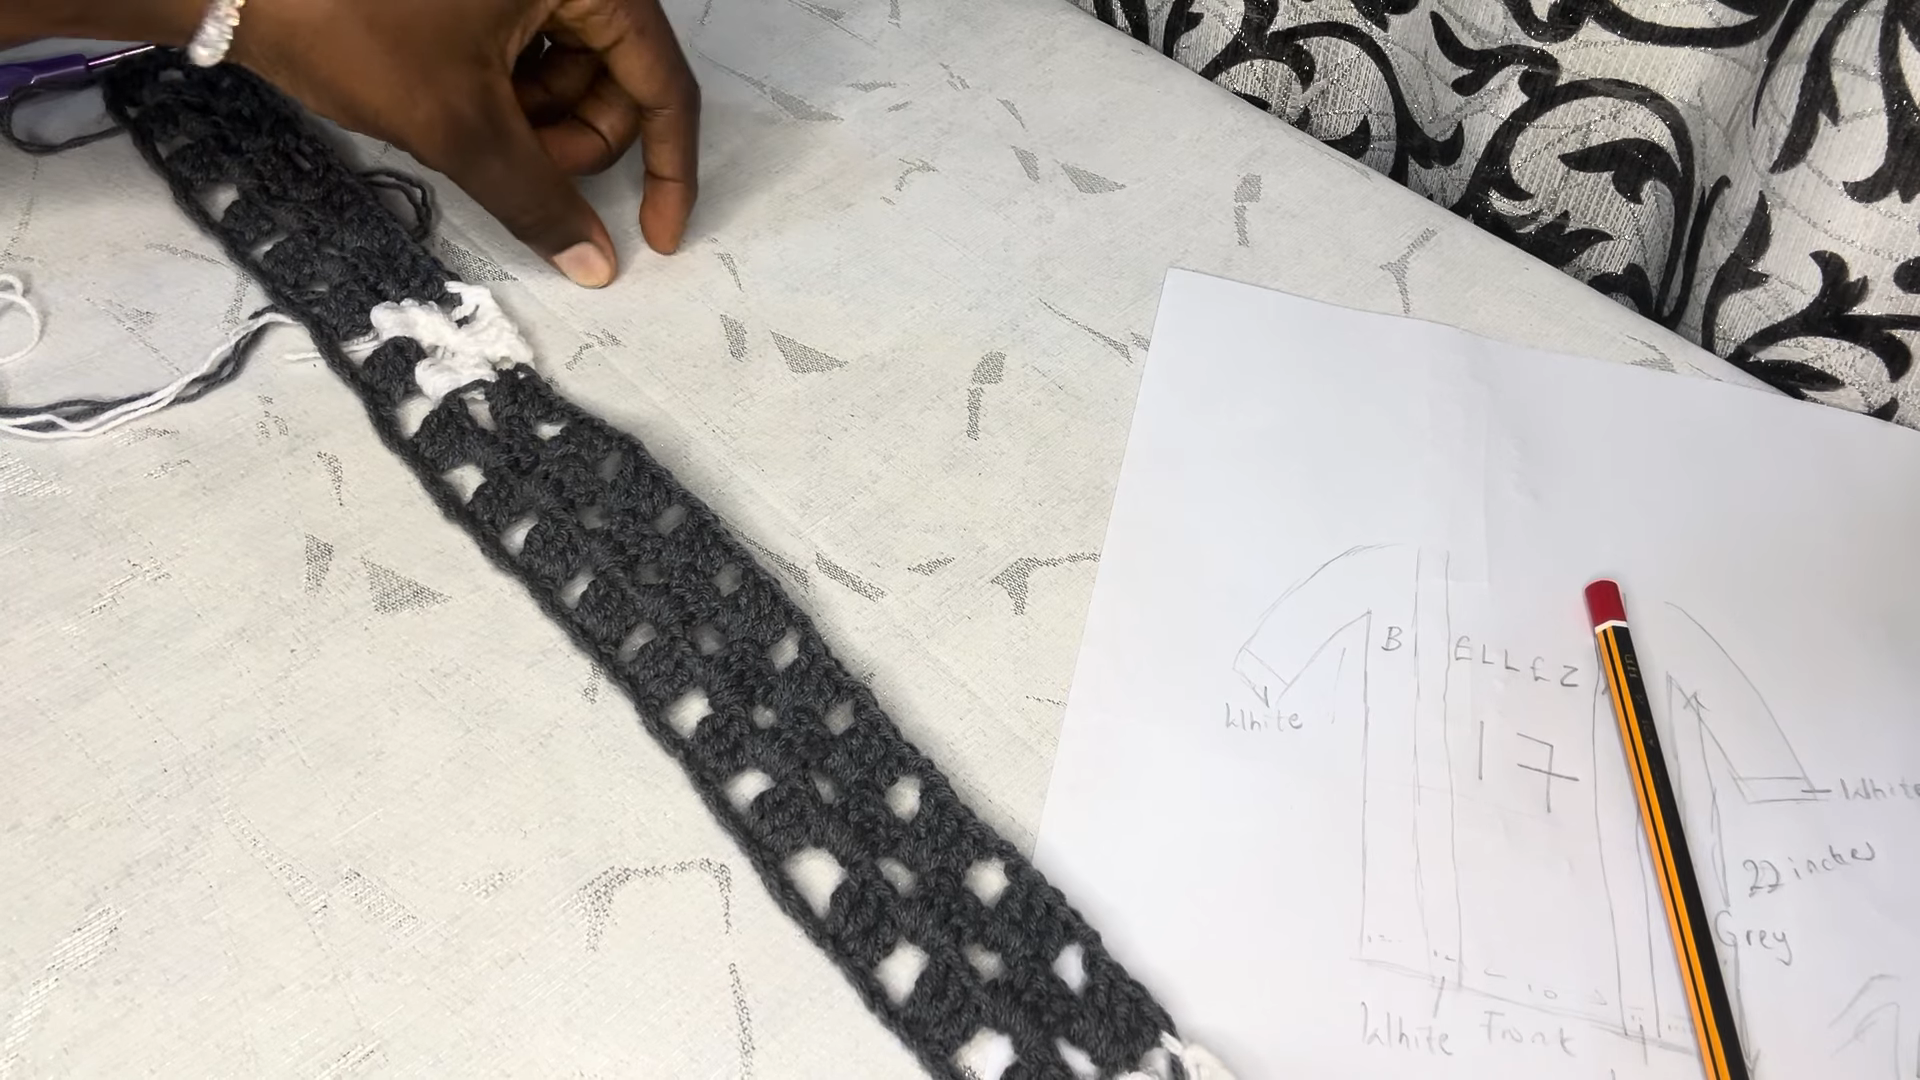
Continue working rows, alternating between grey and white according to your planned measurements, keeping your tension consistent so the panel doesn’t pull unevenly at the color joins. Check your panel width periodically against your sketch to stay on track.
Step 5: Shape the Neckline and Assemble the Top
Once your panels reach the correct length, begin shaping the neckline through gradual decreases, following your original sketch for placement. Join all panels together, weave in any loose ends, and your finished jersey-style top is ready to wear.
Tips Worth Knowing
- Keep your sketch nearby throughout the project so you can reference measurements at each stage.
- Test your color-changing technique on a small swatch before starting the full top.
- Use stitch markers at each planned color transition to avoid losing track mid-row.
- Try panels on as you complete them rather than waiting until final assembly.
- Weave in color-change ends securely, since loose ends are more visible on contrast sections.
Mistakes to Watch Out For
- Skipping the measurement sketch, which often leads to mismatched panel sizes later.
- Rushing color transitions, leaving visible gaps or loose stitches at the join points.
- Losing track of your stitch count between color sections, throwing off the striped pattern.
- Making the neckline decreases too steep, resulting in an uncomfortable or awkward fit.
- Assembling panels before double-checking that all pieces match in length and width.
Customization Ideas
- Swap the grey and white combination for your favorite team or school colors.
- Add a third contrast color for a more layered, multi-tone look.
- Adjust the stitch pattern for a denser, less open fabric if more coverage is preferred.
- Shorten the body for a cropped fit or lengthen it for a more relaxed silhouette.
- Add ribbed-style trim at the hem and sleeves for an even more authentic jersey feel.
Frequently Asked Questions
Q: How important is sketching the layout before starting this pattern?
A: It makes a significant difference, since it helps prevent mismatched panels and keeps color transitions landing exactly where intended.
Q: Can this top be made in different color combinations?
A: Yes, the striped color-blocking technique works with any two contrasting shades, not just grey and white.
Q: What yarn weight works best for this Crochet Jersey Top Pattern design?
A: Medium weight yarn tends to hold the panel structure well while keeping the top comfortable and breathable.
Q: Is this Crochet Jersey Top pattern beginner-friendly?
A: The individual stitches are manageable for most skill levels, though the planning and panel-matching process suits someone with a bit of project experience.
Q: How do I keep color transitions from looking messy?
A: Securing new colors firmly at the start of each transition and weaving in ends carefully both help keep the join points clean.
Final Thoughts
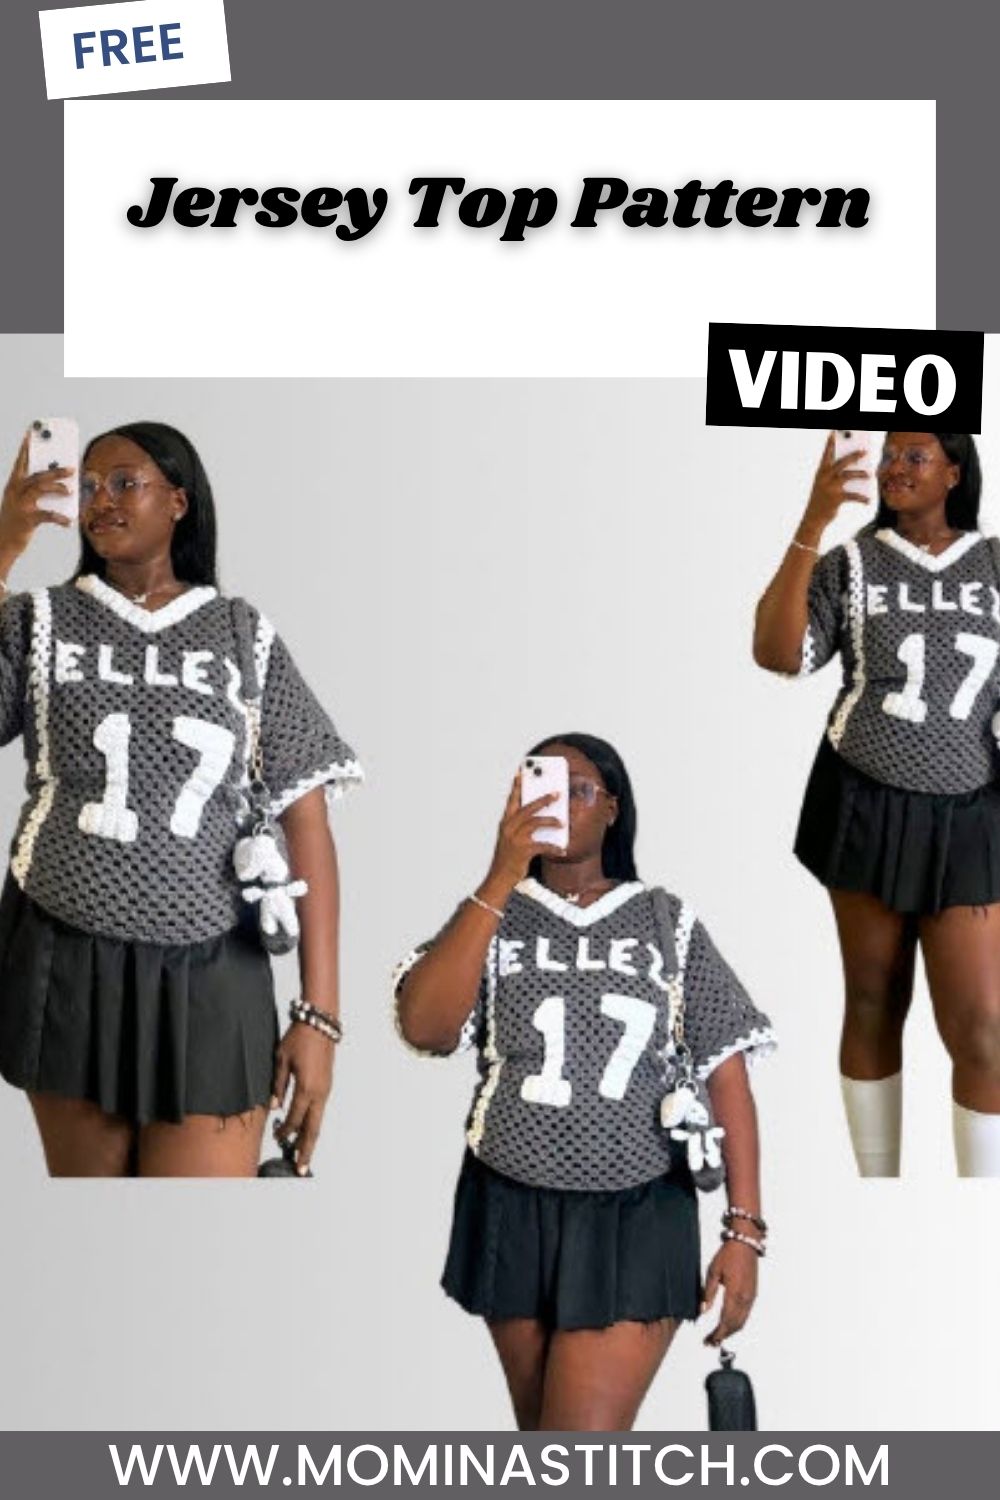
This Crochet Jersey Top Pattern shows how a little upfront planning can turn a simple striped design into a genuinely polished, sporty piece. From sketching the panel layout to carefully matching color transitions across every section, each step plays a role in the finished top’s clean, structured look. Whether you stick with the classic grey-and-white combination or make it your own with different colors, this project offers a rewarding mix of planning, technique, and modern style.


