Crochet Long-Limbed Pig and Cat Keychain Amigurumi Pattern
Tiny amigurumi keychains have a special charm, and this Crochet Long-Limbed Pig and cat duo takes that charm to a whole new level. Their dangly little legs give them a floppy, doll-like personality that regular round keychains just don’t have. Honestly, once you crochet one, you’ll want to make the whole set for every bag, backpack, and keyring in the house.
This crochet pattern is part of a growing trend in handmade crochet ideas: cute, pocket-sized characters with long, swingable limbs instead of stubby little stumps. It’s a fun twist on the classic keychain amigurumi, and it works up fast enough to finish in an evening or two. If you love easy crochet projects that still look impressively detailed, this one is for you.
Below, you’ll find everything you need: materials, stitches, a full step-by-step guide, and answers to common questions. Let’s get hooking.
What Is This Crochet Project About
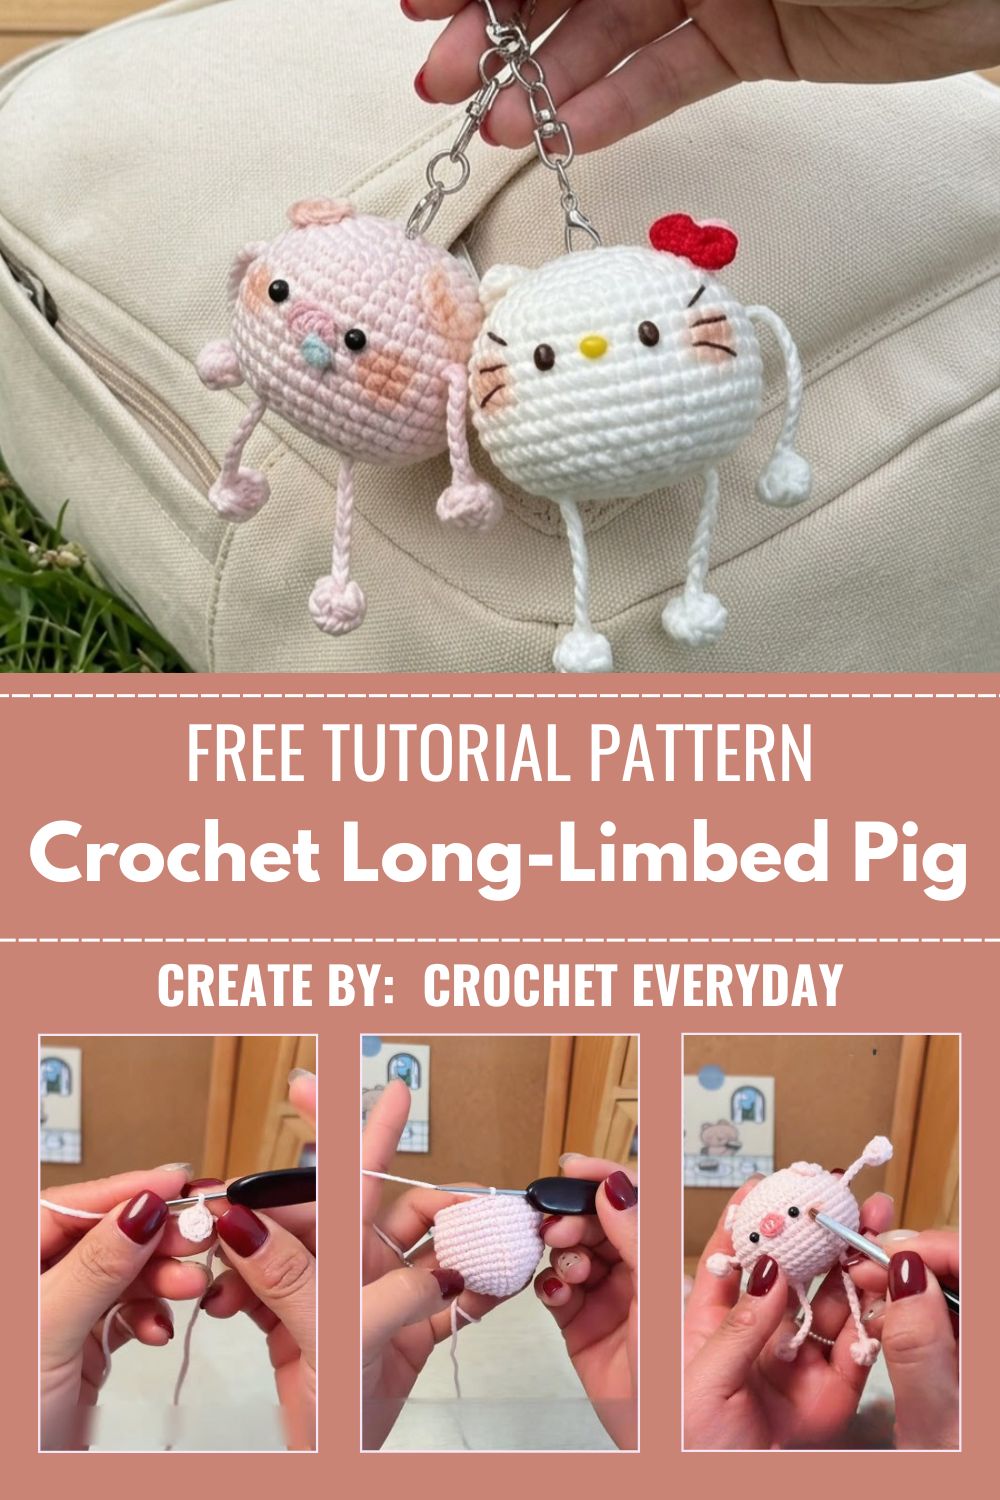
This pattern walks you through making two mini amigurumi characters, a pig and a cat, both designed with long, poseable limbs and a keychain loop at the top of the head. Each animal is built from simple round pieces: a head, a body, two arms, and two legs, all joined together with a needle and matching yarn.
Why Long-Limbed Keychains Are So Popular
Long-limbed amigurumi have become a favorite crochet tutorial topic for a few clear reasons.
- They look more like collectible dolls than basic plushies
- The dangling arms and legs add movement and personality
- They use very little yarn per piece, perfect for stash-busting
- They photograph beautifully for Pinterest and gift wrapping
Because the pieces are small, this beginner crochet project is a great way to practice shaping, color changes, and sewing without committing to a large project.
Skill Level
This pattern sits comfortably at the beginner to intermediate level. If you already know how to work in a magic ring, single crochet in the round, and follow increase and decrease stitches, you’re fully equipped to finish this project. The long limbs do require a bit of patience with sewing, but there is no complicated shaping involved anywhere in the pattern.
Materials and Supplies Needed
Gathering your supplies before you start keeps the whole project moving smoothly.
Yarn Type
- Cotton or cotton-blend yarn in worsted weight (category 4) for a firm, well-defined stitch
- Pink and light pink for the pig
- Grey, white, or orange for the cat
- Small amount of black or brown yarn for facial details
Hook Size
- 2.5mm to 3mm crochet hook, sized to match your yarn weight and to keep stitches tight enough that stuffing doesn’t peek through
Extra Tools
- Pair of 6mm safety eyes for each animal
- Polyester fiberfill stuffing
- Tapestry needle for sewing pieces together
- Stitch marker to track the start of each round
- Small keyring or lobster clasp
- Scissors
Crochet Stitches and Abbreviations Used
Here are the stitches and shorthand you’ll see throughout the instructions.
MR – Magic Ring
SC – Single Crochet
INC – Increase
DEC – Invisible Decrease
SL ST – Slip Stitch
CH – Chain
ST(S) – Stitch(es)
Step-by-Step Crochet Instructions
Making the Head
- Round 1: 6 SC in a magic ring (6)
- Round 2: INC in each stitch around (12)
- Round 3: SC 1, INC repeat around (18)
- Round 4: SC 2, INC repeat around (24)
- Rounds 5–9: SC around, no increases (24)
- Insert the safety eyes between rounds 5 and 6, spaced about 5 stitches apart
- Round 10: SC 2, DEC repeat around (18)
- Round 11: SC 1, DEC repeat around (12)
- Stuff the head firmly before closing
- Round 12: DEC around (6), fasten off and close the gap
Making the Body
- Round 1: 6 SC in a magic ring (6)
- Round 2: INC in each stitch around (12)
- Rounds 3–6: SC around (12)
- Round 7: SC 1, DEC repeat around (8)
- Stuff lightly and fasten off, leaving a long tail for sewing to the head
The Long Arms and Legs (make 4 total)
- Round 1: 5 SC in a magic ring (5)
- Rounds 2–8: SC around with no shaping, this builds the long, slim limb look (5)
- Leave the piece unstuffed or very lightly stuffed so the limb stays soft and floppy
- Fasten off, leaving a tail for sewing
Assembly
- Sew the body to the bottom of the head
- Attach the two arms to the sides of the body, near the top
- Attach the two legs to the bottom of the body
- Add small ears for the pig using flat oval shapes, and triangle ears for the cat
- Embroider a small nose and mouth using black or brown yarn
- Sew the keyring loop securely into the top of the head, going back and forth through the same stitch at least four times
Helpful Beginner Tips
- Always count your stitches at the end of every round, small pieces hide mistakes easily
- Use a stitch marker, it saves you from losing track of where the round started
- Pull your yarn tail through the last stitch and secure it before moving to the next piece
- Keep your tension slightly tight so the stuffing stays hidden
- Pin the limbs in place before sewing them permanently, so you can check how they hang
Common Mistakes and How to Fix Them
Mistake: Stitches look uneven or loose.
Solution: Switch to a slightly smaller hook or tighten your working tension gradually.
Mistake: The limbs look too stiff instead of floppy.
Solution: Skip stuffing entirely, or use just a tiny pinch near the top of each limb.
Mistake: Safety eyes are placed unevenly.
Solution: Insert the eyes with a stitch marker first, check from the front, then push them through only once you’re happy with the placement.
Mistake: The keychain loop pulls loose after use.
Solution: Sew through the same stitch multiple times and knot the yarn tightly before trimming.
Pattern Customization Ideas
- Swap the pig and cat colors for a rabbit, mouse, or bear version using the same base shapes
- Add a tiny bow, bandana, or hat for extra personality
- Use variegated yarn for a speckled, one-of-a-kind coat
- Make a mini backpack charm version by shortening the limbs slightly
- Turn the finished piece into a bag charm instead of a keychain by adding a longer strap
Size and Color Suggestions
This Crochet Long-Limbed Pig pattern typically finishes at around 9 to 11 cm tall, including the limbs, when made with worsted weight yarn and a 2.5mm hook. For a smaller version, drop down to a lace or fingering weight yarn with a 2mm hook.
Popular color combinations include:
- Classic pink and white for the pig
- Grey and cream for a tabby-style cat
- Black and white for a tuxedo cat look
- Pastel shades for a soft, giftable finish
FAQ Section
Can beginners really make this Crochet Long-Limbed Pig pattern?
Yes. As long as you’re comfortable with the magic ring and basic increases and decreases, the rest of the pattern is very repetitive and easy to follow.
How much yarn do I need?
A small amount goes a long way, usually under 20 grams per animal, making this ideal for leftover scraps.
Can I make it without safety eyes?
Yes, you can embroider the eyes instead using black yarn or embroidery floss.
Why are the limbs left unstuffed?
Unstuffed limbs hang naturally and give the keychain its signature floppy, poseable look.
Can I turn this into a bag charm instead?
Absolutely, simply swap the keyring for a longer strap or lobster clasp attachment.
Conclusion
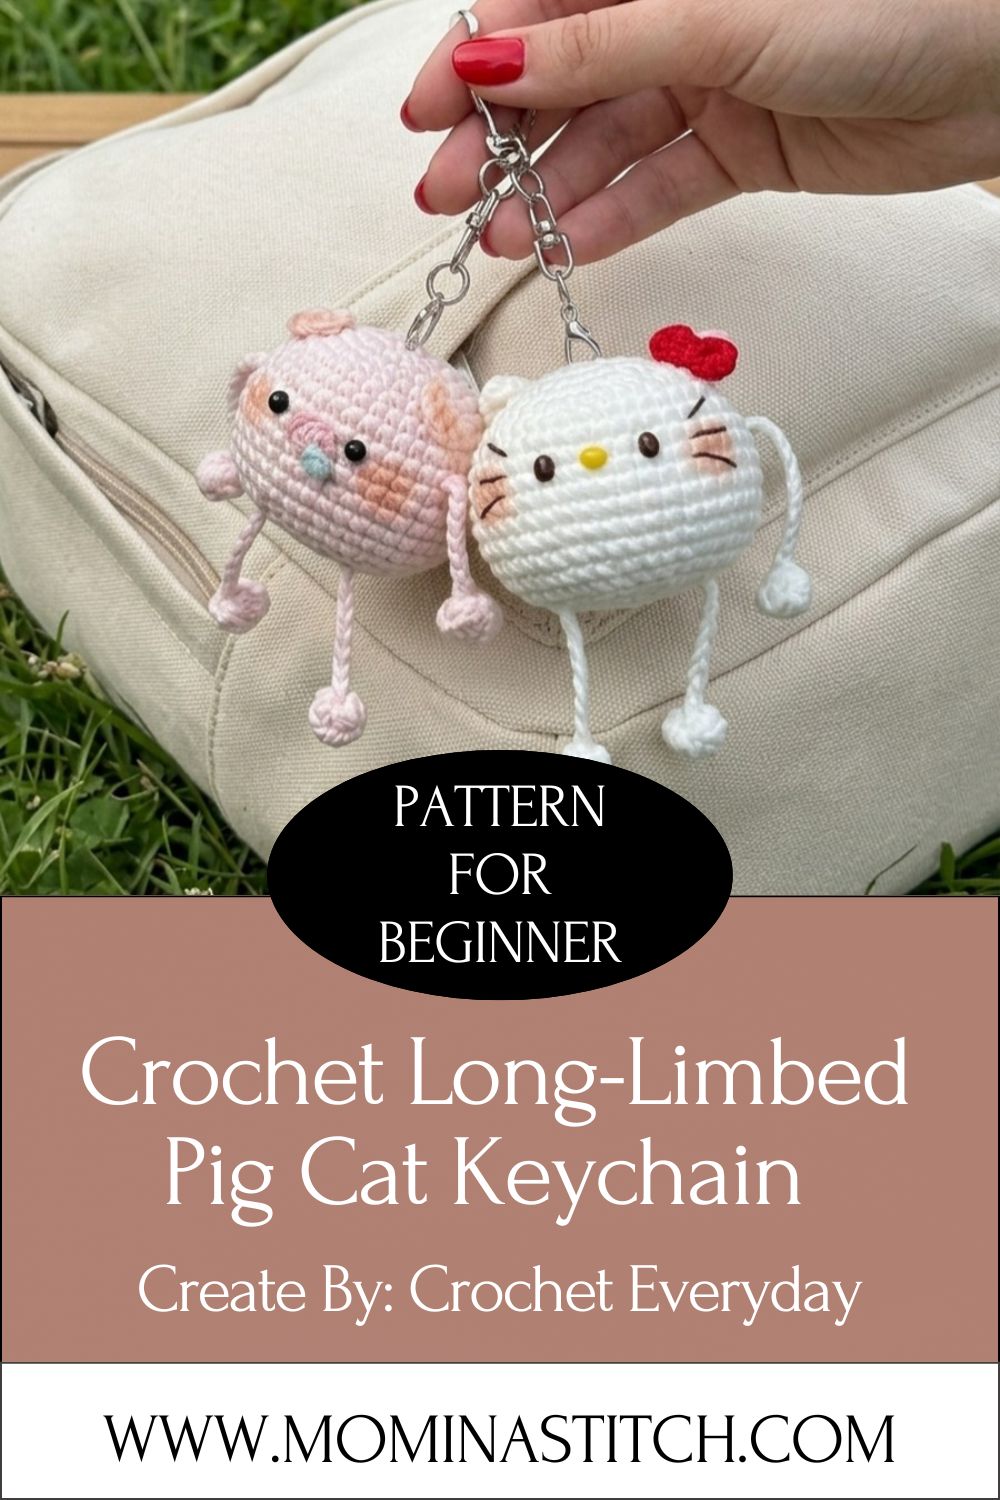
This long-limbed pig and cat keychain amigurumi pattern proves that small crochet projects can still be full of character. With just a bit of yarn, a few basic stitches, and some patience for sewing, you’ll have a pair of adorable little companions ready to hang on any bag or keyring. Give this crochet tutorial a try, and don’t be surprised if you end up making a whole collection.