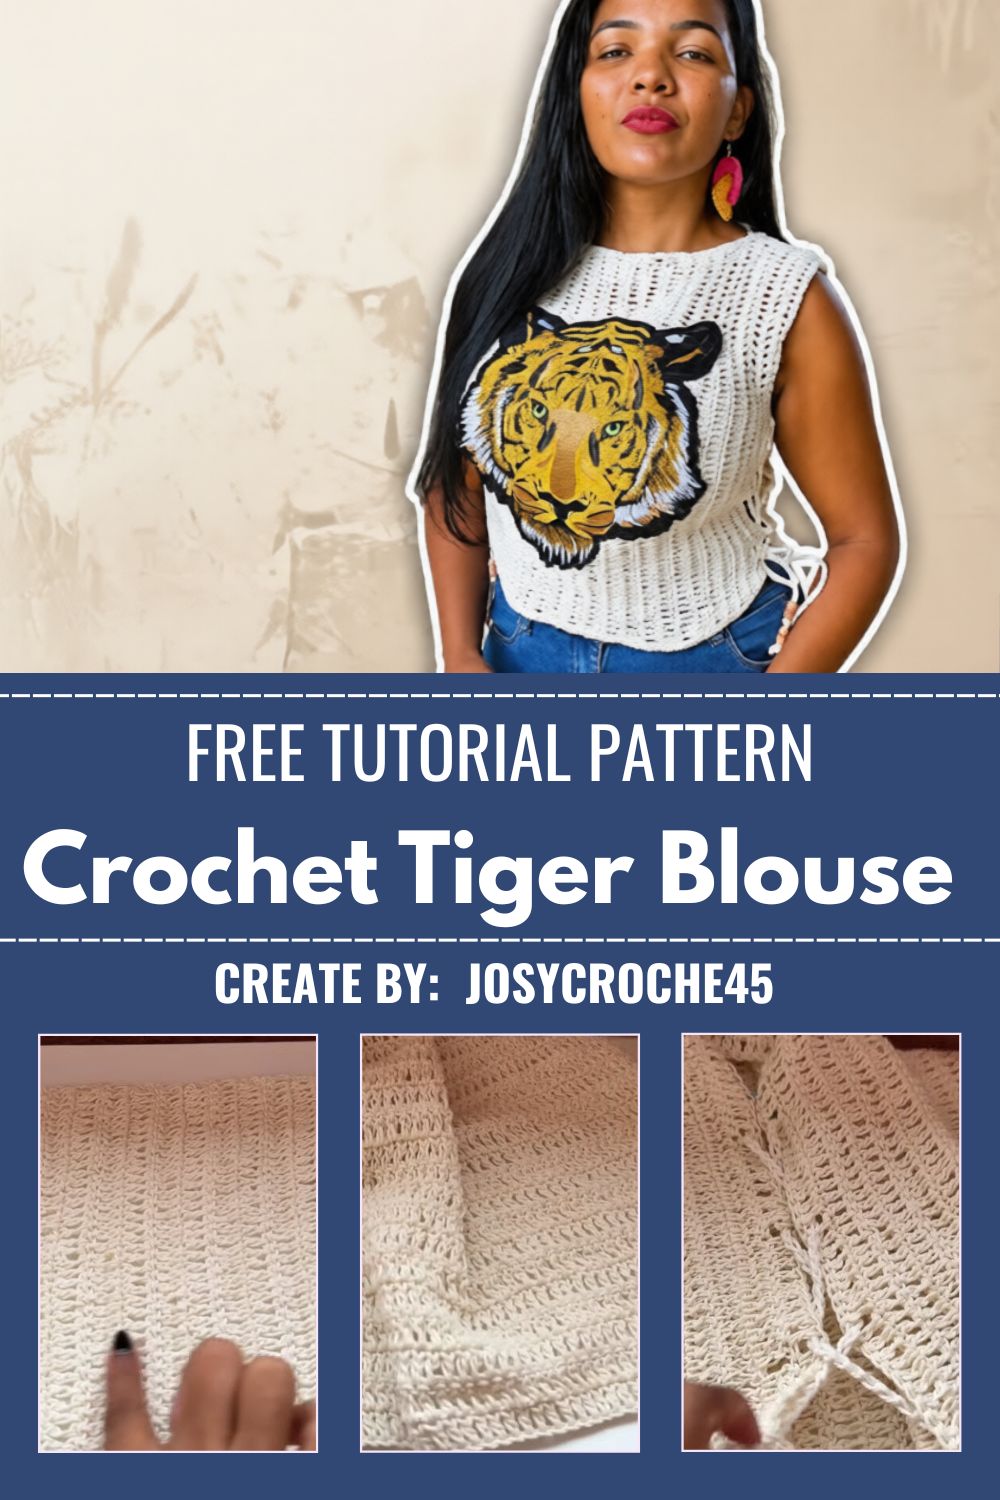
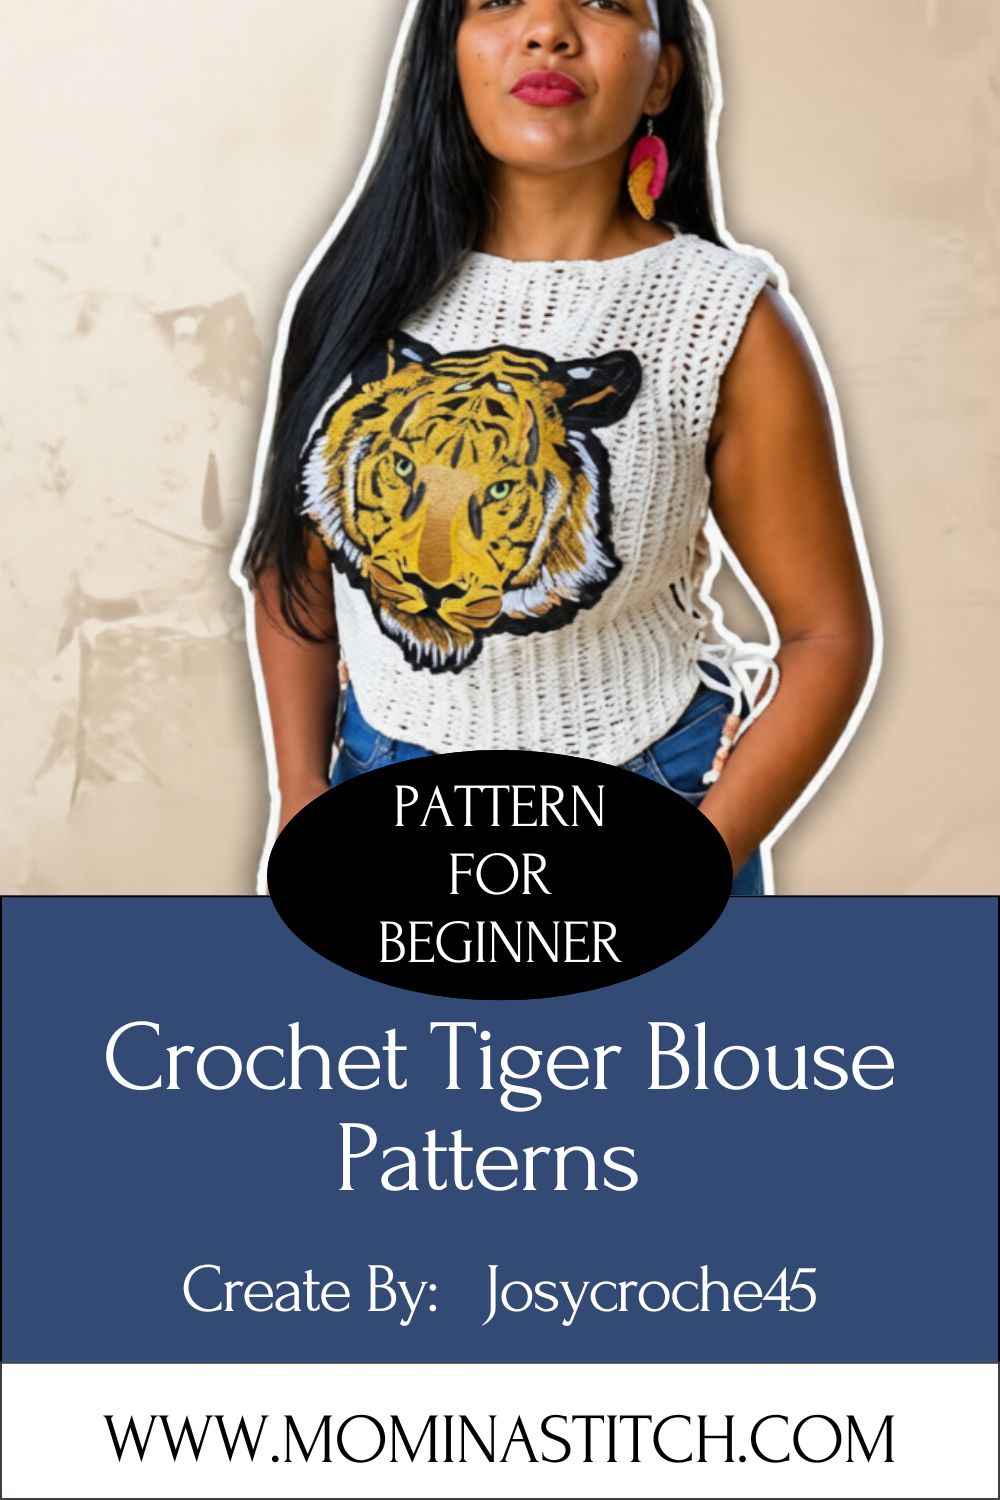
Crochet Tiger Blouse Pattern to Stitch a Animal Print Top
Stitch a bold tiger blouse that turns heads everywhere you walk. This Crochet Tiger Blouse Pattern blends fierce animal print energy with a soft, comfy fit you will love wearing.
This animal print top works up in simple rows and rounds. You carry two colors to build the tiger stripes, then shape the body and sleeves for a relaxed, breathable summer fit.
The blouse uses a classic stripe technique that looks complex but stays beginner-friendly. You alternate a warm base shade with a darker accent to mimic real tiger markings. The fabric drapes nicely, breathes well in heat, and pairs with jeans or skirts. Add this easy crochet project to your handmade wardrobe and enjoy a top nobody else owns.
Skill Level
This Crochet Tiger Blouse Pattern sits at the easy intermediate level. Beginner crocheters can follow it after learning basic stitches and simple color changes. You only need patience and steady tension to get clean tiger stripes.
Required Materials and Supplies
Gather everything before you start. Good supplies make the whole crochet tutorial smoother and faster.
Yarn Type
- Worsted weight cotton or cotton blend yarn for breathability
- Main color: warm tan, caramel, or golden orange
- Accent color: dark brown or black for the stripes
- Roughly 600 to 900 yards total, depending on your size
Hook Size
- 4.0 mm to 5.0 mm crochet hook
- Pick the size that gives you a soft, even fabric
Extra Tools
- Tapestry needle for weaving ends
- Stitch markers to track your rounds
- Scissors
- Measuring tape
- A few safety pins for blocking and fitting
Crochet Stitches and Abbreviations
You will use a small set of stitches in this pattern. Learn these abbreviations before round one.
- ch — chain
- sl st — slip stitch
- sc — single crochet
- hdc — half double crochet
- dc — double crochet
- st / sts — stitch / stitches
- inc — increase
- dec — decrease
- rep — repeat
- RS / WS — right side / wrong side
Step-by-Step Crochet Instructions
Work each section slowly and check your stitch count often. Clean counts keep the top even and the stripes straight.
Step 1: Make Your Gauge Swatch
Crochet a small square in your main color first. Measure the stitches against the pattern gauge. Adjust your hook size if your square runs too tight or too loose. This single step saves you from a top that does not fit.
Step 2: Start the Back Panel
Chain your starting length to match your chest size. Work even rows of hdc in the main color. Keep your edges straight by counting the first and last stitch of every row.
Step 3: Add the Tiger Stripes
Bring in the dark accent color to form the stripes. Work two or three rows of accent, then switch back to your main shade. Carry the unused yarn loosely along the edge so the fabric stays flexible. Repeat this stripe rhythm up the whole panel.
Step 4: Crochet the Front Panel
Make the front the same way as the back. Match your stripe placement on both pieces so the design lines up at the seams. Stop a few rows early to shape a gentle neckline with simple decreases.
Step 5: Shape the Armholes
Skip a few stitches at each side near the top of both panels. This opens space for the sleeves and gives your arms room to move. Keep both sides even for a balanced fit.
Step 6: Work the Sleeves
Crochet two matching sleeves in rounds. Start wide at the top and decrease slowly toward the wrist. Keep the same stripe pattern so the sleeves match the body. Short sleeves work great for warm days.
Step 7: Seam Everything Together
Lay your panels right sides together. Use a tapestry needle and the mattress stitch to join the shoulders and sides. Attach the sleeves last. Weave in every loose end as you go.
Step 8: Finish the Edges
Add a round of sc around the neckline and hem for a clean border. This step keeps the edges from curling and gives the blouse a polished look.
Helpful Beginner Tips
A few smart habits make this project far easier. Keep these in mind from the first stitch.
- Wind your accent yarn into a small ball for easy color changes
- Change colors on the last yarn-over of the previous stitch for crisp lines
- Use stitch markers at the start of each round so you never lose your place
- Block both panels before seaming for flat, even edges
- Take photos of your stripe spacing to copy it on the second panel
Common Mistakes and Solutions
Most problems have quick fixes. Spot them early and your top stays neat.
- Uneven edges: Count your first and last stitch every row to keep sides straight.
- Tight color changes: Carry the second color loosely so the fabric does not pucker.
- Twisted stripes: Lay your work flat often and check that lines run parallel.
- Wrong fit: Always make a gauge swatch before starting the panels.
- Curling hem: Add a single crochet border to settle the edges flat.
Pattern Customization Ideas
Make this top your own. Small changes create a whole new look.
- Swap the tiger palette for leopard tan and cream spots
- Add longer sleeves for cooler seasons
- Turn the blouse into a cropped style by shortening the panels
- Stitch a wider neckline for an off-shoulder fit
- Use metallic accent yarn for a festive, dressy version
Size and Color Suggestions
This pattern scales to almost any body. Adjust your starting chain to size up or down.
For color, classic tiger shades stay timeless. Try golden orange with deep brown for a real animal print vibe. Soft caramel with charcoal gives a muted, modern feel. Bold black and white reads graphic and chic. Pastel base colors with gray stripes suit a softer, playful style.
Pick a yarn that feels good on skin, since this top sits close to the body. Cotton blends keep you cool and hold the stripes well.
Frequently Asked Questions
How long does this crochet tiger blouse take?
Most crafters finish in one to two weekends. Your speed and chosen size change the timeline.
Can a true beginner make this top?
Yes, as long as you know basic stitches and simple color changes. Start with a gauge swatch to build confidence.
What yarn works best for an animal print top?
Worsted-weight cotton or a cotton blend works best. It breathes well and shows the stripes clearly.
How do I keep the tiger stripes straight?
Change colors on the final yarn-over and check your stitch count each row. Blocking also helps the lines stay even.
Can I make this blouse longer?
Yes. Add more rows to the panels before shaping the armholes for a tunic length.
Conclusion
This crochet tiger blouse pattern proves that bold style and easy stitching can live in one project. You learn simple color changes, clean shaping, and a stripe rhythm you can reuse on many handmade crochet ideas. Grab your hooks, choose your favorite tiger shades, and stitch a top that feels fierce and fun. Share your finished animal print top and inspire the next crocheter to try it too.