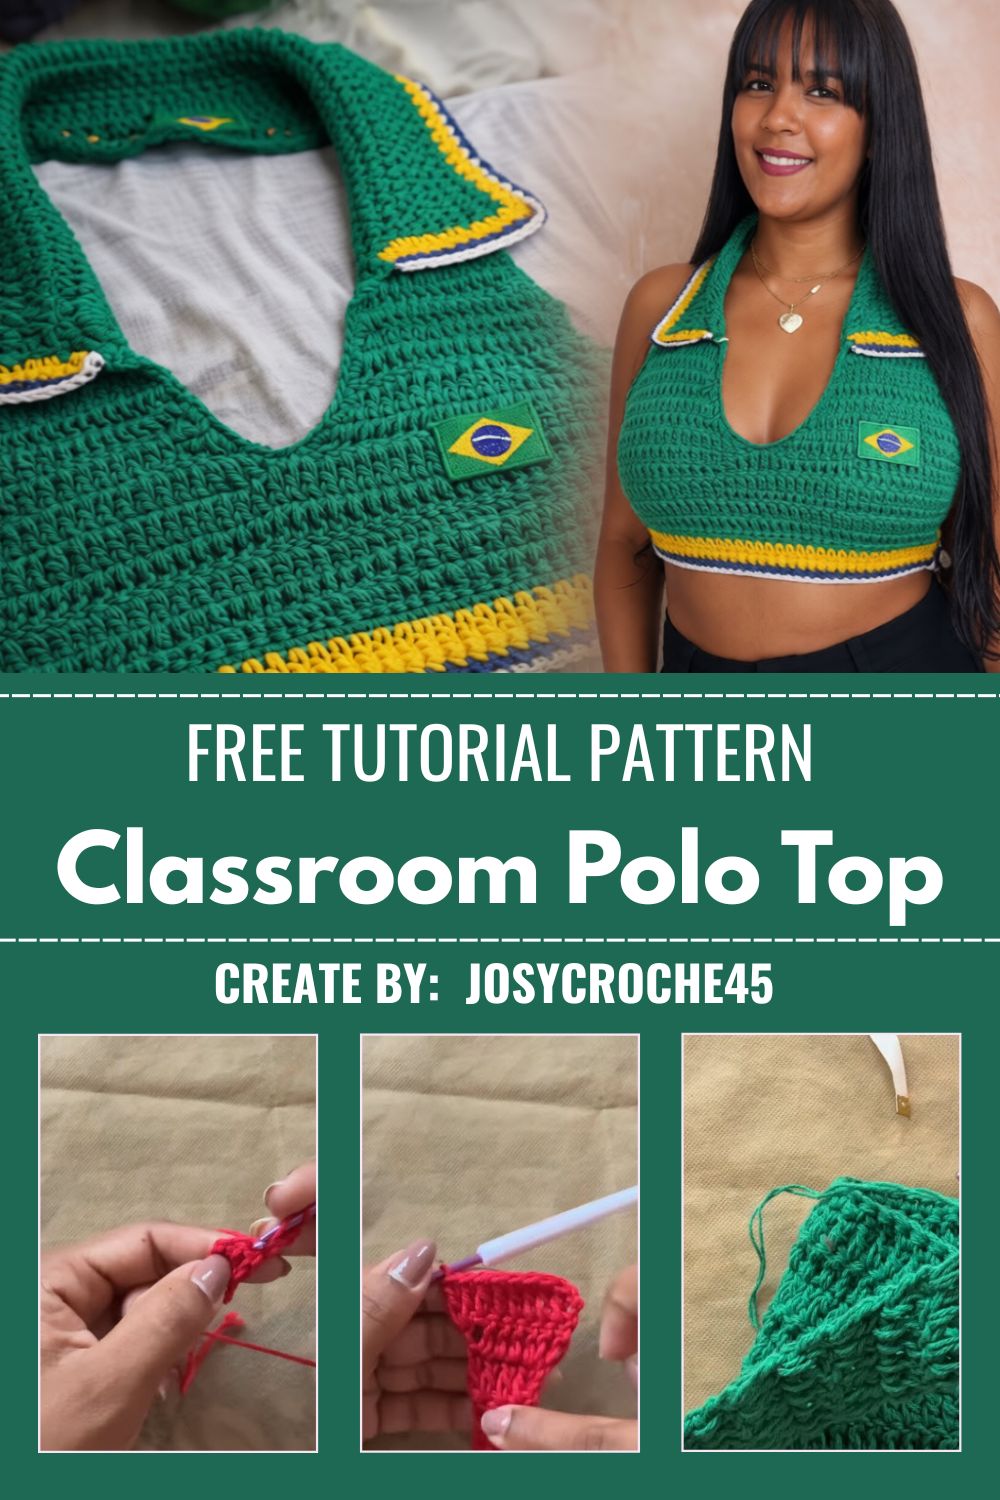
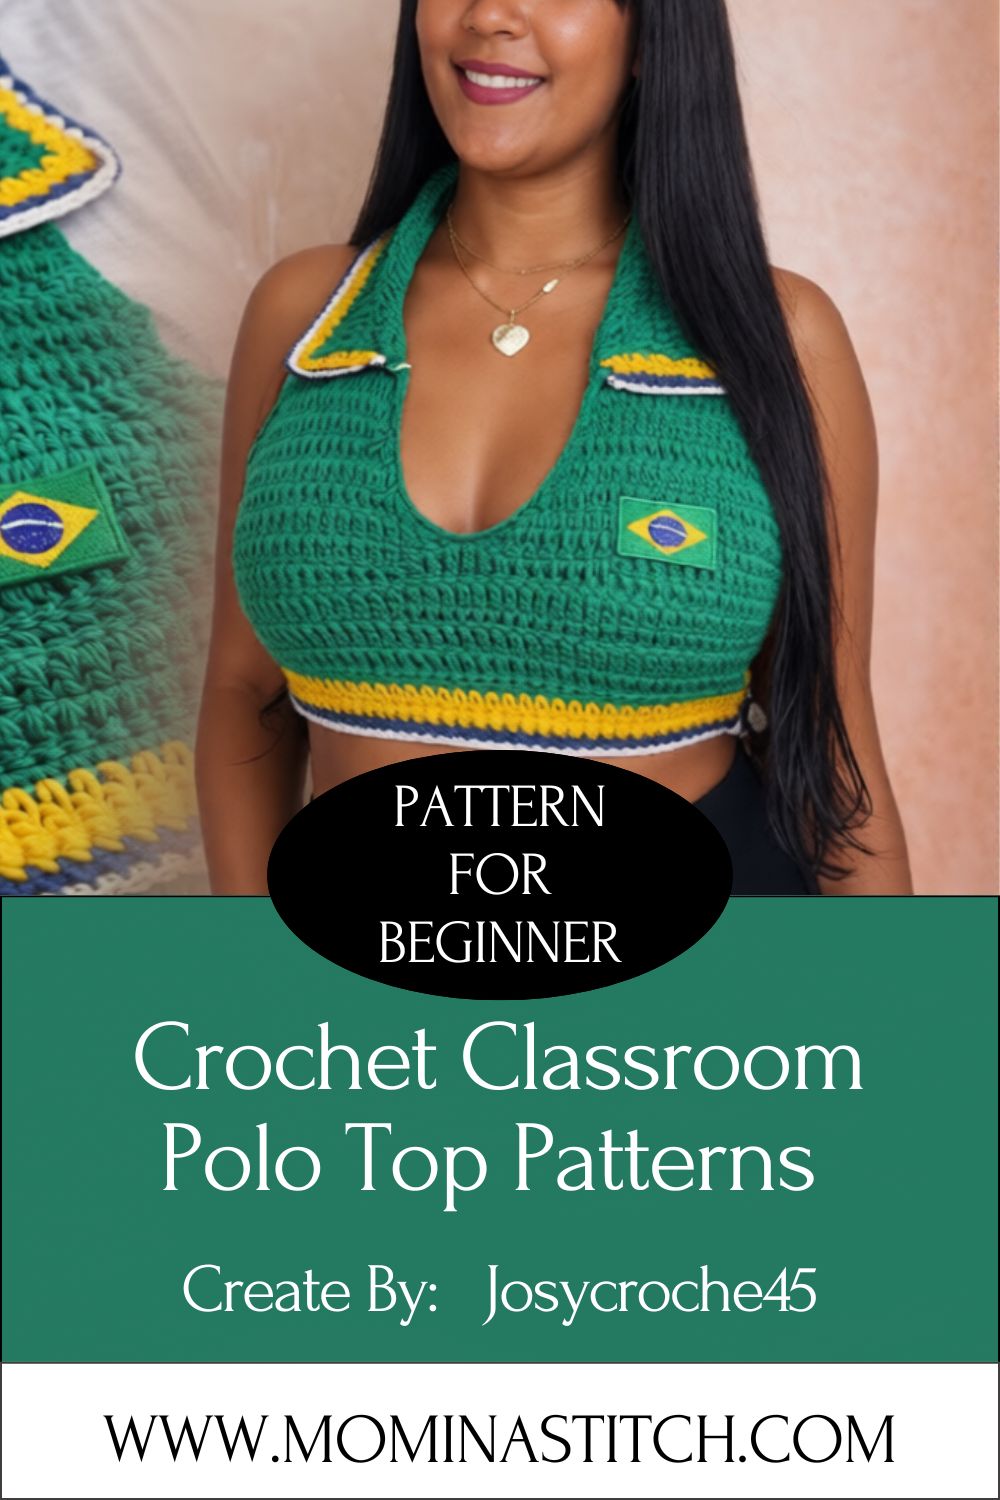
Crochet Classroom Polo Top Pattern for a Smart Everyday Look
A crochet polo top earns its place in any wardrobe by looking pulled together with almost no effort. This Crochet Classroom Polo Top version brings that same smart, easy charm to your handmade closet.
Crisp collar, neat placket, and a clean fit that works just as well for a classroom as a coffee run. This crochet classroom polo top is the kind of versatile staple you’ll reach for constantly, and a full video tutorial below guides you through making one in your own size.
Crochet Classroom Polo Top
Pattern Overview
Here’s a snapshot of what you’re making before you start:
- A short-sleeve polo-style top with a folded collar and a small buttoned placket at the neckline.
- Designed to sit smart but relaxed, so it layers easily and carries you across seasons.
- Usually worked in shaped panels or in the round, with attention to the shoulders, armholes, and neckline.
- The collar and placket are added after the body to deliver that unmistakable polo finish.
- Full sizing, gauge, and construction are demonstrated in the video tutorial linked further down.
Skill Level
This Crochet Classroom Polo Top is for confident beginners and up. You’ll need single crochet, simple shaping, and a little seaming, but the video breaks the collar and placket into clear, manageable steps.
What You’ll Need
Use this as your starting checklist, then follow the tutorial for exact amounts in your size:
- A smooth cotton or cotton blend yarn, since cotton gives polos their crisp, structured look
- A crochet hook to match your yarn and gauge
- A few buttons for the placket
- Stitch markers
- A yarn needle for seaming and weaving in ends
- Scissors
- A tape measure for checking gauge and fit
Abbreviations (US Terms)
- ch – chain
- sc – single crochet
- hdc – half double crochet
- dc – double crochet
- sl st – slip stitch
- st(s) – stitch(es)
- inc – increase
- dec – decrease
- rnd – round
- RS / WS – right side / wrong side
- FO – fasten off
Step-by-Step Instructions
Back Panel
- Ch 90 (your starting sts plus 2).
- Row 1: Hdc in the 3rd ch from the hook and in each ch across. Turn. (88 sts)
- Row 2 onward: Ch 2 (this does not count as a stitch), hdc in each st across. Turn. (88)
- Repeat the row until the panel measures 14 inches. Place a stitch marker at each end of this row to mark the underarms.
- Keep working even until the panel measures 22 inches in total, then FO.
Front Panel
- Work exactly like the back until the panel measures 19 inches, placing your underarm markers at 14 inches just as before.
- Left shoulder: Ch 2, hdc across the first 30 sts only. Turn. (30) Keep working even on these 30 sts until the front measures 22 inches, then FO.
- Right shoulder: With the RS facing, sk the center 28 sts, join yarn in the next st, ch 2, and hdc across the last 30 sts. Turn. (30) Work even until 22 inches, then FO.
- Those skipped 28 center sts form the front neckline.
Join the Shoulders
- Lay the front and back panels with right sides together.
- Seam each 30 st shoulder to the matching back edge using a whip stitch or slip stitch.
- Leave the center of the back open. Those center back stitches become the back neckline.
Side Seams
- Fold the joined piece so the front and back line up neatly.
- Seam each side from the bottom hem up to the underarm marker.
- Stop at the marker and leave everything above it open. That gap is your armhole.
Short Sleeves (worked in the round)
- With the RS facing, join yarn at an underarm.
- Pick up and hdc evenly around the armhole, roughly 60 to 68 sts depending on your size, then join with a sl st to the first st.
- Work hdc in the round, without turning, until the sleeve measures about 3 inches.
- Work 2 rounds of sc for a tidy cuff, then FO. Repeat on the second armhole.
Polo Collar
- With the RS facing, join yarn at one edge of the front neck opening.
- Hdc evenly around the neckline, working across the front neck, the back neck, and back to the other side of the front opening. Turn.
- Ch 2, hdc across. Turn. Repeat this row for 5 rows so the collar is tall enough to fold down, then FO.
- The collar stays open at the center front, exactly like a classic polo.
Front Placket and Buttons
- Make a small band: ch 8, then work hdc rows until the band is about 3 inches long, then FO.
- Center the band at the front neckline, just below the collar opening, and sew it down along one long edge and the bottom.
- Sew 2 buttons down the band. Use the natural gaps between the hdc stitches on the opposite edge as buttonholes, or add 2 small chain loops.
Finishing
- Weave in all of your ends.
- Optional: work 2 rounds of sc around the bottom hem for a clean, finished edge.
- Block the whole top so the fabric and collar lie flat and even.
Common Mistakes to Avoid
A few missteps can undo all your hard work, so keep these on your radar:
- Skipping the gauge swatch. This is the number one reason a finished top doesn’t fit.
- Uneven tension. Inconsistent stitches leave your panels mismatched in size.
- A rippling collar. Too many stitches or loose tension makes the collar wave instead of lying flat.
- Crooked button spacing. Measure and mark before you sew, not after.
- The wrong yarn. A stretchy or fuzzy yarn blurs the crisp polo lines you’re after.
- Tight seams. Pulling your seam stitches too hard puckers the fabric along the joins.
Good to Know Before You Start
A few remarks to keep the whole project running smoothly:
- Cotton or a cotton blend holds the polo’s shape, while a soft acrylic tends to droop over time.
- Always swatch and measure before you begin the body. It really is the secret to a good fit.
- Jot down any size adjustments as you make them so you can recreate the top later.
- Block the finished piece for the most professional, store bought look.
- This style usually uses US crochet terms, so double check if you normally work in UK terms.
- Match your button size to the yarn weight so the placket stays flat and neat.
Styling Your Polo Top
Part of the appeal is how many ways you can wear it:
- Pair it with tailored trousers or a skirt for a polished classroom or office look.
- Tuck it into high-waisted jeans for an easy, put-together weekend outfit.
- Layer it under a pinafore or an open cardigan when the weather cools.
- Choose crisp white or navy for a timeless, uniform-inspired feel.
- Reach for pastels or warm earth tones when you want something softer and more casual.
Beginner Tips for a Crisp Finish
These small habits separate a homemade-looking top from a polished, professional one:
- Wind off a full gauge swatch and wash it the way you’ll wash the top, so the fit survives the first laundry day.
- Keep one consistent hand throughout, since switching tension between sessions shows up clearly in fitted garments.
- Mark your shaping rows with stitch markers so your increases and decreases stay symmetrical on both sides.
- Press or steam your collar gently so it folds along a clean, crisp line.
- Sew buttons on with a sturdy thread and a few extra passes, because a polo placket gets daily use.
Color Ideas for Every Setting
The right shade can shift this top from school smart to weekend relaxed:
- Classic white or navy for a clean, uniform, inspired classroom look.
- Soft sage, dusty blue, or oatmeal for a calm, everyday palette.
- Black or charcoal for a sharper, more grown-up office feel.
- Pastel pink, lilac, or butter yellow for a fresh, springtime vibe.
- A heathered or marled cotton for subtle texture without any extra effort.
Final Stitches
A handmade Crochet Classroom Polo Top is proof that practical and stylish can absolutely live in the same garment. Take your time with the gauge, follow the video tutorial above for the full step-by-step, and you’ll end up with a smart, everyday top that feels custom-made, because it is. Pick your favorite color, cast on, and enjoy every row.