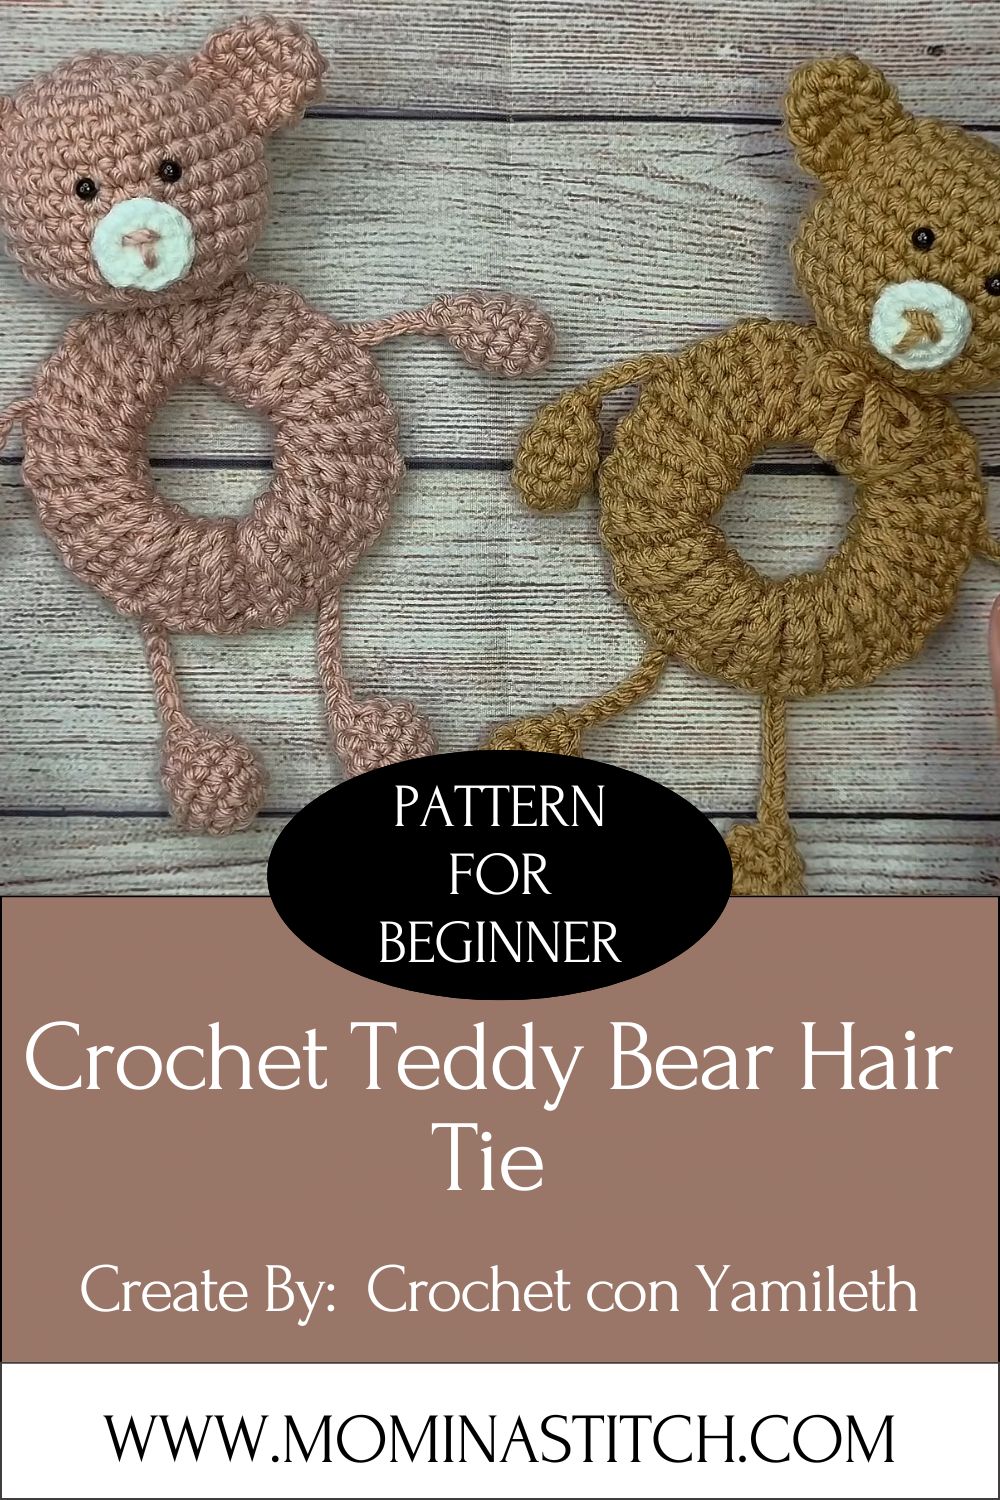
Free Crochet Teddy Bear Hair Tie Amigurumi Pattern
Ordinary hair ties often get lost or end up scattered in drawers, but this beautiful crochet teddy bear hair tie makes every look special. Its tiny amigurumi teddy bear lovingly decorates your ponytail and adds a unique, soft, and charming touch to your hairstyle.
It’s not just beautiful to wear; it’s also a perfect choice for gifting. Stitch by stitch, this adorable teddy bear comes together to enhance your creativity and catch every eye.
So why this project specifically? Because it teaches the core amigurumi skills in under an hour. You practice the magic ring, work in tight rounds, and shape a head without any fiddly limbs. It costs almost nothing in yarn scraps, and the finished bear works as a hair accessory, a bag charm, or a sweet little gift. 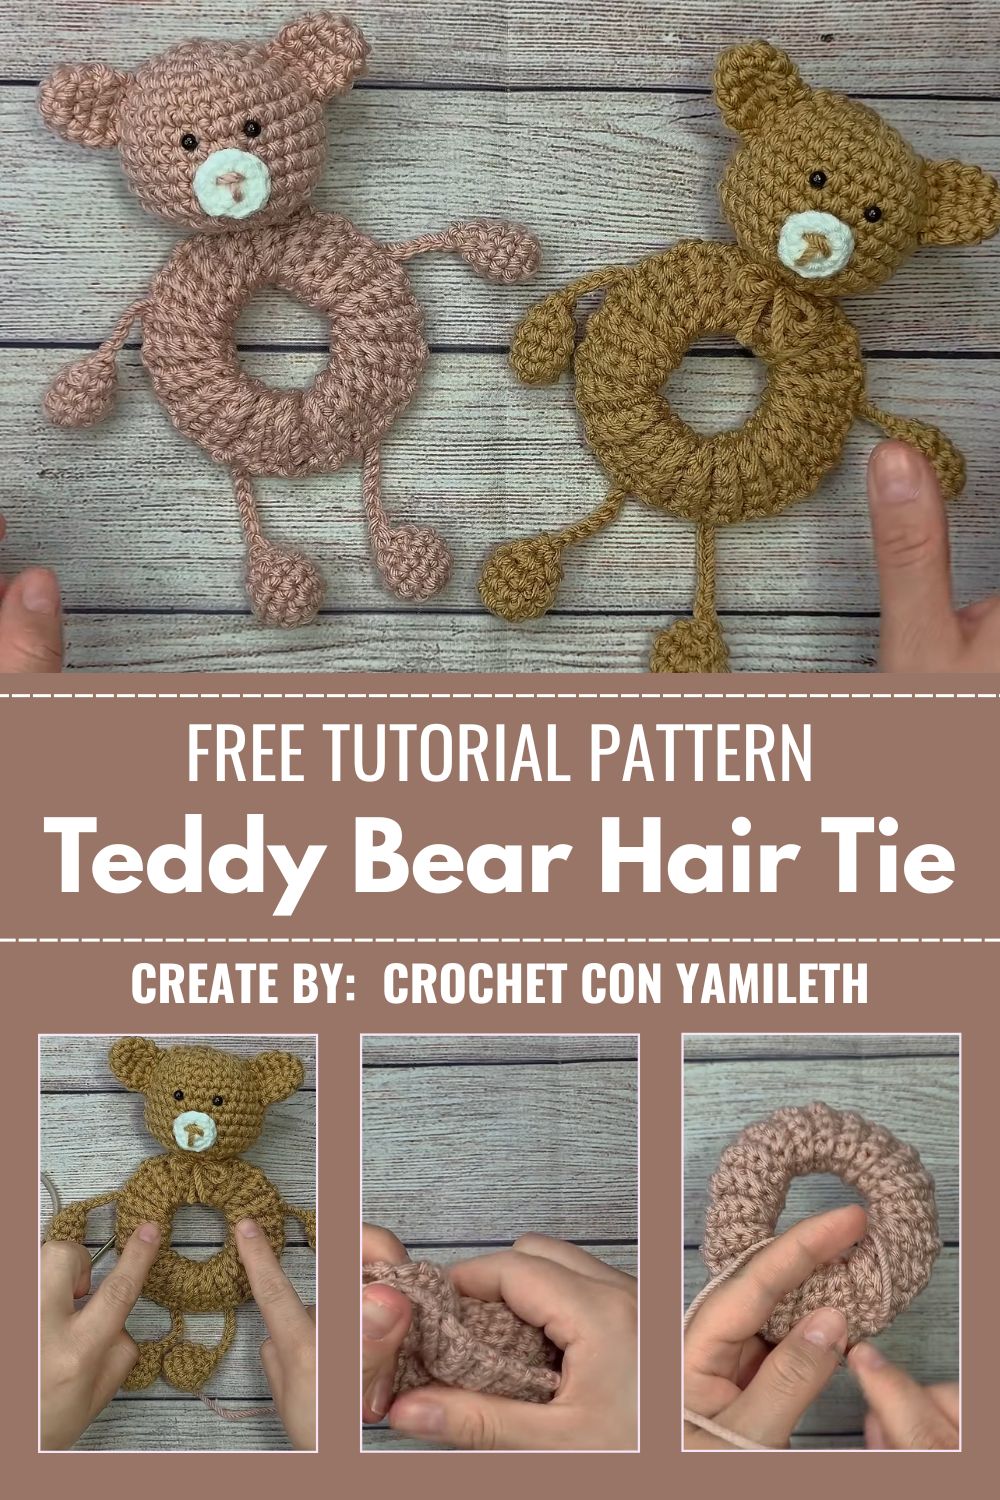
What Is This Crochet Project?
A teddy bear hair tie is a small amigurumi head stitched onto a standard elastic band. You crochet a stuffed bear face, add ears, embroider a cute expression, then secure it to the elastic. That is the whole thing.
The bear sits flat against your hair, so it stays comfortable all day. Because it is so small, it works up fast and uses leftover yarn from bigger projects. This easy crochet project is perfect for using up those tiny balls you cannot bear to throw away.
Skill Level
This pattern sits comfortably at the beginner level. You only need a handful of basic stitches and a little patience for the small rounds. If you have made one amigurumi before, you will breeze through it. Total beginners can absolutely manage it too, just go slow on the first round.
Required Materials and Supplies
Gathering your supplies first makes the whole process smoother. You really do not need much for this little guy.
Yarn Type
- Worsted weight (medium / size 4) yarn in your chosen bear color: medium/size 4 light brown, tan, cream, or pink
- A small scrap of black or dark brown for the nose and eyes (if embroidering)
- Cotton or acrylic both work great; cotton holds the round shape a touch better
Hook Size
- A 3.0 mm to 3.5 mm crochet hook
- Going one size smaller than your yarn label suggests keeps the stitches tight, so stuffing never peeks through
Extra Tools
- Polyester fiberfill stuffing (a small pinch is plenty)
- A standard hair elastic or scrunchie band
- Yarn needle for sewing and embroidery
- Small safety eyes (6 mm) or black yarn for embroidered eyes
- Stitch marker (or a scrap of contrasting yarn)
- Scissors
Crochet Stitches and Abbreviations Used
You will use just a few simple stitches throughout. Here is your quick cheat sheet:
- MR – magic ring
- ch – chain
- sc – single crochet
- inc – increase (2 sc in one stitch)
- dec – decrease (single crochet two stitches together)
- sl st – slip stitch
- st / sts – stitch/stitches
- ( ) x6 – repeat the pattern inside the brackets six times
Everything is worked in continuous rounds unless the pattern says otherwise. Pop a stitch marker in the first stitch of each round so you never lose your place.
Step-by-Step Crochet Instructions
Grab your hook and let us build this bear from the head up. Work in a spiral and keep your tension snug.
Making the Head
The head is one smooth ball-shaped object with increases and decreases.
- Round 1: 6 sc in MR (6)
- Round 2: inc in each st around (12)
- Round 3: (sc, inc) x6 (18)
- Round 4: (2 sc, inc) x6 (24)
- Round 5 to 8: sc in each st around (24)
- Round 9: (2 sc, dec) x6 (18)
Now is the moment to add safety eyes between rounds 6 and 7, roughly five stitches apart. Start stuffing firmly before the opening closes.
- Round 10: (sc, dec) x6 (12)
- Round 11: dec x6 (6)
Fasten off, leave a tail, and cinch the last stitches closed with your yarn needle. You now have a neat little ball.
Making the Ears (Make 2)
Tiny ears bring the whole bear to life.
- Round 1: 6 sc in MR (6)
- Round 2: (sc, inc) x3 (9)
Slip stitch to finish and leave a long tail for sewing. Do not stuff the ears; flat ears look more bear-like.
Adding the Face
This is where personality shows up. Trust me, the expression makes or breaks it.
- Embroider a small triangle or oval nose in the center, just above the round halfway line
- Add a tiny stitched smile under the nose
- If you skipped safety eyes, embroider two small black dots evenly spaced
- Keep both eyes level so the bear does not look sleepy on one side
Assembling the Bear
Pin everything in place before you commit with the needle.
- Sew the ears to the top of the head, curving them slightly forward
- Weave in any loose ends inside the head
- Give the whole head a gentle squeeze to even out the stuffing
Attaching the Hair Elastic
Almost done. This final step turns your bear into a wearable accessory.
- Hold the hair elastic flat against the back of the bear’s head
- Using your yarn tail, stitch over the band several times to lock it down
- Loop through the elastic and the back stitches a few extra times for strength
- Knot securely, then hide the tail inside the head
Give it a tug to test. If it holds, your teddy bear hair tie is officially finished.
Helpful Beginner Tips
A few small habits make your first bear look polished instead of lumpy.
- Always count your stitches at the end of each round
- Keep your tension tight so stuffing stays hidden
- Use a stitch marker every single round, no exceptions
- Stuff in small pinches rather than one big lump
- Block nothing; amigurumi looks best stitched firm and left alone
Low-key, the biggest beneficiary win is slowing down on the magic ring is. Get that right and everything after it falls into place.
Common Mistakes and Solutions
Even simple projects have a few sneaky traps. Here is how to dodge them.
- Stuffing shows through the stitches – Switch to a smaller hook for tighter fabric
- Head looks oval, not round – Stuff more evenly and add filling before closing
- Eyes sit crooked – Place them before stuffing, and double-check spacing first
- Ears flop or fall off – Sew through the same spot twice and pull the tail snug
- The bear spins on the elastic – Anchor it with more stitches across a wider area
Most issues trace back to loose tension. When in doubt, tighten up and recount.
Pattern Customization Ideas
Once you nail the basic bear, the fun really begins. Mix and match these ideas:
- Swap the bear for a bunny by making the ears longer and oval
- Add a tiny crochet bow or flower between the ears
- Stitch rosy cheeks with a touch of pink yarn
- Use sparkly or variegated yarn for a party version
- Make a matching pair and attach both to a single scrunchie
You can also turn the same head into a keychain, a zipper pull, or a backpack charm. The pattern is endlessly flexible.
Size and Color Suggestions
Size depends entirely on your yarn and hook combo.
- Worsted weight + 3.0 mm hook → bear roughly 4 to 5 cm wide (the sweet spot)
- DK weight + 2.5 mm hook → a daintier mini bear
- Chunky yarn + 4.0 mm hook → a chunky statement bear
For colors, classic brown and tan read most “teddy.” That said, pastel pink, soft lavender, mint, and cream all look adorable. Match the bear to a favorite outfit, or make a rainbow set so you never run out of options.
Frequently Asked Questions
How long does this project take?
Most makers finish in 30 to 60 minutes once they know the stitches.
Is it safe for young kids?
Use embroidered eyes instead of safety eyes for little ones, and skip loose parts.
What yarn is best for a Crochet Teddy Bear Hair Tie?
Worsted-weight cotton holds shape beautifully and feels soft against the hair.
Can I sell what I make?
Since this is an original beginner-friendly pattern, you are welcome to sell your finished handmade items. Always credit any video tutorial you learned from.
My bear keeps slipping off the elastic. Help?
Restitch the band across a wider section of the head and add a few anchor loops.
Conclusion
A crochet teddy bear hair tie proves that small makes a big charm. You practice real amigurumi skills, use up leftover yarn, and walk away with a wearable little friend in under an hour. Beginners get an easy win, and seasoned crocheters get a quick, satisfying palette cleanser between bigger projects.
So pick your favorite color, grab that hook, and stitch one up. Once you make the first Crochet Teddy Bear Hair Tie, trust me, you will be reaching for the yarn basket again. Happy crocheting, and enjoy showing off your new handmade crochet creation.