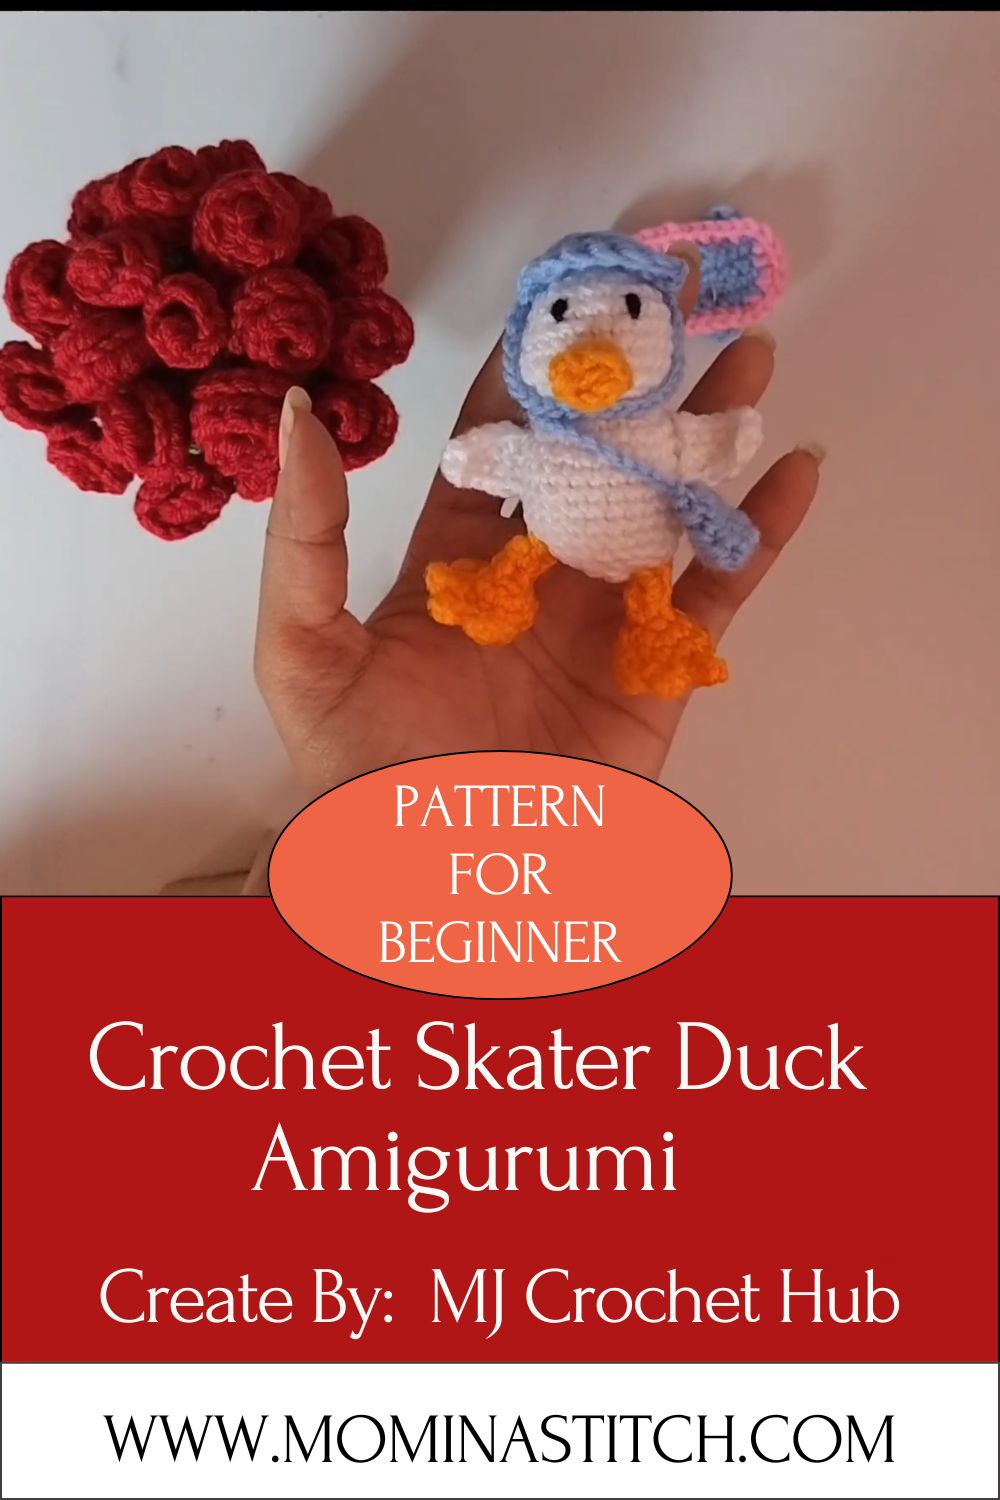
Unique Crochet Skater Duck Amigurumi Pattern for Beginners
Soft yarn becomes a playful skater duck in just a weekend. This beginner amigurumi uses simple stitches and a few small parts. This free Crochet Skater Duck Amigurumi guide covers every round and seam, step by step. So grab your hook and start rolling.
Charm and fun pack into this little crochet duck, and that makes it special. The skateboard gives the duck a personality you rarely see in plushies. Because the shapes stay simple, you finish each part quickly. The bright colors also make the whole project feel cheerful from start to end.
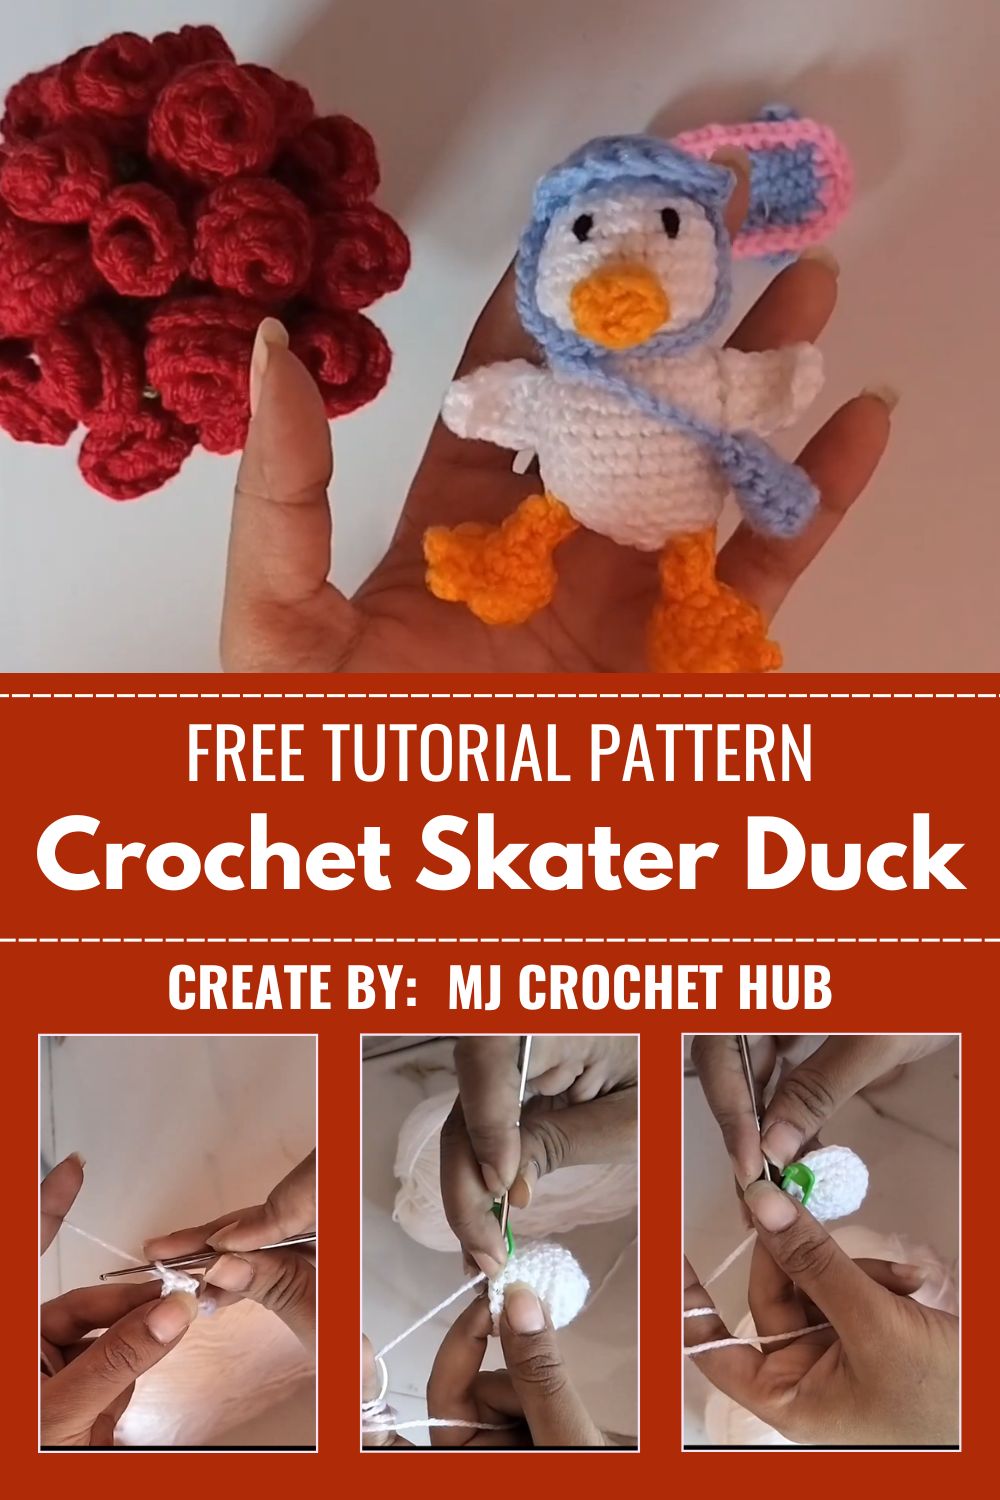
This duck works as a gift, a shelf decoration, or a kid’s new favorite toy. It costs little to make yet looks adorable when done. Plus, you choose every color, so each duck feels one of a kind. For real, that custom touch is what makes handmade toys shine.
Project Overview
This skater duck amigurumi combines a few easy pieces into one cute character. You crochet a round head, a small egg-shaped body, and tiny wings. After that, you add a beak, webbed feet, and a little helmet. Each part works in continuous rounds with simple increases and decreases. Then you crochet a small skateboard with four wheels. Finally, you sew everything together and pose the duck on its board. Because the parts stay beginner-friendly, you build skill with every round. So even your first amigurumi can look neat and professional.
Skill Level
This pattern suits complete beginners and easy intermediate makers. You only need the magic ring, single crochet, increases, and decreases. Because the rounds repeat in clear steps, you learn fast. So a first-timer can finish this duck with a little patience.
Materials and Supplies
Gather your supplies first, since it keeps your work smooth. Here is your full amigurumi supply list:
- Main yarn: soft yellow worsted or DK-weight cotton for the head and body
- Beak and feet yarn: a small amount of orange yarn
- Helmet yarn: a small amount in any bright accent color
- Skateboard yarn: a small amount in a bold shade, plus black for wheels
- Safety eyes: two 6 mm to 8 mm eyes, or black yarn for stitched eyes
- Fiberfill stuffing: enough to firmly fill the head and body
- Crochet hook: size 3.0 mm to 3.5 mm for tight, gap-free stitches
- Yarn needle: a blunt tapestry needle for sewing parts
- Stitch marker: to track the start of each round
- Scissors: a sharp pair for clean cuts
Use a hook one size smaller than your yarn label suggests. A tighter gauge stops stuffing from peeking through the stitches.
Crochet Techniques You Will Use
You only need a handful of skills for this duck. Review them once, and each round feels simple.
Magic Ring
The magic ring starts each piece with a tight, closed center. You wrap the yarn, work it into the loop, then pull it shut. As a result, your duck has no holes at the start of any part.
Single Crochet
Single crochet builds the whole body in dense, even fabric. This short stitch keeps the stuffing tucked safely inside. Because the stitches sit close, your duck holds a clean shape.
Increase and Decrease
Increases add stitches to widen the head and body. Decreases pull stitches together to close and shape each piece. Together, they create those smooth, rounded amigurumi curves.
Working in Rounds
You crochet each part in a continuous spiral, never joining. This method gives seamless, ball-like shapes. So always mark your first stitch to track each round.
Color Changes and Sewing
You swap colors for the beak, feet, and skateboard. Then you sew every part on with a yarn needle. Neat, even stitches keep the duck looking polished.
Step-by-Step Crochet Pattern Instructions
Follow each part in order, and stuff firmly as you close. Keep your tension tight so no gaps appear.
Step 1: Crochet the Head
Start with yellow yarn and a magic ring.
R1: 6 sc in magic ring (6)
R2: inc in each st around (12)
R3: 1 sc, inc repeat around (18)
R4: 2 sc, inc repeat around (24)
R5: 3 sc, inc repeat around (30)
R6 to R10: sc in each st around (30)
R11: 3 sc, dec repeat around (24)
Place the safety eyes between R8 and R9, about six stitches apart. Then start stuffing the head firmly.
R12: 2 sc, dec repeat around (18)
R13: 1 sc, dec repeat around (12)
R14: dec around (6)
Fasten off, then close the small hole with your needle.
Step 2: Crochet the Body
Use yellow yarn and a magic ring again.
R1: 6 sc in magic ring (6)
R2: inc in each st around (12)
R3: 1 sc, inc repeat around (18)
R4: 2 sc, inc repeat around (24)
R5 to R9: sc in each st around (24)
R10: 2 sc, dec repeat around (18)
R11: 1 sc, dec repeat around (12)
Stuff the body firmly, then leave a long tail for sewing.
R12: dec around (6)
Fasten off.
Step 3: Crochet the Wings (Make 2)
Use yellow yarn.
R1: 6 sc in magic ring (6)
R2: 1 sc, inc repeat around (9)
R3 to R4: sc in each st around (9)
Flatten the wing, then fasten off with a tail.
Step 4: Crochet the Beak
Use orange yarn.
R1: 6 sc in magic ring (6)
R2: sc in each st around (6)
Flatten the beak, then fasten off with a tail.
Step 5: Crochet the Feet (Make 2)
Use orange yarn.
R1: 6 sc in magic ring (6)
R2: inc in each st around (12)
Flatten each foot, then sc across the edge to close. Fasten off with a tail.
Step 6: Crochet the Helmet
Use your accent color.
R1: 6 sc in magic ring (6)
R2: inc in each st around (12)
R3: 1 sc, inc repeat around (18)
R4 to R5: sc in each st around (18)
Fasten off with a tail. This little cap gives the duck its skater style.
Step 7: Crochet the Skateboard
Make the deck with your bold yarn.
Chain 9.
Row 1: sc in 2nd ch from hook and across (8 sc), ch 1, turn
Row 2 to Row 4: sc in each st across (8 sc), ch 1, turn
Round the ends with a few decreases, then fasten off.
For the wheels, make four small circles with black yarn.
R1: 6 sc in magic ring (6), fasten off with a tail.
Step 8: Assemble the Duck
Now bring all the parts together.
Sew the head onto the body with firm, even stitches. Attach the beak to the center of the face. Sew the wings to each side of the body. Add the feet to the bottom front. Place the helmet on top of the head, then stitch it down. Finally, sew the four wheels under the skateboard deck. Set the duck on the board, and tack the feet to the deck.
Tips and Tricks
A few smart habits make your duck look clean and pro.
- Keep tight tension. Pull each stitch snug so stuffing never shows. Tight stitches give crisp, rounded shapes.
- Use a stitch marker. Mark the first stitch of every round. This stops miscounts in the spiral rounds.
- Stuff in small amounts. Add stuffing little by little as you close. Firm, even stuffing prevents lumps and dents.
- Place eyes before closing. Set safety eyes while you can still reach inside. Once stuffed, the eyes are hard to move.
- Pin before you sew. Pin each part in place first, then step back. Pinning helps you check the duck’s expression.
Real talk, these small steps separate a neat duck from a messy one.
Common Mistakes to Avoid
Watch for these slip-ups so your duck turns out adorable.
- Loose stitches with gaps. A big hook or loose hands let stuffing show. Use a smaller hook and tighter tension.
- Understuffing the body. A soft, floppy duck loses its shape fast. Pack each part firmly before closing.
- Losing your round count. Spiral rounds blur together without a marker. Always mark and move your stitch marker.
- Crooked face placement. Off-center eyes or a beak change the whole look. Measure and pin before fixing anything in place.
- Weak assembly stitches. A few loose stitches let parts wobble or fall. Sew each piece on with many secure passes.
Design Customization Ideas
Make your skater duck truly one of a kind.
- Switch the colors. Try a white duck, a pastel duck, or a rainbow board. Bold combos look striking together.
- Change the accessory. Swap the helmet for a tiny beanie or a bow. Small swaps create a whole new vibe.
- Add a scarf or bag. Crochet a mini scarf or backpack for extra charm. These details feel custom and fun.
- Resize the duck. Use thicker yarn and a bigger hook for a jumbo duck. Thinner yarn makes a tiny keychain version.
- Add a name tag. Stitch a small tag or charm onto the skateboard. This makes a sweet personalized gift.
Because the base shapes stay the same, you can remix this duck endlessly.
Frequently Asked Questions
What is the best yarn for Crochet Skater Duck Amigurumi?
Cotton or a cotton blend works best for amigurumi. It holds shape, shows stitches clearly, and resists stretching. A smaller hook keeps the fabric tight and gap-free.
How do I stuff my Crochet Skater Duck Amigurumi firmly?
Add stuffing in small bits as you crochet upward. Pack each section before you close the final rounds. Firm stuffing keeps the duck round and prevents sagging over time.
How long does this duck take to make?
Most beginners finish this duck in a few hours over a day or two. Each small part stitches up quickly. The assembly takes the most care, so go slow there. With practice, your next duck will go even faster.
Final Thoughts
You now have everything you need to crochet a charming Crochet Skater Duck Amigurumi. From the magic ring to the final wheel, each round builds real skill. So pick your favorite colors, settle in, and enjoy the process.
Ready to start? Grab your hook today and crochet the Skater Duck Amigurumi that rolls into everyone’s heart. Once you finish, share your duck and inspire another maker to try these crochet patterns too.