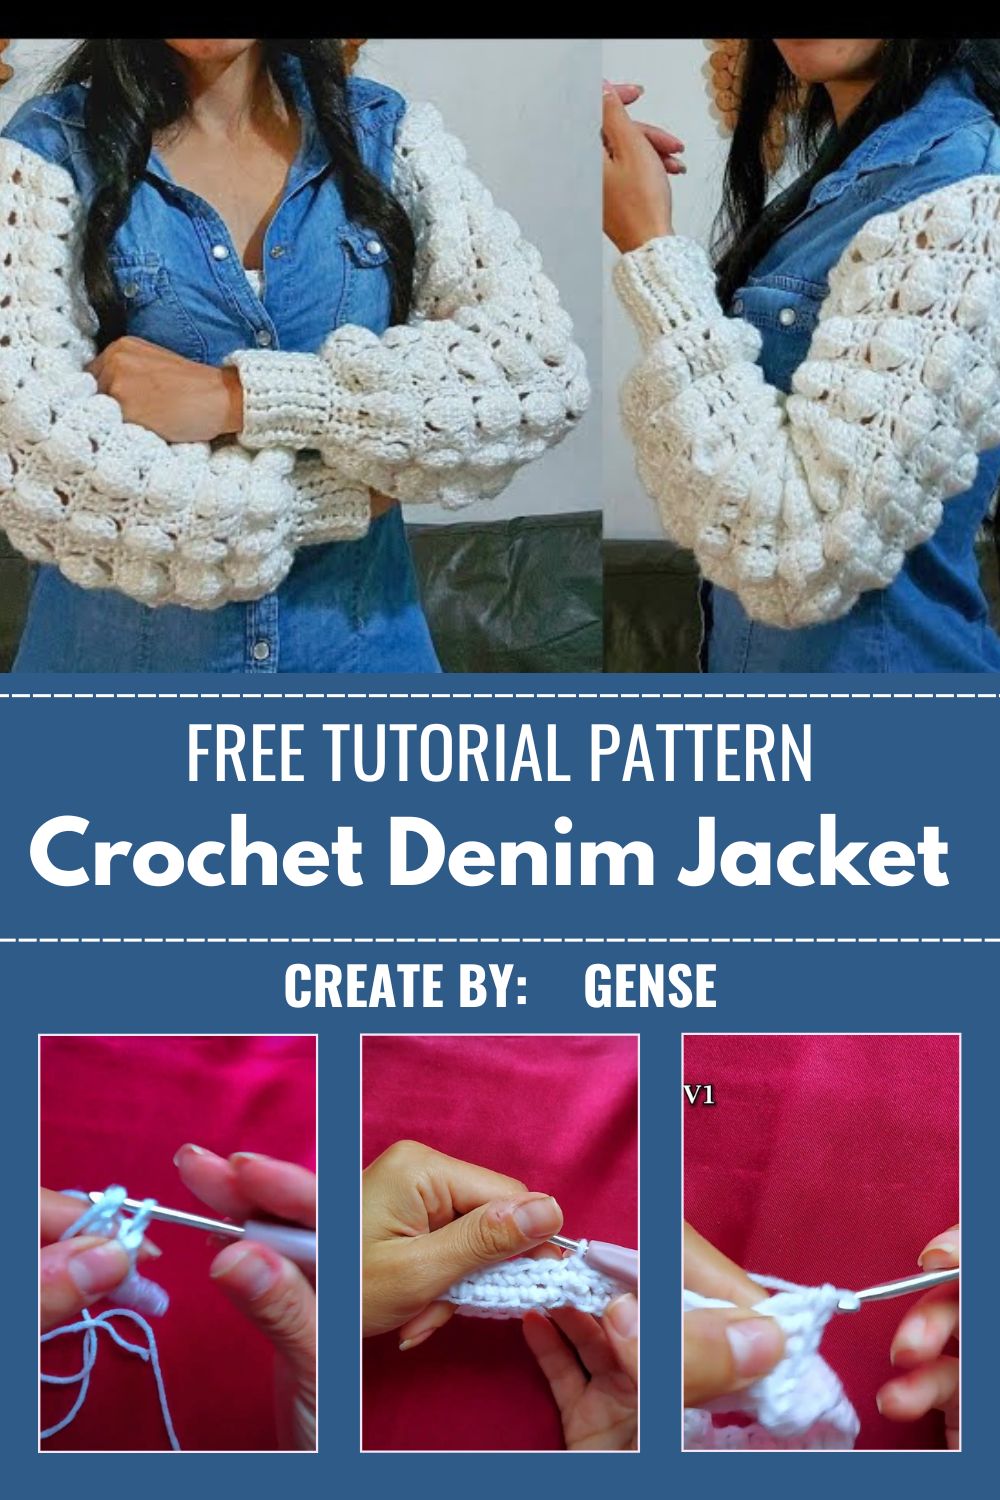
Precious Crochet Denim Jacket Pattern Customize For Project
Craving that classic denim jacket look without the sewing machine? This Crochet Denim Jacket Pattern gives you the same cozy, trendy vibe using just yarn and a hook. Honestly, it’s easier than it looks.
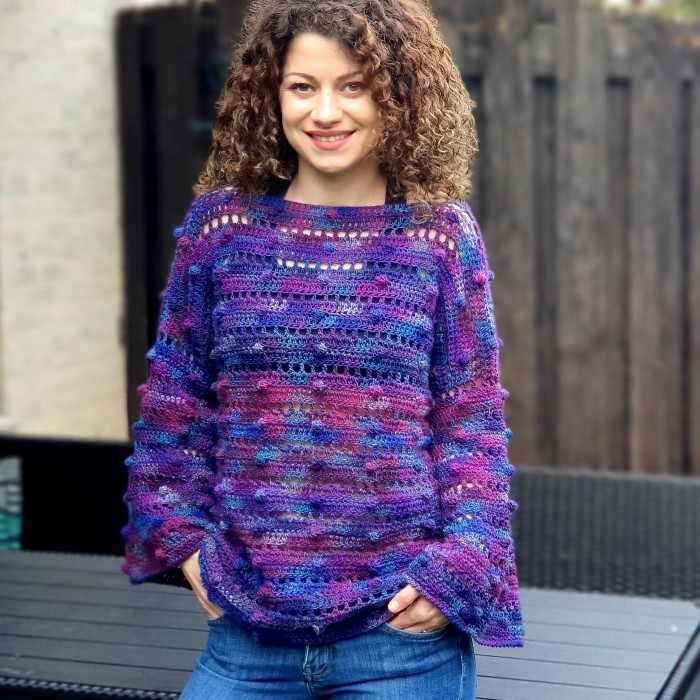
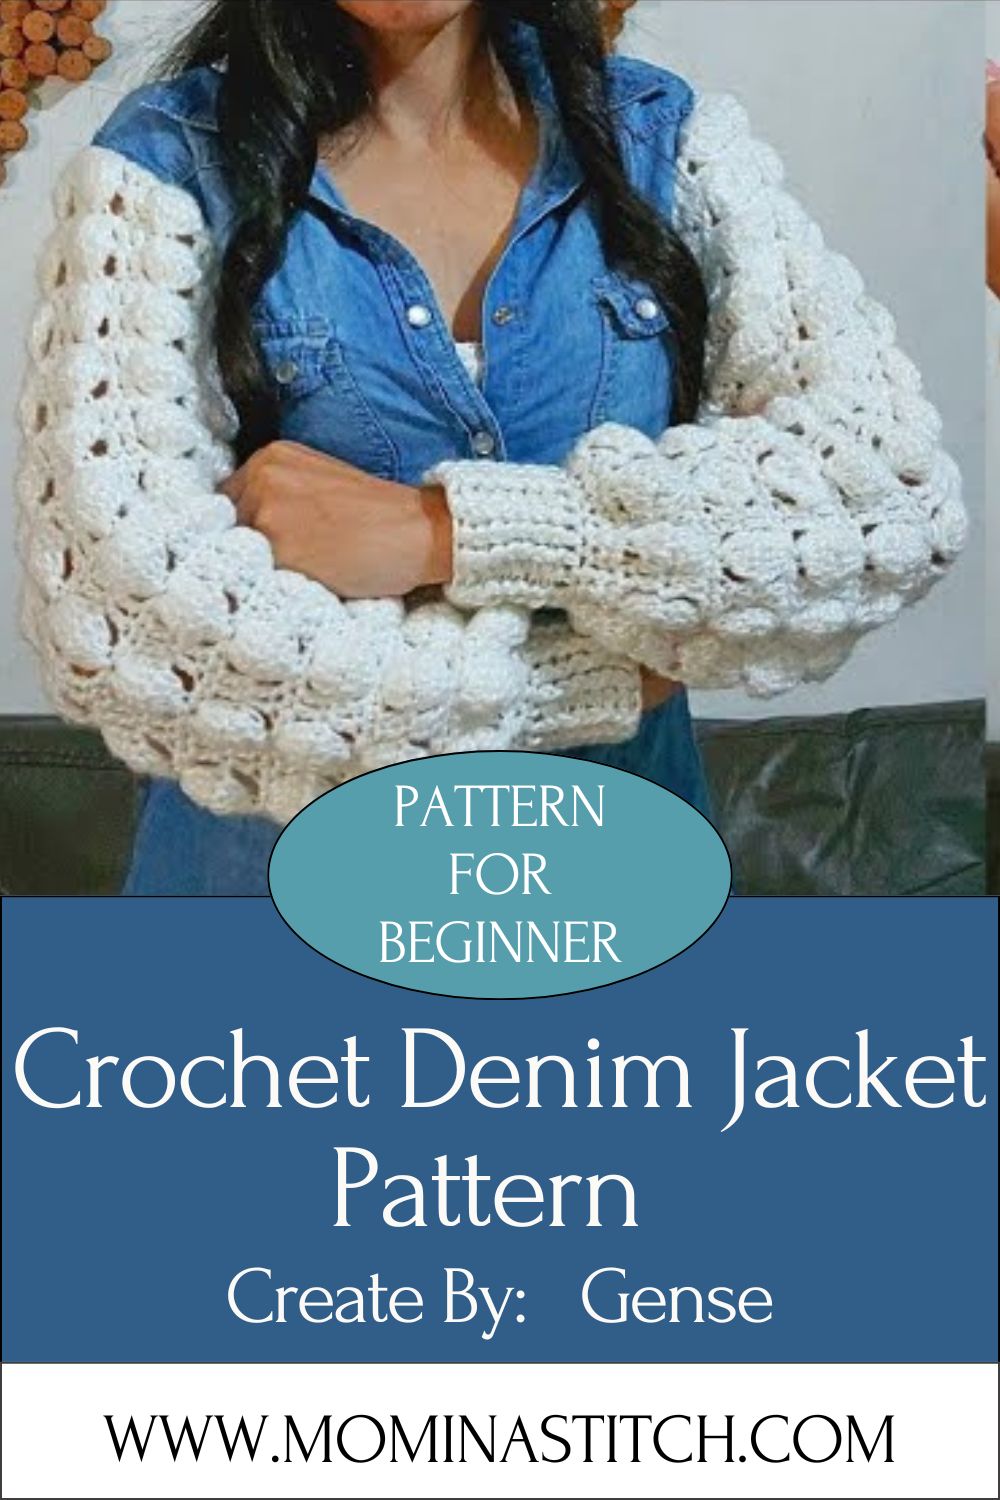
This precious crochet denim jacket pattern recreates the timeless denim jacket silhouette using soft, workable yarn instead of actual denim fabric. Trust me, the finished piece looks incredibly close to a real jacket, complete with structured seams and a relaxed fit. It’s a fun project for anyone who wants a handmade wardrobe staple that’s fully customizable in size, color, and style. This pattern works up in simple pieces before assembly, making it approachable even for newer crocheters.
Skill Level
This project is rated intermediate. It involves basic shaping, seaming multiple pieces together, and following a repeated stitch pattern. If you’ve completed a few crochet garments before, like a simple cardigan or vest, you’ll feel right at home with this jacket. Beginners can still attempt it with patience and by watching the video tutorial alongside the written steps.
Required Materials and Supplies
Gathering the right supplies before you start makes the whole process smoother and more enjoyable.
Yarn Type
- Medium weight (Category 4) cotton-acrylic blend yarn works best for that authentic denim texture
- Choose a heathered blue or chambray-toned yarn for the most realistic denim look
- Approximately 800–1000 yards depending on your size
Hook Size
- 5.0mm (H-8) crochet hook is the standard recommendation
- Adjust up or down slightly depending on your tension and gauge
Extra Tools
- Yarn needle for weaving in ends and seaming
- Stitch markers to track rounds and pattern repeats
- Measuring tape for accurate sizing
- Scissors
- Buttons (optional, for a classic denim jacket closure)
Crochet Stitches and Abbreviations Used
Here’s a quick abbreviation list so you can follow the pattern without any confusion:
- ch – chain
- sc – single crochet
- hdc – half double crochet
- dc – double crochet
- sl st – slip stitch
- sk – skip
- st(s) – stitch(es)
- rep – repeat
- rnd – round
- FLO – front loop only
- BLO – back loop only
Step-by-Step Crochet Instructions
Step 1: Make Your Gauge Swatch
Before diving in, work a small swatch using your chosen yarn and hook. This helps you confirm your stitch count matches the pattern’s intended sizing. Skipping this step is a common reason finished jackets turn out too big or small.
Step 2: Crochet the Back Panel
Chain the required number of stitches based on your size, then work rows of half double crochet in the back loop only. This BLO technique creates the ribbed, denim-like texture that gives the jacket its signature look. Continue until the panel reaches your desired jacket length, shaping the armholes as you approach the top.
Step 3: Crochet the Two Front Panels
Work each front panel separately using the same BLO half double crochet stitch. Remember to mirror your shaping so the left and right sides match when the jacket is buttoned or worn open. Leave space for the button band if you’re adding closures.
Step 4: Crochet the Sleeves
Work the sleeves in rounds or rows depending on your preferred construction method. Start narrower at the cuff and gradually increase stitches as you move toward the shoulder for a comfortable, natural fit.
Step 5: Seam the Pieces Together
Using your yarn needle, sew the shoulder seams first, then attach the sleeves, and finally close the side and underarm seams. Take your time here since neat seaming makes a huge difference in the final polished look.
Step 6: Add the Collar and Trim
Work a border of single crochet or half double crochet around the neckline, cuffs, and hem. This trim mimics denim jacket stitching details and gives the piece a finished, store-bought appearance.
Step 7: Attach Buttons or Closures
If you’re recreating the classic button-front denim jacket style, sew on buttons evenly spaced along the front band. Alternatively, leave it open-front for an easy layering piece.
Step 8: Weave in Ends and Block
Weave in all loose ends securely, then block your finished jacket by lightly steaming or wet-blocking it. This step helps the stitches relax into place and gives the jacket a more professional, structured drape.
Helpful Beginner Tips
- Always check your gauge swatch before committing to the full project; it saves hours of frustration later
- Use stitch markers at the start of each row or round so you never lose your place
- Work in good lighting so you can clearly see your front and back loops
- Keep your tension consistent by taking breaks rather than rushing through long rows
- Pin pieces together before seaming to check the fit ahead of time
Common Mistakes and Solutions
Uneven tension throughout the project
Solution: Practice consistent hook grip and yarn tension on a swatch before starting the actual pieces.
Sleeves that don’t match armhole size
Solution: Measure your armhole opening and adjust sleeve cap increases accordingly before seaming.
Twisted seams
Solution: Lay pieces flat and pin them in place before sewing to keep everything aligned.
Yarn substitution changes the finished size
Solution: Always match your gauge, not just the yarn weight label, to keep sizing accurate.
Pattern Customization Ideas
One of the best parts of this pattern is how easily it adapts to your personal style.
- Add crochet patch pockets to the front panels for a functional, decorative touch
- Try a cropped length for a modern, trendy silhouette
- Lengthen the body for an oversized, boyfriend-style jacket
- Swap the button band for a zipper closure
- Add contrast stitching in a lighter thread to mimic denim topstitching
- Crochet a matching belt for a cinched-waist variation
Size and Color Suggestions
This pattern can be adjusted for sizes ranging from small through extended plus sizes by adding stitch multiples to your chain and repeating increase rounds evenly across panels. For color, classic medium-wash blue gives the most authentic denim effect, but you can experiment with:
- Light wash blue for a softer, faded look
- Black denim-inspired yarn for an edgy variation
- Pastel tones for a playful, non-traditional twist
FAQ Section
Q: Can I make this jacket without prior garment-crocheting experience?
A: It’s possible, but having made at least one simple crochet garment first will make the shaping and seaming steps much easier to follow.
Q: What yarn gives the most realistic denim texture?
A: A cotton-acrylic blend in a heathered or marled blue tone creates the closest resemblance to real denim fabric.
Q: How long does this project usually take?
A: Most crocheters finish within one to two weeks, working a few hours at a time, depending on experience level.
Q: Can I crochet this jacket in the round instead of flat panels?
A: Yes, some crocheters adapt the pattern to work in the round to reduce seaming, though it requires adjusting the shaping technique.
Q: Is this Crochet Denim Jacket Pattern beginner-friendly?
A: It leans intermediate, but motivated beginners can complete it with patience and by referencing the video tutorial for extra guidance.
Conclusion
This precious crochet denim jacket pattern proves that handmade pieces can look just as polished and stylish as store-bought favorites. With simple stitches, customizable sizing, and endless color options, it’s a project that grows with your skills and personal taste.
Whether you’re crocheting your first garment or your fifteenth, this jacket offers a rewarding mix of creativity and practicality. Grab your hook, pick your favorite blue yarn, and start building a piece you’ll reach for season after season.