Crochet Long Bag Amigurumi Pattern Perfect for Good Fortune
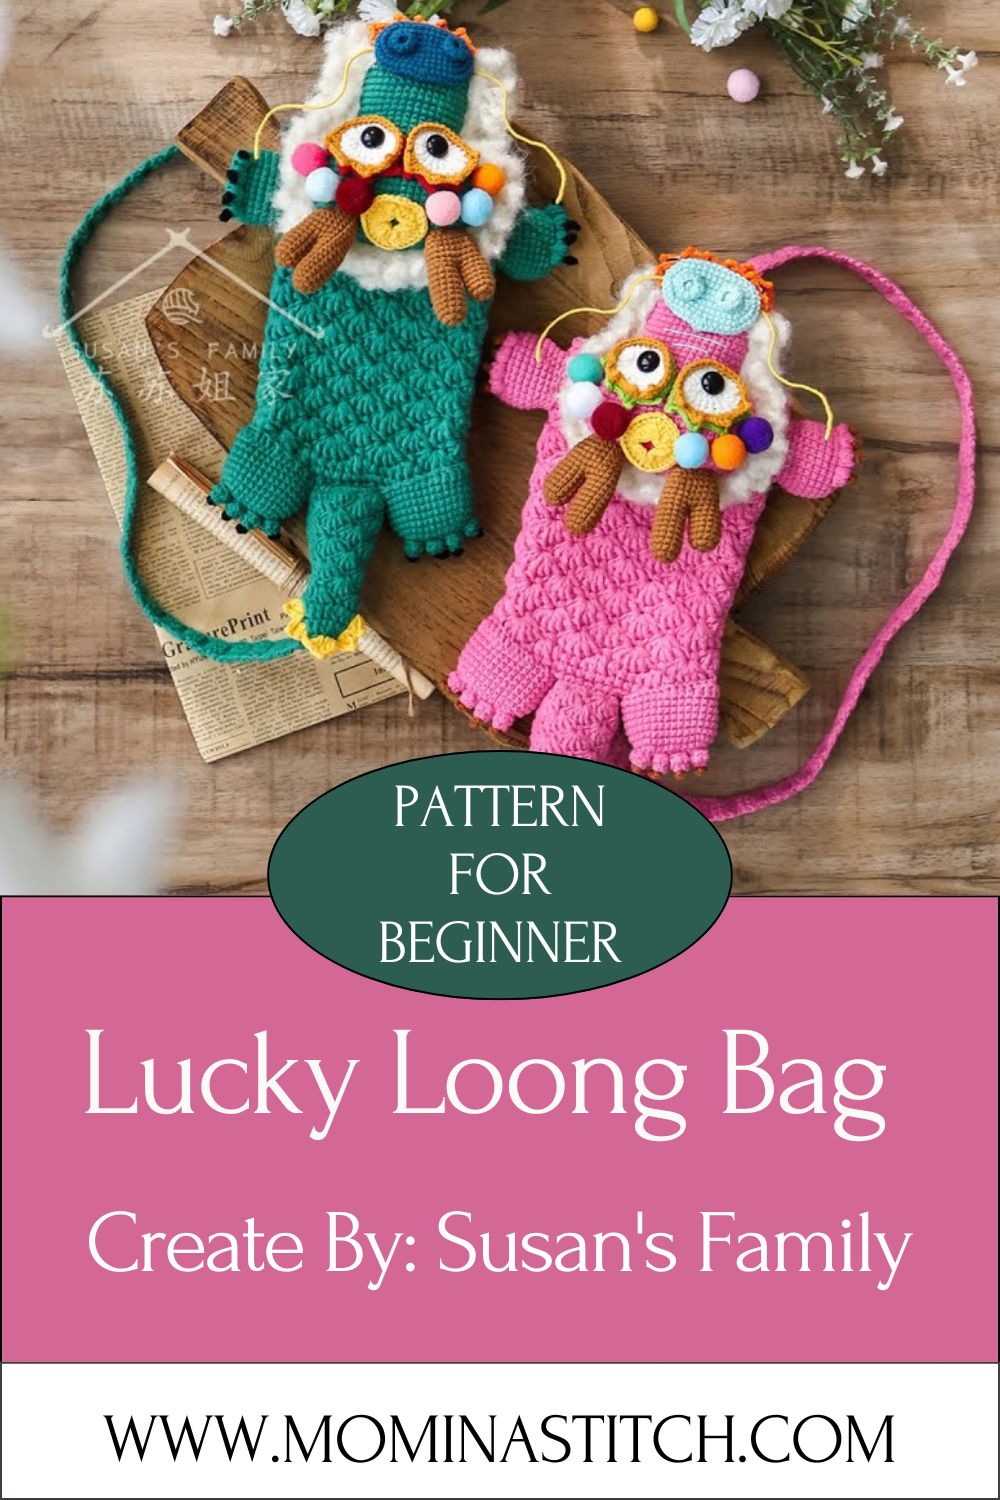
Who knew a little yarn could bring so much luck? This Crochet Long Bag Amigurumi is small, sweet, and charming. You can finish it in one cozy sitting and then carry its simplicity and beauty with you everywhere.
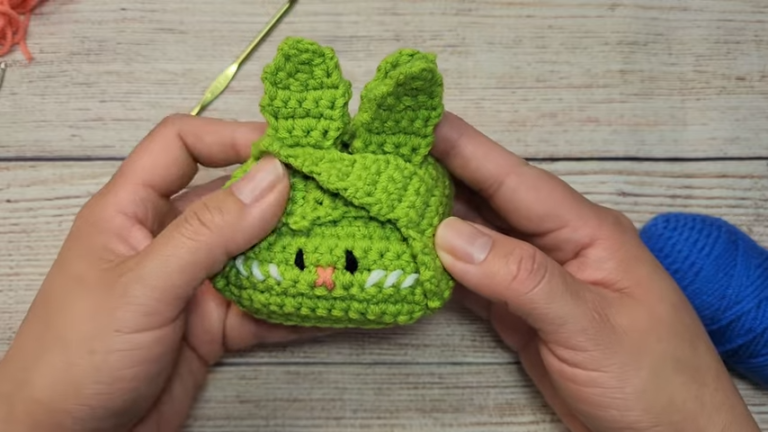
People have always loved small tokens that promise luck. This long bag amigurumi follows that same warm tradition.Its slim, tall pouch shape and cheerful face make it stand out. Honestly, that stretched silhouette feels truly unique.
Use it as a charm, keychain, or desk buddy. The good fortune theme adds heart to every stitch.
Quick Overview of This Crochet Project
This Crochet Long Bag Amigurumi is a small, satisfying crochet project. You will make a tall pouch-shaped body topped with a tiny smiling face. A few simple parts come together into one charming finished piece.
The whole makes use of basic amigurumi shaping. You crochet in continuous spiral rounds, so there are no fussy seams along the body. That keeps the surface smooth and beginner-friendly.
Most crafters finish this project in a single evening. It works wonderfully as a quick gift or a relaxing weekend treat. Trust me, it is hard to stop at just one.
Skill Level
This pattern sits comfortably at a confident beginner to easy intermediate level. You only need basic stitches, simple shaping, and a little patience for neat sewing. Beginners can absolutely manage this with focus.
Materials and Supplies You Will Need
Gather everything before you begin. A quick supply check keeps your flow smooth and stress free. Here is your full shopping list.
Yarn Colors
- Main color: red, gold, or any lucky shade for the bag body
- Accent color: a contrasting tone for the flap or trim
- Optional detail color: small bit of white or black for tiny features
Cotton or acrylic yarn both work well here. Light worsted weight gives the cleanest amigurumi finish.
Crochet Hook
- A 3.0 mm to 3.5 mm crochet hook works best
- Choose a size slightly smaller than your yarn label suggests
- A smaller hook keeps stitches tight and stuffing hidden
Safety Eyes
- Two 6 mm to 8 mm safety eyes
- Adjust the size to match your chosen yarn weight
- You can embroider eyes instead for a baby safe version
Stuffing
- Polyester fiberfill for a soft, springy body
- Add it gradually for an even, firm shape
Needle and Scissors
- A blunt yarn needle for sewing and weaving ends
- Sharp scissors for clean yarn cuts
- Stitch markers to track your rounds
Keychain Ring and Accessories
- A small keychain ring or lobster clasp
- Optional tiny charms, beads, or a coin shaped button
- A short cord or chain for hanging
Crochet Techniques Used in This Pattern
You only need a handful of core skills for this make. Each one is beginner friendly and easy to practice. Master these and the project flows smoothly.
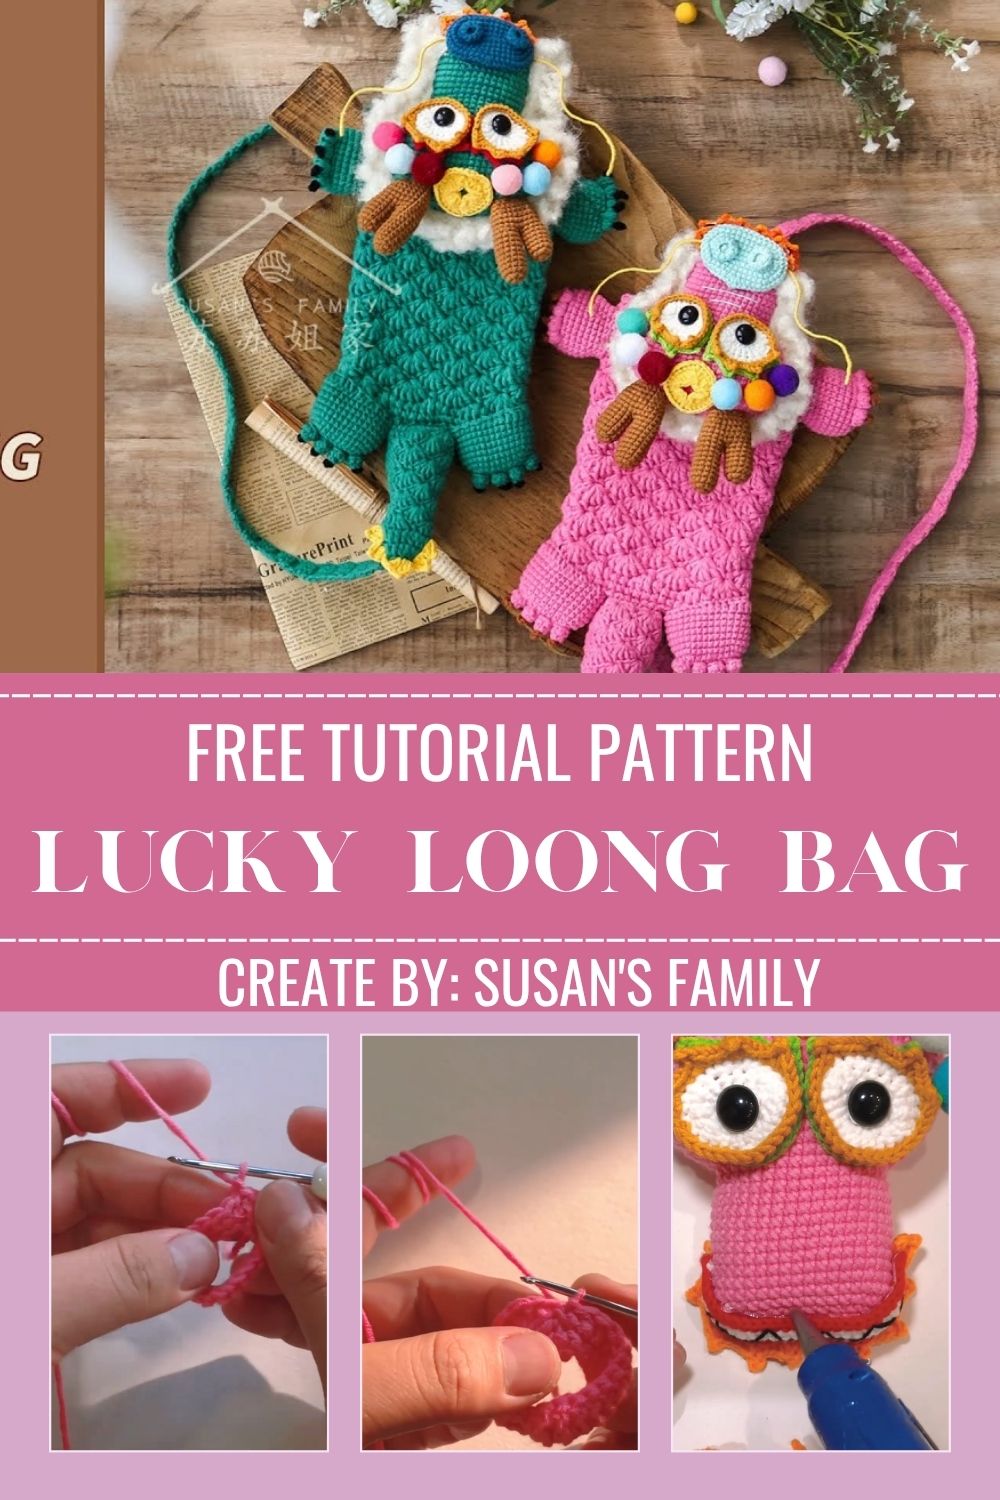
- Magic ring: starts your rounds with a tight, closable center
- Single crochet (sc): the main stitch for the whole body
- Increase (inc): two stitches in one to widen the shape
- Decrease (dec): invisible decrease to close shapes neatly
- Sewing parts together: joins your pieces with hidden stitches
Practice the magic ring once or twice first. Once that clicks, the rest feels easy.
Step by Step Crochet Pattern Instructions
Work in continuous spiral rounds unless noted. Use your stitch marker to mark the first stitch of each round. Move it up as you go.
Making the Head and Face Area
The top of the bag holds the face, so we shape it gently.
- Round 1: 6 sc in a magic ring (6)
- Round 2: inc in each stitch around (12)
- Round 3: (sc, inc) repeat around (18)
- Round 4: (2 sc, inc) repeat around (24)
- Rounds 5 to 7: sc in each stitch around (24)
Pause here and place your safety eyes. Set them about five stitches apart, near the middle. Embroider a tiny smile between and below them.
Building the Long Bag Body
Now we stretch the shape downward into that signature tall pouch.
- Round 8: sc in each stitch around (24)
- Rounds 9 to 18: sc in each stitch around (24)
- Keep these rounds even and snug for a straight body
This long, steady section creates the bag silhouette. Stuff it firmly as you near the final rounds. Low-key, this is where the magic shape appears.
Closing the Base
A clean base helps your bag stand or hang nicely.
- Round 19: (2 sc, dec) repeat around (18)
- Round 20: (sc, dec) repeat around (12)
- Round 21: dec around (6)
Add the last of your stuffing now. Then close the final hole with a yarn needle and weave the tail inside.
Adding the Flap, Accessories, and Tail Detail
These small extras give the bag its finished, lucky look.
Simple flap:
- Chain 9 with your accent color
- Work 8 sc back along the chain
- Add two more short rows for height
- Sew it across the top front of the bag
Optional hanging cord or tail:
- Chain 15 to 20 stitches
- Fold and attach both ends near the top back
- Slip your keychain ring through the loop
Feel free to add a tiny coin button or charm on the flap. That detail leans right into the good fortune theme.
Facial Details and Finishing Touches
Small touches bring your amigurumi to life.
- Embroider rosy cheeks with a soft pink yarn
- Add tiny eyebrows for extra personality
- Tighten any loose ends and weave them in
- Give the whole piece a gentle shape with your hands
Final Assembly Process
Lay all your parts out before sewing. A quick check keeps placement even. Then follow these steps.
- Confirm the face sits centered and upright
- Pin the flap across the top front
- Sew the flap down with small hidden stitches
- Attach the cord and keychain ring at the back
- Weave in every loose tail neatly
Step back and admire your work. Your lucky long bag is officially complete.
Helpful Beginner Tips for Better Amigurumi
A few habits make a huge difference in your results. Keep these in mind from your very first round.
Keep Your Stitches Tight
Tight stitches hide the stuffing and keep gaps closed. If your fabric looks loose, drop down one hook size. Snug stitches always give a cleaner amigurumi finish.
Always Use Stitch Markers
Spiral rounds blur together quickly. A simple marker in the first stitch saves you from miscounts. Move it up at the start of every round.
Stuff Slowly and Evenly
Add stuffing in small pieces, not one big lump. Fill firmly but avoid overstuffing the long body. A balanced fill keeps your bag shape smooth and even.
Fun Design Customization Ideas
This pattern welcomes plenty of personal flair. Make it truly yours with these easy ideas.
- Different colors: try gold, jade green, or soft lavender
- Cute accessories: add beads, bows, or a mini tassel
- Mini size variations: use thinner yarn and a 2.0 mm hook
- Themed charms: clover, coin, or star shapes for extra luck
- Face swaps: sleepy eyes, winks, or a tiny open smile
A mini version makes the perfect zipper pull. The full size works great as a hanging desk charm.
Frequently Asked Questions
What Is the Best Yarn for Amigurumi?
Cotton yarn gives crisp stitch definition and a firm feel. Acrylic yarn feels softer and comes in endless colors. Both work beautifully, so pick what suits your project budget.
How Do I Make a Crochet Crochet Long Bag Amigurumi Firm?
Firmness comes from two things, tight stitches and good stuffing. Use a smaller hook than the yarn label suggests. Then pack the fiberfill in small, even handfuls.
How Long Does This Crochet Long Bag Amigurumi Project Take?
Most crafters finish this long bag in one to three hours. Beginners may take a little longer, and that is perfectly fine. Slow, steady stitching always beats rushed, sloppy work.
Conclusion
This Crochet Long Bag Amigurumi proves that small makes can carry big meaning. The tall shape, sweet face, and lucky theme come together into one charming crochet project. It works up fast, suits every skill level, and looks adorable on any bag or desk.
So grab your hook, pick a lucky color, and start stitching today. Gift it, hang it, or keep it close for a little daily good fortune. Once you finish your first one, you will likely want to make a whole cheerful collection.