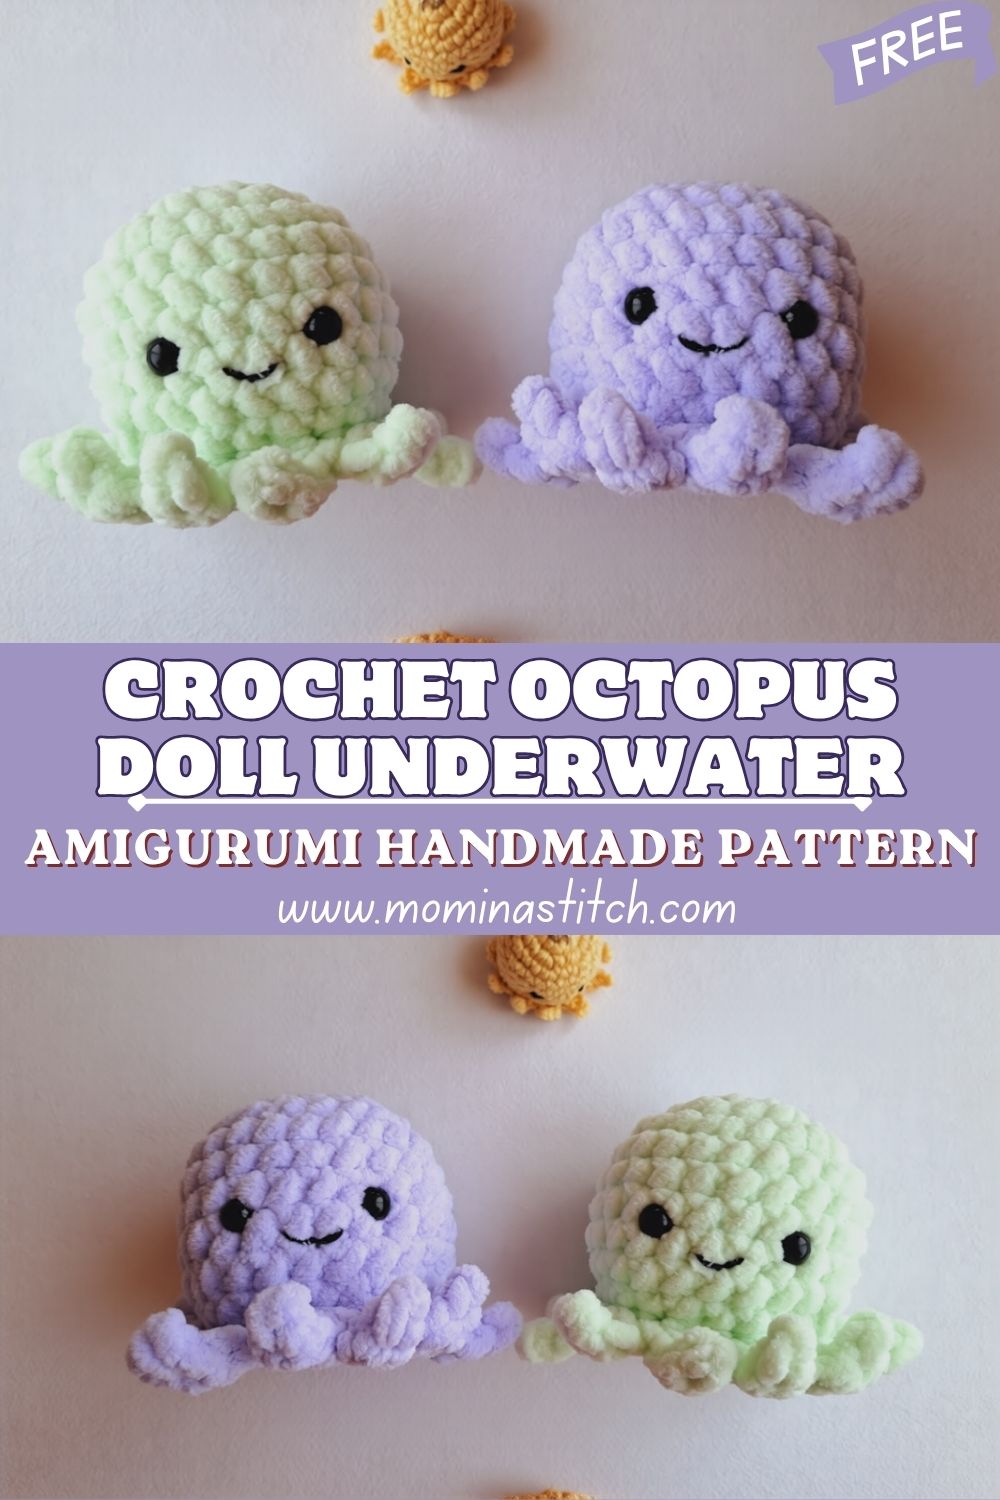
Polished Crochet Octopus Doll Underwater Amigurumi Handmade Pattern
Crocheting a tiny sea creature feels like it came straight out of a coral reef. This Crochet Octopus Doll project combines the charm of the underwater world with a creative handmade story, where every stitch is filled with art, craft, and imagination.
I always find it a little magical how an amigurumi character can start from a simple loop and take on a lifelike form. Every stitch counts in a handmade crochet doll. Your tension, shaping, color choice, and small details make it special. This amigurumi style rewards patience, especially when you create smooth shapes and clean joints. This project features an ocean theme: a cute octopus whose soft tentacles, rounded head, and clean finish make it even more beautiful. Whether you make it for decoration or as a gift, the nautical design gives you a great opportunity to play with color.
Necessary Supplies
- Worsted or DK yarn in your main octopus color
- Small amounts of accent yarn (spots, cheeks, or underwater tones)
- Matching crochet hook (usually 2.5–3.5 mm for firm fabric)
- Polyester fiberfill stuffing
- Safety eyes (or black yarn for embroidered eyes)
- Tapestry needle
- Stitch marker
- Scissors
- Optional: blush powder or fabric marker for cheeks
Process
Step 1: Shape the head
Start with a magic ring and work in continuous rounds to build a smooth dome. You’ll increase evenly, then hold the size for a few rounds to keep that classic amigurumi curve.
Step 2: Add facial placement early
Attach safety eyes before you close the opening. This timing helps you test expression and spacing while the fabric still flexes.
Step 3: Create the tentacles
Work multiple tentacles with consistent stitch counts so they match in thickness and length. You can add a gentle curl by using increases or a slightly looser tension in specific sections.
Step 4: Assemble and balance
Sew tentacles evenly around the underside of the body to help the octopus sit neatly. Adjust placement as you go so the doll looks centered, not tilted.
Step 5: Finish details
Add any accents like spots, a tiny smile, or blush. For the full stitch-by-stitch walkthrough, follow the video tutorial linked at the end.
Design & Look
This octopus style leans “polished,” which means clean shaping and a tidy finish rather than a rough, rustic look. The body usually forms a smooth sphere or slightly elongated dome, and the tentacles create that signature playful silhouette.
Color choices can push the underwater mood in different directions. A pastel palette gives a gentle, nursery-friendly sea theme. Deep teal, purple, or coral shades feel more like a reef scene. If you add tiny speckles or contrasting suction-cup details, the doll starts to look extra intentional—like you planned every inch (even if you made it up as you went).
Uses & Benefits
As a toy
This octopus works well as a soft companion for imaginative play. The tentacles give little hands something to hold, twist, and carry around.
As a gift
Handmade sea creatures feel personal in a way store-bought gifts rarely match. You can pick colors that match someone’s room, favorite palette, or baby shower theme.
As a decorative piece
Place it on a shelf, desk, or craft corner for an instant sprinkle of ocean charm. A small octopus also looks great in a display basket with shells, books, or other crochet sea animals.
Time & Skill Level
You can absolutely treat this as beginner-friendly, especially if you already know single crochet, increases, and invisible decreases. The assembly asks for patience more than advanced technique.
Time estimate:
- Quick version: 3–5 hours
- More detailed version (extra accents, perfect shaping): 6–8 hours
Your speed depends on how much you fuss over symmetry and finishing. This design rewards that extra care, so don’t rush the final steps.
Yarn & Tools
For a neat amigurumi finish, use yarn that holds stitch definition. Cotton gives crisp texture and sharp detail. Acrylic feels lighter and often turns out softer to squeeze.
Choose a hook slightly smaller than the yarn label suggests so the stuffing won’t show through. For many DK yarns, a 2.75–3.25 mm hook creates a firm fabric that keeps the head round and the tentacles structured.
Final Size & Look
Most octopus dolls in this style land around 6–10 inches tall depending on yarn weight and hook size. The final look should feel smooth with minimal gaps, especially on the head where stitches stand out more.
The best “polished” finish comes from:
- Consistent tension
- Even increases
- Careful stuffing (firm but not stretched)
- Clean sewing that hides joins
When you nail those elements, the octopus looks like a professional handmade piece rather than a quick experiment.
Where to Use
- Gift baskets: baby showers, birthdays, ocean-themed presents
- Room decor: nursery shelves, coastal bedrooms, craft studios
- Display setups: market tables, photo props, seasonal collections
This kind of doll photographs well, too. That matters if you like sharing progress shots or selling finished items online.
Common Mistakes
- Stuffing too early and stretching stitches
- Placing eyes too high or too far apart
- Sewing tentacles unevenly so the octopus leans
- Skipping stitch markers and losing track of rounds
- Pulling the sewing yarn too tightly and puckering the body
- Using a hook that’s too large, which makes gaps around the stuffing
Care Instructions
- Hand wash gently in cool water with mild soap
- Press in a towel to remove moisture (don’t wring)
- Air dry completely before storing or gifting
- Spot clean small stains to protect the shaping
- Keep away from Velcro or rough surfaces that snag yarn
Customization Ideas
- Add two-tone tentacles for a “reef gradient” effect
- Stitch tiny suction cups with embroidery thread
- Create a shy expression with eyelashes or a small smile
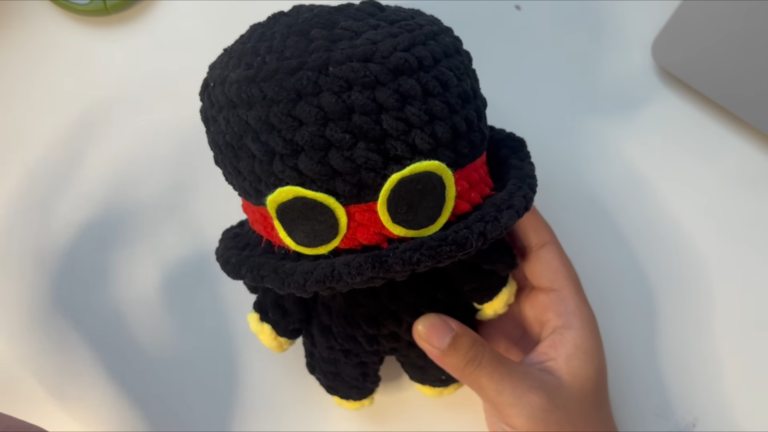
- Add a mini sailor hat or bow for character
- Use glow-in-the-dark yarn for a deep-sea twist
- Make a full set in different colors for a “school of octopuses.”
Safety Tips FOR ( Crochet Octopus Doll)
- Use embroidered eyes for babies and toddlers
- Secure all knots and weave in ends firmly
- Avoid small detachable parts for young children
- Check seams before gifting to ensure nothing loosens
- Choose washable yarn if the doll will get heavy play
Why It’s Trending
Crochet sea creatures keep popping up on social media because they hit a sweet spot: cute, compact, and instantly recognizable. An octopus also gives makers that satisfying “wow” factor one rounded head plus multiple tentacles looks complex, even when the stitches stay simple.
The handmade trend pushes people toward pieces that feel personal and slow-made. A polished amigurumi octopus fits that vibe perfectly. It looks thoughtful, photographs beautifully, and lets you show off your finishing skills without needing advanced lacework or complicated construction.
FAQs FOR ( Crochet Octopus Doll)
1) What stitches do I need for an octopus amigurumi?
You’ll use single crochet most of the time, plus increases and decreases. You’ll also need basic sewing skills to attach tentacles and add details.
2) How do I keep the stuffing from showing?
Use a smaller hook than usual and keep tension steady. Add stuffing gradually and stop before the fabric looks stretched.
3) Can I use plush yarn for this design?
Yes, but plush yarn hides stitches and makes counting harder. You’ll also need a larger hook and extra attention when shaping the head.
4) How do I make the tentacles curl more?
Add extra increases along one edge or use a looser stitch pattern that naturally spirals. You can also gently shape them during stuffing and sewing.
5) What’s the best way to make it look “polished”?
Focus on symmetry and finishing. Place tentacles evenly, hide seams, weave in ends cleanly, and avoid overstuffing.
Conclusion FOR (Crochet Octopus Doll)
A polished crochet octopus doll brings together creativity and calm, one round at a time. You shape a simple form into a character with an underwater feel, soft tentacles, a balanced body, and details that look intentional from every angle. That’s the real joy of amigurumi: you build a tiny world with yarn, patience, and imagination. Keep your stitches steady, take your time with assembly, and let the finishing touches do their quiet magic. Your octopus will feel handmade in the best way.