Wondrous Crochet Mochi Cat Keychain Amigurumi Pattern Step-by-Step Suitable for beginners
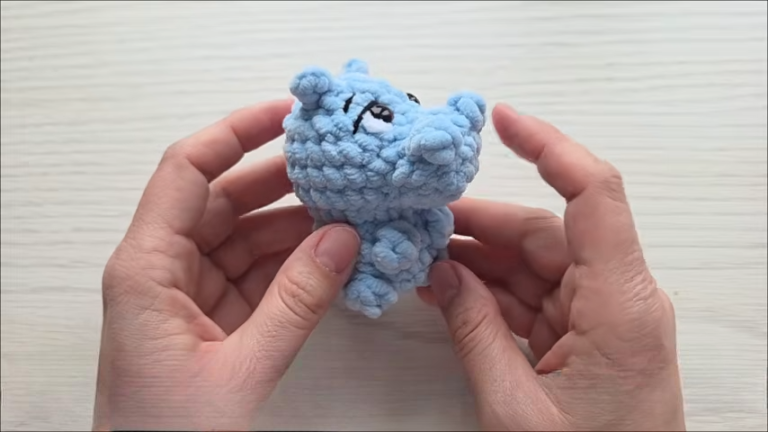
A tiny amigurumi cat with a soft “mochi” look is one of the quickest ways to fall in love with crochet. Even better, this mini crochet cat pattern is designed to be simple, cozy, and beginner-friendly from the very first stitch.
Because the shape is small and chubby, it also works perfectly as a crochet cat keychain. After that, it can become a sweet desk buddy, a stocking stuffer, or a pocket-sized gift that always gets a smile.
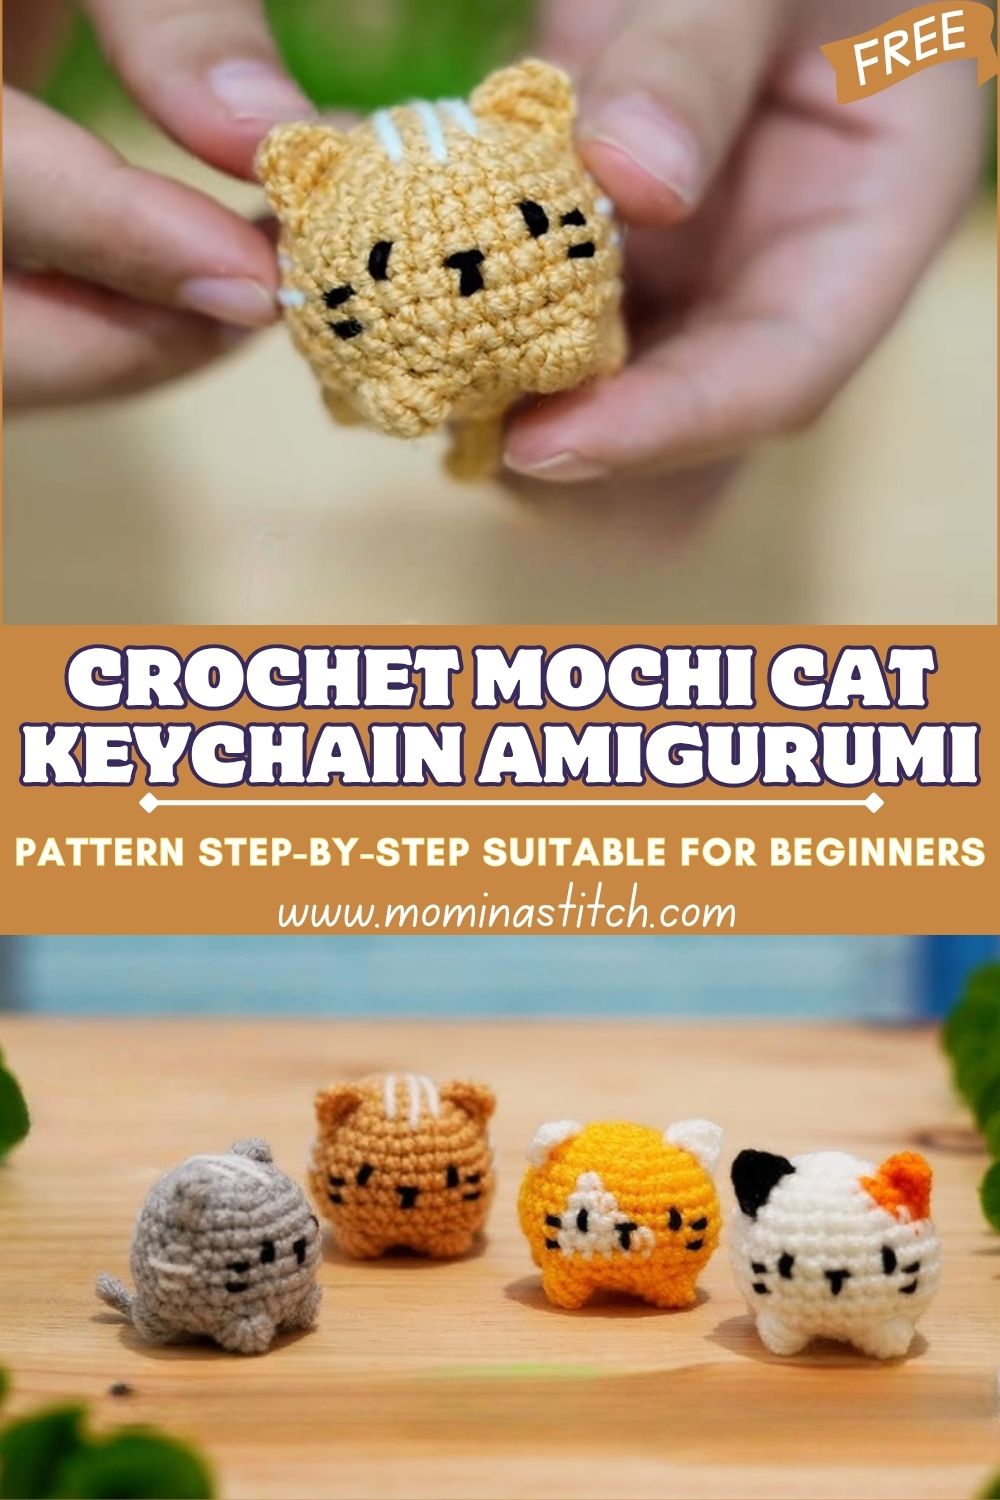
Meanwhile, mini crochet animals have been trending for a very practical reason: they are fast, portable, and satisfying. Cats, especially, are always popular because a tiny change in the ears, face, or tail can create an entirely different personality. After that, colors and expressions make each cat feel unique, even when the pattern stays the same.
This mochi cat pattern is beginner-friendly because it focuses on a rounded, compact body with minimal parts. In addition, it uses basic stitches, single crochet, increases, and decreases—so the stitch rhythm becomes comfortable quickly. As a result, the project finishes fast, looks polished, and works as a cute gift, desk decor, or a crochet cat keychain with a simple ring attachment.
Basic stitches used: magic ring (or chain start), single crochet, increase, invisible decrease, slip stitch, and simple embroidery.
Important Notes Before Starting
- First, use a smaller hook than the yarn label suggests to keep stitches tight and prevent stuffing from showing.
- Next, place a stitch marker in the first stitch of each round, because rounds are continuous (no joining).
- Meanwhile, count stitches at the end of every round, since small amigurumi pieces shift easily.
- After that, stuff gradually and lightly; the mochi look comes from smooth shaping, not hard packing.
- Finally, embroider the face slowly and test placement with pins, because tiny faces change expression quickly.
Skill Level
This pattern is beginner/easy. It uses straightforward rounds, simple increases and decreases, and forgiving details. Although sewing is minimal, a yarn needle is still helpful for closing and adding details neatly.
Materials Needed
- Yarn: Soft cotton or plush yarn for a smooth, squishy texture
- Option A (recommended for crisp stitches): DK / Light Worsted cotton (Category 3) — approx. 20–30 g (about 55–80 m)
- Option B (for extra “mochi” plush look): Super bulky plush (Category 6) — approx. 25–40 g (about 20–35 m)
- Crochet hook:
- With DK cotton: 2.5 mm or 3.0 mm
- With plush yarn: 4.0 mm to 5.0 mm (choose the smaller end for tighter stitches)
- Safety eyes: 6 mm (for a mini cat) or 8 mm (for a slightly bigger face)
- Alternative: black embroidery thread for stitched eyes (baby-safe option)
- Stuffing: Polyfill — approx. 5–10 g
- Yarn needle: 1 (blunt tip)
- Stitch marker: 1
- Optional: Keychain ring (20–25 mm), jump ring, or small clasp; also optional blush or pink yarn for cheeks
Abbreviations
- MR = magic ring
- ch = chain
- sc = single crochet
- inc = increase (2 sc in the same stitch)
- dec = decrease (invisible decrease recommended)
- sl st = slip stitch
- st(s) = stitch(es)
- rnd = round
- BLO = back loop only (optional detail, if used)
Making Time (Overview)
Total estimated time: 45–90 minutes.
After that, adding stripes, blush, or a keychain attachment may add 10–20 minutes.
Instructions
1) Body (Main Shape) – Soft Mochi Cube/Rounded Shape
Making time: 25–40 minutes
This body is designed to look “mochi-like”: compact, slightly rounded, and pleasantly chubby. It can lean cube-like when stitched tightly, and it becomes rounder as the stuffing is adjusted.
Step 1: Start and build the base
- Rnd 1: MR, 6 sc (6)
- Rnd 2: inc around (12)
- Rnd 3: (sc, inc) around (18)
- Rnd 4: (2 sc, inc) around (24)
Next, gently flatten the circle between your fingers; it should look smooth and even, as this sets the shape for the entire cat.
Step 2: Create the mochi sides
- Rnd 5–10: sc around (24) for 6 rounds
Meanwhile, keep tension consistent. If stitches loosen, the body looks lumpy later, so slowing down helps.
Step 3: Add eyes, stuff, and close
- Place safety eyes between Rnd 7 and Rnd 8, about 6 stitches apart (adjust for preferred “cute” spacing).
- Rnd 11: (2 sc, dec) around (18)
- Start stuffing firmly but not rock-hard.
- Rnd 12: (sc, dec) around (12)
- Stuff again, shaping the sides to keep a neat mochi look.
- Rnd 13: dec around (6)
- Cut yarn, leaving a tail. Next, use a yarn needle to thread through the front loops of the last 6 stitches and pull tight to close.
After that, gently roll the body in hands to smooth the stuffing and even out any corners.
2) Ears – Small Rounded Triangles
Making time: 10–15 minutes
Two tiny ears instantly create a cat silhouette. These can be slightly rounded or a bit pointy, depending on tension.
Make 2 ears:
- Rnd 1: MR, 4 sc (4)
- Rnd 2: (sc, inc) around (6)
- Rnd 3: sc around (6)
- Finish with sl st, then cut the yarn, leaving a tail for attaching.
Next, pinch the ear base lightly so it forms a small triangle. After that, decide placement before sewing: ears look cutest when they sit slightly outward rather than straight up.
Placement tip: Position ears on the top of the body, about 2–3 rounds down from the top, with a gap of 4–6 stitches between them.
3) Arms & Legs (Minimal Style) – Tiny Stubby Nubs
Making time: 10–15 minutes
This style keeps limbs tiny, which makes the project cleaner and more “mochi” than detailed.
Option A (No-sew, simplest): embroider paws
- First, use matching yarn or slightly darker yarn.
- Next, stitch two small horizontal lines on the front lower area for paws, and two on the base sides for feet.
Option B (Mini sewn nubs): make 4 identical pieces
Make 4 (2 arms + 2 legs):
- Rnd 1: MR, 5 sc (5)
- Rnd 2: sc around (5)
- Lightly stuff (optional) or leave unstuffed for flatter paws.
- Flatten the opening and stitch closed with the tail.
After that, sew arms to the lower front sides and legs to the lower sides/bottom edge. Keep them symmetrical so the cat sits nicely.
4) Tail – Small Curved Tail
Making time: 5–10 minutes
A tiny tail finishes the cat without adding much work.
- Ch 6
- Starting in the 2nd chain from hook: sc 5 (5)
- Optionally, for a gentle curve: ch 1, turn, sc 5 again along the row.
- Finish with sl st, then cut the yarn, leaving a tail.
Next, sew the tail to the lower back area. Slightly off-center often looks cuter, while centered looks more classic.
5) Accessories / Details – Stripes, Blush, Tiny Touches
Making time: 5–20 minutes
These details are optional, although they add personality fast.
- Stripes: After that, embroider 2–3 short stripes on the forehead or back using a darker yarn shade.
- Blush cheeks: Meanwhile, use a tiny bit of pink yarn to stitch small circles under each eye, or apply a light touch of craft blush (if desired).
- Belly patch: Next, stitch an oval with a contrasting yarn color using simple surface crochet or embroidery.
Keep additions minimal so the mochi style stays clean and not overly busy.
6) Face & Assembly – Bring the Mochi Cat to Life
Making time: 15–25 minutes
1: Eye placement
If safety eyes were not added earlier, add them now before fully closing. Place them evenly to avoid a “tilted” expression.
Beginner tip: Use pins or stitch markers to mark symmetrical points first; then confirm spacing by checking from different angles.
2: Embroider nose and mouth
- Use black or dark brown embroidery thread or thin yarn.
- First, stitch a tiny vertical nose (a small triangle or short line) centered between the eyes.
- Next, add a small “Y” or simple smile beneath it.
3: Add whiskers
- Stitch 2–3 whisker lines on each side.
- Keep them short, because long whiskers can overpower a mini face.
4: Attach ears, tail, and limbs
- First, sew ears securely with small stitches around the base.
- Next, attach the tail at the back.
- After that, add paws (stitched or sewn).
- Finally, weave the ends in and trim.
Beginner-friendly assembly tip: Tighten the sewing yarn gently and evenly, as pulling too hard can distort the mochi’s shape.
Special Features
- Soft mochi-style shape: rounded, squishy, and compact
- Cute minimal facial expression: small features create a calm, sweet look
- Compact and chubby design: quick to finish and easy to gift
- Beginner-friendly no-sew style (optional): paws can be embroidered instead of sewn pieces
Sizing Tips
Yarn thickness and hook size directly affect the final cat.
- With DK cotton + 2.5–3.0 mm hook, the cat is usually about 5–7 cm (2–2.75 in) tall.
- With a plush, super-bulky yarn and a 4.0–5.0 mm hook, the cat is often about 8–12 cm (3–4.75 in) tall.
Meanwhile, tighter stitches create a cleaner shape. After that, slightly smaller hooks make the body firmer and more “mochi.”
Finishing Tips
- Neat stitching: Keep tension steady; if hands get tired, pause briefly, then continue.
- Secure knots: Weave ends through several stitches inside the body, then split the yarn tail and knot once for extra hold.
- Balanced stuffing: Add small bits, then shape; repeat until smooth.
- Clean finishing: Close the last round tightly, then hide the closing tail inside the body to avoid a visible “button” top.
Common Mistakes to Avoid
- Loose stitches: Stuffing may show through; therefore, switch to a smaller hook if needed.
- Overstuffing: The mochi look becomes stretched and uneven; stuff gradually and smoothly instead.
- Uneven facial features: Misplaced eyes change the whole expression; so measure spacing and double-check symmetry.
- Incorrect ear placement: Ears too far back look “bear-like”; place them closer to the top front for a cat look.
- Weak assembly: Parts may wobble; after that, sew with small, tight stitches and weave in ends securely.
Variations & Customization Ideas
- Colors: beige, white, grey, black, calico-inspired patches, or pastel (mint, lavender, baby pink).
- Patterns: add tiger stripes, a little “M” tabby mark, or a two-tone face.
- Expressions: sleepy eyes (embroidered curves), excited eyes (larger safety eyes), or a tiny tongue.
- Use options:
- Turn it into a crochet cat keychain by attaching a jump ring to a stitched loop on top.
- Make it a tiny plush by skipping the keychain hardware.
- Use it as decor by adding a small felt heart or bow.
Tutor Suggestions (Gentle Guidance for Beginners)
- First, practice a magic ring with scrap yarn until it feels comfortable; after that, starting becomes stress-free.
- Next, count each round out loud or mark repeats on paper, because consistency is the secret to neat amigurumi.
- Meanwhile, choose smooth cotton yarn for the first attempt, since fuzzy yarn hides stitches and makes counting harder.
- After that, place eyes temporarily (or pin them) and step back for a quick look; it helps catch uneven placement early.
- Finally, trust the process: small projects build skill quickly, and each cat looks better than the last.
Conclusion FOR ( Crochet Mochi Cat Keychain )
This mini mochi cat proves that amigurumi can be simple, fast, and genuinely satisfying, even for complete beginners. Next, try a new color, add tiny stripes, or turn the same pattern into a crochet cat keychain for gifts and backpacks. Finally, enjoy experimenting because every small change creates a brand-new little cat with its own charm.