Graceful Crochet Duckling Amigurumi Easy Duck Pattern for Neophytes
A tiny duck with a chubby belly and bright little eyes is hard to resist, especially when it is handmade. This crochet duckling amigurumi project is designed to feel calm, simple, and genuinely fun from the very first stitch.
Even better, this amigurumi duck pattern works up quickly and creates a soft, cuddle-ready crochet duck plush that looks adorable on a shelf, in a gift basket, or tucked into a child’s room.
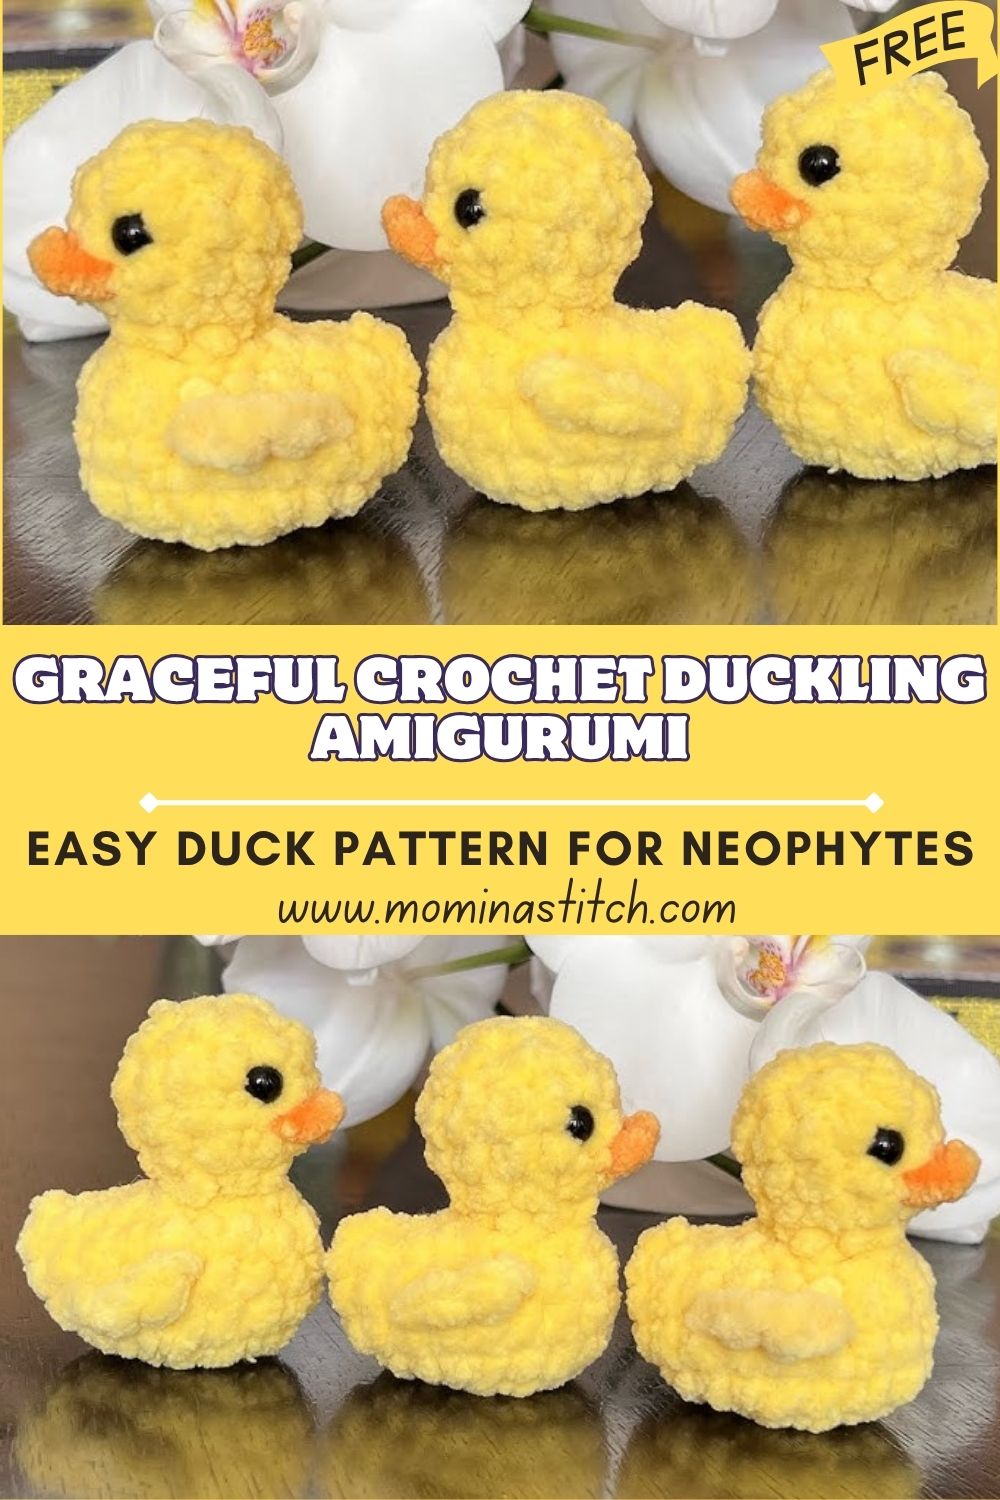
Among all amigurumi animals, ducklings are especially loved because their features are naturally cute and easy to simplify. After all, a duckling only needs a rounded body, tiny wings, and a small beak to look instantly recognizable. Meanwhile, the bright yellow color makes the finished toy feel cheerful and cozy.
This beginner-friendly crochet duckling pattern keeps shaping gentle and forgiving. First, the body is made as one main piece, which helps new crocheters avoid complicated joins. Next, the wings and beak are small and quick, so practice feels manageable rather than overwhelming. Finally, simple assembly brings everything to life, creating a handmade plush that looks sweet, feels soft, and makes a thoughtful gift in just an afternoon.
Materials Needed
- Yarn (Body): Soft yellow yarn, DK (weight 3) or worsted (weight 4)
- Approx. 20–30 g (70–110 m / 75–120 yd) for a small plush
- Yarn (Beak + feet optional): Soft orange yarn, same weight as body
- Approx. 5–10 g (18–35 m / 20–40 yd)
- Crochet hook: 3.5 mm (for DK) or 4.0 mm (for worsted)
- Choose a slightly smaller hook than the yarn label suggests for tight stitches
- Safety eyes: 8 mm (classic plush size for small amigurumi)
- Stuffing: Polyfill, 20–30 g (handful amount; add gradually)
- Stitch marker: 1 locking marker or a small scrap of yarn
- Yarn needle: Tapestry needle for sewing parts and hiding ends
- Optional: Keychain ring (25 mm / 1 inch) for a mini version
Skill Level
Beginner (single crochet, increases, decreases, simple sewing)
Making Time (Overview)
Total time: 1.5 to 3 hours, depending on speed and comfort with assembly.
Step-by-Step Instructions
Stitches Used (quick guide)
- MR = Magic ring
- sc = single crochet
- inc = increase (2 sc in one stitch)
- dec = decrease (single crochet decrease; use invisible decrease if possible)
- Work in continuous rounds unless noted.
Body (Main Shape)
Estimated time: 45–75 minutes
1. Start with the base
- Round 1: MR, 6 sc into the ring (6)
- Round 2: inc around (12)
- Round 3: (sc, inc) around (18)
- Round 4: (2 sc, inc) around (24)
- Round 5: (3 sc, inc) around (30)
- Round 6: (4 sc, inc) around (36)
Next, place a stitch marker in the first stitch of the round. After that, move the marker up each round so the start point stays clear.
2. Build the body
- Rounds 7–11: sc around (36)
- Round 12: (4 sc, dec) around (30)
- Round 13: sc around (30)
- Round 14: (3 sc, dec) around (24)
- Round 15: sc around (24)
Meanwhile, the body should look like a soft dome with a rounded sidewall. If the fabric shows gaps, switch to a smaller hook or tighten tension slightly.
3. Stuff and close
- Round 16: (2 sc, dec) around (18)
- Start stuffing: Add polyfill slowly, then press it outward to shape a smooth belly.
- Round 17: (sc, dec) around (12)
- Add more stuffing: Focus on the lower half so the plush sits nicely.
- Round 18: dec around (6)
- Finish: Cut yarn, thread needle, weave through the last 6 stitches, pull tight, then hide the end inside.
After that, roll and squeeze the duckling gently to even out the stuffing.
Additional Parts
Wings (make 2)
Estimated time: 10–15 minutes total
- Round 1: MR, 6 sc (6)
- Round 2: (sc, inc) around (9)
- Round 3: sc around (9)
- Shape: Fold the circle in half, then sc 4 through both layers to close.
- Fasten off, leaving a long tail for sewing.
Next, set the wings aside and keep the tails untrimmed for easier attachment later.
Beak
Estimated time: 8–12 minutes
- With orange yarn, ch 5.
- Next, starting in the second chain from the hook: sc 3, then 3 sc in last chain.
- After that, continue on the other side of the chain: sc 3 (an oval shape).
- Fasten off, leaving a long tail for sewing.
Meanwhile, pinch the beak lightly to create a tiny “pucker” shape. If a fuller beak is preferred, add a small dot of stuffing before sewing.
Tail (Optional)
Estimated time: 5–8 minutes
- MR, 4 sc
- Next, (sc, inc) around (6)
- After that, sc around (6)
- Fasten off with a tail for sewing.
Alternatively, a tiny pom-pom tail can be used for an extra fluffy look.
Face & Assembly
Estimated time: 20–35 minutes
1. Place the safety eyes
- First, choose the front of the body (the smoothest side).
- Next, insert 8 mm safety eyes between Rounds 8 and 9, about 6–7 stitches apart.
- After that, check the spacing by holding the beak in place between the eyes.
- Finally, attach the washers securely.
Beginner tip: Before locking the washers, step back and look at the face from a distance. Small adjustments make a big difference.
2. Sew the beak
- Position the beak centered between the eyes, slightly lower than eye level.
- Next, sew around the edge using small, neat stitches.
- After that, add a couple of stitches through the middle to lightly “pinch” the beak and define the shape.
- Finally, knot securely and hide the tail inside.
3. Attach the wings
- First, pin the wings to the sides around Rounds 11–13.
- Next, make sure both wings sit at the same height.
- After that, sew each wing with whip stitches, keeping the seam tidy.
- Finally, weave in ends inside the body.
4. Add the optional tail
- Place the tail at the back, centered low, near Rounds 12–14.
- Next, sew firmly so it can handle hugs and handling.
- Finally, hide all ends.
Clean assembly tips
- Use pins or spare yarn to “baste” parts in place before sewing.
- Sew with the same yarn color whenever possible for invisible seams.
- Pull stitches snug, although avoid over-tightening so the fabric does not pucker.
Special Features
- Texture: Tight single crochet creates a soft, plush-like surface that feels cozy in the hand.
- Expression: Wide, bright eyes and a tiny beak give a sweet, gentle look without extra embroidery.
- Shape: A rounded, chubby body keeps the duckling extra cute and huggable.
Sizing Tips
Yarn thickness and hook size change the final size dramatically. For example, DK yarn + 3.5 mm hook typically makes a small palm-sized duckling, while worsted yarn + 4.0 mm hook makes a noticeably larger crochet duck plush with the same stitch counts. Meanwhile, using a thicker plush yarn can create a bigger, fluffier duck, although stitches may be harder to see for beginners. Consequently, smooth cotton or acrylic in DK/worsted is the easiest starting point.
Finishing Tips
- Keep stitches tight and even so stuffing never shows through.
- After that, hide yarn ends by weaving inside the plush in several directions.
- Shape stuffing gradually; first fill the base, next round out the sides, and finally smooth the top.
- Ensure facial features are symmetrical; measure stitch counts between eyes and center the beak carefully.
Common Mistakes to Avoid
- Loose stitches that create gaps: Use a smaller hook or firmer tension.
- Uneven stuffing: Add tiny amounts, then spread stuffing with fingertips before adding more.
- Misaligned eyes or beak: Count stitches and test placement before locking washers or sewing.
- Skipping stitch markers in round work: A marker prevents accidental spiraling mistakes and lost counts.
Variations & Customization Ideas
- Try pastel ducklings (baby blue, lavender, mint) or make a rainbow batch for spring décor.
- Add blush cheeks using diluted pink fabric paint or soft pink embroidery.
- Create mini versions for backpacks by adding the optional keychain ring at the top.
- Add accessories tiny bows, a little sailor hat, or a small scarf for a seasonal theme.
Tutor Suggestions
- Maintain even tension; consistency matters more than speed.
- Next, take time shaping the face, because eye placement changes the personality instantly.
- Practice the wings and beak separately first; after that, assembly feels much easier.
- Finally, stay patient and enjoy the process amigurumi improves quickly with each small project.
Conclusion FOR ( Crochet Duckling Amigurumi )
This crochet duckling amigurumi is a gentle, beginner-friendly project that turns a few simple stitches into a soft, cozy character. After finishing the first duckling, experimenting with colors, expressions, and accessories becomes the most enjoyable part. Finally, whether it becomes a gift, a keychain, or a sweet shelf buddy, this little amigurumi duck pattern is a lovely way to enjoy relaxing crochet time and create a truly adorable handmade plush.