Shining Crochet Dog Keychain Amigurumi Pattern Perfect for First Timers
A tiny amigurumi puppy can turn any set of keys into something instantly happier. Even better, this crochet dog keychain works up quickly, so it feels like a “small win” project from the very first round.
Because the shape is simple and the details are beginner-friendly, this mini crochet dog pattern is ideal for practicing smooth rounds, neat stuffing, and cute facial placement without needing complicated techniques.
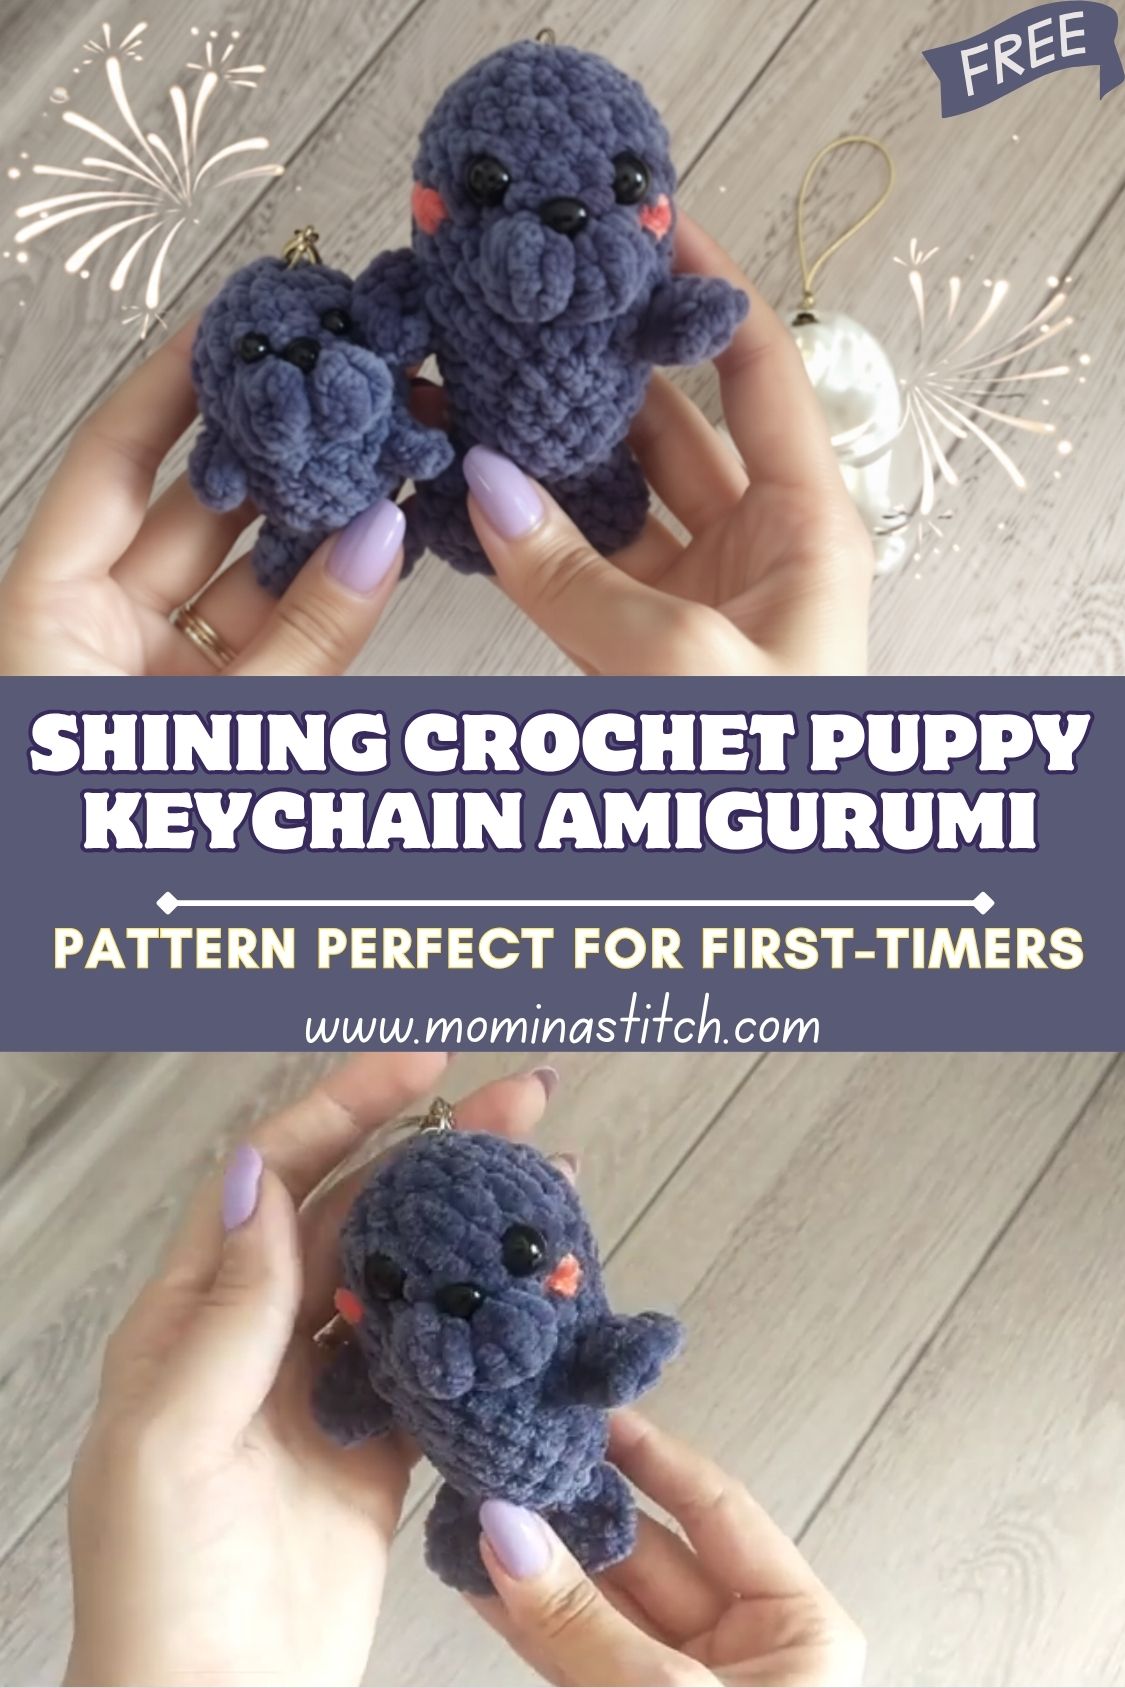
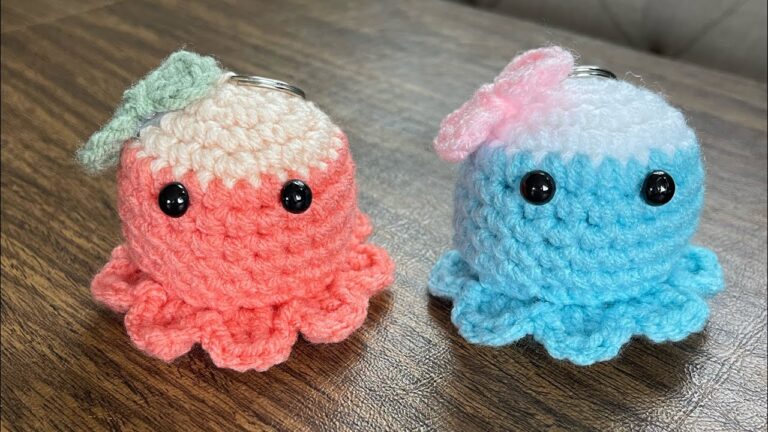
Meanwhile, mini crochet animals and keychains keep trending because they fit modern crafting perfectly: they are fast, portable, and easy to gift. A tiny puppy is especially popular because it looks adorable in any color and can be customized with a bow, collar, or a little heart detail.
Most importantly, this puppy keychain is beginner-friendly because each part uses basic techniques: single crochet, increases, decreases, and simple sewing. Additionally, the small size means mistakes are easier to fix, and the whole project feels less overwhelming than a full-sized plush.
Benefits at a glance:
- Quick to finish, even on a busy day
- Cute gift for friends, classmates, or coworkers
- Pocket-sized and lightweight for bags and keys
- Uses basic stitches: sc, inc, dec, sl st, ch
Important Notes Before Starting
- First, use a slightly smaller hook than the yarn label suggests so the fabric stays tight and stuffing does not show.
- Next, place a stitch marker in the first stitch of each round to avoid losing count.
- Meanwhile, keep tension steady; tight, even stitches create a smoother puppy shape.
- After that, stuff gradually and gently; small pieces look best with balanced stuffing, not firmness.
- Finally, if making this for children under 3, replace safety eyes with embroidered eyes.
Skill Level
This pattern is beginner/easy. First-time amigurumi makers can follow it comfortably because the shaping is simple and the parts are small. Additionally, it is a great way to practice increases and decreases while building confidence round by round.
Materials Needed
- Yarn: Soft worsted weight (4) acrylic or cotton-blend yarn for a plush look (grey recommended, but any color works)
- Main color: ~20 g / ~35–45 m (approx.)
- Small scrap yarn: black (nose, smile) and optional accent (collar/bow)
- Crochet hook: 3.0 mm or 3.5 mm (choose smaller for tighter stitches)
- Safety eyes: 6 mm (or 8 mm for a slightly cuter “chubby” look)
- Stuffing: Polyfill, a small handful (about 5–10 g)
- Yarn needle: Blunt tapestry needle
- Stitch marker: Locking marker or scrap yarn
- Keychain ring: 2.5–3 cm split ring (plus a small jump ring if desired)
- Optional: Small piece of felt for paw pads or blush (not required)
Abbreviations
- ch = chain
- sl st = slip stitch
- sc = single crochet
- inc = increase (2 sc in the same stitch)
- dec = decrease (single crochet 2 stitches together)
- BLO = back loop only
- FLO = front loop only
- st(s) = stitch(es)
- rnd = round
Making Time (Overview)
Total estimated time: 60–90 minutes. After that, add 10–15 minutes if including accessories like a collar, bow, or heart.
Step-by-Step Instructions
1) Body (Main Shape) — 3 Steps
Making time: 15–20 minutes
A compact body helps the puppy look chubby and keychain-ready. First, crochet in continuous rounds (a spiral), then shape with gentle increases, and finally narrow slightly to close.
Step 1: Base (Rounds 1–3)
- Rnd 1: 6 sc in a magic ring (6)
- Rnd 2: inc around (12)
- Rnd 3: (sc, inc) around (18)
Step 2: Belly (Rounds 4–6)
4. Rnd 4: (2 sc, inc) around (24)
- Rnd 5–6: sc around (24)
Step 3: Narrow & close (Rounds 7–10)
6. Rnd 7: (2 sc, dec) around (18)
- Rnd 8: sc around (18)
- Rnd 9: (sc, dec) around (12)
- Begin stuffing firmly but gently.
- Rnd 10: dec around (6)
- Fasten off, close the opening with a needle weave, and hide the tail.
Stuffing tip: First, add small pinches of polyfill; next, shape with your fingers; finally, add a little more only if needed.
2) Head (Slightly Larger Than Body)
Making time: 20–25 minutes
A bigger head creates that classic puppy look. First, increase to a wider round; next, keep a few even rounds for a smooth dome; after that, decrease slowly to avoid dents.
- Rnd 1: 6 sc in a magic ring (6)
- Rnd 2: inc around (12)
- Rnd 3: (sc, inc) around (18)
- Rnd 4: (2 sc, inc) around (24)
- Rnd 5: (3 sc, inc) around (30)
- Rnd 6–8: sc around (30)
- Rnd 9: (3 sc, dec) around (24)
- Rnd 10: (2 sc, dec) around (18)
- Insert safety eyes between Rnd 7 and Rnd 8, about 5–6 stitches apart.
- Start stuffing; gently shape the cheeks.
- Rnd 11: (sc, dec) around (12)
- Rnd 12: dec around (6)
- Fasten off, close, and hide the tail.
Shaping tip: Meanwhile, if the head looks pointy, add one extra round of sc at the widest point before decreasing.
3) Ears (Small Floppy or Rounded)
Making time: 10–12 minutes total (both ears)
Make 2 ears:
- Rnd 1: 6 sc in magic ring (6)
- Rnd 2: (sc, inc) around (9)
- Rnd 3–4: sc around (9)
- Rnd 5: (sc, dec) around (6)
- Fasten off, leave a long tail for sewing. Lightly flatten; do not stuff.
Placement: Sew ears to the sides of the head, slightly above eye level. After that, angle them forward for a sweet, curious look.
4) Arms & Legs (Tiny Limbs — Simple Option)
Making time: 10–15 minutes total
Front legs (make 2):
- Rnd 1: 6 sc in magic ring (6)
- Rnd 2–3: sc around (6)
- Fasten off, lightly stuff the tip only, leave the tail to sew.
Back legs (make 2):
- Rnd 1: 6 sc in magic ring (6)
- Rnd 2: (sc, inc) around (9)
- Rnd 3: sc around (9)
- Fasten off, lightly stuff, leave tail to sew.
Easy alternative: After that, skip separate legs and instead embroider simple paw lines on the body.
5) Tail (Small Curved Tail)
Making time: 3–5 minutes
- ch 6
- Starting in the 2nd ch from the hook: sc 5
- Fasten off, leave a tail for sewing.
6) Accessories / Details (Optional)
Making time: 5–15 minutes
Option A: Simple collar
- With accent yarn, ch enough to wrap around the neck (about 18–22 chains).
- sl st into first ch to form a ring.
- sl st around once more for a neat band.
- Fasten off and sew in place.
Option B: Tiny bow
- Make a small rectangle: ch 7, sc in 2nd ch and across (6).
- Turn, ch 1, sc across for 3 rows.
- Wrap the yarn around the middle several times, then tie and sew it to the collar.
7) Face & Assembly
Making time: 20–25 minutes
Attach safety eyes evenly: count stitches between eyes, then secure the backs.
Embroider nose and mouth: stitch a tiny nose, then add a short smile.
Join all parts neatly: sew the head to the body, then add the ears, limbs, and tail.
Keychain ring tip: Finally, stitch through the ring several times, then knot securely inside the head for added strength.
Special Features
- Soft plush texture
- Cute chubby puppy shape
- Adorable expression
- Compact and pocket-friendly size
Sizing Tips
First, thicker yarn makes a bigger puppy; next, thinner yarn makes a smaller charm. Meanwhile, a smaller hook creates tighter stitches and a cleaner finish.
Finishing Tips
- Use invisible decreases for fewer gaps
- Reinforce stress points (ears and keychain loop)
- Stuff gradually for a smooth shape
- Weave in ends deeply for a clean finish
Common Mistakes to Avoid
- Loose stitches
- Overstuffing
- Uneven facial placement
- Skipping stitch markers
- Weak assembly stitches
Variations & Customization Ideas
- Color changes: brown, white, black, cream, or pastel
- Different ears: longer, floppy, pointy, or folded
- Extra accessories: scarf, bow, bandana, tiny heart
- Use as: bag charm, zipper pull, or mini toy (without ring)
Tutor Suggestions
First, count every round. Next, pin pieces before sewing. Meanwhile, take breaks to check symmetry. After that, redo small details if needed because practice builds speed and neatness. Finally, keep experimenting; each puppy improves the next one.
Conclusion for ( Crochet Dog Keychain Amigurumi )
This amigurumi puppy keychain is a cozy, beginner-friendly project that finishes quickly and makes a beautiful gift. First, the simple rounds teach shaping; next, the face brings it to life; finally, the keychain ring makes it useful every day. After that, a new color or accessory can turn the same mini crochet dog pattern into a whole collection.