Chubby Crochet Bull Ruffle Collar Amigurumi Pattern Step-by-Step
This amigurumi bull crochet pattern helps you create a soft, chubby bull plush with a sweet expression and a cosy ruffle collar. If you love crochet plush toys, beginner amigurumi, and cute farm-inspired makes, this little bull is a perfect weekend project.
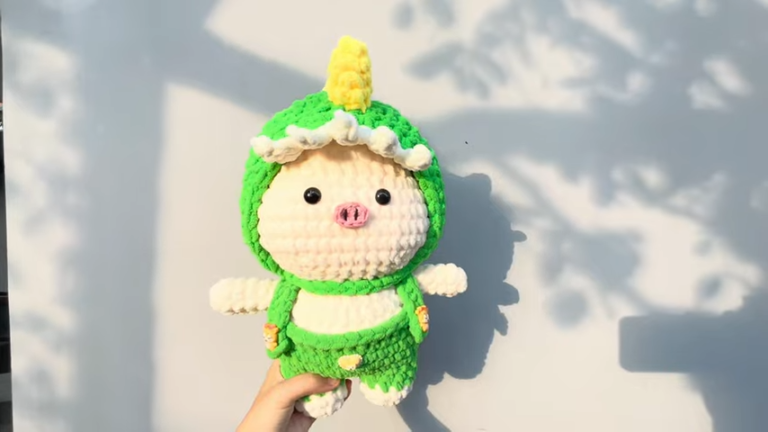
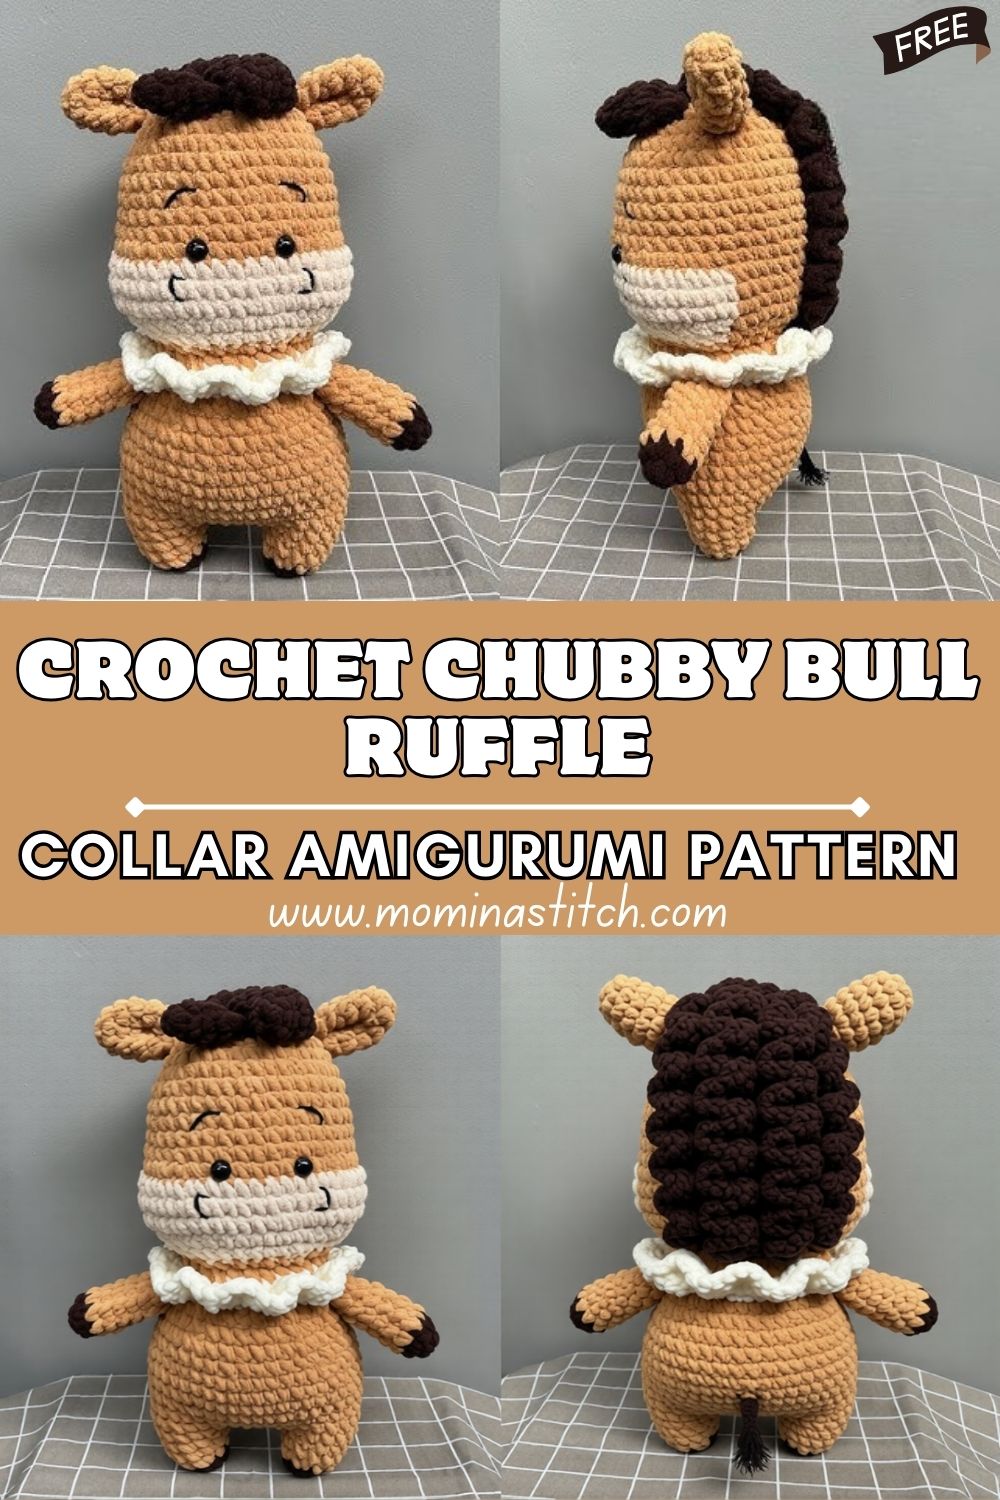
This amigurumi bull crochet pattern is designed for a small, round, super-huggable plush that looks adorable from every angle, especially in front and side views. The bull features a light brown body, a white muzzle, dark brown curly hair/mane, tiny ears, one visible horn, short arms and legs, black safety eyes, and a tiny embroidered smile. A soft white ruffle collar adds a gentle “storybook” vibe and helps the head and body feel extra finished.
This pattern is ideal for fans of crochet stuffed animals, kawaii amigurumi, and handmade gifts. Make it as a nursery decor piece, a pocket-sized plush for kids (with embroidered eyes for under-3), a playful desk buddy, or a market-ready craft fair item. The shaping is beginner-friendly, and the details (muzzle, mane curls, collar) are simple add-ons that make the design look polished and professional.
Finished Toy Description (visual breakdown)
Your finished bull plush will have:
- Head: round and slightly oversized for extra cuteness; black safety eyes placed wide for a gentle look
- Muzzle: white oval snout sewn to the front; subtle stuffed shaping; tiny embroidered smile
- Hair/Mane: dark brown curly texture at the top/front (short spirals or bobbles), giving a fluffy “forehead curl” look
- Horns: small and rounded; pattern includes two, but you can sew only one horn to match the “one visible horn” styling
- Ears: small, rounded ears in light brown, sewn slightly to the side
- Body: chubby, egg-shaped torso in light brown
- Arms/Legs: short, stubby limbs for a cuddly plush silhouette
- Collar: white ruffle collar around the neck for a cute, classic finish
- Tail (optional): tiny tail with a small tuft
Materials Needed
Yarn (worsted/aran weight #4 recommended):
- Light brown (main body/head/ears/limbs)
- White (muzzle + ruffle collar)
- Dark brown (hair/mane; optional tail tuft)
Tools & Notions:
- Crochet hook: 3.5 mm or 4.0 mm (choose smaller for tighter stitches)
- 10–12 mm safety eyes (or embroider for baby-safe)
- Polyester fiberfill stuffing
- Yarn needle (tapestry needle)
- Stitch markers
- Scissors
- Optional: blush/pastel chalk for cheeks, embroidery floss for details
Crochet Abbreviations
- MR = magic ring
- ch = chain
- sc = single crochet
- inc = increase (2 sc in the same stitch)
- dec = decrease (single crochet decrease / invisible decrease)
- sl st = slip stitch
- st(s) = stitch(es)
- FLO = front loop only
- BLO = back loop only
- ( ) = repeat instructions within parentheses
- [ ] = stitch count at end of round
Important Notes Before Starting
- Work in continuous rounds unless stated otherwise. Use a stitch marker to mark the first stitch of each round.
- For a smooth plush finish, use tight tension to prevent stuffing from showing.
- Stuff firmly but not rock-hard—aim for springy and round.
- Safety note: If gifting to a child under 3, embroider eyes instead of using safety eyes.
- The pattern includes two horns; to match the “one visible horn” look, simply attach one horn (or attach both if you prefer).
Skill Level
Beginner to Easy-Intermediate.
If you can crochet in the round with single crochet, increases, and decreases, you can make this bull. The only “extra” skills are simple sewing/assembly and making small details (muzzle, horn, curls, collar ruffle).
Step-by-Step Crochet Pattern
Finished size: approx. 12–18 cm (5–7 in) depending on yarn, hook, and tension.
Head (Light Brown)
Round 1: MR, 6 sc in MR [6]
Round 2: inc x6 [12]
Round 3: (sc, inc) x6 [18]
Round 4: (2 sc, inc) x6 [24]
Round 5: (3 sc, inc) x6 [30]
Round 6: (4 sc, inc) x6 [36]
Rounds 7–11: sc around [36]
Round 12: (4 sc, dec) x6 [30]
Round 13: (3 sc, dec) x6 [24]
Round 14: (2 sc, dec) x6 [18]
Place eyes: Insert safety eyes between Rounds 9–10, about 7–8 stitches apart (adjust to your preferred expression).
Round 15: (sc, dec) x6 [12]
Stuff the head firmly.
Round 16: dec x6 [6]
Fasten off, close the opening.
Muzzle (White)
Round 1: MR, 6 sc [6]
Round 2: inc x6 [12]
Round 3: (sc, inc) x6 [18]
Round 4: (2 sc, inc) x6 [24]
Round 5: sc around [24]
Fasten off, leaving a long tail for sewing.
Tip: Lightly stuff the muzzle so it stays plush and slightly raised.
Horn (Make 2, White or Light Brown)
Round 1: MR, 4 sc [4]
Round 2: (sc, inc) x2 [6]
Round 3: sc around [6]
Round 4: (2 sc, inc) x2 [8]
Round 5: sc around [8]
Fasten off, lightly stuff.
To match the design: sew only one horn in a visible position (slightly off-centre). Keep the second as backup—or attach both.
Ears (Make 2, Light Brown)
Round 1: MR, 6 sc [6]
Round 2: (sc, inc) x3 [9]
Rounds 3–4: sc around [9]
Flatten the ear and sc through both layers across the top to close (about 4–5 sc).
Fasten off, leaving a sewing tail.
Hair/Mane (Dark Brown Curly Forehead Curls)
You’ll make small spiral curls and stitch them to the head like a curly fringe.
Curl Strand (make 6–10)
Ch 10.
In 2nd ch from hook: sc, then 3 sc in each chain to the end (this will naturally curl).
Fasten off, leave a tail for sewing.
Placement idea: cluster curls at the top-front of the head, sweeping slightly to one side for a cute “curly tuft” look.
Ruffle Collar (White)
This collar is worked as a strip and then sewn/closed into a ring.
Ch 26 (adjust later to fit neck).
Row 1: in 2nd ch from hook, sc across [25]
Row 2: ch 1, turn, inc in every st across (2 sc in each st) [50]
Row 3: ch 1, turn, (sc, inc) repeat across for extra ruffle [~75]
Fasten off, leave a long tail.
Fit check: Wrap around the neck area—ends should meet snugly without pulling.
Body (Light Brown)
Round 1: MR, 6 sc [6]
Round 2: inc x6 [12]
Round 3: (sc, inc) x6 [18]
Round 4: (2 sc, inc) x6 [24]
Round 5: (3 sc, inc) x6 [30]
Round 6: (4 sc, inc) x6 [36]
Rounds 7–10: sc around [36]
Round 11: (4 sc, dec) x6 [30]
Round 12: sc around [30]
Round 13: (3 sc, dec) x6 [24]
Round 14: (2 sc, dec) x6 [18]
Stuff the body firmly, keep it rounded.
Round 15: (sc, dec) x6 [12]
Round 16: dec x6 [6]
Fasten off,f leaving a long tail if you’ll sew head-to-body (recommended).
Arms (Make 2, Light Brown)
Round 1: MR, 6 sc [6]
Round 2: (sc, inc) x3 [9]
Rounds 3–6: sc around [9]
Lightly stuff (or leave unstuffed for extra squish).
Flatten and sc through both layers to close.
Fasten off,ff leaving a long tail.
Legs (Make 2, Light Brown)
Round 1: MR, 6 sc [6]
Round 2: inc x6 [12]
Rounds 3–4: sc around [12]
Round 5: (2 sc, dec) x3 [9]
Round 6: sc around [9]
Stuff lightly. Flatten and sc through both layers to close.
Fasten off, leaving a long tail.
Tail (Optional, Light Brown + Dark Brown Tuft)
Tail base (light brown):
Ch 8, sl st back down the chain (starting in 2nd ch from hook).
Fasten off,f leaving a sewing tail.
Tuft (dark brown):
Cut 3–4 short strands, latch them through the tail tip, and trim.
Assembly Instructions (placement & sewing)
Take your time here—assembly is where amigurumi becomes “alive.”
- Sew muzzle to head:
- Centre the muzzle on the lower front of the head, below the eyes.
- Lightly stuff before fully closing the seam.
- Stitch neatly around the edge.
- Embroider the smile:
- Using brown or dark embroidery thread, add a tiny curved smile centred on the muzzle.
- Optional: add small nostri, each with 1–2 stitches.
- Attach horn(s):
- For the “one visible horn” look, sew one horn slightly above the muzzle area, closer to the side where curls sweep away.
- If adding both, place symmetrically on the upper head.
- Attach ears:
- Sew ears between about Rounds 9–11, slightly to the sides and a bit back from the muzzle line.
- Angle them outward gently.
- Add hair/mane curls:
- Stitch curls at the top-front of the head (like a curly fringe).
- Layer them slightly for fullness; keep the centre of the face open.
- Attach head to body:
- Place the head centred on top of the body.
- Sew securely around the neck opening.
- Add more stuffing at the neck if needed to prevent wobbles.
- Add the ruffle collar:
- Wrap the collar around the neck seam area.
- Stitch ends together to form a ring, then tack the collar to the neck in a few spots so it stays in place.
- Attach arms:
- Sew arms to the sides of the body, just below the collar/neck line.
- Keep them slightly forward for a hugging pose.
- Attach legs:
- Sew legs to the lower body front, spaced evenly so the bull can sit.
- Adjust positioning until it looks stable and balanced.
- Tail (optional):
- Sew to the back of the body, centred and low-mid height.
Finishing Touches (embroidery, shaping, details)
- Shape the face: add a little extra stuffing behind the muzzle from the inside (through the neck before fully closing) to create a rounded snout.
- Cheeks (optional): lightly add blush under the eyes.
- Eye detail (optional): tiny white embroidery “sparkle” stitches can make the eyes extra sweet (if not using safety eyes).
- Smooth seams: weave in ends carefully and massage the plush to even out stuffing.
Customization Ideas
- Colour variations:
- Cream body + caramel muzzle
- Grey bull with white muzzle and black curls
- Spotted look: surface crochet patches in darker brown
- Accessories:
- Tiny bow tie instead of the ruffle collar
- Mini flower crown, scarf, or a bell charm (for display-only)
- Resizing:
- Use chunky yarn for a bigger plush, or DK yarn for a smaller one.
- Keep the same pattern; just adjust the hook size to maintain tight stitches.
Common Mistakes to Avoid
- Loose tension: causes stuffing to peek through. Use a smaller hook if needed.
- Misplaced eyes: pin first, then lock the safety backs; small changes make a big difference in expression.
- Overstuffing limbs can make arms/legs stick out stiffly. Light stuffing keeps them cute and stubby.
- Skipping fit checks: wrap the collar around the neck before sewing to ensure it sits nicely.
- Rushing assembly: take a minute to pin pieces in place and view from the front and side.
Care Instructions
- Spot-clean with mild soap and water; air-dry thoroughly.
- If machine washing is necessary, place in a mesh laundry bag; use a gentle cycle and cold water (note: safety eyes can scratch—use care).
- Do not tumble dry; reshape while damp and let air dry.
Conclusion FOR ( Crochet Bull Ruffle Collar Amigurumi )
This chubby little bull is the kind of amigurumi plush toy that instantly feels like a keepsake, soft, round, and full of personality, thanks to the curly mane, tiny smile, and ruffle collar. If you make your own version, try a different mane texture or add a tiny accessory to make it uniquely yours.