Crochet Chick Keychain Pattern Mini Amigurumi – Step-by-Step for Beginners
This crochet chick keychain pattern will show you how to make a tiny yellow amigurumi chick with cute wings, a small orange beak, and a keychain loop on top. Mini amigurumi keychains are popular handmade accessories because they’re quick to crochet, perfect for using scrap yarn, and make adorable gifts for friends, kids, and coworkers.
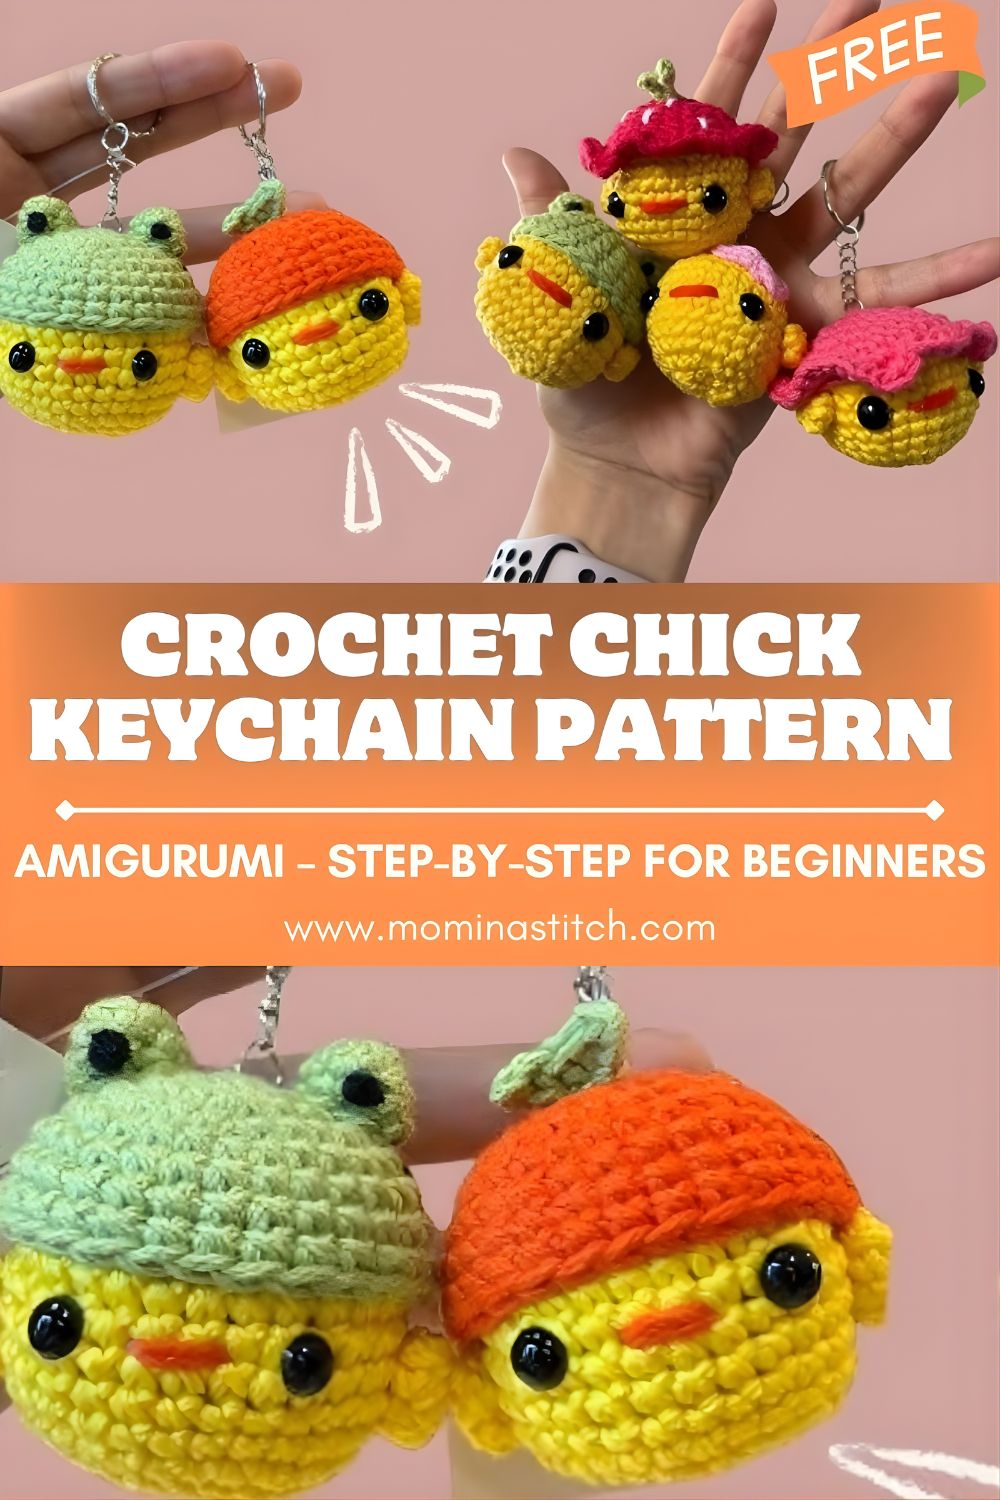
Small crochet animals like chicks are ideal beginner amigurumi projects because the shaping is simple and forgiving. A chick keychain is basically a rounded ball with a few small add-ons: tiny wings, a beak, and embroidered eyes, so you get a cute finish without complicated construction. It’s also a great project for practicing essential amigurumi skills: working a magic ring, counting stitches, using a stitch marker, and stuffing evenly for a smooth shape. Best of all, this mini chick makes a sweet handmade gift for spring, Easter baskets, party favors, or a cheerful everyday charm for your keys or bag.
Materials Needed
- Yellow yarn (main color)
- Orange yarn (beak)
- Black yarn or safety eyes
- Crochet hook (2.5–3 mm)
- Polyester fiberfill stuffing
- Yarn needle
- Stitch marker
- Scissors
- Metal keychain ring
Crochet Abbreviations
- MR – Magic Ring
- sc – single crochet
- inc – increase (2 sc in one stitch)
- dec – decrease (2 stitches together)
- sl st – slip stitch
- ch – chain
Skill Level
Beginner.
Step-by-Step Crochet Chick Keychain Pattern
Head & Body
Work in continuous rounds (spiral). Place a stitch marker in the first stitch of each round.
Round 1: MR, 6 sc (6)
Round 2: inc in each stitch (12)
Round 3: (1 sc, inc) repeat (18)
Round 4: (2 sc, inc) repeat (24)
Round 5–7: sc around (24)
Round 8: (2 sc, dec) repeat (18)
Round 9: (1 sc, dec) repeat (12)
Stuff the body while crocheting.
- Start stuffing after Round 7, when the piece is nicely rounded.
- Add small bits of fiberfill and push it outward to avoid lumps.
- Continue closing (typical finish): keep decreasing until the opening is small, add a final pinch of stuffing, then cinch closed and weave in the end.
Wings (make 2)
Round 1: MR, 6 sc (6)
Round 2: (sc, inc) repeat (9)
Round 3–4: sc around (9)
Fasten off and leave a tail for sewing. Do not stuff—flatten slightly for a cute wing shape.
Beak
Using orange yarn:
Round 1: MR, 4 sc (4)
Round 2: (sc, inc) repeat (6)
Fasten off and leave a sewing tail. Sew onto the face so it sits slightly raised and “puffy.”
Assembly Instructions
Sew wings on both sides of the body
- Place wings on the left and right sides of the chick, roughly around the midline.
- Sew along the edge of each wing with small stitches.
- Make sure they sit evenly by pinning (or holding) them in place before sewing.
Attach the beak to the front
- Position the beak centered on the front of the chick.
- Sew around the beak’s edge, then pull the yarn gently to shape it into a small triangle/oval bump.
Add eyes using embroidery or safety eyes.
- Embroidered eyes (recommended for keychains): Use black yarn to stitch two small vertical lines or French knots.
- Safety eyes: insert evenly on each side above the beak, and attach washers firmly inside.
- Note: Safety eyes are not recommended for children under 3.
Stuff the chick evenly for shape
- If you haven’t fully closed the body yet, adjust stuffing so the chick is round and smooth.
- Avoid overstuffing (it can stretch stitches and show fiberfill).
Keychain Attachment
Create a sturdy hanging loop at the very top of the chick:
- Insert your hook at the top center of the head.
- ch 10–15 (adjust for your ring size).
- sl st back into the same stitch (or a neighboring stitch) to form a loop.
- Reinforce the loop by sewing around its base with a yarn tail.
Slide the metal keychain ring through the loop and close it securely.
Customization Ideas
- Add a tiny crochet flower (small chain loop petals) on the head for extra charm.
- Turn it into an Easter decoration by making several chicks and hanging them as garland.
- Use pastel yarn colors (mint, pink, lavender) for a kawaii spring look.
Conclusion
This easy mini amigurumi chick keychain is a fast, beginner-friendly project that’s cute, practical, and perfect for gifting. Once you’ve made one, try different colors and facial expressions to create a whole flock of cheerful crochet chicks.