How to Crochet a Mini Cowboy Hat Beginner-Friendly Step-by-Step Pattern
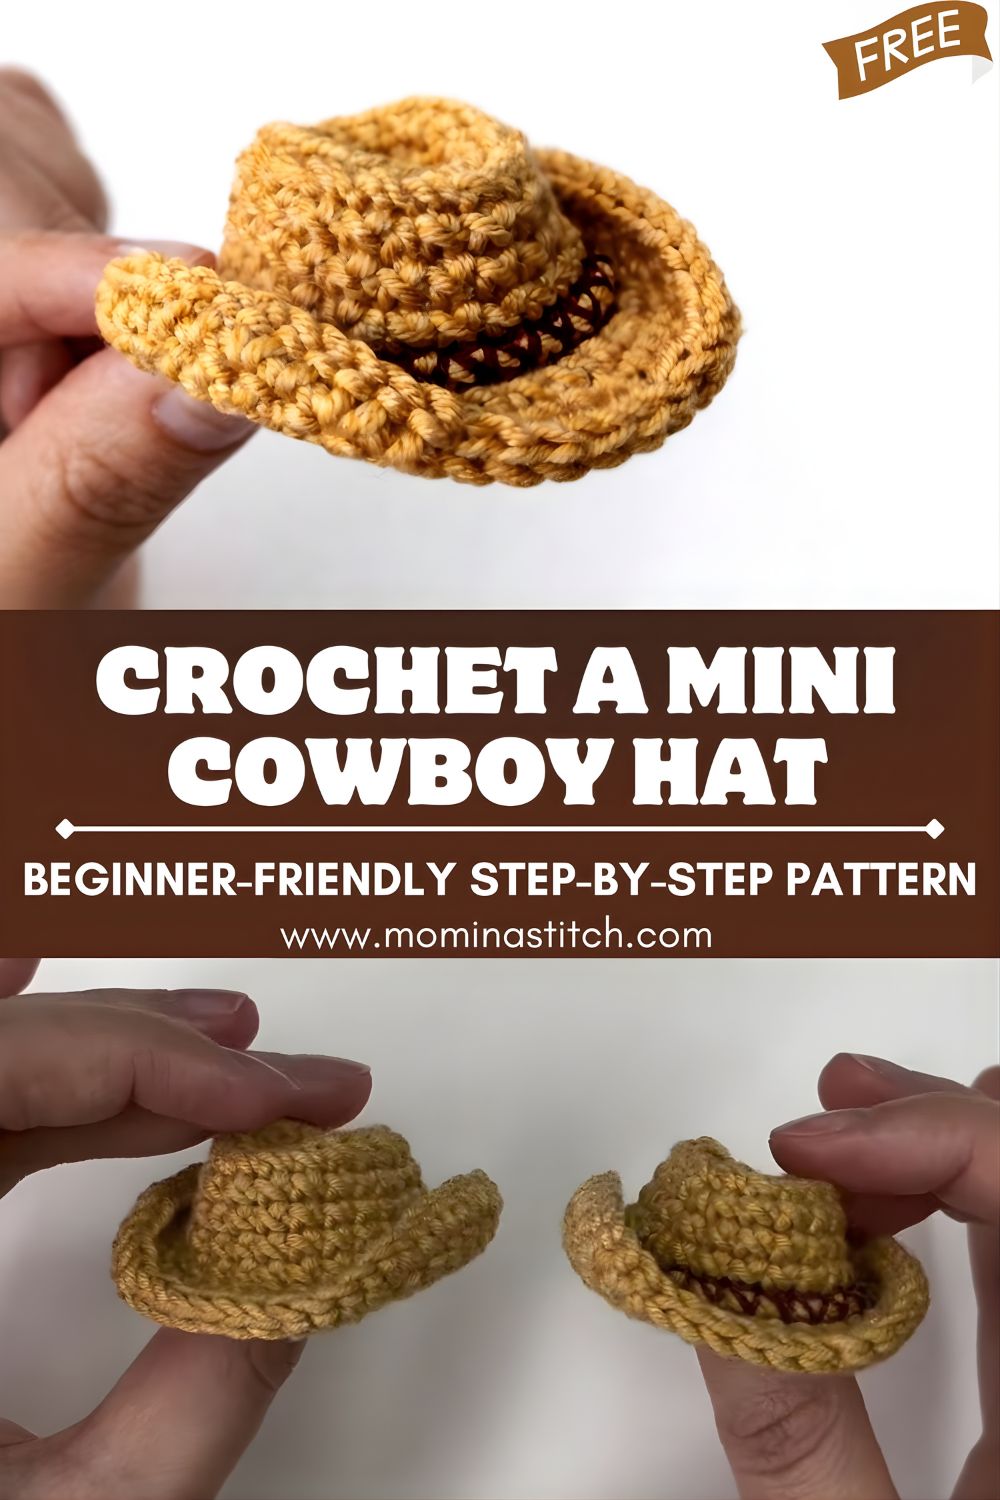
Learn how to crochet a mini cowboy hat with an easy beginner-friendly step-by-step pattern. Perfect for keychains, dolls, party décor, bag charms, and gift toppers. Want to crochet something tiny, cute, and instantly recognizable? This mini crochet cowboy hat is the perfect little project. It’s small enough to turn into a keychain, an amigurumi or doll accessory, a bag charm, or even party décor.
Beginners love this pattern because it uses simple stitches, works up quickly, and teaches a few helpful techniques like working in front loops only (FLO) and back loops only (BLO) to create clean shaping. At the end, you can also add a tiny hat band for extra detail.
Materials Needed
Here’s what you’ll need to crochet one mini cowboy hat:
- Yarn: Any small/medium yarn works
- For a classic cowboy look, try tan, brown, cream, or gray
- Acrylic or cotton are both fine
- Crochet hook: Choose a hook that matches your yarn
- Many crocheters use something in the 2.5 mm–4.0 mm range for small items
- For amigurumi-style tight stitches, go slightly smaller than the yarn label suggests
- Scissors
- Yarn/tapestry needle (for weaving in ends and adding a hat band)
- Stitch marker (or a scrap piece of yarn) to mark the end/start of rounds
- Optional: Keychain ring, jump ring, or lobster clasp (if you want a keychain)
- Optional: Contrasting yarn (for the tiny hat band detail)
Crochet Abbreviations (With Simple Meanings)
This pattern uses common amigurumi-style abbreviations:
- MR = Magic Ring (also called Magic Circle)
- SC = Single Crochet
- INC = Increase (2 SC in the same stitch)
- SL ST = Slip Stitch
- BLO = Back Loop Only (crochet into the back loop of the stitch)
- FLO = Front Loop Only (crochet into the front loop of the stitch)
- ST(s) = Stitch(es)
- Rnd = Round
Note for beginners: This hat is crocheted in continuous rounds (like a spiral), which is why a stitch marker is helpful.
Step-by-Step Crochet Pattern: Mini Cowboy Hat
Before You Start: A Quick Note on Counting
Always count your stitches at the end of each round. This keeps the crown smooth and the brim even—especially when you start shaping.
1) Starting the Magic Ring (Top of Hat)
Rnd 1: Magic Ring
- Make a magic ring (MR).
- Work 6 SC into the ring.
- Pull the ring tight to close the center.
Stitch count: 6 ST
Tip: Place a stitch marker in your last stitch so you don’t lose your place.
2) Increasing Rounds (Building the Top Circle)
Rnd 2: Increase in Every Stitch
- Make INC in each stitch around (2 SC in every stitch).
Stitch count: 12 ST
Rnd 3: Increase + 1 Single Crochet
Repeat this sequence 6 times:
- INC, then 1 SC
Stitch count: 18 ST
These early rounds create a flat circle that forms the top of the hat.
3) Creating the Hat Crown
Rnd 4: BLO Round (Forms a “Corner”)
This round is crocheted in the back loops only:
- BLO: Make 1 SC in each stitch around.
Stitch count: 18 ST
This BLO round creates a neat edge and starts shaping the crown (the vertical part of the hat).
Rnd 5: Gentle Increase for Crown Width
Repeat this sequence 3 times:
- INC, then 1 SC in next 5 stitches
Stitch count: 21 ST
Rnd 6: Even Round
- Make 1 SC in each stitch around.
Stitch count: 21 ST
Rnd 7: Increase + 6 Single Crochet
Repeat this sequence 3 times:
- INC, then 1 SC in next 6 stitches
Stitch count: 24 ST
Rnd 8: Even Round
- Make 1 SC in each stitch around.
Stitch count: 24 ST
At this point, you should have a tiny crown that looks like a mini hat top.
4) Making the Brim
Rnd 9: FLO Round (Starts the Brim)
This round is crocheted in the front loops only:
Repeat this sequence 12 times:
- INC, then 1 SC
Stitch count: 36 ST
This is the key “brim-making” round. Working in FLO helps the brim pop outward from the crown.
Rnd 10: Even Brim Round
- Make 1 SC in each stitch around.
Stitch count: 36 ST
Now you have a flat-ish brim—next comes the western shaping!
5) Shaping the Cowboy Hat Brim (Signature Curves)
Rnd 11: Slip Stitch + Increase Pattern for a Western Curve
This round adds the gentle cowboy hat shaping by mixing slip stitches (to flatten areas) and increases (to flare areas).
Work the following in order:
- Start with 3 SL ST
- Then repeat (INC, 1 SC) 6 times
- Next make 6 SL ST
- Then repeat (1 SC, INC) 6 times
- Finish with 3 SL ST
This creates a brim that has slightly different tension around the edges, giving it that classic cowboy hat curve.
Fasten Off
- Cut yarn, leaving a tail.
- Fasten off and weave in the end neatly using a yarn needle.
6) Shaping the Cowboy Hat (Hands-On Finishing)
This is the fun part—your fingers do the final “cowboy hat magic”:
- Pinch the top crease of the crown gently with your fingers (this makes that iconic dent).
- Bend the brim upward slightly on the sides.
- Adjust until you like the curve.
If your yarn is soft, shaping will hold better if you press and pinch for a few seconds. You can also lightly steam-block acrylic (carefully) or damp-shape cotton for longer-lasting curves.
Optional: Add a Tiny Hat Band (Easy Detail)
Want it even cuter? Add a quick band using contrasting yarn.
Simple Embroidered Band
- Thread a yarn needle with a contrast color.
- Embroider small, simple stitches around the base of the crown (where the brim begins).
- Tie off on the inside and weave in ends.
This tiny band makes the hat look more finished and polished—especially if you’re using it for gifts or photos.
Tips for Beginners (And Common Mistakes to Avoid)
A mini hat is small, but the skills are real. Here are helpful tips to keep it frustration-free:
Helpful Tips
- Use a stitch marker every round. This pattern is worked in continuous rounds, and it’s easy to drift.
- Count your stitches. The shaping depends on correct stitch counts (especially Rnd 9 and Rnd 11).
- Pull the magic ring tight. A loose center hole will show at the top of the hat.
- Keep tension even. Consistent tension makes the brim look smoother.
Common Mistakes
- Forgetting BLO/FLO rounds:
- Rnd 4 is BLO (helps form the crown edge)
- Rnd 9 is FLO (starts the brim cleanly)
- Skipping slip stitches in Rnd 11: Slip stitches are what help create that cowboy brim curve.
- Not shaping at the end: The hat looks much more “cowboy” after you pinch the crown and curl the brim.
Customization Ideas (Make It Your Own!)
One of the best things about small crochet accessories is how easy they are to personalize.
Try these ideas:
Change the Colors
- Classic cowboy: tan hat + darker brown band
- Cute pastel: pink + white band
- Holiday theme: red/green band or black with gold band
- Party theme: match the event colors (birthdays, bachelorette, rodeo parties)
Try Different Yarn Types
- Cotton yarn gives crisp stitch definition and holds shape well.
- Acrylic yarn is soft and beginner-friendly.
- Velvet yarn makes it plush (but stitch counting is harder—better for confident beginners).
Add Decorations
- Sew on a tiny bead or button like a belt buckle (small and secure!)
- Add a tiny star charm
- Stitch on a very small bow or flower
- Add a hanging loop (chain a few stitches and slip stitch to attach)
Uses for Mini Cowboy Hats
Not sure what to do with your finished hat? Here are fun ideas:
- Keychains: Add a jump ring through the top or stitch a small loop inside the crown.
- Doll & amigurumi accessories: Perfect for tiny plushies, crochet dolls, and animals.
- Party decorations: Make a batch and string them into a garland for a western theme.
- Gift toppers: Use instead of a bow—tie it onto ribbon for a handmade finishing touch.
- Bag charms: Clip it to a purse zipper or backpack.
- Photo props: Great for product photos, craft fairs, or themed displays.
Conclusion
This mini cowboy hat is a small project with a big personality. It’s beginner-friendly, quick to crochet, and super versatile whether you turn it into a keychain, a doll accessory, or a cute party decoration. Best of all, it teaches useful techniques like BLO/FLO rounds, simple increases, and shaping with slip stitches.
Give the pattern a try, make a few in different colors, and don’t worry if your first brim isn’t perfect crochet gets better with every round you practice. Once you make one, you’ll want to make a whole tiny cowboy hat collection!