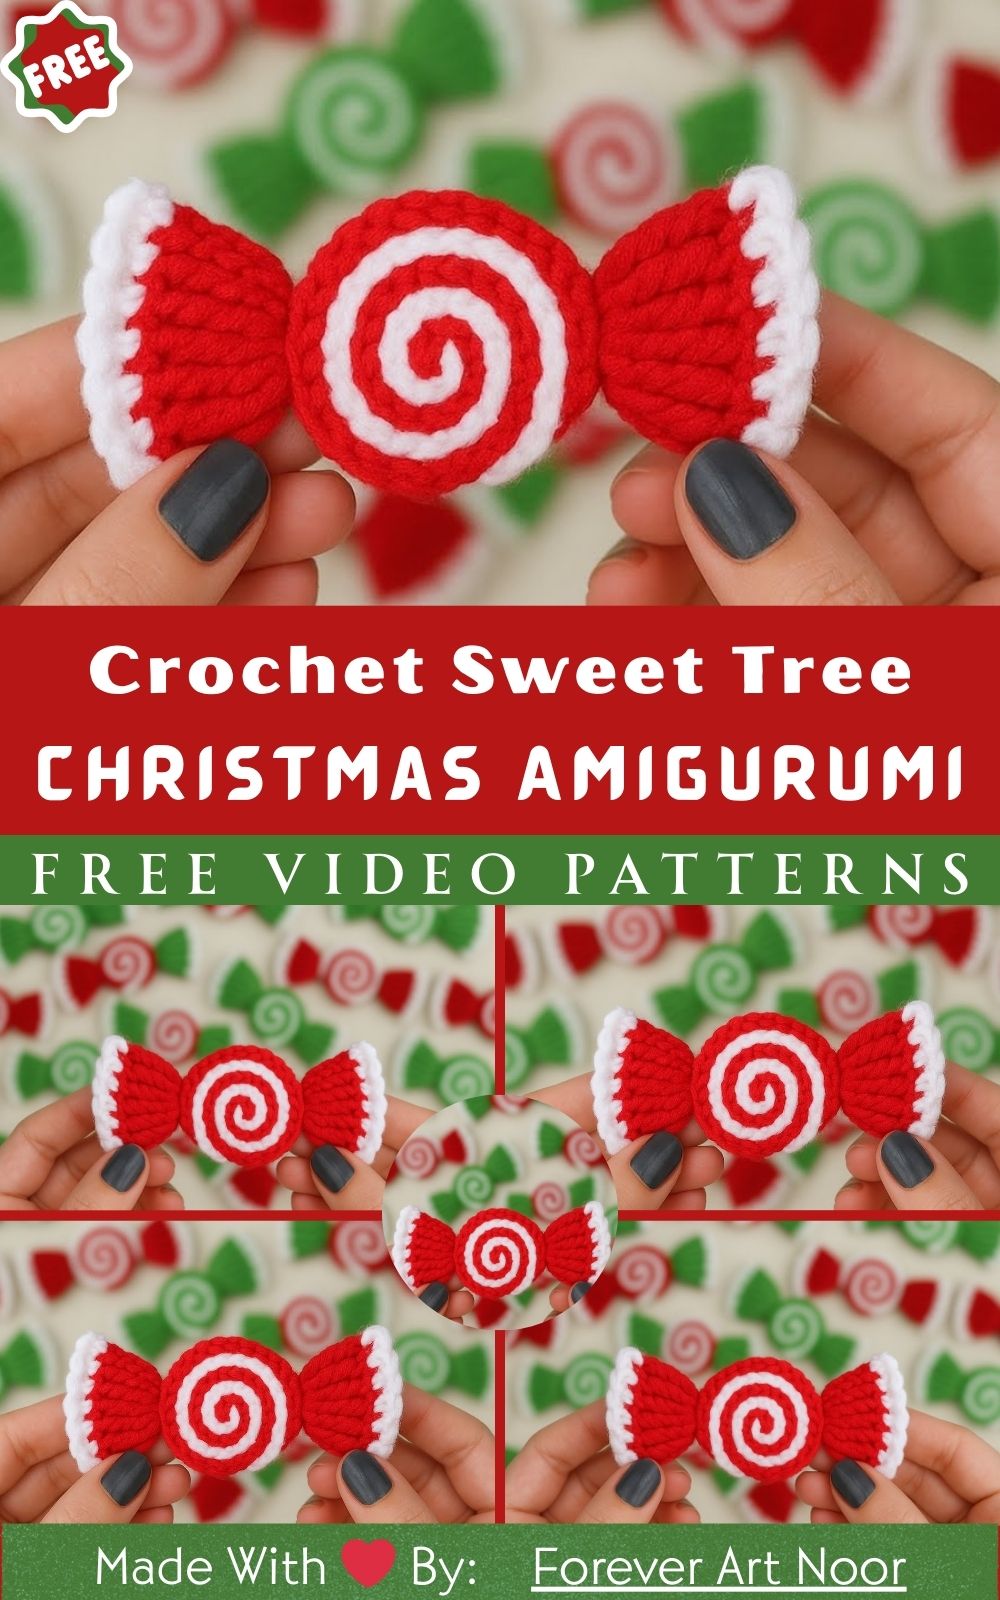
Brilliant Crochet Sweet Tree Christmas Amigurumi Pattern
Wrap your holidays in cozy crochet with the Brilliant Crochet Sweet Tree Christmas Amigurumi Pattern. Adorable, speedy, and stylish for mantel decor, ornaments, and handmade gifts, everyone will love.
Celebrate handmade holiday magic with the Brilliant Crochet Sweet Tree Christmas Amigurumi Pattern, an adorable, beginner-friendly make that stitches up fast and looks polished in any festive setting. Featuring simple shapes, plush texture, and customizable colors, this crochet tree is perfect for last-minute decor or as a heartfelt gift.
Clear instructions and minimal seaming mean relaxing, stress-free crafting, whether you’re making one sweet spruce or a whole merry forest. Elevate your Christmas decor with a modern, cozy touch and enjoy a satisfying project you’ll want to revisit every season.
Uses:
- Hang as an ornament or string into a garland
- Tuck into stockings as a cute, handmade gift
- Style on a mantel, tiered tray, or table centerpiece
Brilliant Crochet Sweet Tree Christmas Amigurumi Pattern
Firstly, welcome to a cozy, beginner‑friendly make that turns a small ball of yarn into a festive keepsake you’ll love gifting and displaying for smooth progress and strong search visibility, this clear and organic pattern highlights a polished cone body, a snug removable hat, and a sweet embroidered face while naturally weaving in helpful keywords like crochet Christmas tree amigurumi and beginner crochet pattern. Thirdly, for planning ease and confident stitching, each section includes exact measurements, step‑by‑step rounds, practical tips, and realistic making times so your cheerful tree stands tall and smiles brightly.
Project Snapshot and Difficulty
Firstly, skill level is Beginner thanks to single crochet, simple increases, and occasional BLO rounds for tidy ridges. Secondly, the total making time averages 2 to 3 hours per tree, depending on your pace and experience. Thirdly, the finished size measures about 14–16 cm tall with the hat and roughly 7–8 cm wide at the base for a compact, shelf‑ready accent. Additionally, construction focuses on clean stitches, smooth shaping, and a firm, upright base so your amigurumi looks crisp in photos and in person.
Materials and Exact Measurements (Short and Scannable)
Yarn (Worsted/Category 4)
Use worsted-weight yarn. Colors and amounts: Green 25 g (55–60 m) for the body and base; Brown 5 g (10–12 m) for the trunk; Red 7 g (about 15 m) for the hat; White 5 g (10–12 m) for the brim. Keep tiny scraps: Pink for cheeks and Black for the smile embroidery.
Tools and Notions
Additionally, gather a 3.5 mm (US E/4) hook for dense, gap-free stitches, 6 mm safety eyes (or black embroidery floss for baby-safe eyes), fiberfill 20 g for the body plus a pinch for the hat, a blunt tapestry needle, a locking stitch marker, and sharp scissors.
Optional Stability and Embellishments
Finally, prepare a cardboard circle 5.5–6 cm (or a coin/washer) to weigh the base, and consider cute extras such as a 1–1.5 cm star, tiny bells, or seed beads.
Gauge, Sizing, and Fabric Feel
Firstly, remember that the exact gauge is flexible for amigurumi as long as stuffing does not peek through. Secondly, aim for a dense fabric around 16–18 sc and 18–20 rounds per 10 cm when you work with firm tension. Thirdly, switch to a 3.25 mm hook if you see gaps or move up to a 4 mm hook for a slightly larger tree without changing stitch counts. Additionally, expect a neat, sturdy base and a height of 14–16 cm with the listed supplies. Moreover, scale down to sport weight yarn with a 2.75–3 mm hook for adorable ornament minis.
Abbreviations (US Terms)
Firstly, MR = magic ring. Secondly, ch = chain. Thirdly, sc = single crochet. Additionally, inc = increase (2 sc in one stitch). Moreover, dec = decrease (invisible decrease recommended). Furthermore, BLO = back loop only. Likewise, FLO = front loop only. Finally, sl st = slip stitch; st(s) = stitch(es).
Prep Tips Before You Begin
Firstly, work in a continuous spiral and move your marker up each new round. Secondly, keep tension steady and firm for a smooth silhouette. Thirdly, stuff gradually and shape with the blunt end of your hook to avoid lumps. Additionally, insert safety eyes before heavy stuffing if you’re using snap‑on backs. Moreover, embroider eyes for under‑three gifts to keep things baby‑safe. Finally, weave in tails securely and bury knots inside the stuffing for long‑term durability.
Body: Tiered Cone Construction (Green) [Estimated time: 60–75 minutes]
Firstly, create a tidy tip to set up clean shaping.
Secondly, Round 1: MR, 6 sc (6).
Thirdly, Round 2: inc around (12).
Additionally, Round 3: sc around (12).
Moreover, Round 4: [sc, inc] x6 (18).
Furthermore, Round 5: sc around (18).
Likewise, Round 6: BLO sc around to form the first soft ridge (18).
Next, Round 7: [2 sc, inc] x6 (24).
Afterward, Round 8: sc around (24).
Similarly, Round 9: [3 sc, inc] x6 (30).
Subsequently, Round 10: sc around (30).
Additionally, Round 11: BLO sc around for the second ridge (30).
Moreover, Round 12: [4 sc, inc] x6 (36).
Furthermore, Round 13: sc around (36).
Likewise, Round 14: [5 sc, inc] x6 (42).
Then, Round 15: sc around (42).
Next, Round 16: BLO sc around for the third ridge (42).
Afterward, Round 17: sc around (42).
Finally, Round 18: sc around (42).
Firstly, place the face now for the best alignment and balance. Secondly, position 6 mm eyes between Rounds 9 and 10 with about 6 stitches between, then lock the backs firmly. Thirdly, begin stuffing after Round 18 so the cone firms up without bulging.
Base: Flat Close (Green) [Estimated time: 15–20 minutes]
Firstly, match the base stitch count to the body opening for a wobble‑free fit.
Secondly, Round 1: MR, 6 sc (6).
Thirdly, Round 2: inc around (12).
Additionally, Round 3: [sc, inc] x6 (18).
Moreover, Round 4: [2 sc, inc] x6 (24).
Furthermore, Round 5: [3 sc, inc] x6 (30).
Likewise, Round 6: [4 sc, inc] x6 (36).
Finally, Round 7: [5 sc, inc] x6 (42).
Firstly, lightly overstuff the base area to remove air pockets. Secondly, align the base to the body and whipstitch through the front loop of the body and the back loop of the base for a near‑invisible seam. Thirdly, insert the optional cardboard circle or coin before sealing the final third for stability.
Trunk: Small Cylinder (Brown) [Estimated time: 10–15 minutes]
Firstly, make a simple stump that adds charm and balance.
Secondly, Round 1: MR, 6 sc (6).
Thirdly, Rounds 2–6: sc around (6).
Firstly, stuff the trunk lightly so it stays firm without bulging. Secondly, fasten off with a long tail and sew it to the center underside using small, even stitches. Thirdly, stitch around twice for durability if the tree will be handled often.
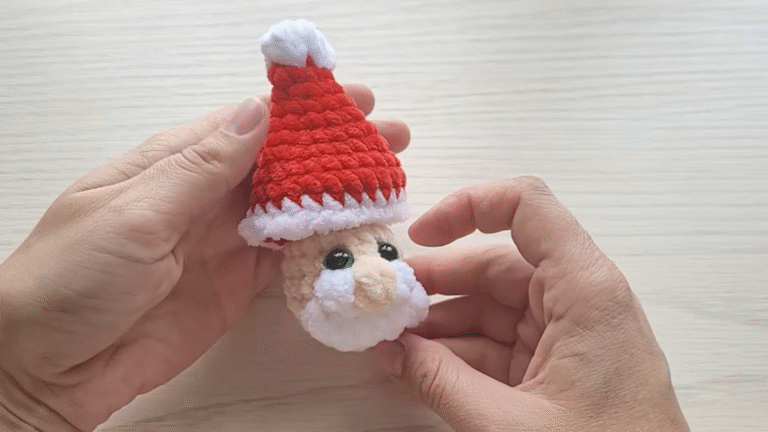
Hat: Cozy Mini Beanie with White Brim (Red/White) [Estimated time: 30–40 minutes]
Firstly, shape a petite cone that tilts cutely over the tree tip.
Secondly, Round 1: With Red, MR, 4 sc (4).
Thirdly, Round 2: sc around (4).
Additionally, Round 3: [sc, inc] x2 (6).
Moreover, Round 4: sc around (6).
Furthermore, Round 5: [2 sc, inc] x2 (8).
Likewise, Round 6: sc around (8).
Next, Round 7: [3 sc, inc] x2 (10).
Afterward, Round 8: sc around (10).
Similarly, Round 9: [4 sc, inc] x2 (12).
Subsequently, Round 10: sc around (12).
Additionally, Round 11: [5 sc, inc] x2 (14).
Moreover, Round 12: sc around (14).
Furthermore, Round 13: [6 sc, inc] x2 (16).
Firstly, switch to White for a crisp brim.
Secondly, Round 14: BLO sc around (16).
Thirdly, Round 15: [sc, inc] x8 (24).
Finally, Round 16: sc around (24), then fasten off and weave in ends.
Firstly, test the hat for fit and tilt, and add a 1 cm pom if you like. Secondly, drop to a 3.25 mm hook for the brim if it feels loose. Thirdly, block the brim lightly with steam from a distance if you want extra neatness.
Face and Embellishments [Estimated time: 10–15 minutes]
Firstly, bring the tree to life with a friendly expression. Secondly, embroider a gentle smile about 4–5 stitches wide, slightly belowthe center, using Black thread. Thirdly, add Pink cheeks with tiny stitched circles or 8 mm felt dots for soft blush. Additionally, tack on a felt or button star at the tip and stitch through multiple layers to secure.
Assembly and Finishing [Estimated time: 10–20 minutes]
Firstly, roll the tree gently on a flat surface to check even stuffing and shape. Secondly, sew the base neatly, hide all tails inside, and attach the trunk firmly. Thirdly, place the hat, adjust the tilt, and confirm the smile sits centered and photogenic. Additionally, add a coin weight if the tree wobbles and reseat the trunk slightly forward from the center if needed. Finally, lint‑roll the surface and enjoy your polished, display‑ready amigurumi.
Making Time at a Glance
Firstly, body cone: 60–75 minutes. Secondly, base circle: 15–20 minutes. Thirdly, trunk: 10–15 minutes. Additionally, hat: 30–40 minutes. Moreover, face and embellishments: 10–15 minutes. Finally, assembly and finishing: 10–20 minutes.
Special Features You’ll Love
Firstly, soft BLO ridges mimic evergreen tiers without complicating the pattern. Secondly, a removable hat invites playful styling and easy storage. Thirdly, a weighted base keeps your tree upright and photo‑ready. Additionally, consistent increases produce a smooth cone every time. Finally, exact measurements make batching multiples simple during the holiday rush.
Basic Tips for Beginner‑Clean Results
Firstly, keep the loop height even by lifting the new loop to match the active loop before finishing each sc. Secondly, count stitches at the end of every increase round to avoid leaning. Thirdly, move a locking marker each round to track your progress. Additionally, stuff gradually and shape as you go for crisp sides and a neat tip. Moreover, steam acrylic lightly from a distance to relax tiny waves. Finally, secure embroidery ends with small knots hidden under stuffing for durability.
Common Mistakes and Fast Fixes
Firstly, visible stuffing means your fabric is loose, so tighten the tension or drop to a 3.25 mm hook. Secondly, a leaning cone signals miscounted increases, so recount and redistribute stuffing toward the high side. Thirdly, a bulging base suggests overstuffing near the seam, so remove a pinch and seam more gently. Additionally, a hat that rides up needs one extra increase round before the brim or a slightly larger brim hook. Finally, eyes placed too high can be moved down one round and paired with a softer smile curve.
Variations and Fun Customizations
Firstly, Classic Evergreen pairs deep forest Green with a Red hat, White brim, and a gold star button. Secondly, Frosted Forest uses mint or sage with embroidered snowflakes and pearl beads. Thirdly, Candy Cane Cheer alternates red‑white rounds on the hat with a fluffy white pom. Additionally, Rustic Neutral blends heathered Green with a cream hat and a wooden star for farmhouse charm. Finally, Size Play upsizes with one extra body increase round (to 48 sts), mirrored in the base,e or downsizes with sport weight yarn and a 2.75–3 mm hook.
Tutor Suggestions and Confidence Boosters
Firstly, swap the magic ring for chain‑2 and work Round 1 into the second chain if MR feels fiddly. Secondly, use invisible decreases by working through the front loops of the next two stitches for smoother shaping. Thirdly, mark each increase early on to train your eye to “read” stitches accurately. Additionally, practice your embroidered smile on a swatch to nail the curve. Finally, rest your hands every 20–25 minutes to keep tension even across the project.
Sizing Tips for Perfect Proportions
Firstly, adjustthet size fastest by changing the hook while keeping the stitch counts the same. Secondly, preserve proportions by mirroring any added increase rounds in the base. Thirdly, test the hat between Rounds 13–16 to confirm ease and tilt before weaving in ends. Additionally, scale down by pairing smaller safety eyes (4–5 mm) or embroidered eyes with lighter yarn. Finally, add a coin weight and a slightly taller trunk when scaling up to maintain balance.
SEO‑Friendly Notes for Makers
Firstly, include phrases like crochet Christmas tree amigurumi, beginner‑friendly Christmas crochet pattern, and quick holiday crochet gift to match search intent. Secondly, write concise alt text for photos, such as “crochet Christmas tree amigurumi with red hat and white brim.” Thirdly, structure your post with clear headings, scannable steps, and internal links to related projects to improve engagement. Additionally, invite readers to share color combos or display ideas to encourage comments and saves. Finally, reference the inspiration video link for crafters who prefer visual guidance: https://youtu.be/DX-BfdKMgfE.
Care, Gifting, and Display
Firstly, for under‑three recipients, skip safety eyes and sew embellishments through multiple layers. Secondly, include a care note that reads “Surface clean with a damp cloth, then lay flat to dry.” Thirdly, style a trio of trees in mixed heights on mantels or shelves for instant holiday impact. Additionally, tuck a mini into a cocoa basket or stocking for a heartwarming handmade surprise. Finally, store trees in breathable bags and stuff hats with tissue to preserve shape between seasons.
Final Cheer
Firstly, enjoy the calm rhythm of simple rounds as your sweet tree takes shape. Secondly, trust your tension, count your increases, and shape as you stuff for the smoothest silhouette. Finally, celebrate a brilliant little forest that works up quickly, photographs beautifully, and brings cozy holiday joy all season long.