Crochet Mug Cover Pattern for Dad’s Morning Coffee
Coffee time feels extra special with a handmade cover. This crochet mug cover pattern features the word PAPA and a black mustache, so it makes a playful gift for dad. Better yet, the pattern is easy and the tutorial is free. Make one very soon.
Looking for a gift for dad? Then try this cover in teal or blue. The word PAPA is stitched on the front, while a black mustache sits right below it. Besides being fun to make, it works as a lovely handmade gift for any coffee lover you know.

Crochet Mug Cover Pattern Overview
Skill level: Easy to intermediate, since the mustache calls for half-dc and elongated dc stitches.
Finished size: Made to wrap one mug, with a body of 15 dc per row across Rows 1–26 and a button strap on top.
First, gather the supplies and keep the stitch counts close while you work. Since the counts are short, the cover works up smoothly as long as you stay accurate.
Materials for the Crochet Mug Cover Pattern
- Yarn: 100% organic cotton, weight #2 (fine), worked with double strands
- Hook: 2.25 mm crochet hook
- Extras: a large button, a tapestry needle, and glue (optional, for applying the mustache)
- Needle and thread for the black detail
Abbreviations Used
- Ch = chain
- Dc = double crochet
- Sc = single crochet
- Sl st = slip stitch
Body Stitch Counts
- Foundation: Ch 17
- Row 1: 15 dc in total, starting in the 4th chain from hook
- Rows 2–26: 15 dc in every row
Special Techniques for the Crochet Mug Cover Pattern
A few small methods shape the final result. Therefore, read them once before the first stitch.
- Double strands: Hold two strands of the fine organic cotton together as one, and work the whole cover that way.
- Straight edges: Always work into the last chain, because that habit keeps the edge straight.
- Corner increases: The sc border goes around the entire piece. At the corners, 2 sc in one stitch prevents puckering.
- Whip-stitch detail: A needle and thread make the black border, and the needle passes every two stitches.
- Row counting: The embroidery depends on counting 4 rows from the bottom, then leaving one row between letters.
- Glue: Glue is optional, yet it holds the mustache in place.
Project Time Breakdown
The pattern gives no hour counts. As a result, plan the work in three stages instead of by the clock.
- Prep: Gather the cotton, hook, large button, tapestry needle, glue, and the needle and thread.
- Stitching: Work the body, the button strap, the sc border, and the mustache chain.
- Finishing: Add the whip-stitch detail, embroider PAPA, sew on the button, and glue the mustache.
Crochet Mug Cover Pattern Instructions
Follow the steps in order. Meanwhile, keep both strands of cotton together from start to end.
Step 1: Make the Foundation Chain
First, work Ch 17 with the 2.25 mm hook and double strands of cotton. Keep the loops even, since every row builds on the chain.
Step 2: Work the Body Rows
Next, work Row 1 with 15 dc in total, starting in the 4th chain from the hook. Then repeat 15 dc in every row through Row 26. Count the stitches at the end of each row, so the body stays even.
Step 3: Make the Button Strap
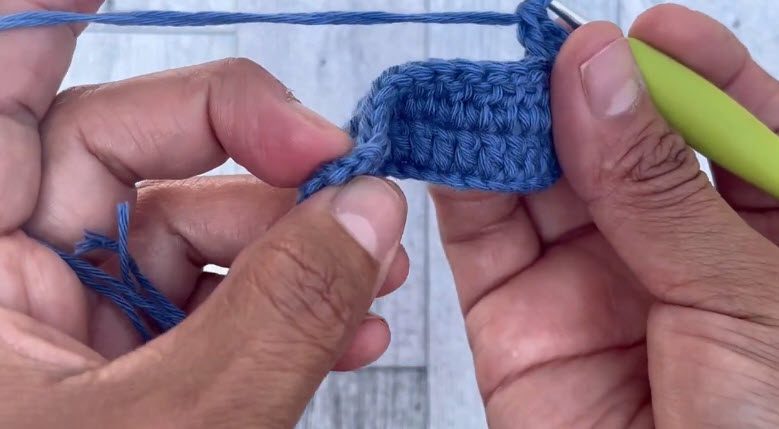
After finishing the body, leave three stitches unworked at both ends of the row. Then work the strap as follows.
- Rows 1–6: Start at the 4th stitch and work 10 dc across. Repeat for 6 rows in total.
- Row 7 (buttonhole): Ch 2, then dc in the next 3 stitches. Next, ch 4 and skip 4 stitches, then dc in the last 3 stitches.
- Row 8: Dc across the row. When the hook reaches the chain space, work 4 dc under it.
Step 4: Work the Sc Border
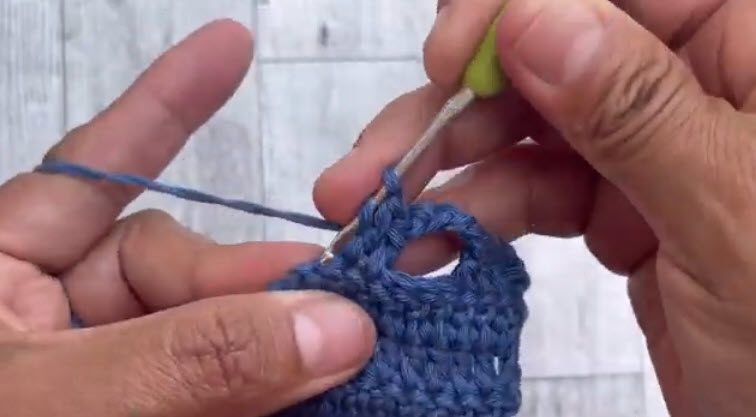
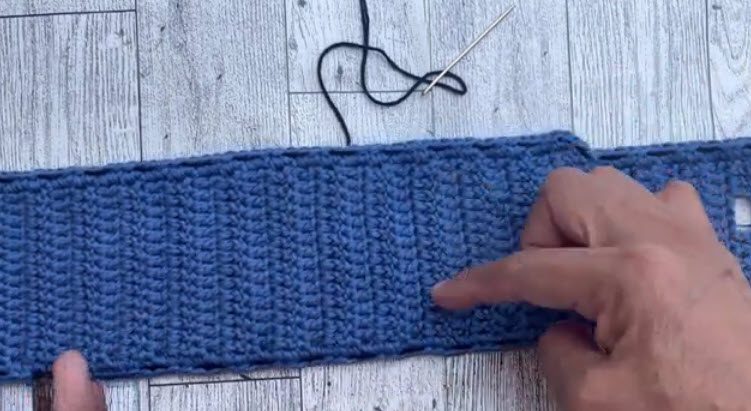
Now work a row of sc around the entire piece. At the corners, make 2 sc in one stitch, so the fabric does not pucker.
Step 5: Add the Black Detail
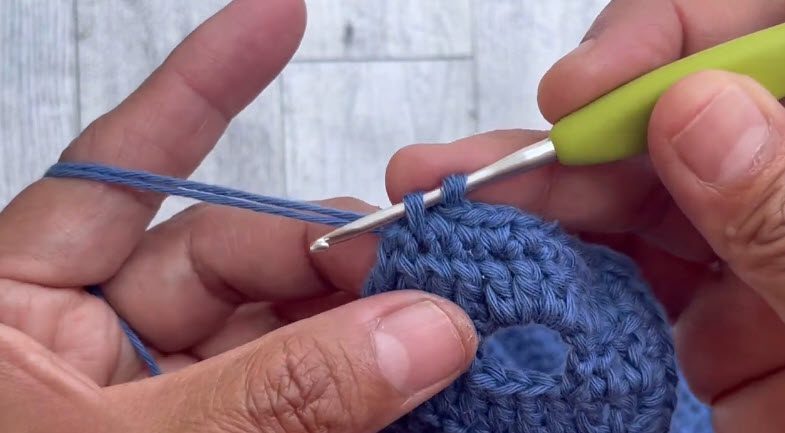
After that, use a needle and thread to make a decorative whip-stitch border. Pass the needle every two stitches.
Step 6: Crochet the Mustache
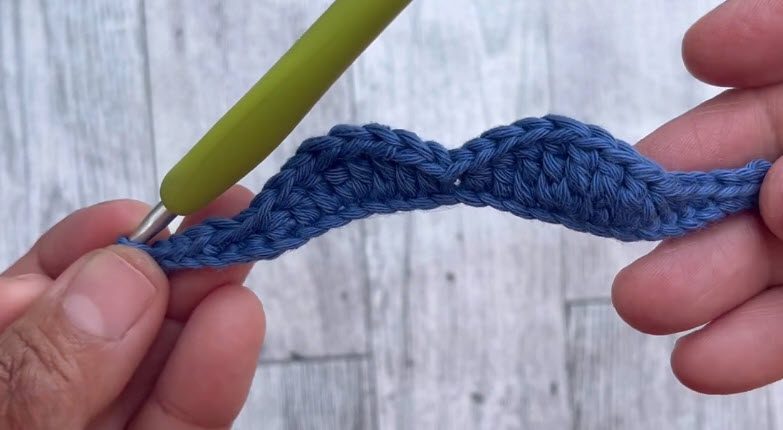
Start with 28 chains. Then work a mix of sl st, sc, half-dc, dc, and elongated dc stitches. Because this part uses five stitch types, take it slowly.
Step 7: Embroider PAPA
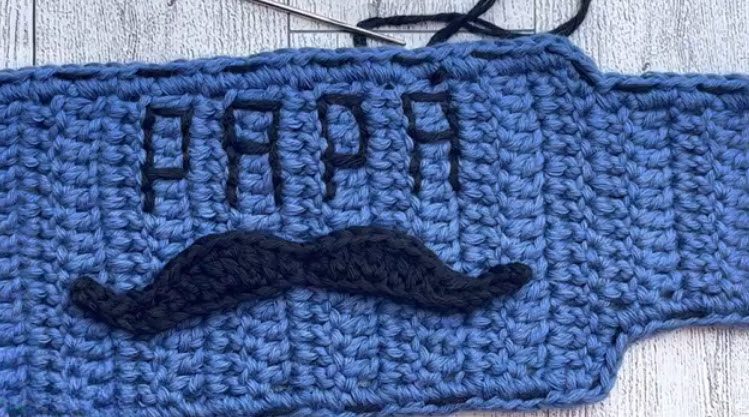
Finally, count 4 rows from the bottom to find the starting point. Embroider the word PAPA, and space each letter with one row of separation.
Common Mistakes with the Crochet Mug Cover Pattern
Small slips can change the final result. Fortunately, each one is easy to prevent.
- Using one strand: The pattern calls for double strands, so keep both together.
- Skipping the last chain: Without it, the sides lose their straight edge.
- Forgetting the gaps: After the body, leave three stitches unworked at both ends before starting the strap.
- Miscounting the buttonhole: Ch 4 and skip 4 stitches, then finish with dc in the last 3 stitches.
- Leaving out corner increases: Without 2 sc in one stitch, the border puckers.
- Starting the letters too high: Count 4 rows from the bottom first.
Uses and Benefits of the Crochet Mug Cover Pattern
First, a cover keeps a hand from touching a hot mug directly, so every morning cup feels easier to hold. Next, the strap slips around the mug, and the button fastens in seconds. Beyond daily use, the piece also works as a thoughtful gift for a father, a grandfather, or any coffee lover who enjoys a joke. Because the body uses one simple stitch, the cover suits a relaxed project. Finally, organic cotton feels soft and natural against the fingers.
Beginner Tips for the Crochet Mug Cover Pattern
- Count the stitches at the end of every body row, since the goal is always 15 dc.
- Keep a tapestry needle nearby, because the finishing steps need it.
- Place a marker or scrap yarn at the start of the strap, so the three unworked stitches stay easy to find.
- Take the mustache slowly. Since it mixes five stitch types, a steady pace helps.
- Relax the grip, because double strands can feel stiff at first. However, the stitches settle as the rows grow.
- Pause before gluing, and check that the mustache sits centered above the word PAPA.
Assembling the Mug Cover
Assembly takes only two moves. First, the large button goes on the main body, between rows 2 and 3, so the strap can fasten through the buttonhole. Second, the mustache goes above the embroidered word. Glue is optional, but it works well for the mustache. After that, the cover is ready for a mug.
Personalization Ideas for the Crochet Mug Cover Pattern
- Pick a different button: choose any large button that suits Dad, such as one in a favorite color. The position stays between rows 2 and 3.
- Choose a favorite cotton shade: swap the color while keeping the same 100% organic cotton, weight #2 (fine), worked with double strands.
- Change the embroidered word: replace PAPA with another short name, but keep the same start, 4 rows from the bottom, and one row between letters.
Stitch Count Cheat Sheet
Keep the key numbers in one place while you stitch.
- Foundation: Ch 17
- Body rows: 15 dc in Rows 1–26
- Strap setup: three stitches unworked at both ends
- Strap rows: 10 dc across for 6 rows
- Buttonhole row: ch 2, dc in next 3, ch 4, skip 4, dc in last 3
- Closing row: dc across, with 4 dc under the chain space
- Mustache: start with 28 chains
- Button: between rows 2 and 3
Bonus: Fun Ways to Gift Your Mug Cover
Once the cover is done, slip it onto a plain mug and tuck a coffee pouch or tea bag inside. Next, add a small card that says why dad is special. For a bigger surprise, pair the set with his favorite snack. Meanwhile, you can make a second cover in another color, so the present feels like a matching set. As a result, the gift looks thoughtful without any extra sewing.
FAQs About the Crochet Mug Cover Pattern
What yarn works best for the cover?
The pattern uses 100% organic cotton, weight #2 (fine), held as double strands.
Which hook size does the pattern need?
A 2.25 mm crochet hook is the size listed.
How many double crochet stitches go in each body row?
Every body row ends with 15 dc. Also, Row 1 starts in the 4th chain from hook.
Can beginners follow the crochet mug cover pattern?
Yes, because most of it uses chains, dc, and sc. However, the mustache adds half-dc and elongated dc stitches, so that part needs a little extra care.
How wide is each strap row?
Each strap row has 10 dc across, starting at the 4th stitch.
How is the buttonhole made?
On strap Row 7, ch 2, dc in the next 3 stitches, ch 4, skip 4 stitches, and dc in the last 3 stitches.
How does the mustache stay on the cover?
Glue holds it in place, centered above the text. Since glue is optional, use it as needed.
Time for That First Sip
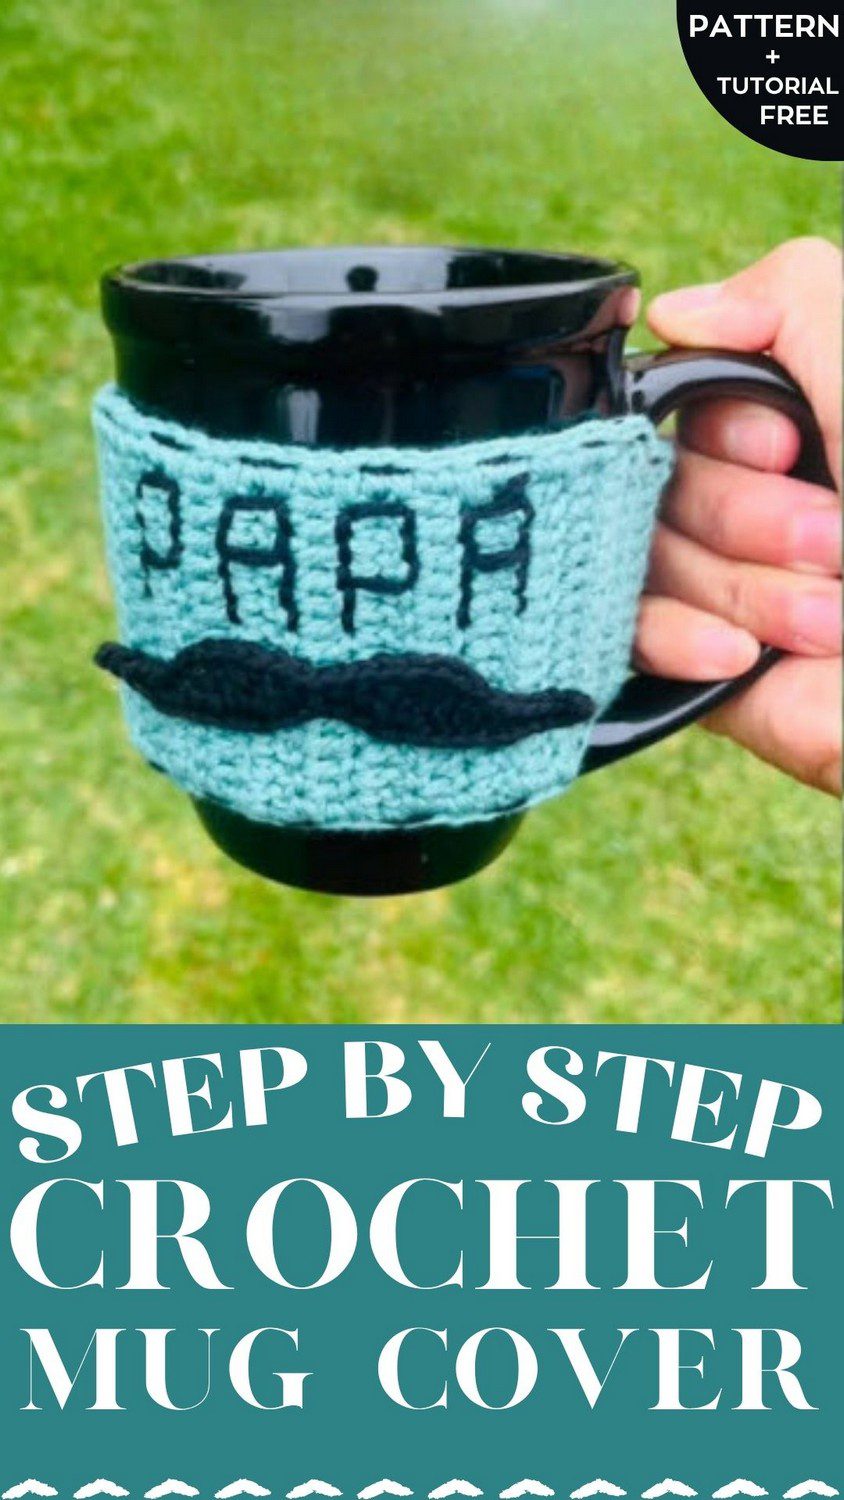
Well, that’s the whole cover. Honestly, it’s just a short chain, a body up to Row 26, a little strap, and a border. After that comes the fun part, where PAPA gets stitched on and the mustache goes down with a dab of glue. Then the button goes in its spot, and dad can slip the cover on his mug. I think this crochet mug cover pattern is short, friendly, and full of personality. So pick up the yarn and start that first chain today.