Free Crochet Rabbit Bag Pattern – Adorable Bunny Design for Beginners
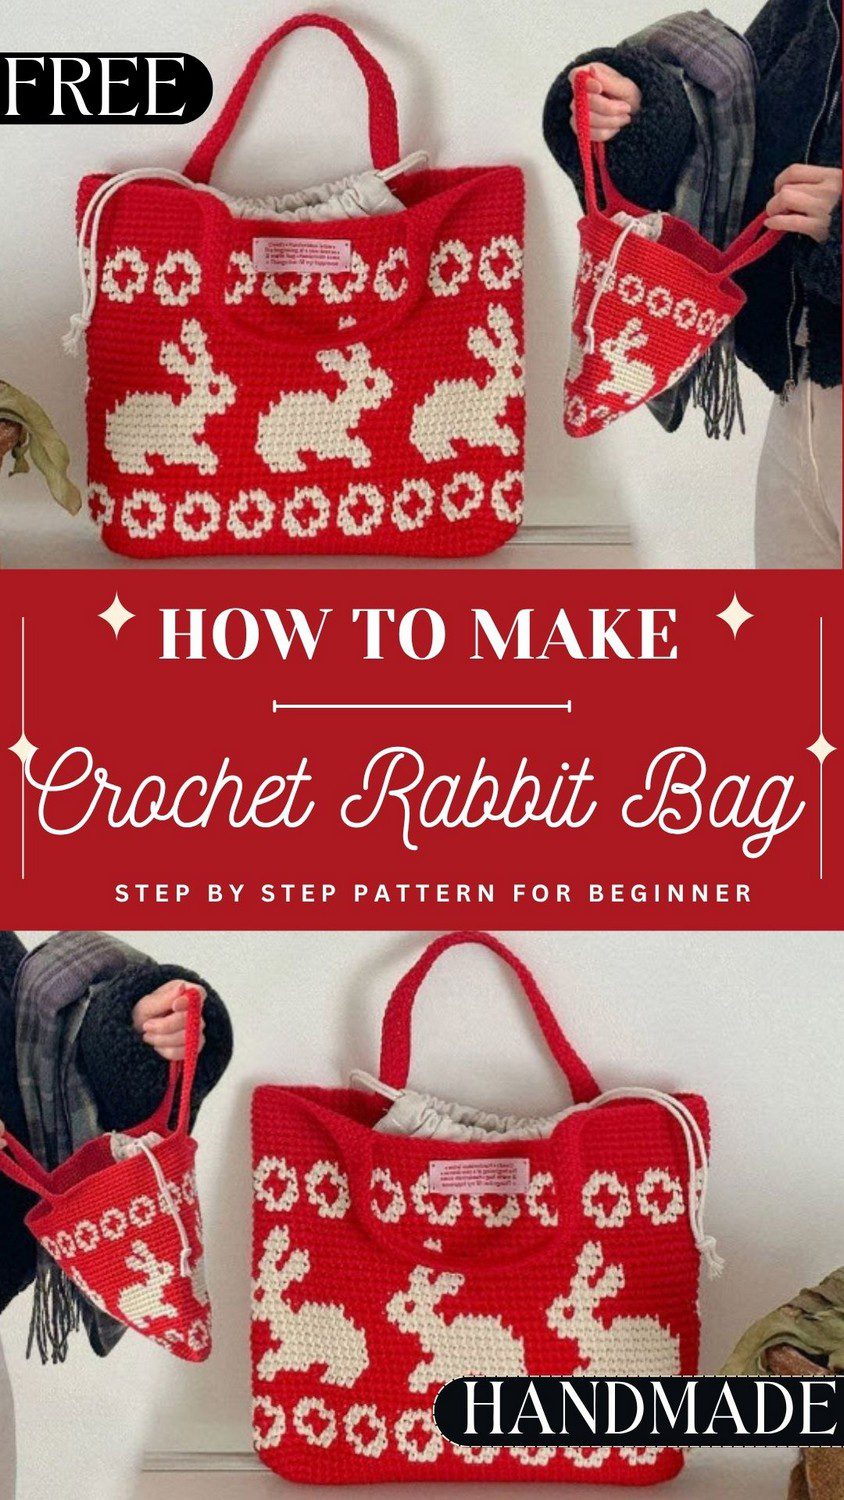
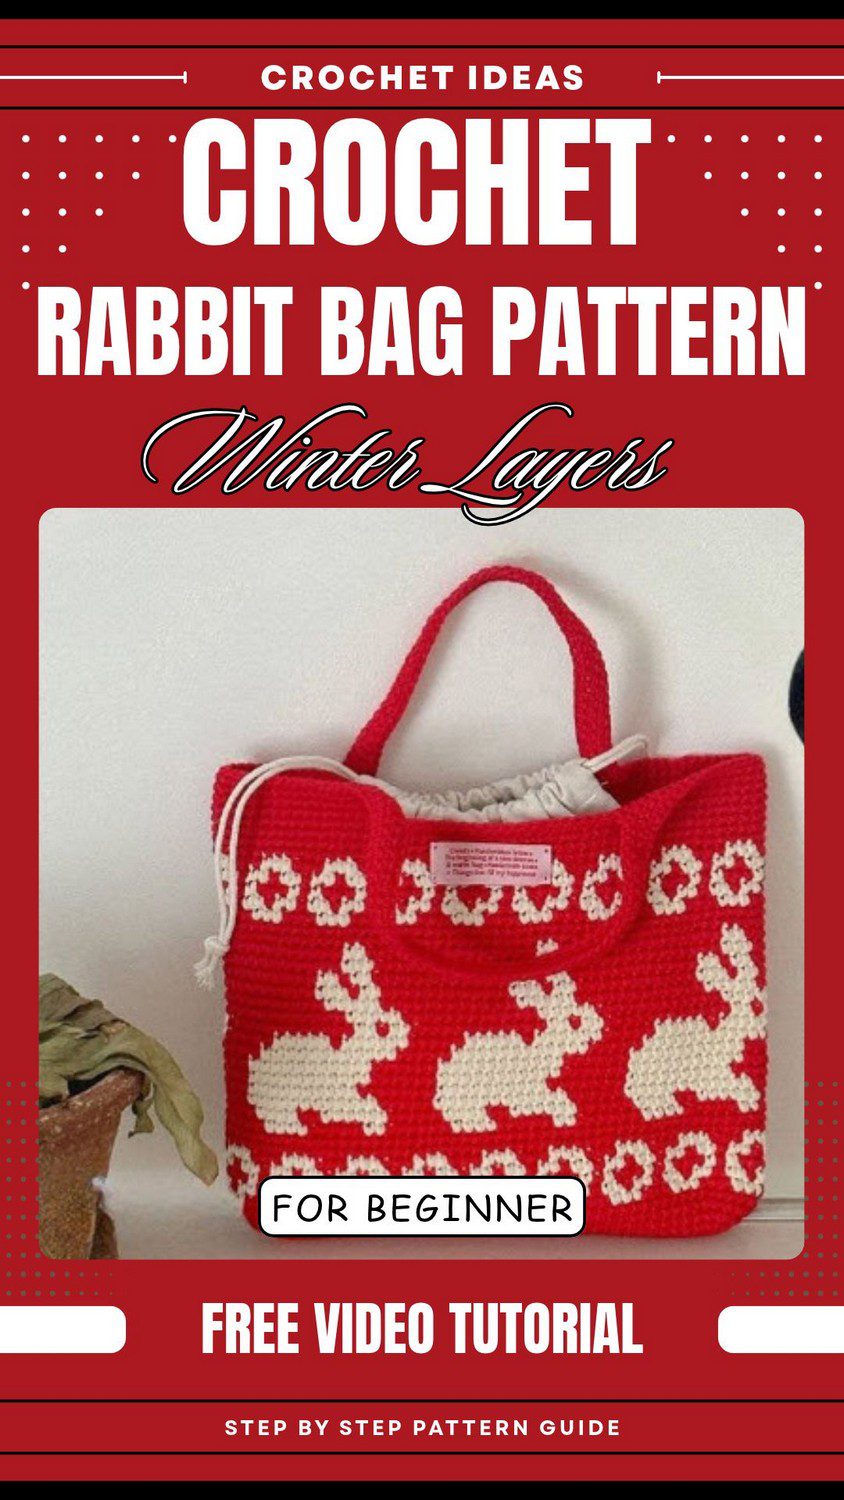
Cute little bunnies decorate this adorable red crochet bag. This free crochet rabbit bag pattern includes easy-to-follow instructions, pretty flower borders, and two sturdy handles. Grab your crochet hook and create this charming bunny bag for everyday use!
Cream bunnies hop all around the body of this red bag. Each bunny is made with tapestry crochet in cream yarn, while flower shapes run along the top and bottom. This free crochet bag pattern shows you how to make a tapestry crochet mini bag with handles. Also, the crochet rabbit bag pattern uses a bigger hook, so the fabric stays firm. Make this cute bunny crochet bag for yourself or a friend.
Crochet Rabbit Bag Pattern Overview
This little bag begins with a flat oval base and grows upward, round after round. Next, small rabbits hop around the body in tapestry crochet, with border bands in a second colour framing them. Then two handles at the top turn it into a handy crochet bag with handles. Because the fabric is worked densely, the bag keeps its shape well.
It makes a fun tapestry crochet mini bag if you already enjoy a bit of colourwork. You will count a lot, follow a chart, and carry yarn, but every stitch is simple. So think of this crochet rabbit bag pattern as a small project that rewards patience, and as a free crochet bag pattern you can repeat in new colour combinations.
Besides that, each bag teaches you a little more about how colour and tension work together. Finally, the finished bunny crochet bag feels satisfying to hold.
Skill level: Intermediate
Finished size: Estimated about 8 inches (20 cm) wide. The height depends on how many rounds are in the chart.
What You Need for the Crochet Rabbit Bag Pattern
Yarn
First, choose a cotton or cotton-blend yarn in sport (fine) weight. You only need small amounts, usually less than one ball of each colour. Three colours do all the work here, and each one has its own job.
- MC: cream or beige, for the background
- CC1: green or mint, for the border bands
- CC2: dark brown or charcoal, for the rabbits
Hook
The pattern calls for a 6 mm hook with sport weight yarn, used on purpose for a dense, sturdy fabric. Although that hook is bigger than usual for sport yarn, that is exactly the point. So keep it in your hand from the first chain to the last handle row.
Other tools
Only two small extras are needed, and you probably own both already.
- Tapestry needle
- Stitch markers
Abbreviations for the Crochet Rabbit Bag Pattern
These US terms appear throughout the pattern.
- ch: chain
- sc: single crochet
- sl st: slip stitch
- st(s): stitch(es)
- rnd: round
- MC: main colour
- CC: contrast colour
Techniques and Stitch Guide for the Bunny Bag
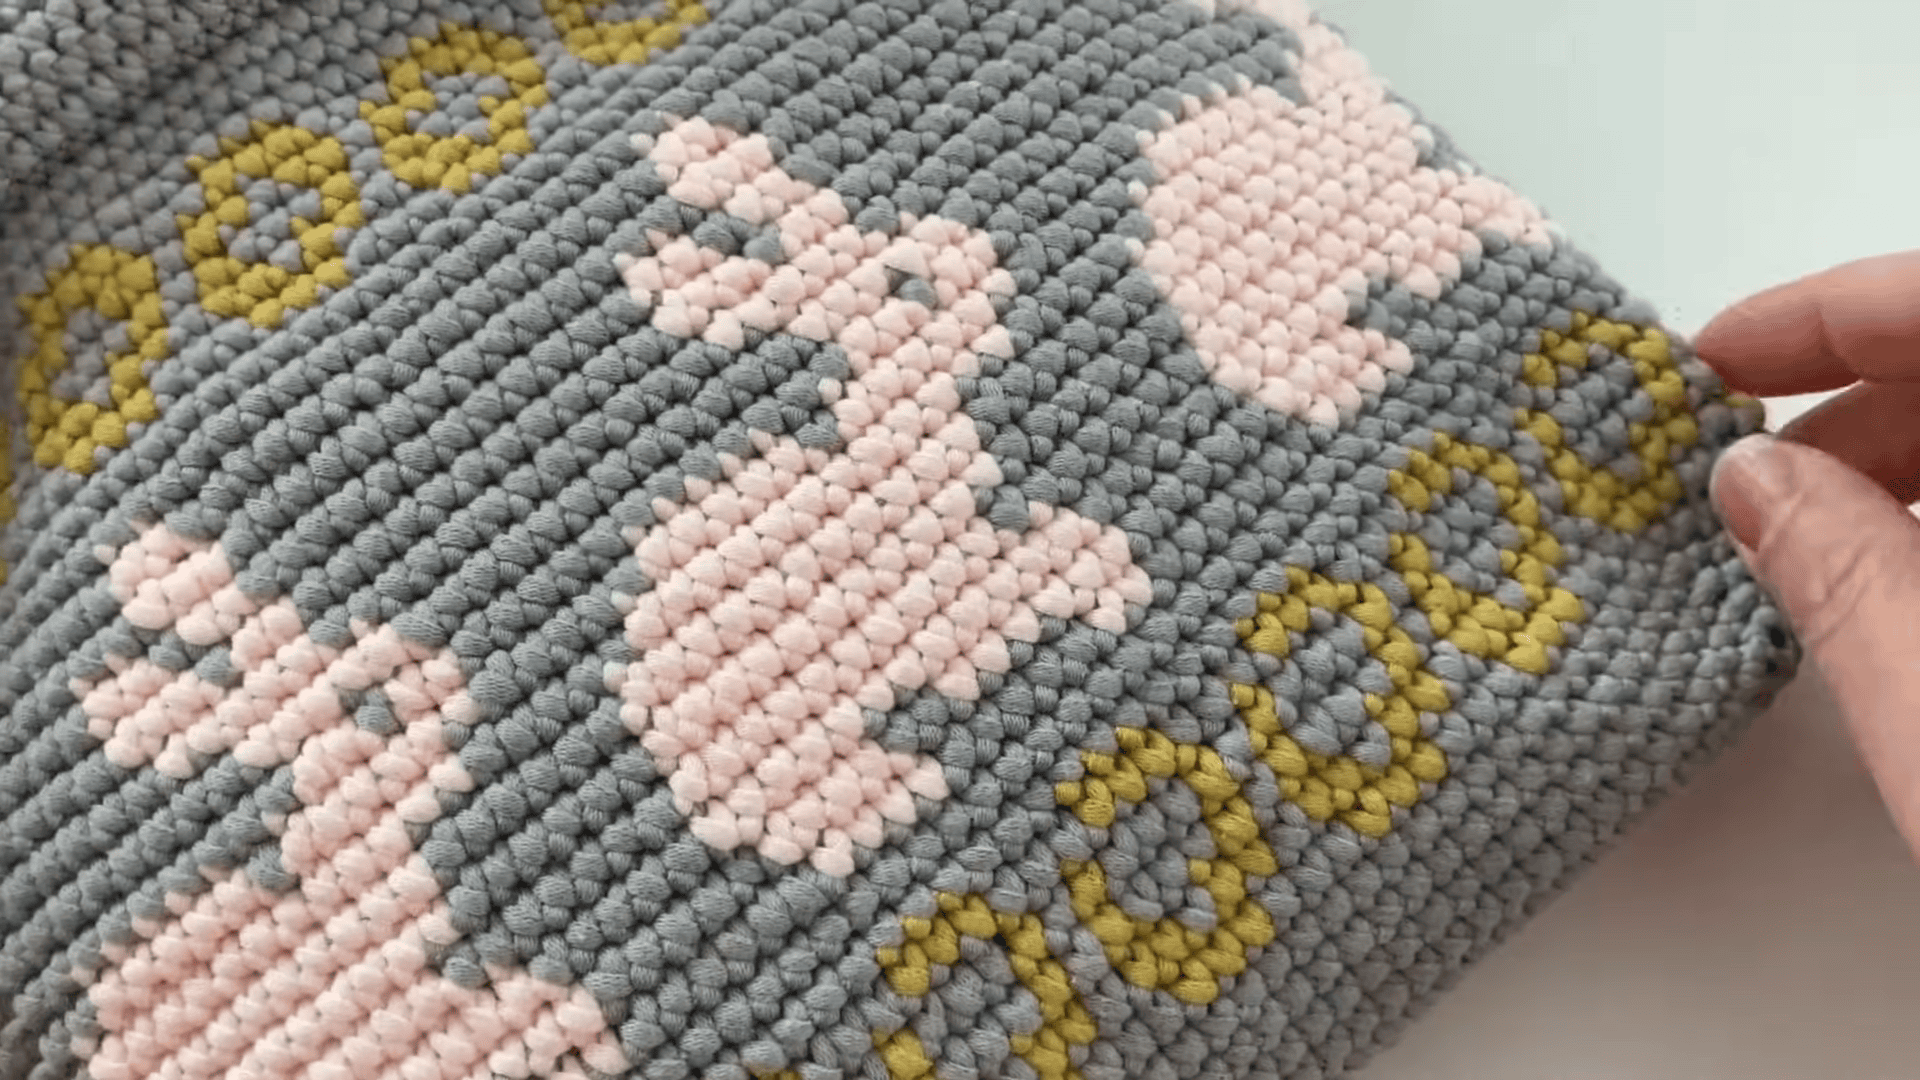
Tapestry crochet: Here you stitch with more than one colour at a time. The colour you are not using travels along inside your stitches, so nothing dangles at the back. As a result, you get a thick, firm fabric with the design built right in, which is why the rabbits look so crisp.
X-stitch single crochet: The fabric of this bag is made with X-stitch single crochet, a single crochet-based stitch worked in rounds. Since it stays within the basics, there is nothing fancy to learn. If you can make a steady sc, you already have what you need.
Changing colours: Make the switch on the last pull-through of the stitch just before the colour shift. Then the new colour starts cleanly with the very next stitch. If you do this the same way every time, the chart will line up neatly.
Joining rounds: After the base, the body is worked in continuous rounds of sc. You simply keep circling the bag, and a stitch marker shows where each round begins. As a result, there is no fuss, just steady rounds up to the top rim.
Single crochet: Push your hook into the stitch, yarn over, and pull up a loop. Then yarn over again and draw through both loops on the hook. Because this one stitch builds nearly the whole bag, keep it even and relaxed from the start.
Slip stitch: Put the hook into the stitch, then yarn over, and pull the yarn through both the stitch and the loop already on your hook.
Increase: Work two sc into the same stitch. That adds one extra stitch, so the base can widen at its curved ends. However, there are no clusters, shells, or picots in this bag.
Crochet Rabbit Bag Pattern Step by Step
Step 1: Make the Oval Base
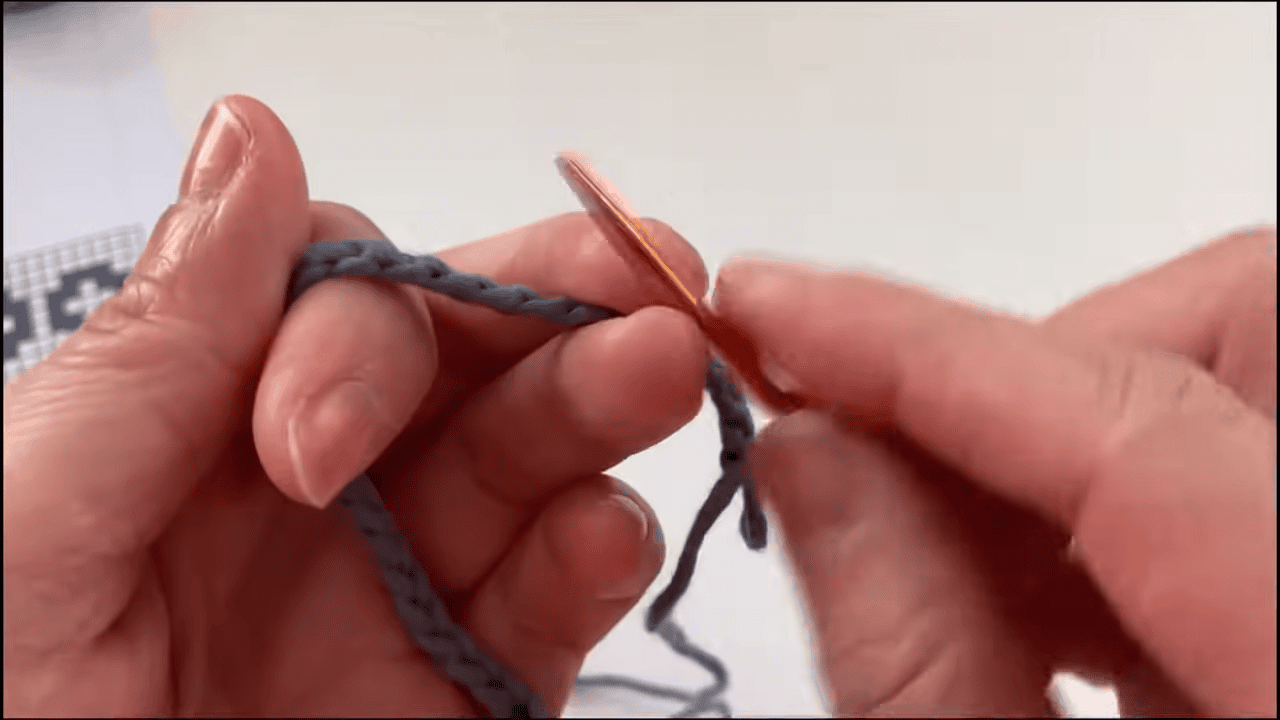
Start with MC and make a foundation chain of 41 ch, then add one extra turning chain. Next, work around both sides of the chain, going into the bottom bump as you come back along the other side. As a result, a plain chain turns into a rounded oval.
- First, in Round 1, finish with 84 sts.
- Then, in Round 2, work sc around, adding increases at the curved ends, until you reach 96 sts.
- Finally, in Round 3, work sc around again, with increases at the curved ends, until you reach 104 sts.
Before you go any further, count. You need exactly 104 sts to move on, because every body round after this one depends on that number.
Step 2: Work the Body and Rabbits
From Round 4 onward, bring in CC1 and CC2 and follow the tapestry chart. Also, keep working continuous rounds of sc, and keep 104 sts in every single round. This is where the tapestry crochet rabbit motif slowly appears.
When the chart asks for a new colour, make the change on the last pull-through of the stitch before the shift. Meanwhile, carry the unused yarn inside your stitches as you go, so it stays tucked out of sight.
Next, stitch the border stripes and the rabbit rows all the way up to the top rim. Once you reach it, fasten off the contrast colours.
Step 3: Make the Handles
The handles are worked straight onto the top edge, one at a time. So follow the actions below in order.
- First, lay the bag flat.
- Next, count 16 sts in from the side fold.
- Then skip the side stitches and attach MC at the 17th stitch.
- After that, work 19 sc across the top edge.
- For Rows 1 to 9, turn, ch 1, and work 1 sc in each st across (19 sts).
- Finally, fasten off, leaving a long tail for sewing.
- Last, repeat on the opposite side to make the second handle.
Step 4: Finish the Bag
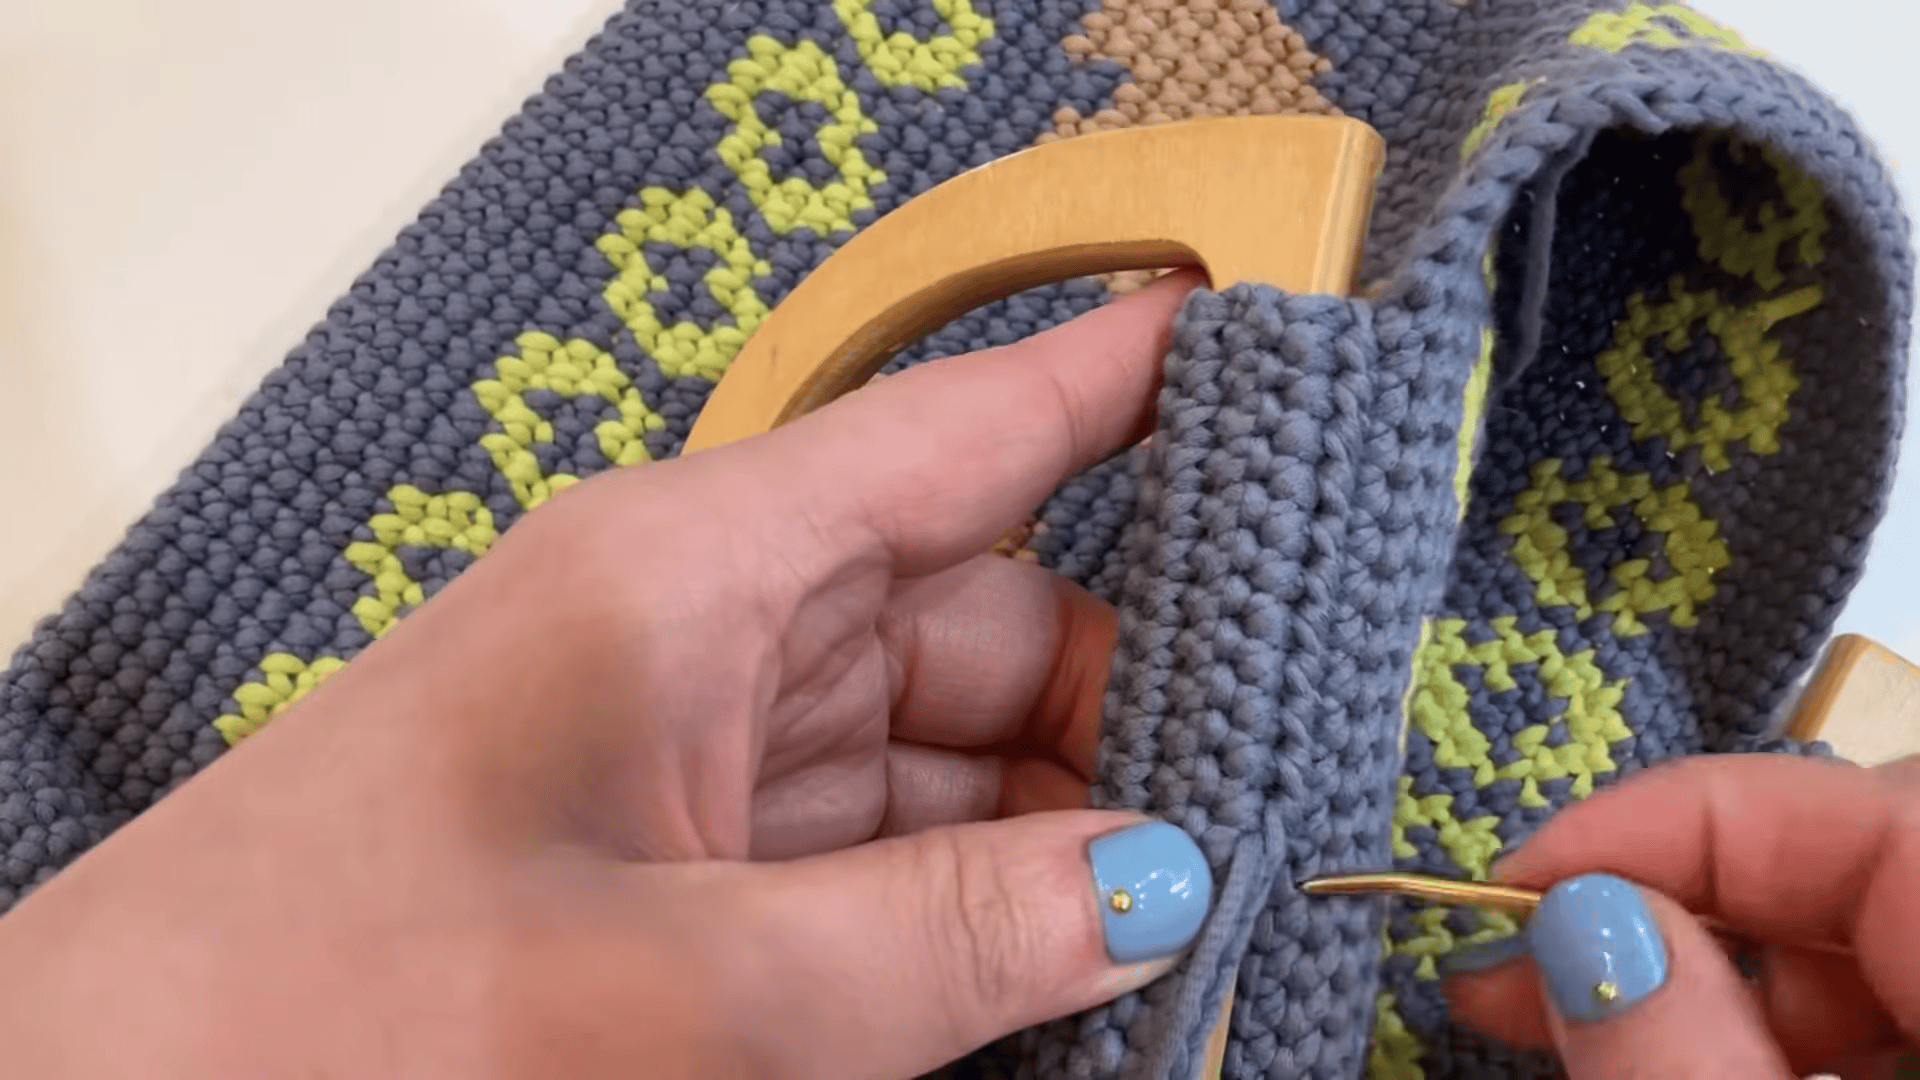
First, fold each strap over the opening and whipstitch its ends to the opposite side, going back and forth a few times. Those repeat passes give the handle a firm hold.
Next, weave in the ends through the inner stitches, double back, and trim them flush. If your yarn is cotton, block the bag by lightly steaming it. That final touch helps the stitches settle, so the rabbits look their best.
Bonus: Reading the Chart Without Losing Your Place
Colourwork feels easy until you lose your spot. Since one wrong turn can shift a whole rabbit, the way you read the chart matters a lot. So these small habits keep you on track, round after round.
- Put a stitch marker at the start of every round, and move it up as you go.
- Read the chart from right to left, one chart row for each round.
- Before starting the next row, check that you have 104 sts at the marker.
- A slip-up spotted after just one round is far easier to fix than one found much later.
It takes a few seconds per round, and it saves you from ripping out a whole band of rabbits.
Mistakes to Watch For in the Crochet Rabbit Bag Pattern
- Wrong stitch count: if a round does not land on 104 sts, stop and recount before you keep going. The error only gets harder to find later.
- Uneven tension on the carried yarn: pulling it too tight or leaving it too loose can make the fabric look uneven. So aim for a steady, relaxed feel.
- Rushing the base: because the oval is the foundation of everything above it, give it your full attention.
Helpful Tips for Your Bunny Crochet Bag
- Count your stitches at the end of each round, so a small slip never grows into a big one.
- Watch the tension of the carried yarn so it stays even from one round to the next.
- Take your time with the base before moving up to the body.
- Make a few extra passes when you sew on the handles.
- If the yarn is cotton, a light steam is all the blocking it needs.
- Keep your stitch markers handy, since they make every round easier to track.
Crochet Rabbit Bag Pattern FAQ
Is this crochet rabbit bag pattern free?
Yes. The whole pattern is free, so you can follow it step by step.
What hook size should I use?
Use a 6 mm hook. Although it is bigger than usual for sport weight yarn, that is done on purpose to get a dense, sturdy fabric.
What yarn works best for this bag?
Pick a cotton or cotton-blend in sport (fine) weight. Also, you will only need small amounts, usually less than one ball in each of the three colours.
Is this a beginner project?
It is rated intermediate. You will use simple single crochet, but you will also follow a chart and carry yarn at the same time, which takes a little practice.
How many stitches should I have after the base?
You need exactly 104 sts after Round 3. Then keep that same 104 sts in every round of the body, and check it often.
How are the handles made?
Each handle is a small strip of 19 sts, worked in 9 rows of single crochet. Then fold it over the opening and sew it on with the long tail, going back and forth a few times.
Time to Let the Bunnies Hop
Honestly, the biggest thing is the base, so don’t hurry it. After that, keep counting your stitches and keep your carried yarn nice and even. Go slow on the first few rabbit rows, because they set the pace for the rest. And when you get to the handles, sew them on with a few extra passes.
That’s about it, really. Grab your hook, pick your three colours, and try this crochet rabbit bag pattern. Then let the little bunnies hop around your very own bag. I think you’ll be proud of it once you add those handles.