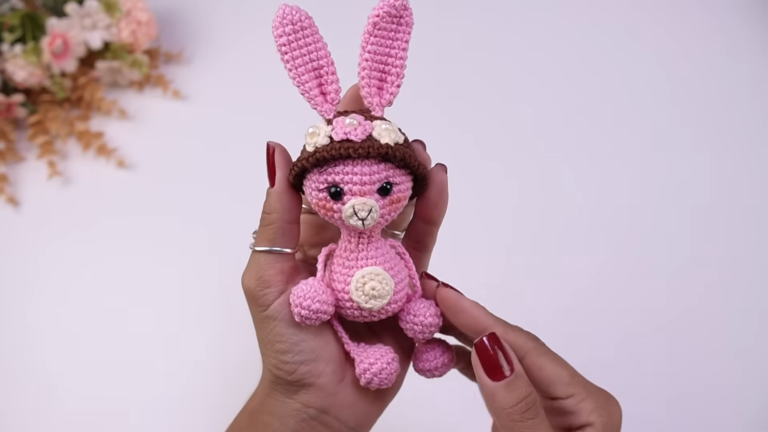
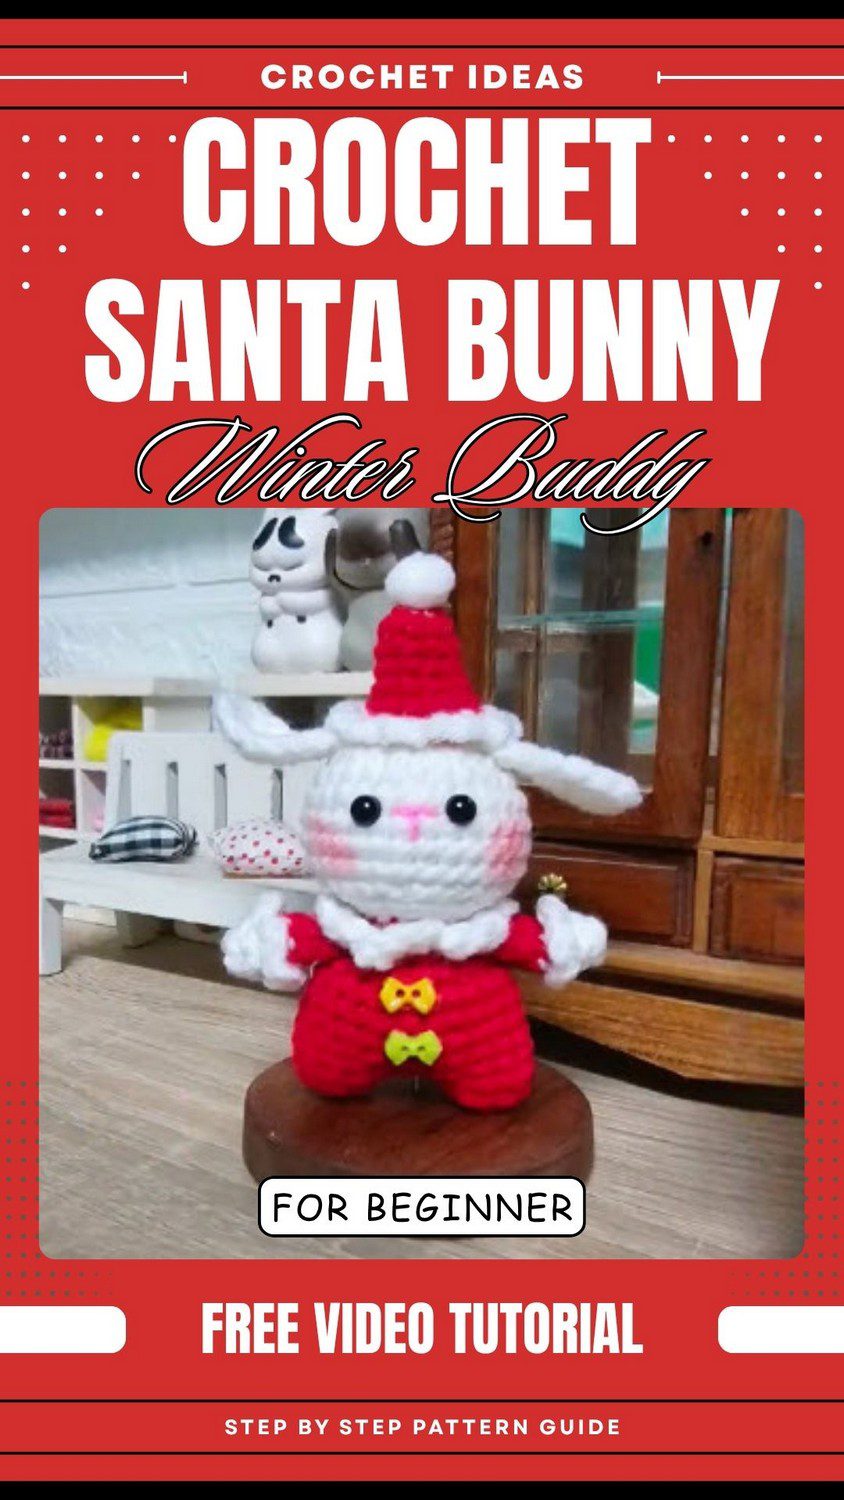
Crochet Santa Bunny Pattern with Floppy Ears
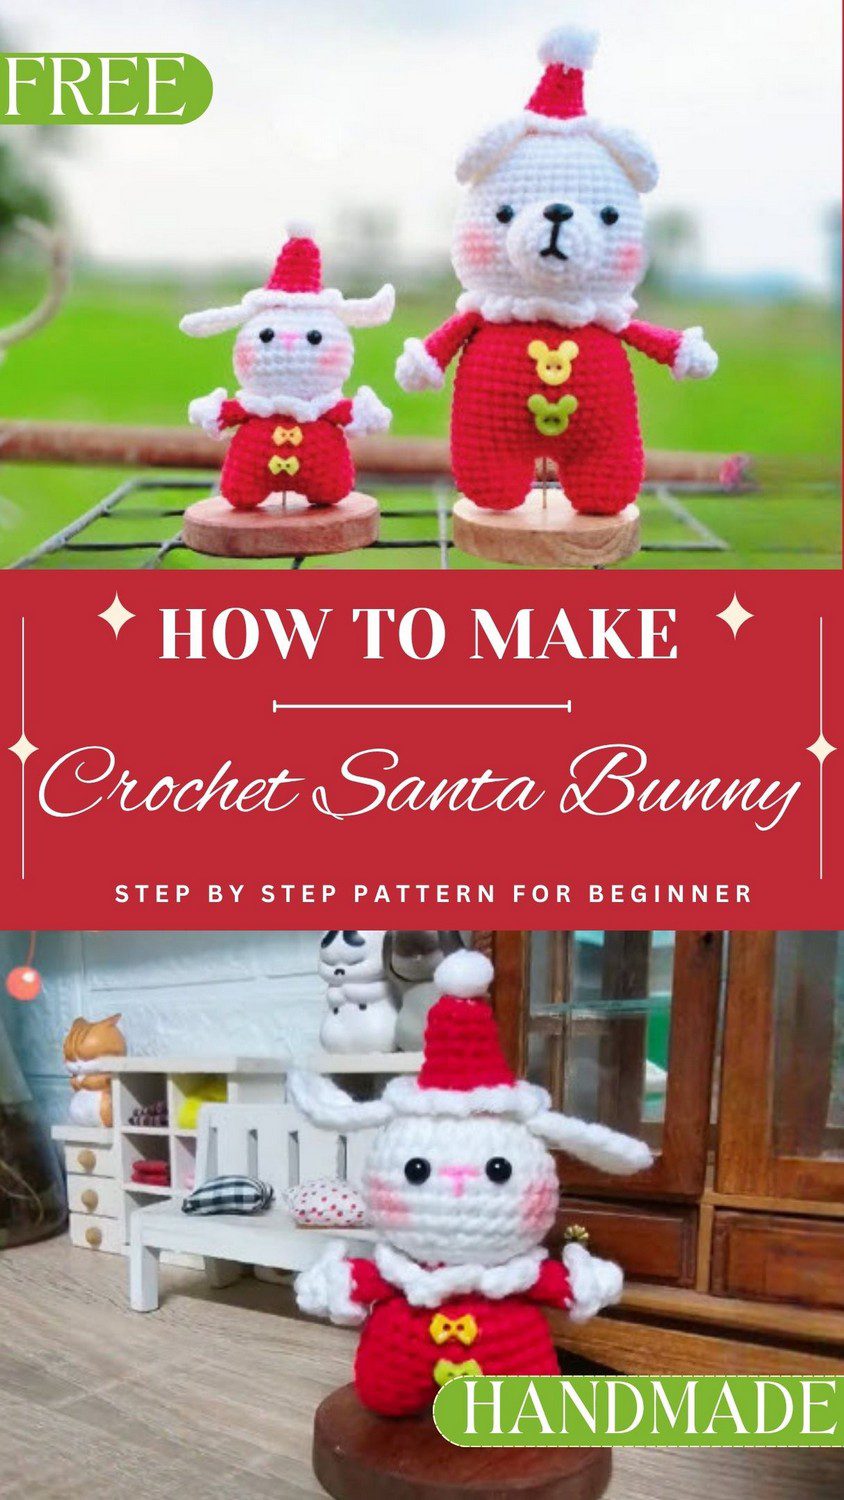
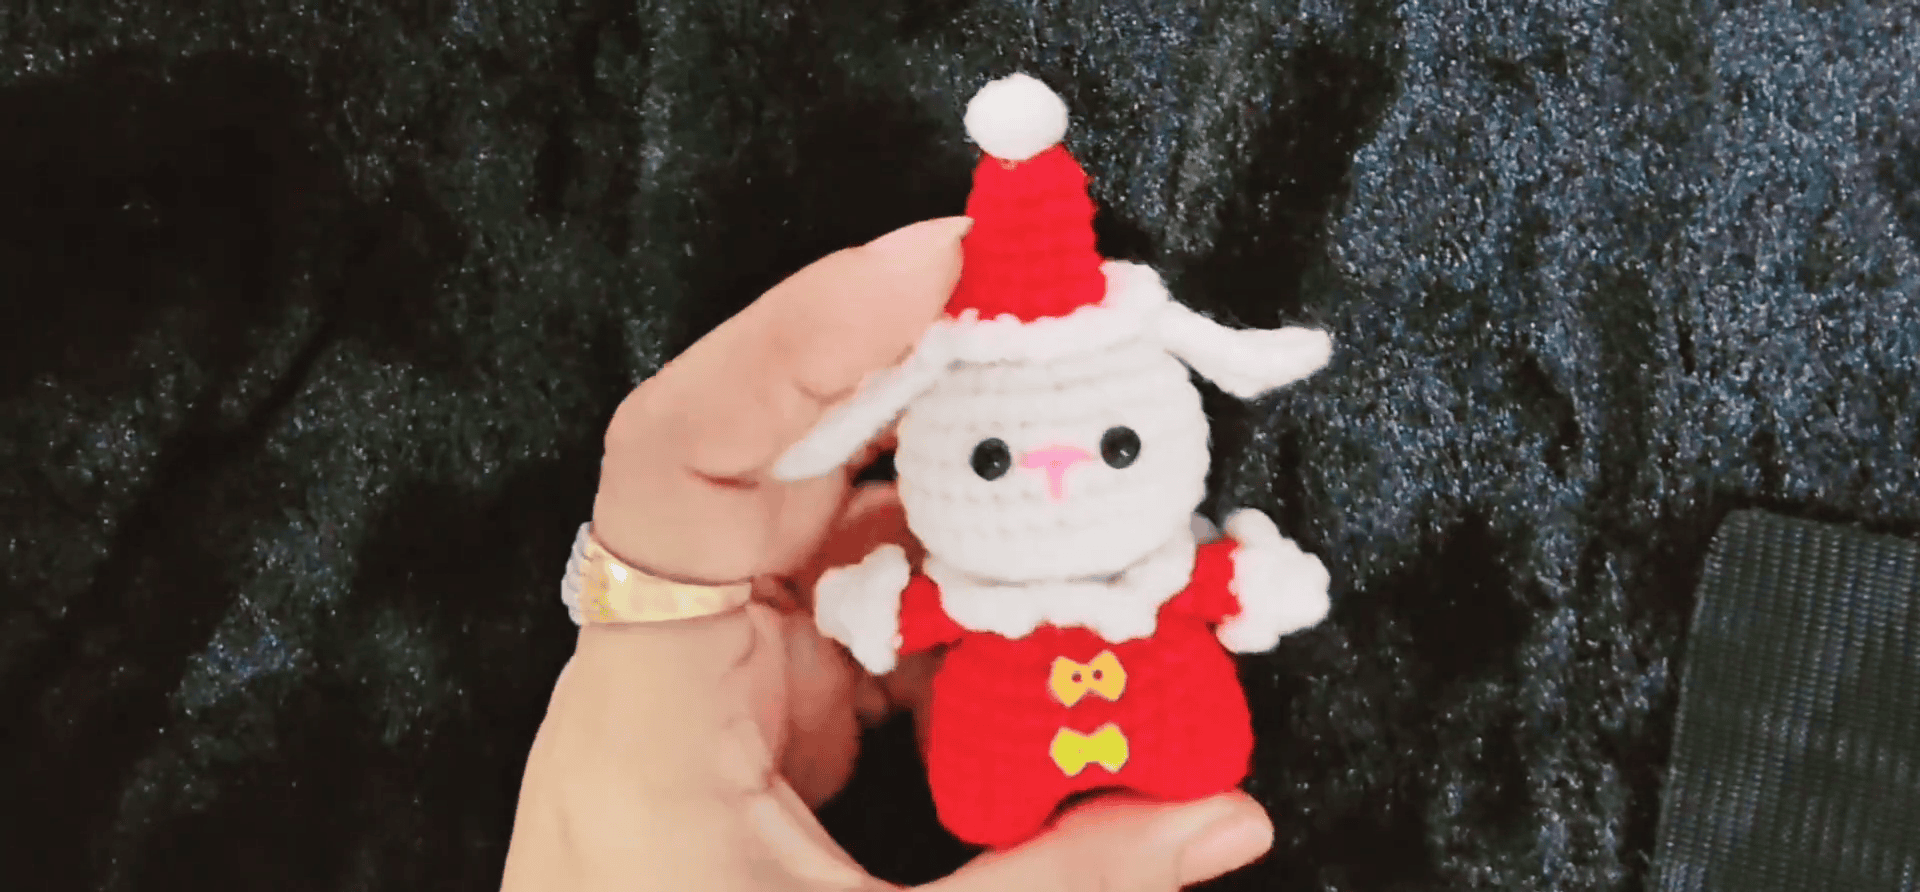
Looking for an easy Christmas project? The crochet Santa bunny is a small and very sweet toy with floppy ears, rosy cheeks and a red suit with a fluffy collar. Because the free beginner pattern explains every step in easy words, anyone can finish it.
Also, you can put your crochet Santa bunny pattern to work in different ways. For example, set him on a shelf, hang him near the tree as a handmade Christmas amigurumi decoration, or gift him to friends and family.
Crochet Santa Bunny Pattern Overview
- Project: A small amigurumi Santa bunny with floppy ears, rosy cheeks, a red suit and a fluffy collar.
- Skill level: Beginner-friendly, since the pieces use simple stitches and the steps are written in easy words.
- Terminology: US terms.
- Pieces: First, you make the head, arms, body and ears. Then, you sew the arms and ears on.
Materials for the Crochet Santa Bunny Pattern
- Yarn: White and red yarn
- Stuffing: A little toy stuffing for the body and, if you like, the arms
- Tools: Crochet hook, scissors, pins, and a yarn needle for sewing the parts together
- Stitch markers: Optional, but they help you spot the first stitch of each round
Abbreviations
First, note that all terms are US.
- ch = chain
- sl st = slip stitch
- sc = single crochet
- hdc = half double crochet
- sc2tog = single crochet 2 together (decrease)
- sts = stitches
Special Techniques for the Amigurumi Santa Bunny
Magic Ring
First, lay the yarn tail over the working yarn so they form a circle. Next, pinch the crossing point firmly. Then, insert the hook into the circle and pull up a loop. After that, chain 1 to lock the ring. Finally, work your stitches into the ring and pull the tail to close the center tightly.
Basic Stitches
- Chain (ch): Yarn over and pull through the loop on your hook.
- Slip stitch (sl st): Insert the hook into the stitch. Then, yarn over and pull through the stitch and the loop on the hook.
- Single crochet (sc): Insert the hook into the stitch, yarn over, and pull up a loop (2 loops on hook). Next, yarn over and pull through both loops.
- Half double crochet (hdc): Yarn over, insert the hook into the stitch, yarn over, and pull up a loop (3 loops on hook). Then, yarn over and pull through all 3 loops.
- Decrease (sc2tog): Insert the hook into a stitch and pull up a loop. Next, insert it into the next stitch and pull up another loop. Then, yarn over and pull through all loops on the hook.
Crochet Santa Bunny Pattern Instructions
Step 1: Start the Head of the Crochet Santa Bunny
First, make a magic ring with the white yarn and hold the loop between your thumb and middle finger. Next, chain 1, then work 10 hdc into the ring. After that, pull the tail to close the center and slip stitch to the first hdc to join. As a result, you have a tiny flat circle with 10 stitches.
Step 2: Make the Arms
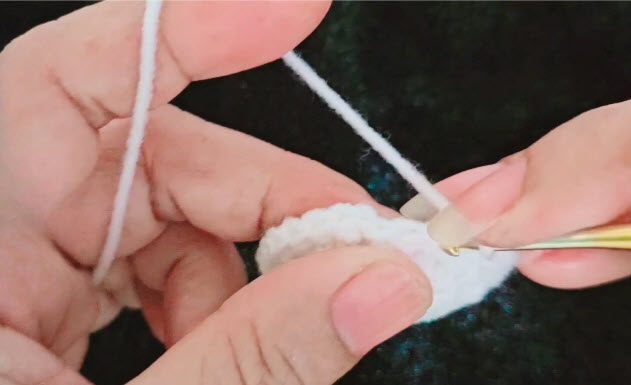
Start with white yarn and make a magic ring. Chain 1, work 6 sc into the ring, and pull the tail to close the center. Then, join with a slip stitch and work 2 more rounds of sc in all 6 stitches. Now you have a small white cuff.
Next, drop the white yarn and pick up the red. Join it with a slip knot and work 3 rounds of sc in all 6 stitches to form the red sleeve. Keep the stitches snug, so the tube stays slim.
After that, stuff the arm very lightly, or leave it unstuffed if you prefer a flat arm. Fasten off with a long red tail. Finally, make the second arm the same way.
Step 3: Make the Body
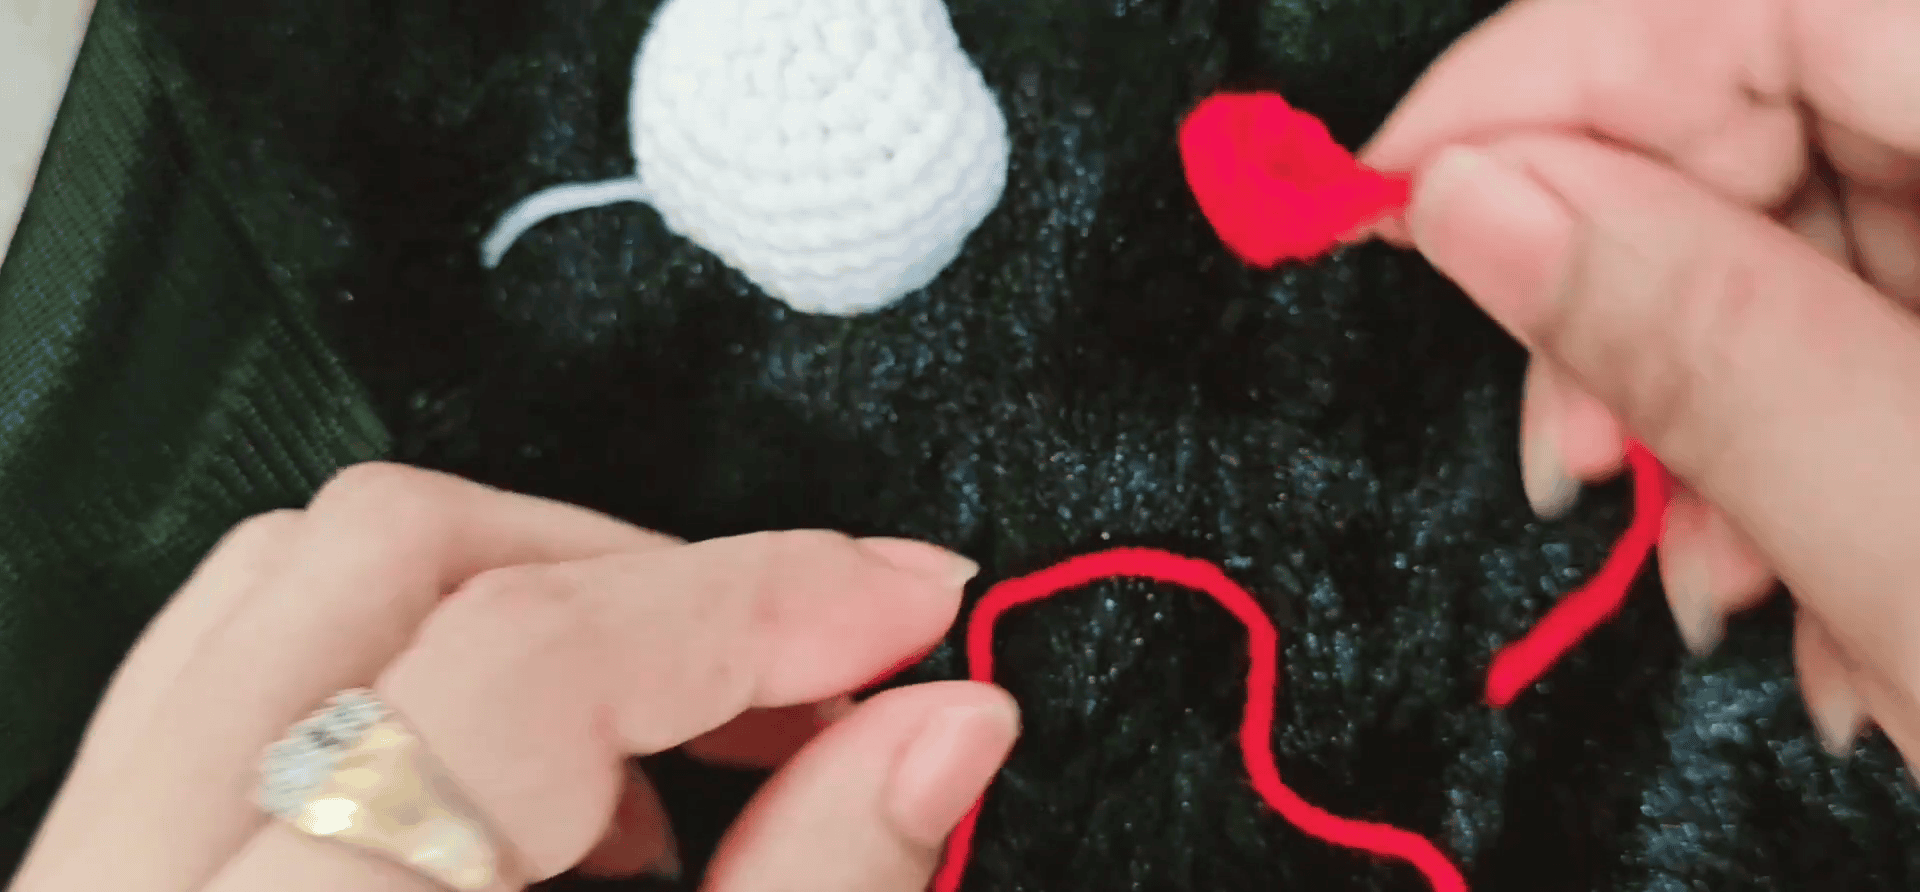
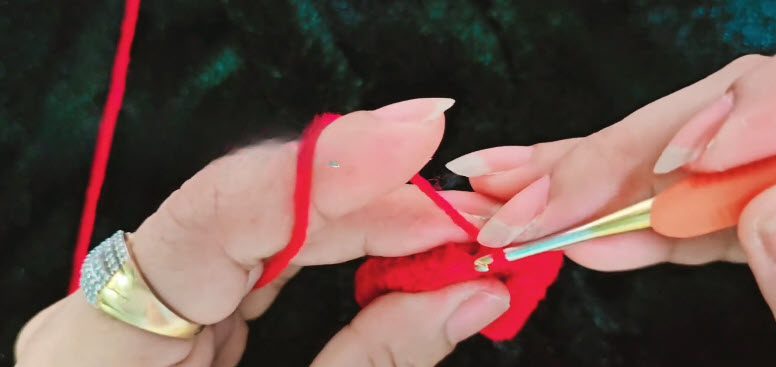
Start with red yarn and make a magic ring.
Round 1: Chain 1 and work 6 sc into the ring. Then, pull the tail to close the center and join with a slip stitch. (6 sts)
Round 2: Work 2 sc in every stitch around. (12 sts)
Round 3: 1 sc in the next st, 2 sc in the next st. Repeat around. (18 sts)
Rounds 4–7: Work 1 sc in every stitch around. (18 sts) Meanwhile, keep the yarn snug over your left finger, so the tension stays even.
Round 8: 1 sc in the next st, sc2tog. Repeat around. (12 sts)
Now, stuff the body firmly. Then, work sc2tog around until the opening is tiny. (6 sts) Finally, fasten off with a long tail, thread the tail through the front loops of the last round, pull tight, and weave in the end.
Step 4: Floppy Ears for the Crochet Santa Bunny
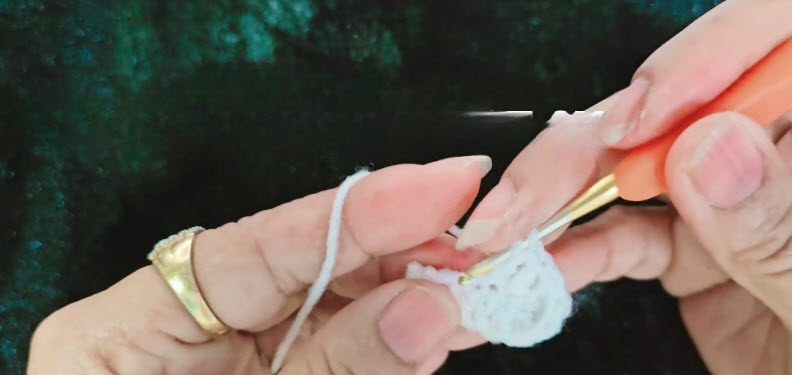
Start with white yarn and make a magic ring.
Round 1: Chain 1 and work 6 sc into the ring. Then, pull the tail to close the center and join with a slip stitch. (6 sts)
Round 2: Work 2 sc in every stitch around. (12 sts)
Rounds 3–5: Work 1 sc in every stitch around. (12 sts) Also, keep the yarn snug over your left finger, so the stitches stay small and even.
Round 6: 1 sc in the next st, sc2tog. Repeat around. (8 sts)
Round 7: Work 1 sc in every stitch around. (8 sts)
Next, fasten off with a long white tail. Do not stuff. Instead, flatten the ear between your fingers so it forms a soft, floppy shape. Then, make the second ear the same way.
Assembling the Crochet Santa Bunny
Attach the Arms
First, pin both arms to the sides of the body, just below the neck. Then, sew them on with the red tails.
Attach the Ears
Next, pin both ears to the top of the head, one on each side. After that, sew them on with the white tails.
Common Mistakes and Stitch Count Check
- Loose tension: Keep the yarn snug over your left finger, because loose stitches show the stuffing.
- Not counting: Count at the end of every round, since the numbers in brackets tell you if you are on track.
- Sewing without pinning: Parts slide around when you stitch, so pin the arms and ears first.
- Over-stuffing the ears: Leave them unstuffed, or they will not flop.
For reference, the body runs 6, 12, 18, 18, 12 and then 6 stitches. Likewise, each ear runs 6, 12, 12 and then 8 stitches.
Bonus: Ways to Display Your Handmade Christmas Amigurumi
- On a shelf: Sit him upright, so his red suit stands out.
- Near the tree: Hang him close by, because he adds a soft handmade touch.
- As a gift: Make one for a friend, since the small size is easy to wrap.
- For the whole family: Make a few in a row, and then give one to each person.
FAQs About the Crochet Santa Bunny Pattern
Is the crochet Santa bunny pattern good for beginners?
Yes. The steps are written in easy words, and the pieces use simple stitches.
Which yarn colors does the crochet Santa bunny pattern use?
It uses white and red yarn.
Should I stuff the ears?
No. Do not stuff them, because flattening them between your fingers gives the soft, floppy shape.
Do I have to stuff the arms?
Not necessarily. You can stuff them very lightly, or leave them unstuffed if you prefer a flat arm.
Go Make Your Little Santa
So that’s the little guy. Make the pieces one by one, and then stuff the body firmly. Count your rounds as you go, because that keeps everything even. After that, pin the arms and ears before you sew, and he’ll sit nicely by the tree.