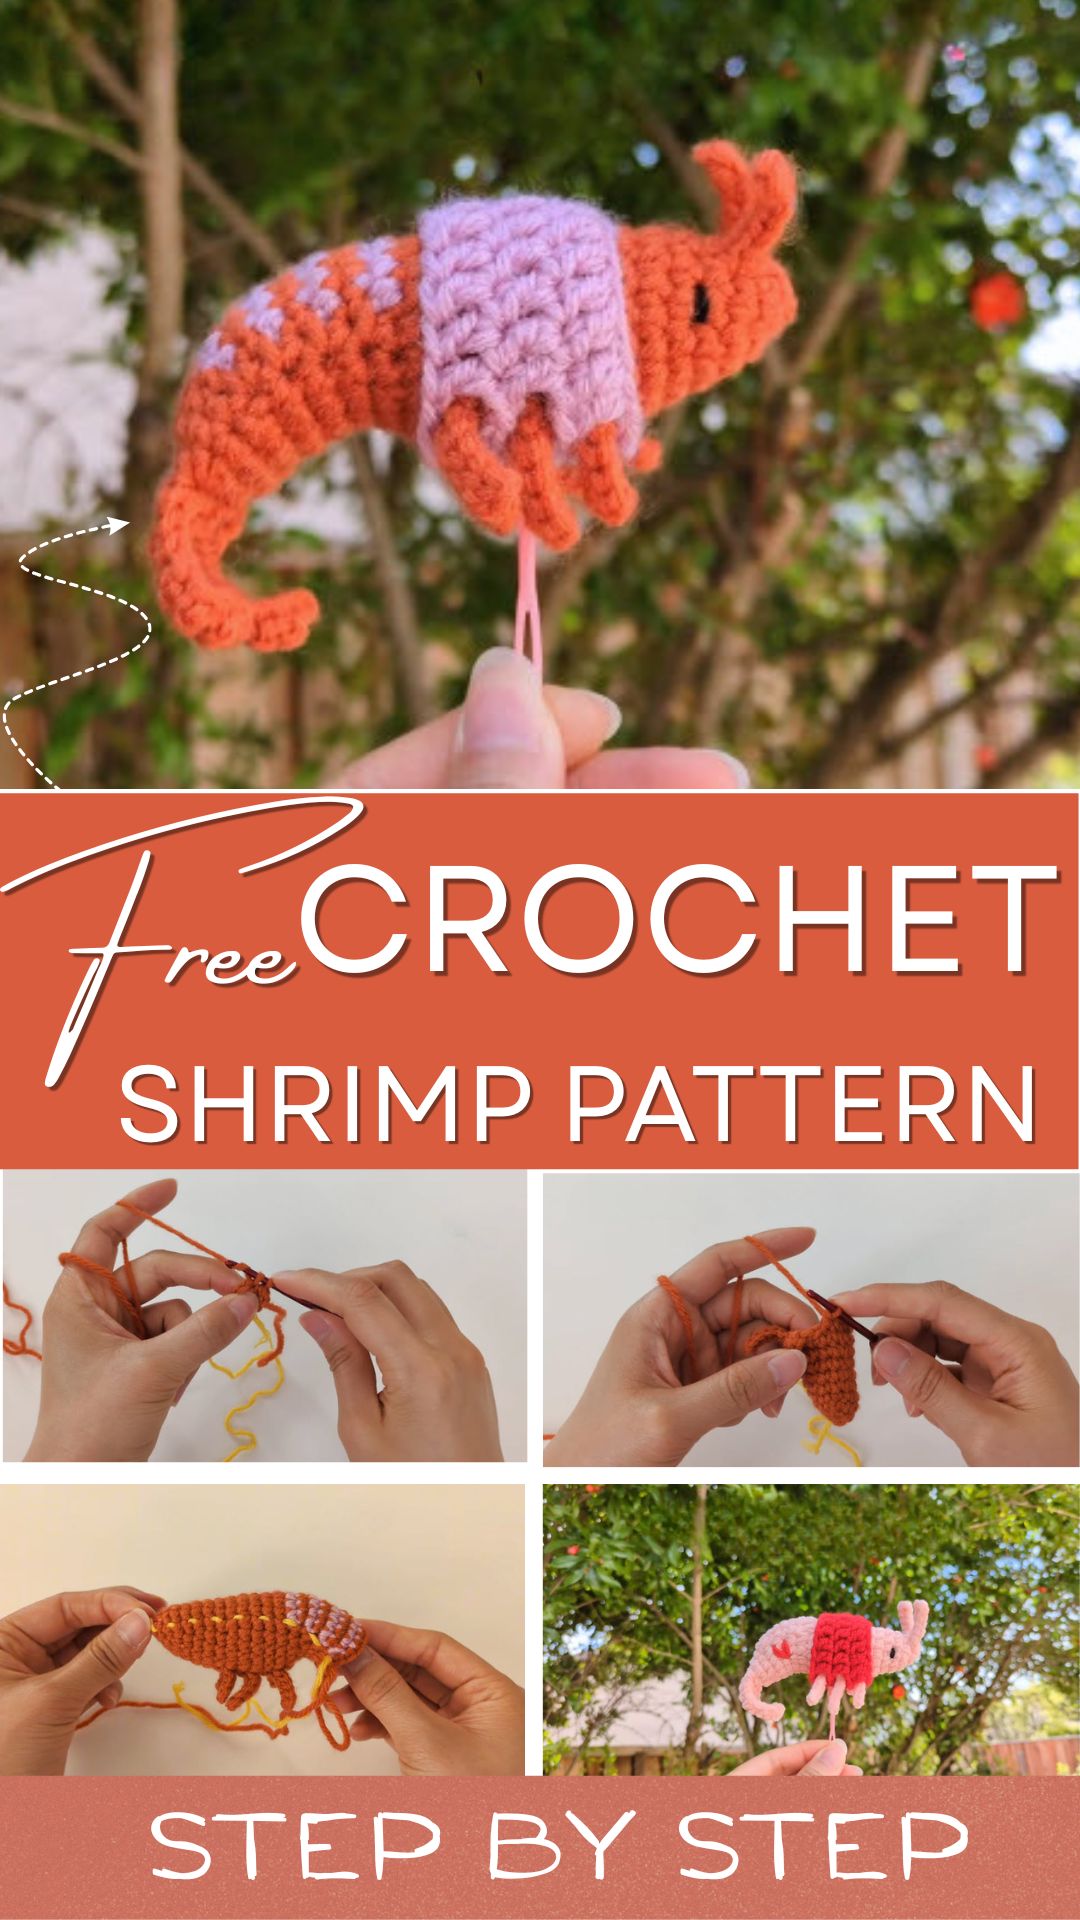
Crochet Shrimp Pattern with Tiny Legs and Tail
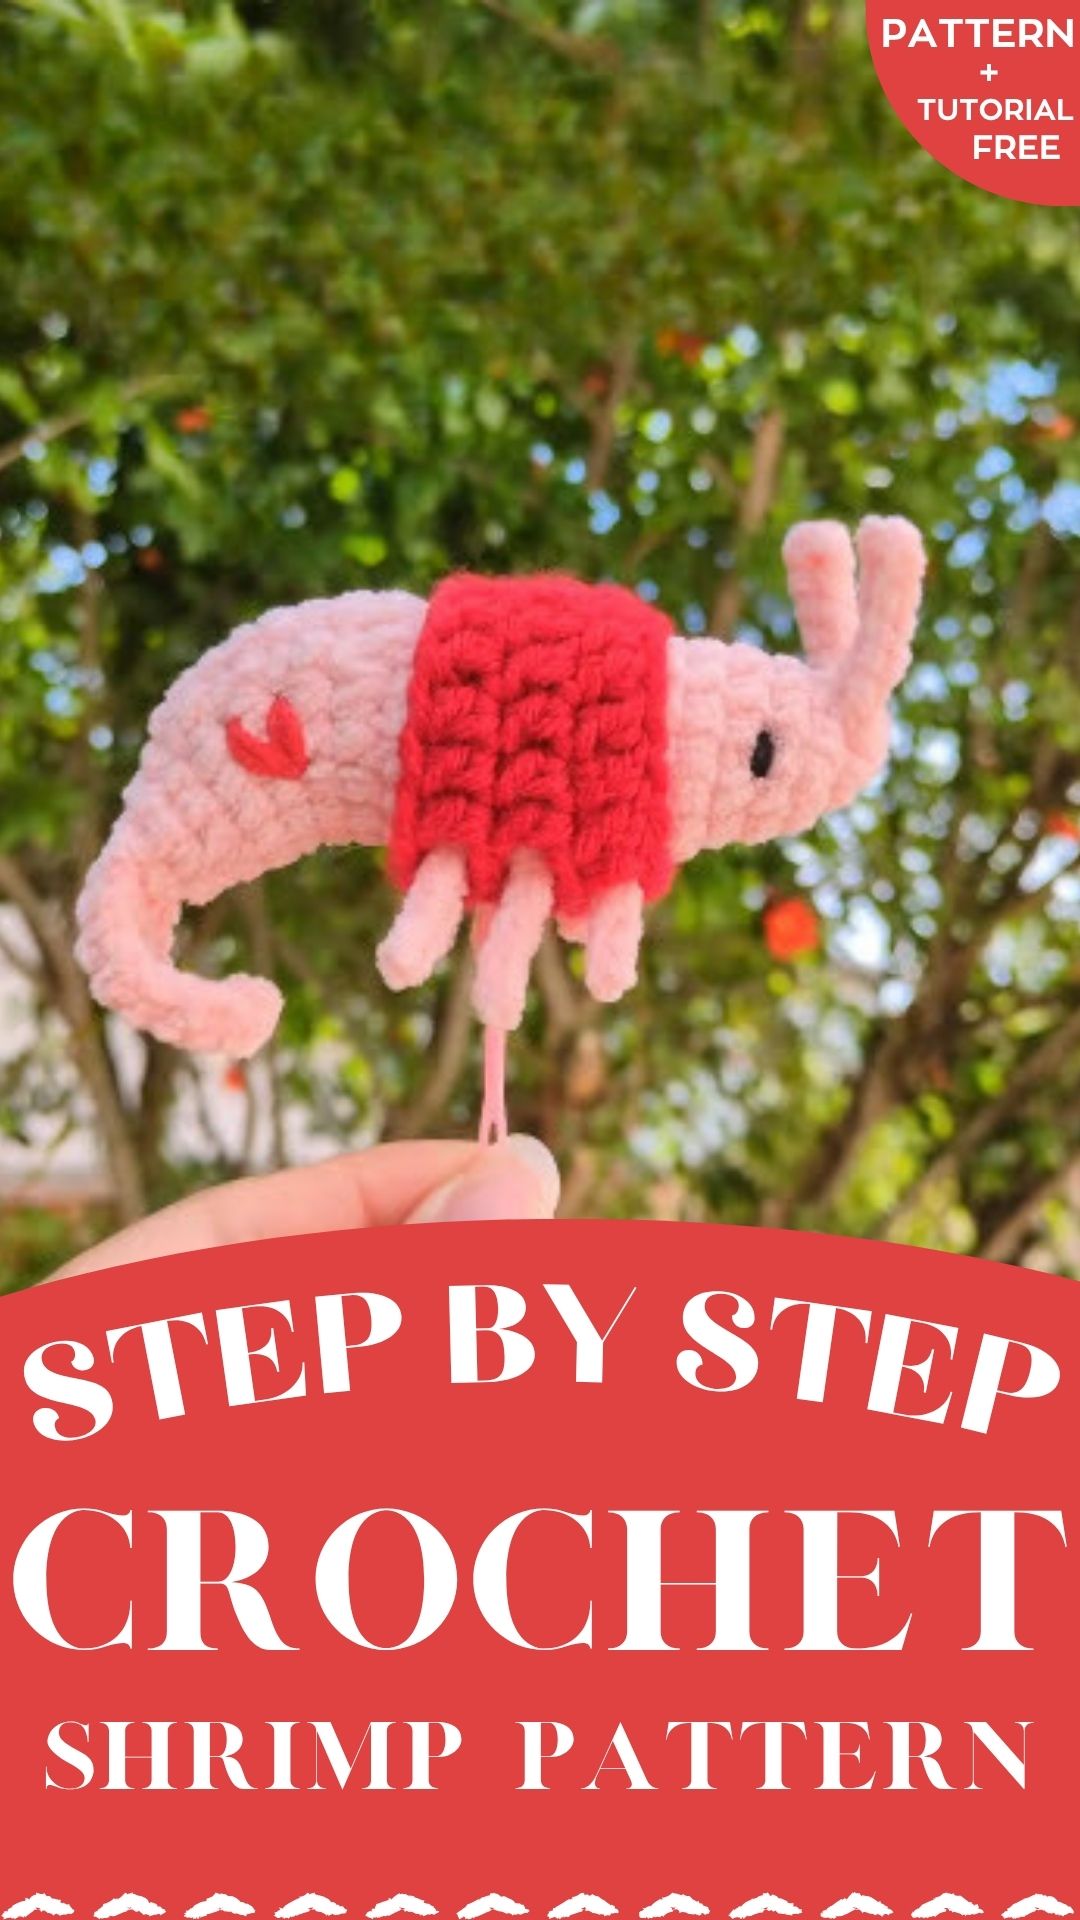
Warm orange yarn, soft pink stripes, and a tiny black eye give this crochet shrimp pattern its playful look. Small legs dangle from the curved body, a flared tail finishes the shape, and the whole toy fits comfortably in one hand.
An amigurumi shrimp with a striped back and a little shirt is the kind of quirky project that stands out on a shelf. The curved body is easy to pose next to food props or beach-themed displays, and a compact crochet shrimp toy needs only scraps of yarn and a small amount of stuffing. Every limb is worked as a simple chain, so there is almost no sewing involved.
Is This Crochet Shrimp Pattern Right for You?
Who This Pattern Suits
If you already know the magic ring, you will feel at home here. The project also works well for anyone who likes small, quick makes. Seafood lovers tend to enjoy a quirky handmade gift, and craft-fair sellers may find the stripes and tiny shirt eye-catching.
Beginners can still manage it. Just practice slip stitches first, because the legs depend on them.
Time and Skill Level
Plan on roughly three to four hours from the first loop to the last stitch. Slower crafters may need an extra evening. The skill level sits between easy and intermediate, since the work relies on spiral rounds, color changes, and slip stitch chains.
Finished Size: About 5 inches (13 cm) long from the antennae to the tail tip, and about 2 inches (5 cm) tall. The shape is slim, so it is a small, light amigurumi. Yarn weight and hook size can change the size a little.
Here is how the effort breaks down:
- Easy parts: the body tube and the stuffing.
- Moderate parts: the legs and antennae, which call for a little patience.
- Tricky part: the tail fan, where the stitches from both layers must line up.
If you are comfortable with basic amigurumi, you can start this shrimp with confidence.
Materials for the Crochet Shrimp Pattern
Gather everything before the first stitch so you can work without stopping.
- Body yarn: worsted-weight cotton or acrylic in a shrimp shade, plus a second tone for the stripes if you like.
- Shirt yarn: a small ball in pink, lilac, or any favorite color.
- Eye yarn: a short length of black.
- Hook: a 3 mm hook, or whichever size gives you dense stitches with your yarn.
- Notions: a locking stitch marker, a blunt yarn needle, and polyester fiberfill.
Tight stitches matter here. Loose ones let the stuffing show through the fabric.
How to Crochet the Shrimp Step by Step
Work the whole body in a continuous spiral. Mark the first stitch of every round so counting stays easy.
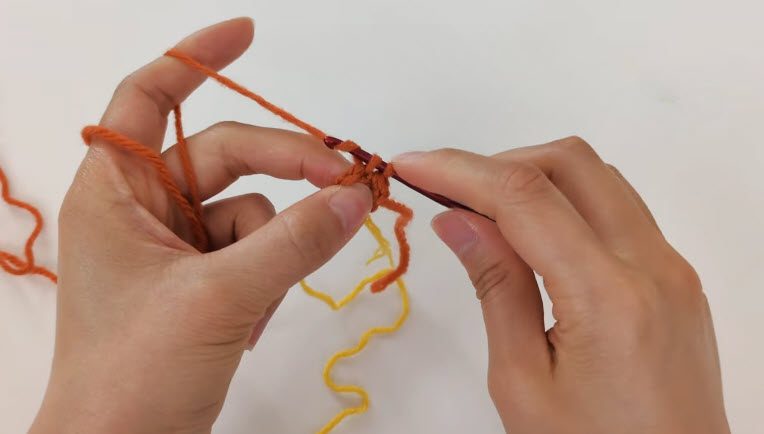
Step 1: Start the Foundation
Begin with a magic ring or a short chain loop, using the orange yarn. Keep the first stitches snug around the hook, and hold the yarn tail and working yarn firmly in your left hand for steady tension.
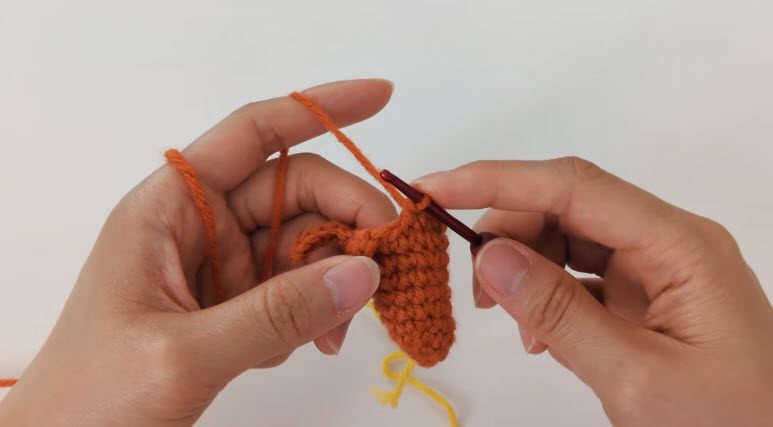
Step 2: Shape the Body and Add the First Limb
Work increases until the tube widens, then continue with even rounds. As the body grows, crochet a short chain for an arm and slip stitch back along the bumps. Secure it into the chosen stitch so it hangs freely.
Step 3: Add Stripes and More Legs
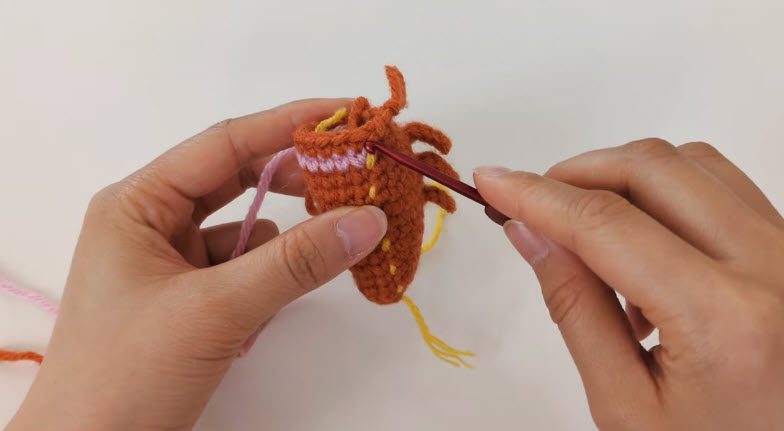
Switch to the second color for the striped bands, changing at the end of a round and carrying the yarn neatly. Then repeat the leg chains along the body, spacing them evenly. Add the antennae near the head. If you want a placement guide along the back, a strand of contrasting yarn works well.
Step 4: Finish the Tail Fan
Stuff the body firmly before closing it. Next, fold the last opening in half and match the stitches from both sides. Work chain-and-stitch fan details through both layers so the tail flares outward.
Step 5: Embroider the Eyes
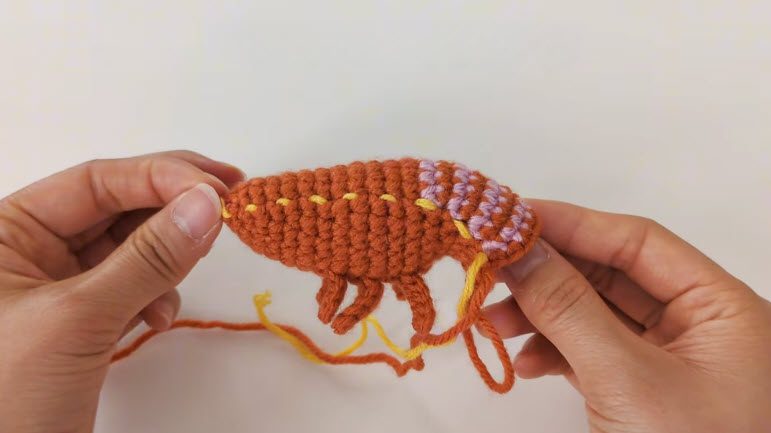
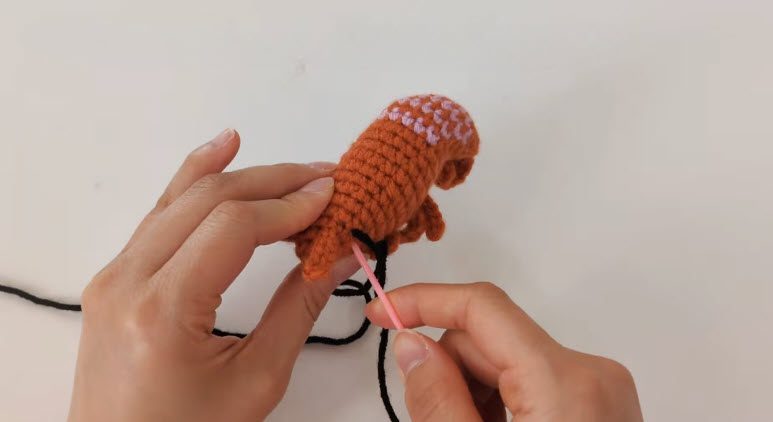
Thread the black yarn onto the needle and insert it near the head, using the antennae as a placement reference. Stitch a small knot-like dot on each side, then hide the tails inside the body.
Step 6: Crochet the Little Shirt
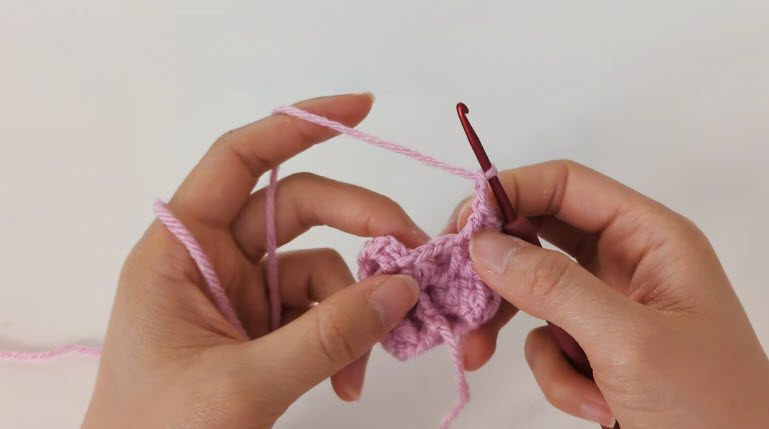
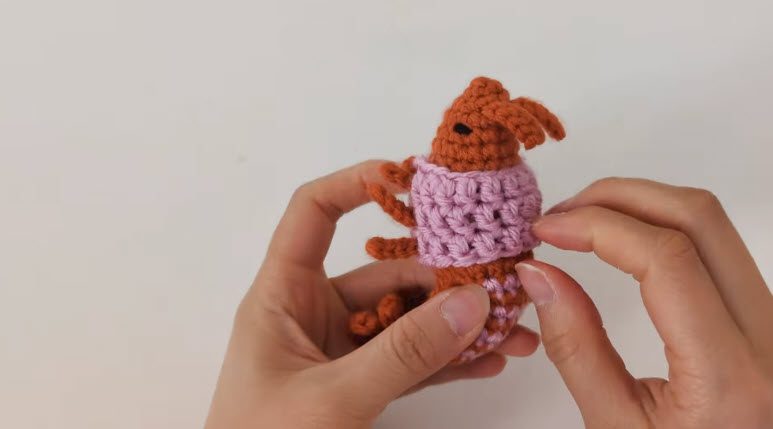
Chain with the shirt yarn and work flat rows of single crochet. Keep the fabric stretchy enough to slide over the body, and check the width against the middle of the shrimp as you go.
Step 7: Dress the Shrimp
Slide the finished shirt over the head and ease it down gently. Line up the opening with the legs, then sew the sides lightly if needed. Weave in every loose end to complete your crochet shrimp toy.
Video Tutorial
Common Mistakes and Troubleshooting
Where Beginners Usually Go Wrong
Mistake: Loose stitches that show the stuffing.
Fix: Drop down one hook size, or pull each loop firmly before inserting the hook.
Mistake: Legs sliding out of place.
Fix: Anchor each chain with a firm slip stitch into a back bump, then tug lightly to test it.
Mistake: Uneven stripes.
Fix: Change colors on the final stitch of the round, then pull the new yarn snug.
Mistake: A tail that curls unevenly.
Fix: Match both stitch layers one by one before working the fan.
Mistake: A shirt that bunches.
Fix: Measure it against the body before closing, and add a row if necessary.
Fixing Problems After the Toy Is Finished
Some issues only show up once the amigurumi shrimp is complete. Each one has a simple solution.
- Lopsided body: Roll it gently between both palms, then add a little more stuffing near the thinner end.
- Droopy antennae: Thread a short yarn tail through each one, then knot it inside the head for support.
- Visible color jogs: Nudge the stitches into line with a tapestry needle, or embroider a tiny slip stitch over the jog.
- Eyes too far apart: Remove the yarn and restitch them closer together for a sweeter face.
- Shirt too tight: Unpick the seam and add a few stitches along the edge.
Signs You Did It Right
- The body feels firm but still slightly squishy.
- Stripes sit evenly around the curve.
- Every leg hangs at a similar length.
- The tail fan flares without twisting.
- The eyes look symmetrical and neat.
- The shirt fits comfortably without gaps.
Care and Storage for Your Crochet Shrimp Toy
Washing Basics
Hand washing protects the small details best. Fill a basin with cool water and a drop of mild soap, then press the toy gently instead of scrubbing. Rinse until the water runs clear and squeeze out moisture with a clean towel.
Skip the dryer. Reshape the shrimp and let it air dry on a flat surface. The stuffing holds water, so drying may take a full day.
Storage Tips
Keep the toy in a breathable cotton bag or an open basket, since plastic traps moisture and can dull the yarn. Store it away from direct sunlight, which fades bright shades quickly, and lay the legs flat rather than folded so they keep their shape.
Ideas for Using Your Amigurumi Shrimp
More Projects With This Pattern
The same techniques open plenty of doors. Use a smaller hook and thinner yarn for a keychain version, or pair the toy with crab and fish patterns to build a seafood set. A row of tiny shrimp could also make a cute garland for a nursery shelf. If you enjoy themed collections, you can look through the other ocean amigurumi designs on the site.
Ways to Style or Display It
Perch the shrimp on a bookshelf corner or a kitchen windowsill. It also sits nicely in a bowl beside faux lemons for playful food photography. Add a ribbon loop to turn it into a hanging ornament, or nestle it in tissue paper inside a small box when gifting.
Bonus: Color Palette Swaps
Changing the colors shifts the mood of the whole crochet shrimp pattern. Try these combinations:
- Coral and cream: a soft, beachy look.
- Deep red with gold stripes: a festive take for the holidays.
- Peach with mint: a gentle option for babies.
- Charcoal with white: a bold, modern twist.
Pick a shirt shade that contrasts with the body so the outfit stands out clearly.
Why Makers Enjoy This Design
- Scrap-friendly: the project uses leftover yarn.
- Quick finish: a single weekend covers the entire make.
- Photo-ready: the curved body and tiny outfit look great on camera.
Crochet Shrimp Pattern FAQ
How long is the toy when finished?
With a 3 mm hook and worsted yarn, expect a body of roughly four to five inches. Thicker yarn produces a larger shrimp.
Can beginners attempt the tiny legs?
Yes, as long as slip stitches feel comfortable. Practice a few chains first, then add the legs one at a time.
What stuffing works best?
Polyester fiberfill gives a smooth, even finish. Add small handfuls at a time and pack the tail area firmly.
Is the toy safe for babies?
Embroidered eyes remove the choking risk of plastic parts. Even so, secure all legs and antennae tightly, and supervise very young children.
Can the shirt be removed?
Yes. Because it is crocheted separately, it slips on and off easily. Leave the sides unsewn if you want to change outfits.
Your Shrimp Is Ready for Its Close-Up
Once the last yarn end disappears inside the body, your little shrimp is ready to be photographed, gifted, or displayed. The skills practiced here, from slip stitch limbs to fan tails, carry over to many future toys. A mini crab or a tiny octopus would make a natural next project and help the ocean family grow.