Crochet Bunny Baby Shoes with Floppy Ears for Newborns
Crochet bunny baby shoes with floppy ears bring plenty of charm into one tiny, giftable project. This guide covers the pattern, materials, sizing, step-by-step photos, assembly, and finishing, so each pair turns out soft, snug, and sweet for a newborn.
Crochet pulls yarn through loops with a single hook to build fabric one stitch at a time. It stays popular because it is easy to learn, relaxing, and wonderfully creative. With only a hook and some yarn, anyone can make clothes, bags, blankets, flowers, and home decor, and this small bootie project is a great place to begin.
About the Crochet Bunny Baby Shoes and Key Features
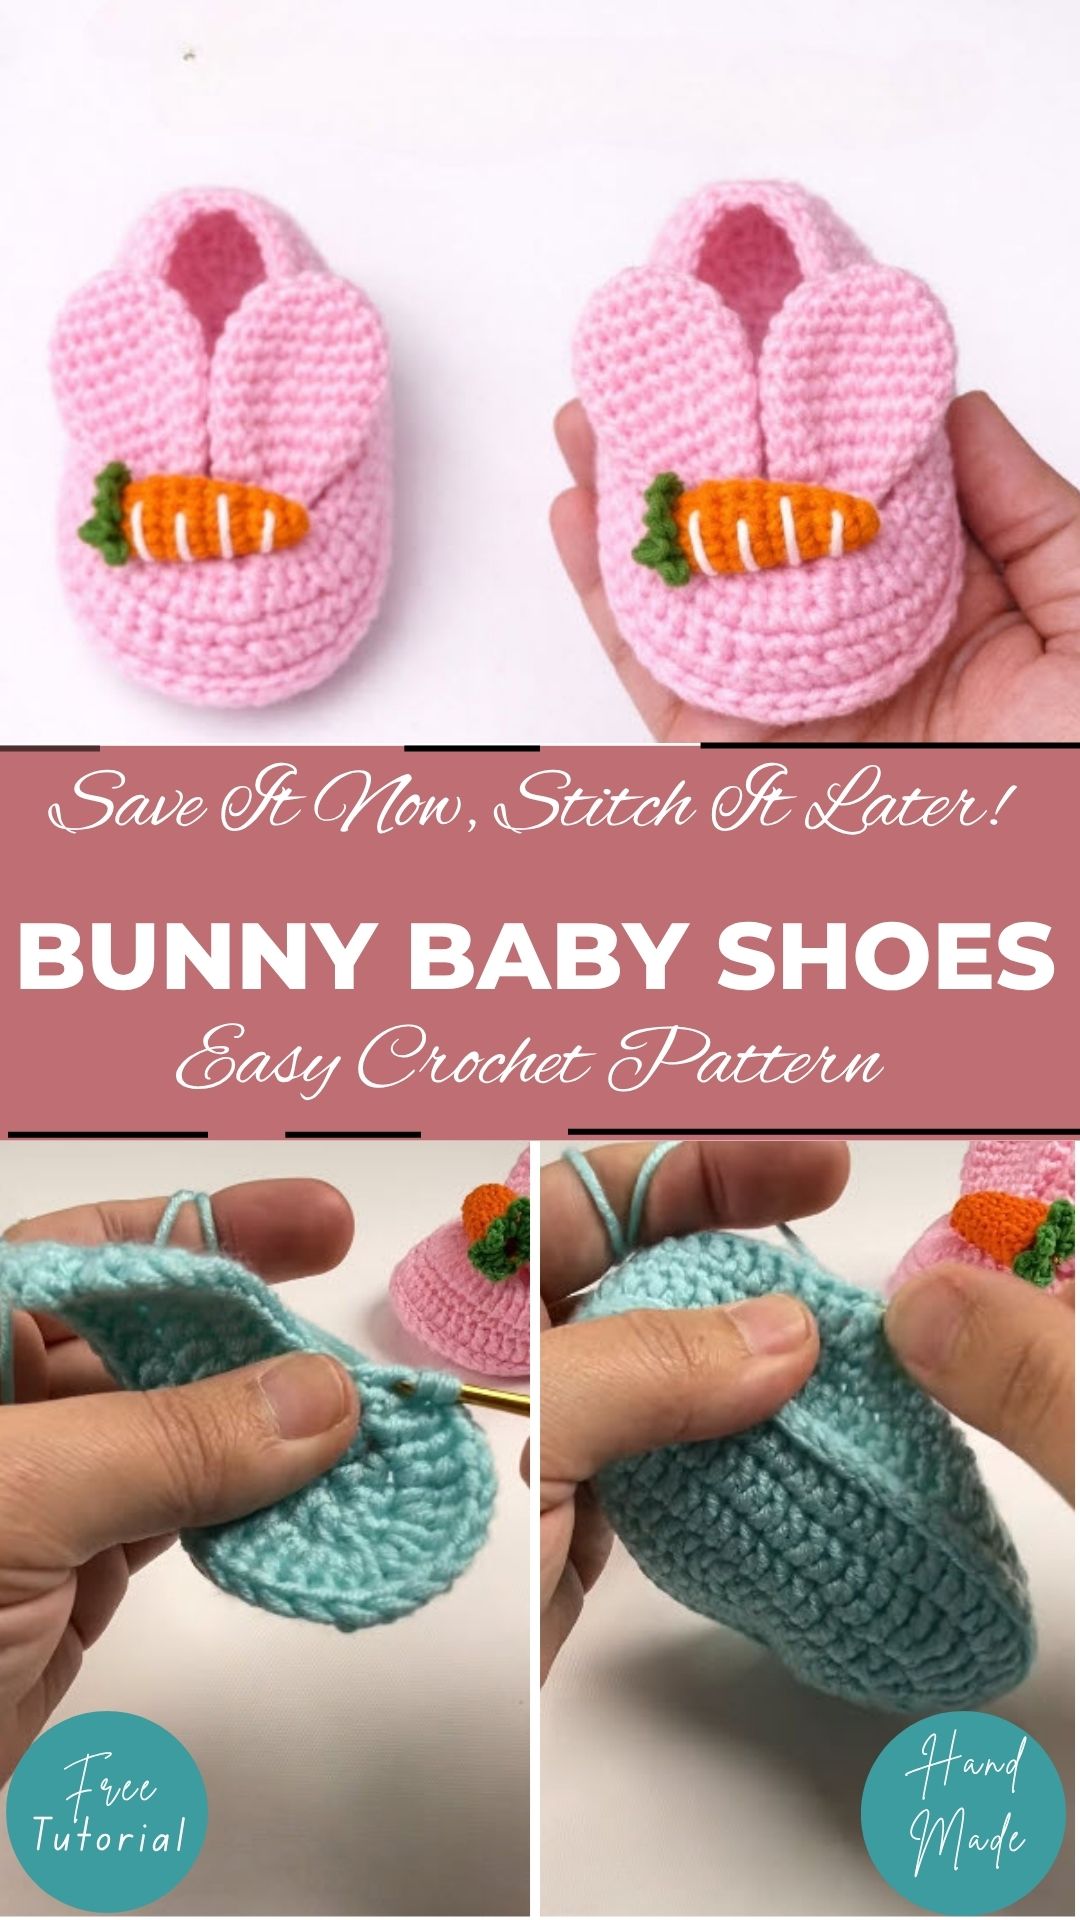
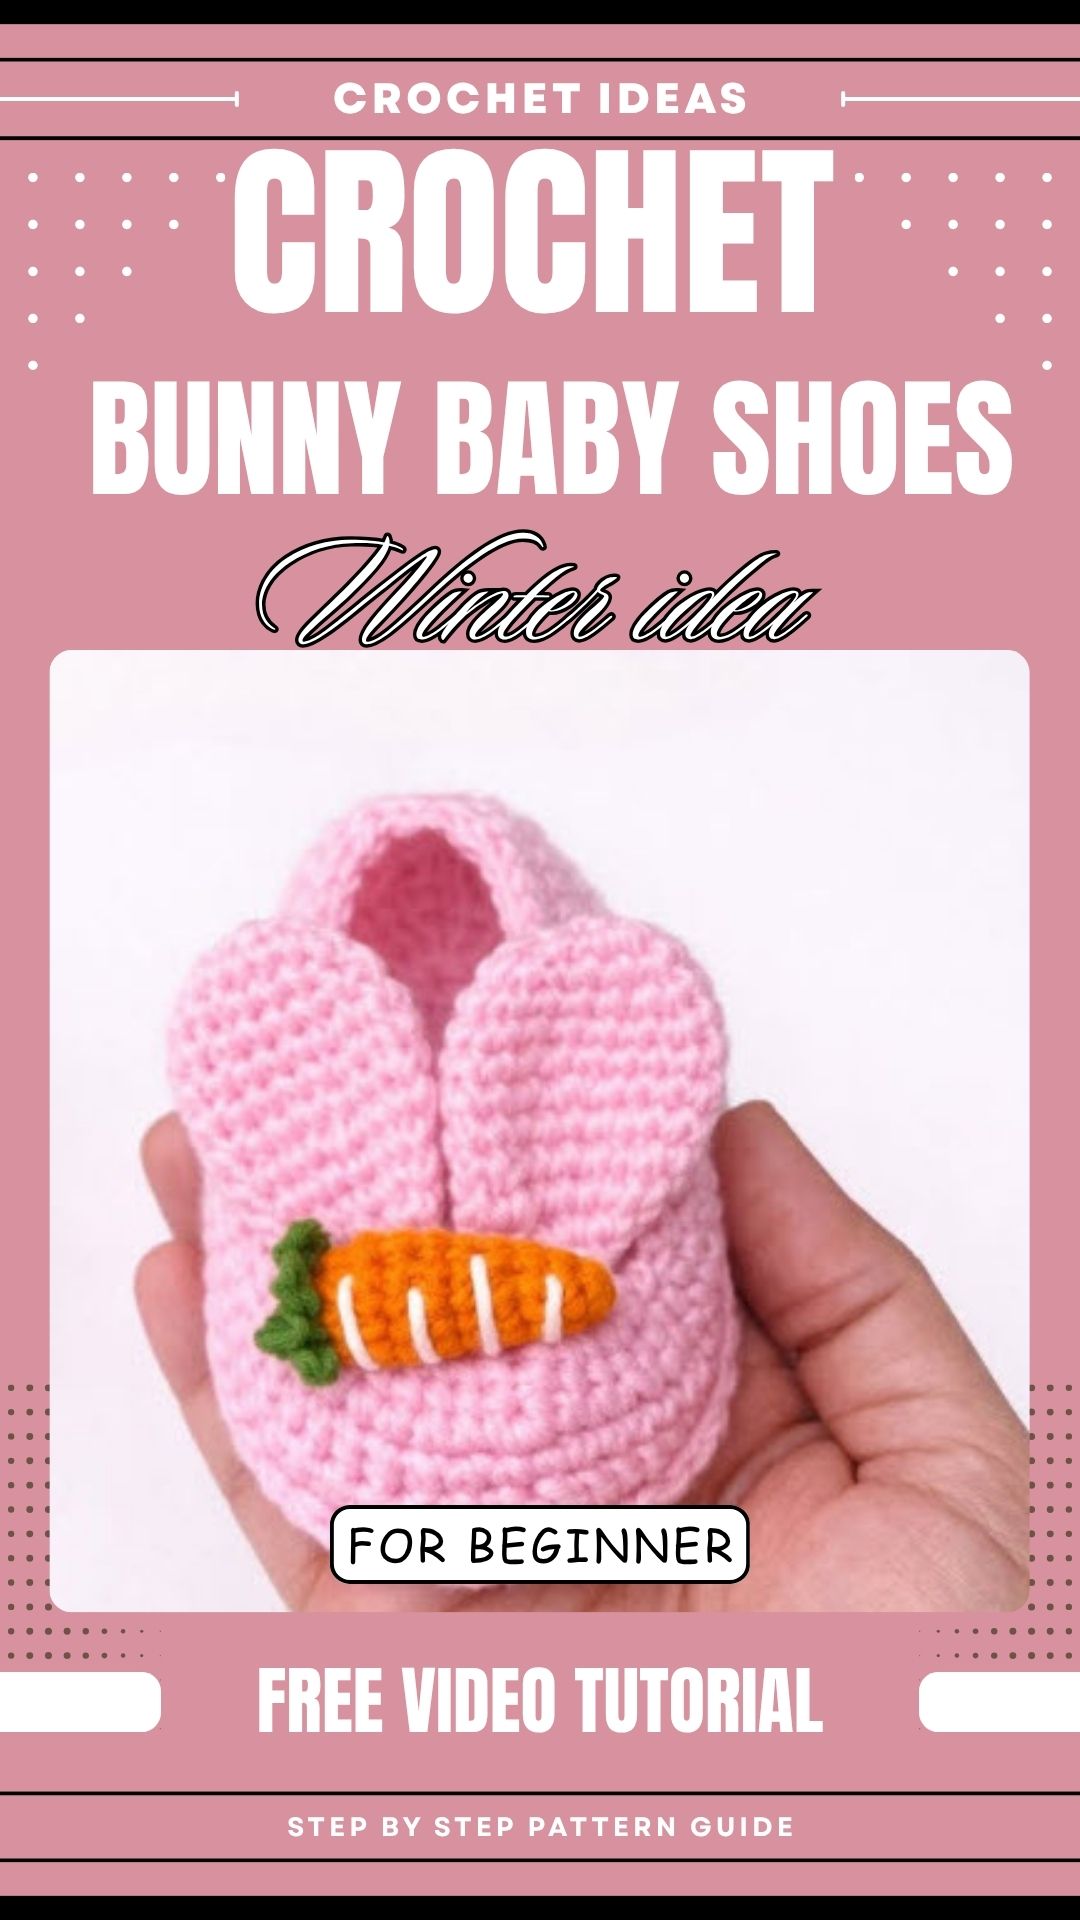
These booties are built in three parts: a flat oval sole, raised sides that form the shoe, and two soft ears that flop over the front. The ears give the pair its personality. Each shoe wears a pair of small, rounded ears that rest against the toe, so the booties look like tiny sleeping bunnies.
Key features:
- A flat, sturdy sole shaped with increases at the heel and toe
- Sides built up from the sole edge for a snug, rounded fit
- Floppy ears sewn on separately, so placement is easy to adjust
- Optional embroidered details for a sweet face
Since the pattern uses only basic stitches, the project stays approachable and quick to finish.
Skill Level and Materials for Crochet Bunny Baby Shoes
Skill Level
This pattern suits confident beginners and up. Anyone who can chain, work single crochet in rounds, and make simple increases and decreases can complete it. The magic ring and the sewing steps are the trickiest parts, and both are covered clearly below. Because the pieces are small, a mistake is easy to undo, which makes the project a good one for practicing shaping.
Materials Needed
Yarn: Soft baby cotton yarn or sport/DK weight yarn works best. Three colors are needed:
- Main color for the shoe
- Accent color for the inner ears and details
- Black and pink thread for the facial features
Hook: A 2.5 mm or 3.0 mm hook, depending on the yarn. A smaller hook creates tighter stitches, which helps the sides stand up neatly.
Notions:
- Tapestry needle
- Stitch markers
- Scissors
Yarn Information for Crochet Bunny Baby Shoes
Choose yarn labeled soft and washable. Newborn skin is delicate, so rough or scratchy fibers are best avoided.
Sizing, Stitches, and Gauge for Crochet Bunny Baby Shoes
Finished Size and Sizing Options
The sole starts with a foundation chain, and the length of that chain decides the size. A longer chain makes a larger bootie, while a shorter chain makes a smaller one. Measure the baby’s foot, or a favorite sock, and chain until the strip matches that length before shaping begins.
Yarn weight and hook size also affect the final size. For example, a fine cotton yarn with a 2.5 mm hook creates a smaller, firmer shoe, whereas DK yarn with a 3.0 mm hook creates a slightly larger one.
Stitches and Abbreviations
All terms are US terms:
- MR: Magic Ring
- ch: Chain
- sc: Single Crochet
- hdc: Half Double Crochet
- dc: Double Crochet
- inc: Increase (2 single crochet in the same stitch)
- dec: Decrease (single crochet 2 stitches together)
- sl st: Slip Stitch
- st(s): Stitch(es)
Gauge Information
No exact gauge is required for this project. What matters is a dense, tight fabric, because loose stitches make floppy sides and let the ears lose their shape. If the fabric looks gappy, drop down a hook size. Before moving on, make the sole first and check that it feels firm.
Tips Before Starting Crochet Bunny Baby Shoes
- Mark the first stitch of every round with a stitch marker so rounds stay accurate.
- Keep tension even, especially when turning the corner from the sole to the sides.
- Wrap the working yarn around a finger, as the photos show, for steady tension.
- Since the ears come after the shoes, you can match their color and size to the finished booties.
- When possible, make both shoes in the same sitting so the stitch tension stays consistent.
Step-by-Step Crochet Bunny Baby Shoes Pattern
Start the Bunny Bootie Sole (Step 1)
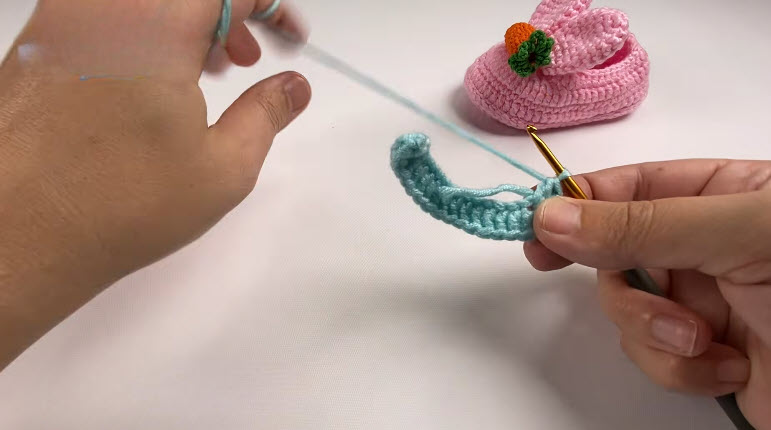
- Make a foundation chain in the length needed for the baby’s foot.
- Work single crochet stitches along the chain, using increases at the toe end.
- Keep the working yarn wrapped around your finger for even tension.
Shape the Oval Sole (Step 2)
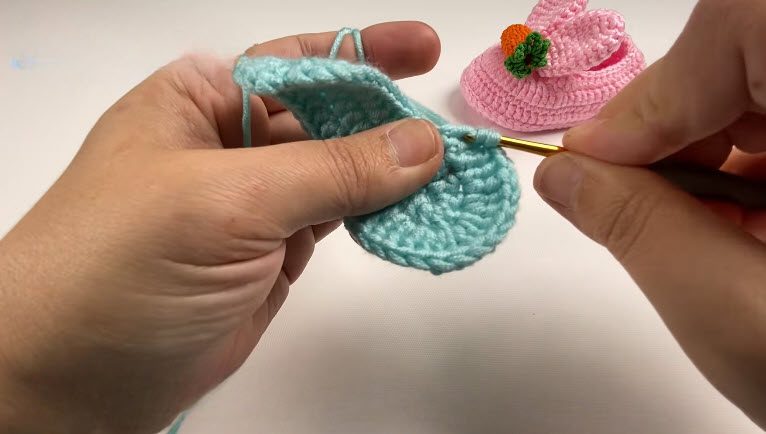
- Turn the work and continue around the other side of the chain.
- Use sc, hdc, and increases at the heel and toe curves so the sole lies flat.
- Close the round with a slip stitch, then chain up.
Begin the Sides (Step 3)
- Work in the back loops only, so the sole edge folds upward.
- Place a stitch marker in the first stitch and continue in rounds.
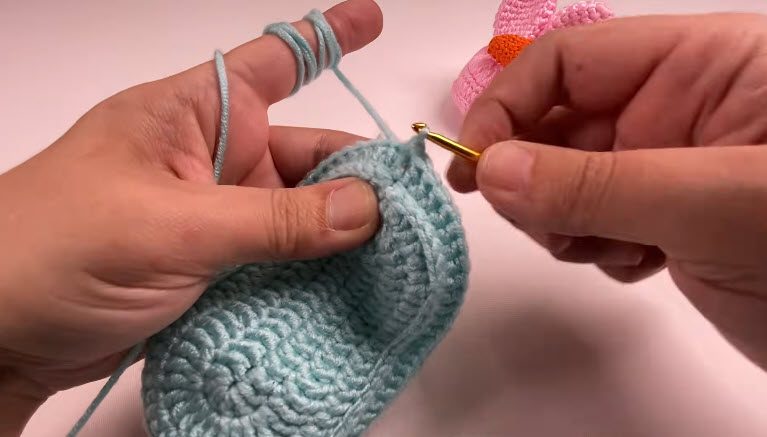
Raise the Walls (Step 4)
- Keep working rounds until the sides stand up from the sole ridge.
- Hold the shoe with the hook near the top edge and keep stitches snug.
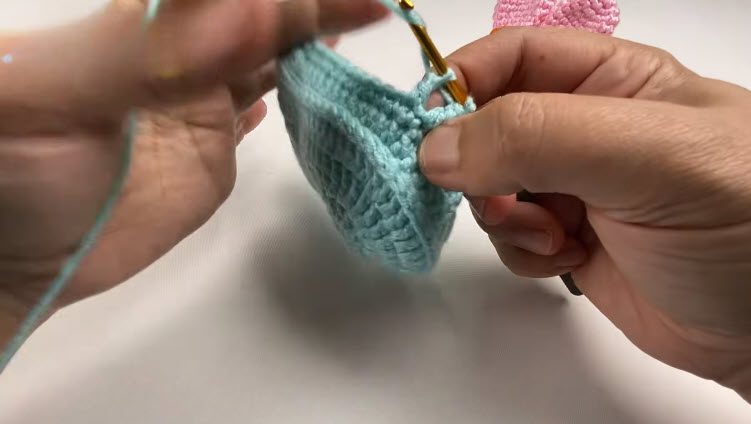
Form the Toe and Cuff (Step 5)
- Add decreases across the front toe section for the rounded shoe slope.
- Work the ankle cuff rows, then fasten off and weave in the ends.
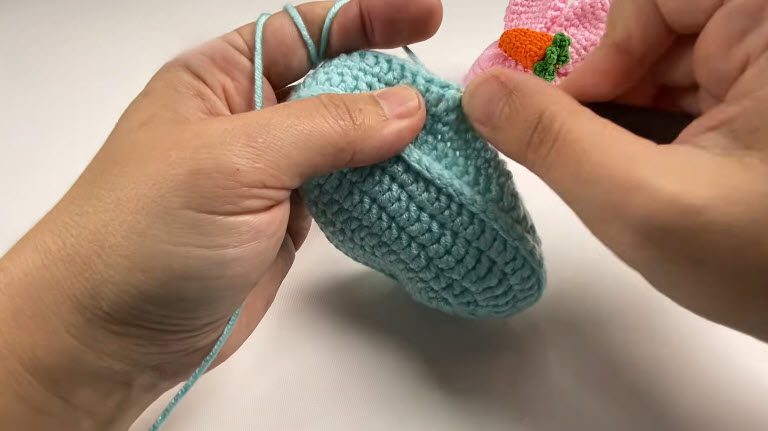
Make and Attach the Bunny Ears (Step 6)
- Make 4 ears, two for each shoe, by starting with a magic ring or short chain and working sc or hdc.
- Next, shape each ear with gentle increases and decreases into a rounded, tapered point.
- Fasten off with a long tail, then sew two ears to the front of each shoe.
- After that, embroider the nose, whiskers, or sleeping eyes with pink and black thread.
- Finally, weave in all loose ends with a tapestry needle.
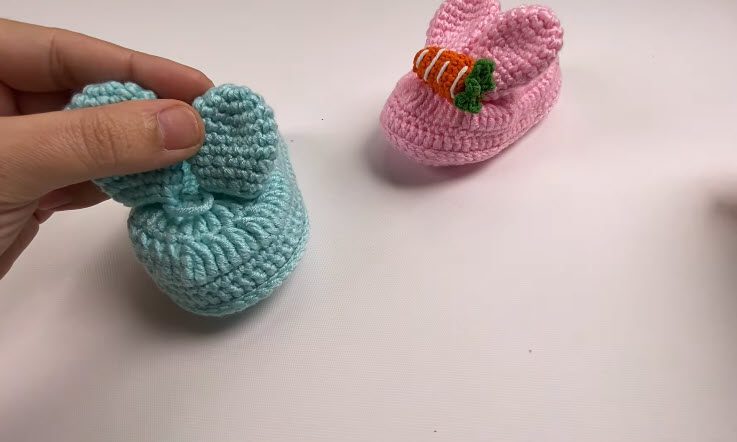
Construction and Assembly of Crochet Bunny Baby Shoes
The shoe is worked from the bottom up in one piece, so no side seams are needed. Only the ears are sewn on. Place the ears at the front, close together, so they flop forward over the toe. Pin them in place first and check that both shoes match before sewing.
Use the long tail left on each ear and a tapestry needle. Stitch through the base of the ear and the shoe edge several times, then knot the yarn inside. Secure sewing matters here, because newborn clothing must withstand tugging and washing.
Customization Options for Crochet Bunny Baby Shoes
- Color pairs: Soft mint, cream, blush pink, and grey all suit newborn sets.
- Ear style: Make one ear fold over, and one stand slightly upright for a playful look.
- Face details: Choose sleeping eyes for a calm look, or tiny round eyes for a wide-awake one.
- Cuff height: Add more rows to make a taller ankle that holds better on active feet.
- Matching set: Pair the booties with a bunny hat in the same yarn for a complete newborn gift.
Add a Tiny Carrot Accent
A small carrot is a charming finishing touch, as seen on the pink sample beside the teal pair. Make a small orange oval with a few green leaves, then sew it near the base of one ear. Stitch light cream lines across the carrot for texture. Keep it small and sewn down firmly so it stays flat against the shoe.
Common Mistakes With Crochet Bunny Baby Shoes
Curling or cupping sole. Too few increases at the curves cause cupping. Add an extra increase at the heel and toe, or use a larger hook for the sole.
Sides that flare outward. Stitches that are too loose let the walls spread. Therefore, switch to a smaller hook and work the back-loop round firmly.
Stiff ears. Dense stitches create ears that stand too stiff. For a softer fall, use a slightly larger hook for the ears, or fewer rows.
Mismatched shoes. Count stitches at the end of each round, and write down the row count after finishing the first shoe.
Uneven facial features. Mark placement with pins before embroidering, and keep each stitch small.
Finishing and Care for Crochet Bunny Baby Shoes
Weave in every end at least twice, changing direction each time. Trim the tails close, but not so close that they can pop out. Then check that the ears and any embroidery are firmly attached, and gently pull to test.
For care, hand wash in cool water with mild soap, and reshape while damp. Lay the booties flat to air dry, away from direct heat. Cotton yarn handles washing well, though a mesh bag is a good idea if a machine cycle is used.
Bonus Section: Choosing Safe Details for Newborns
Newborn items need extra care, so keep the details simple. Embroidered eyes and noses stay flat and cannot come loose the way beads or buttons can. In addition, sew the ears on firmly and test them with a gentle tug before gifting. Finally, choose soft, washable yarn so parents can clean the booties without worry.
Crochet Bunny Baby Shoes FAQ
What yarn is best for newborn crochet bunny baby shoes?
Soft baby cotton or sport/DK weight yarn is a good choice. Both are gentle, breathable, and easy to wash.
What hook size should be used?
A 2.5 mm or 3.0 mm hook works well, depending on the yarn. Choose the size that gives a dense, firm fabric.
How can the booties be made larger?
Start with a longer foundation chain. A thicker yarn and a larger hook also increase the size.
Are the ears safe for babies?
The ears are sewn on, so the connection must be very secure. Always check for loose stitching, and avoid beads or buttons on newborn items.
Can beginners make this crochet bunny baby shoes pattern?
Yes, confident beginners can complete it. Practice the magic ring first, and take the sole slowly.
How long does one pair take?
Most crocheters finish a pair in a few relaxed sittings, since the pieces are small.
Hop Into Your Next Gift
A pair of floppy-eared bunny booties rewards patience with something truly adorable, and these crochet bunny baby shoes work up in just a few sittings. Start with the sole, build the sides slowly, and let the ears do the talking. Once you pick a soft color and finish a pair, share the result in the comments and save this pattern for the next baby shower.