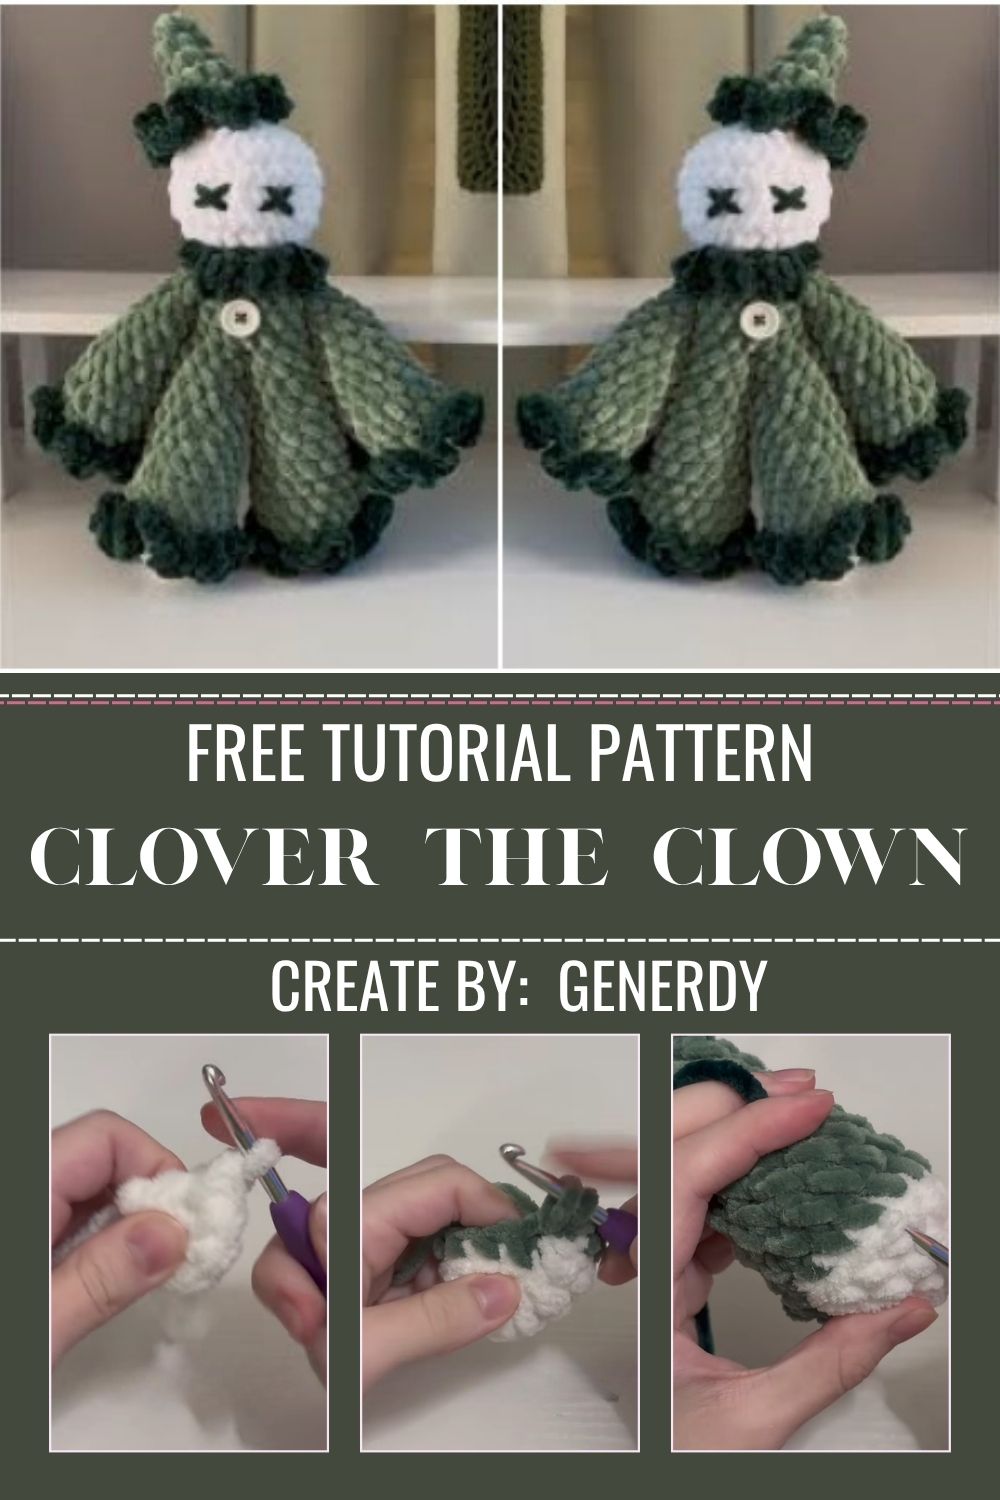
Crochet Clover Clown Amigurumi Pattern for Good Vibes
Crochet Clover Clown Amigurumi brings a burst of joy to any shelf, desk, or gift box. A round red nose, rosy cheeks, and a wide happy grin make Clover the kind of cheerful crochet pal that spreads good vibes everywhere.
Clowns get a mixed reputation, but Clover flips the script entirely with a soft, friendly, totally huggable design. Bright colors, a little pom pom hat, and a tiny ruffle collar give Clover real personality without any spooky energy. Whether you crochet for fun or for gifting, Clover works up fast and rewards you with endless smiles all day long.
Who Is Crochet Clover Clown Amigurumi?
Every crocheter needs a project that lifts the mood, and Clover does exactly that. The whole idea started from the classic circus clown look, then got softened into something warm and welcoming. No creepy vibes here, just a happy little friend.
Clover wears a striped hat, a ruffled collar, and a big cheery smile. The character feels playful and kind, which is honestly why so many makers fall in love with the design right away.
The good vibes theme runs through every part of the build. Bright yarn, round shapes, and a friendly face all work together to make a plush that feels like a little hug.
What Makes Clover Special
Clover sits somewhere between a keepsake and a playmate. The amigurumi shape stays sturdy enough for display, yet soft enough for cuddles. Kids adore the colors, and grown-ups low-key love the nostalgia.
Here is what makes Clover a standout make:
- A bright, eye-catching color palette that pops on any shelf
- Simple shaping that beginners can follow without stress
- A customizable face so you can give Clover your own expression
- A quick build that fits into a single cozy weekend
Trust me, once you finish one, you will want to make a whole little clown squad.
Skill Level
Clover suits confident beginners and intermediate makers. The pattern leans on basic amigurumi skills, so you do not need anything fancy. As long as you can work in rounds and count your stitches, you are good to go.
A first-time amigurumi maker can absolutely tackle Clover with a little patience. The shaping stays gentle, and the parts go together in a clear order.
Materials and Supplies You’ll Need
Gathering everything before you start keeps the whole process smooth. Here is the full list.
Yarn Colors
Pick a soft worsted-weight or sport-weight cotton yarn for crisp stitches. You will want:
- Skin tone yarn for the face and hands
- A bright color for the body or jumpsuit, like red, blue, or yellow
- A second bright shade for the hat and collar
- White for the ruffle and pom poms
- A small amount of red for the round clown nose
- Pink for the rosy cheeks
Tools and Extras
Round out your supplies with these:
- Crochet hook in a size slightly smaller than your yarn label suggests, usually 3.0 mm to 3.5 mm
- Safety eyes, around 6 mm to 9 mm, depending on your size
- Polyester fiberfill stuffing
- Yarn needle for sewing parts together
- Scissors
- Stitch markers to track each round
- Optional keychain ring or clip if you want a portable version
A smaller hook gives you tight stitches, which keeps the stuffing from peeking through. That tight fabric is the secret behind a clean amigurumi finish.
Crochet Techniques Used in This Pattern
Clover uses a handful of core amigurumi skills. Knowing them ahead of time makes the pattern feel easy.
- Magic ring to start each piece with a closed center
- Single crochet worked in continuous rounds for a smooth surface
- Increases to widen the head and body
- Decreases to shape the top of the head and close pieces
- Sewing parts together with a yarn needle for clean joins
If any of these feel new, a quick practice swatch helps a lot. Ngl, ten minutes of warm-up saves a ton of frustration later.
Making the Head
Start the head with a magic ring and single crochet. Increase steadily over the first several rounds to form a smooth ball shape. Keep your stitches snug and even as the circle grows.
Work a few rounds straight to give the head height. Around the middle, place your safety eyes so they sit evenly spaced. Then begin decreasing, stuff firmly, and close the top.
A round, full head sets the tone for the whole plush, so take your time shaping it.
Working the Body
Begin the body with another magic ring and build outward with increases. Carry on in rounds until the body reaches a nice plump size that balances the head.
Switch yarn colors if you want a striped or two-tone jumpsuit look. Stuff the body as you go so it stays firm and holds its shape once attached.
Arms, Legs, and Hat
Crochet two small arms and two legs in matching or contrasting colors. Keep them lightly stuffed so they stay bendy and cute.
For the hat, work a cone shape with steady decreases, then add stripes or a contrast trim. Top it off with a fluffy white pom pom for that classic clown charm.
Add a ruffle collar by working into a chain and increasing heavily so the edge gathers and frills. Honestly, the collar is the detail that makes Clover instantly recognizable.
Adding the Face
The face brings Clover to life. Stitch on the round red nose and sew it securely between the eyes.
Add two pink cheeks with a little embroidery or felt circles. Then embroider a wide, friendly smile under the nose. A gentle curve reads happy, so aim for a soft grin rather than a sharp line.
Putting Clover Together
Pin every piece before sewing so you can check the placement. Attach the head to the body first, making sure it sits straight.
Sew on the arms and legs at even heights. Position the hat on top of the head, then secure the ruffle collar around the neck. Pinning first keeps everything balanced and saves you from unpicking later.
Finishing Touches
Weave in all loose ends with your yarn needle so nothing unravels. Give Clover a gentle shaping squeeze to even out the stuffing.
Add a keychain ring at the top of the hat if you want a clip-on version. Fluff the pom pom, fix any stitches, and your cheerful clown is ready to spread good vibes.
Beginner Tips for a Neat Amigurumi
A few small habits make a big difference in the final look. Keep these in mind while you work.
- Crochet tight stitches. A smaller hook keeps the fabric dense and hides the stuffing.
- Use stitch markers. Mark the first stitch of every round so you never lose your count.
- Stuff in layers. Add small amounts of fiberfill at a time and press it into corners for a firm, smooth shape.
- Count often. A quick stitch count after each round catches mistakes early.
- Sew with long tails. Leave generous yarn tails when finishing pieces so sewing stays easy.
Firm, even stuffing is what gives amigurumi that plump, professional finish. Underfilling leaves dents, so be generous but gentle.
Fun Ways to Customize Clover
Half the fun of amigurumi is making each one your own. Clover welcomes plenty of creative spins.
- Switch the colors. Try pastel tones for a soft look or rainbow stripes for full circus energy.
- Add cute accessories. A bow tie, tiny balloons, or a flower on the hat all add personality.
- Make a mini version. Use thinner yarn and a smaller hook for a keychain-sized Clover.
- Change the expression. A winking eye or a tiny tongue gives your clown a goofy twist.
- Mix textures. A fuzzy yarn hat or a sparkly collar makes Clover feel extra special.
Low-key, a set of mini Clovers in different colors makes the cutest handmade gift bundle.
Frequently Asked Questions
What is the best yarn for amigurumi?
Cotton or a cotton blend works beautifully for amigurumi. Cotton holds its shape, shows stitches clearly, and stays firm when stuffed. Acrylic works too and feels a bit softer, so pick whichever suits the look you want.
How do I make my crochet plush firm?
Use a hook smaller than your yarn label recommends, which keeps the stitches tight. Then stuff in small layers, pressing the fiberfill into every curve. Firm stuffing plus tight stitches give you a plush that stands up on its own.
How long does the Clover the Clown project take?
Most makers finish Clover in a single weekend, roughly five to eight hours depending on your speed. Beginners may take a little longer, and that is completely fine. Splitting the work across a few sittings keeps it relaxing.
Can I wash my finished amigurumi?
Spot cleaning with mild soap and a damp cloth works best for stuffed pieces. Hand washing is possible if your yarn allows it, but let the plush air dry fully so the shape stays intact.

Final Thoughts
Crochet Clover Clown Amigurumi proves that a clown can be all warmth and zero spook. The bright colors, the happy grin, and the playful hat come together into a plush that genuinely lifts the mood.
Beginners and seasoned makers alike will enjoy how quickly Crochet Clover Clown Amigurumi comes to life. Grab your favorite cheerful yarn, follow the steps, and watch your own little clown take shape.
Ready to spread some good vibes? Hook in, start stitching, and share your finished Clover with the crochet community.