Charming Crochet Bunny Egg Holder Pattern Handmade Easter Decor Ideas
Spring crafting feels extra special when it is practical and adorable at the same time. This Crochet Bunny Egg Holder is a simple crochet egg holder that sits on your table, hugging an egg like a tiny, cozy cup.
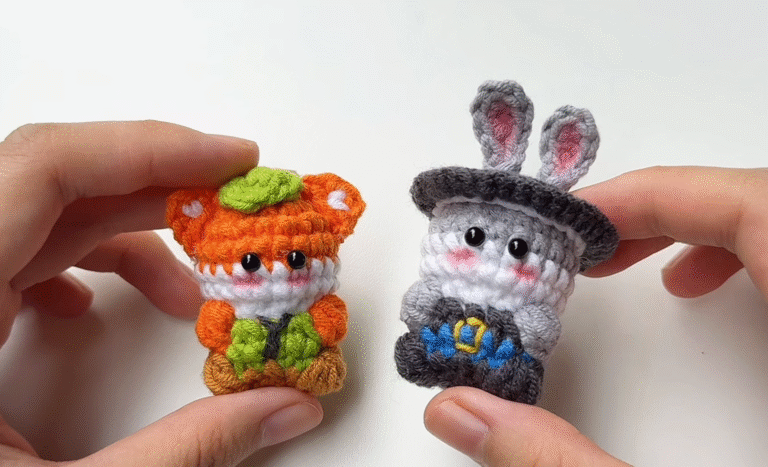
If you love Easter crochet decor, this is a perfect beginner crochet project. It looks like a cheerful bunny egg cozy with tall ears, a cute face, and soft pastel colors that instantly say “Easter is here.”

There is something charming about adding handmade touches to an Easter table. A little bunny cup holding an egg feels playful for kids, but it is also pretty enough for a grown-up brunch or a spring centerpiece. I also love how these holders make easy gifts. Pop one in a basket with chocolates, or place one at each plate as a cute name place setting.
This project is designed to be quick, easy, and stress-free. You mostly crochet in the round using single crochet, then add two flat ears and simple face details. After that, you just test the egg fit and adjust if needed. It is beginner-friendly, but still satisfying because it comes together into a finished “character” fast.
Materials Needed
- Cotton yarn (DK or sport weight) in pastel shades
- 25 g pastel blue (main outer cup)
- 15 g white (inner cup or accent)
- 10 g pastel pink (optional cheeks or bow)
- Black yarn or embroidery thread: 1 to 2 meters (face details)
- Crochet hook: 2.5 mm to 4.0 mm
- Use 2.5 to 3.0 mm for a tighter, sturdier cup
- Use 3.5 to 4.0 mm for a slightly softer look
- Safety eyes: 6 mm to 8 mm (or embroider eyes instead)
- Stuffing (optional): about 2 to 4 g for base shaping
- Stitch marker: 1
- Tapestry needle: 1
- Scissors: 1 pair
Optional extras (nice but not required): pink blush yarn, ribbon, felt circles, fabric glue.
Abbreviations (US Terms)
- MR = magic ring
- sc = single crochet
- inc = increase (2 sc in same stitch)
- dec = decrease (sc2tog)
- sl st = slip stitch
- ch = chain
- rep = repeat
- FO = fasten off
Skill Level
Beginner. This pattern uses mainly single crochet in the round, simple increases, and straight rounds to build the cup shape. If you can make a magic ring (or chain-and-join start) and count stitches, you can absolutely make this.
Finished Size
- Designed to be an egg-sized holder that fits a standard chicken egg (real, plastic, or wooden).
- Size will vary depending on yarn weight and hook size. If your egg is larger or smaller, you can adjust by adding or subtracting a round on the cup walls.
Time Planning at a Glance
Total time estimate: 45 to 90 minutes (depending on speed and details)
- Base cup: 20 to 35 minutes
- Ears (make 2): 15 to 25 minutes
- Face details: 5 to 15 minutes
- Assembly: 5 to 15 minutes
Important Notes Before Starting (Beginner Tips)
- Crochet tight stitches so the cup holds its shape and the egg does not wobble.
- Check egg fit early. After a few wall rounds, place the egg inside to test snugness.
- Use a stitch marker at the start of each round since you will crochet in a spiral.
- Count stitches every round during the base increases to keep the cup even.
- Choose cotton yarn if you want crisp stitches and a sturdy Easter table piece.
Crochet Pattern
This pattern creates a bunny with a cup-shaped body, two long ears, and a sweet face. It is written to be clear and adjustable, so you can adjust it to your egg size.
A. Base Cup (Egg Holder)
Goal: Build a round base, then crochet straight up to form the cup walls.
1) Start the base
- Make a MR.
- Round 1: 6 sc into the MR. (6)
- Round 2: inc in each stitch around. (12)
2) Grow the circle
- Round 3: (1 sc, inc) rep around. (18)
- Round 4: (2 sc, inc) rep around. (24)
- Round 5: (3 sc, inc) rep around. (30)
- Round 6: (4 sc, inc) rep around. (36)
At this point you should have a flat circle that will become the bottom of your crochet egg holder.
3) Form the cup walls
- Round 7: sc in each stitch around, working into back loops only to create a neat “bend” edge. (36)
- Rounds 8 to 12: sc in each stitch around. (36)
Fit check: After round 10 or 11, place your egg inside.
- If it feels too tight, switch to a slightly larger hook for the next rounds.
- If it feels too loose, tighten your tension or use a smaller hook.
4) Optional inner cup layer (for thicker walls)
If you want a sturdier bunny egg cozy or a two-tone look, crochet a second cup in a contrast color (like white), using the same base and wall rounds. Then place it inside the outer cup and stitch them together at the top edge later.
B. Top Edge (Neat Finish)
A clean top edge makes the bunny cup look polished and helps it keep the snug egg fit.
- Crochet 1 round of sl st all the way around, or
- Crochet 1 round of sc evenly, then sl st to finish.
FO, leaving a tail if you plan to stitch an inner and outer cup together.
C. Bunny Ears (Make 2)
Goal: Long, cute ears that sit on top and can curve slightly forward.
You can make these ears as a flat oval shape. Work in rows or around a starting chain, whichever you prefer. Here is a beginner-friendly, oval-style ear:
1) Ear foundation
- Ch 10.
- Starting in the second ch from hook: sc across until the last chain.
- In the last chain, work 3 sc to round the tip.
- Continue on the other side of the chain with sc back down to the start.
2) Shape the ear
- Ch 1, turn (if working rows) or continue in rounds if you prefer.
- Next round or row: add a little width near the rounded tip by placing a couple of inc stitches spaced out at the top area.
- Work another round or row of sc to smooth it out.
3) Slight curve for cuteness
- To create a gentle curve, you can add a few sl st on one side near the base. This slightly tightens one edge and makes the ear naturally bend.
FO, leaving a long tail for sewing. Make the second ear and try to match the first in length.
D. Face Details
This is the part that makes the bunny feel alive, so take your time.
1) Eyes
- If using safety eyes, place them centered on the front of the cup, about halfway up the walls.
- If embroidering, stitch two small eyes with black yarn or thread.
2) Nose
- Use pink yarn or black thread to stitch a small triangle or tiny “V” nose.
3) Mouth and whisker-style lines
- Stitch a small mouth under the nose using one or two simple lines.
- Add short whisker-style stitches on each side. Keep them light and simple.
4) Optional blush
- Add a tiny hint of blush with pastel pink yarn or embroidery thread on the cheeks.
E. Optional Base Support (Stability Boost)
If you want the bunny to stand more firmly:
- Add a small pinch of stuffing into the bottom of the cup base before finishing, or
- Crochet with slightly tighter tension on the base rounds, or
- Cut a small felt circle to place inside the base for extra structure (optional).
Assembly Instructions
Follow these steps for clean placement and a centered face:
- Position the egg inside the cup to see where the “front” looks best.
- Attach ears evenly on the top rim, spaced the same distance from the center. Sew securely with a tapestry needle.
- Check the face alignment before tightening knots. Make sure the nose and mouth sit centered between the eyes.
- If you made an inner cup, stitch the inner and outer cups together around the top edge using small whip stitches.
- Test fit with an egg again. The egg should sit snugly without popping out.
Finishing Touches
- Weave in all yarn ends neatly on the inside of the cup.
- Shape the cup by gently pressing the bottom flat on a table.
- Adjust the ears so they match and tilt slightly forward if you like that classic bunny look.
- Smooth the top edge and fix any gaps with a few careful stitches.
Beginner Tips (Extra Helpful Ones)
- Use a smaller hook than usual for cotton yarn to keep stitches tight and sturdy.
- Move your stitch marker every round so you do not lose your place.
- Try the egg often while you crochet the walls. Small changes make a big difference in fit.
- Pin ears before sewing so you can step back and check symmetry.
- Embroider slowly and keep facial stitches short for a neat, cute expression.
Common Mistakes to Avoid
- Loose stitches causing weak structure: the cup may collapse or the egg may wobble.
- Wrong sizing for the egg: too wide and the egg slides, too tight and it stretches the cup.
- Uneven ears: count stitches or measure the ear length before fastening off.
- Misplaced face: place eyes first, then nose, then mouth so everything stays centered.
Variations to Personalize
- Color swaps: pastel pink bunny, baby blue bunny, white bunny, or even bright spring colors.
- Add a bow or ribbon: stitch a tiny bow near one ear for a gift-ready look.
- Make a chick or bear version: swap ears for a small beak and wings, or round bear ears.
- Add a hanging loop: chain a small loop at the back so it can hang on an Easter branch display.
Conclusion
If you want a quick handmade project that instantly adds charm to your Easter setup, this Crochet Bunny Egg Holder is such a joyful one to make. It is sweet on the table, fun for kids, and simple enough to crochet in an afternoon. Pick your favorite pastel yarns, take it step by step, and enjoy watching a tiny bunny egg cozy come to life stitch by stitch.