How to Crochet Bear Glasses Stand Beginner-Friendly Glasses Holder Pattern
This crochet bear glasses stand is a cute and practical way to store your eyewear while keeping your desk tidy. If you’re looking for a beginner-friendly crochet glasses holder that doubles as decor, this teddy bear design is a fun project with simple shaping and satisfying results.
A handmade bear glasses holder is one of those crochet projects that’s both adorable and genuinely useful. Instead of tossing your glasses on the table (and risking scratches), you’ll have a soft crochet stand that “wears” your glasses—making it easy to grab them anytime.
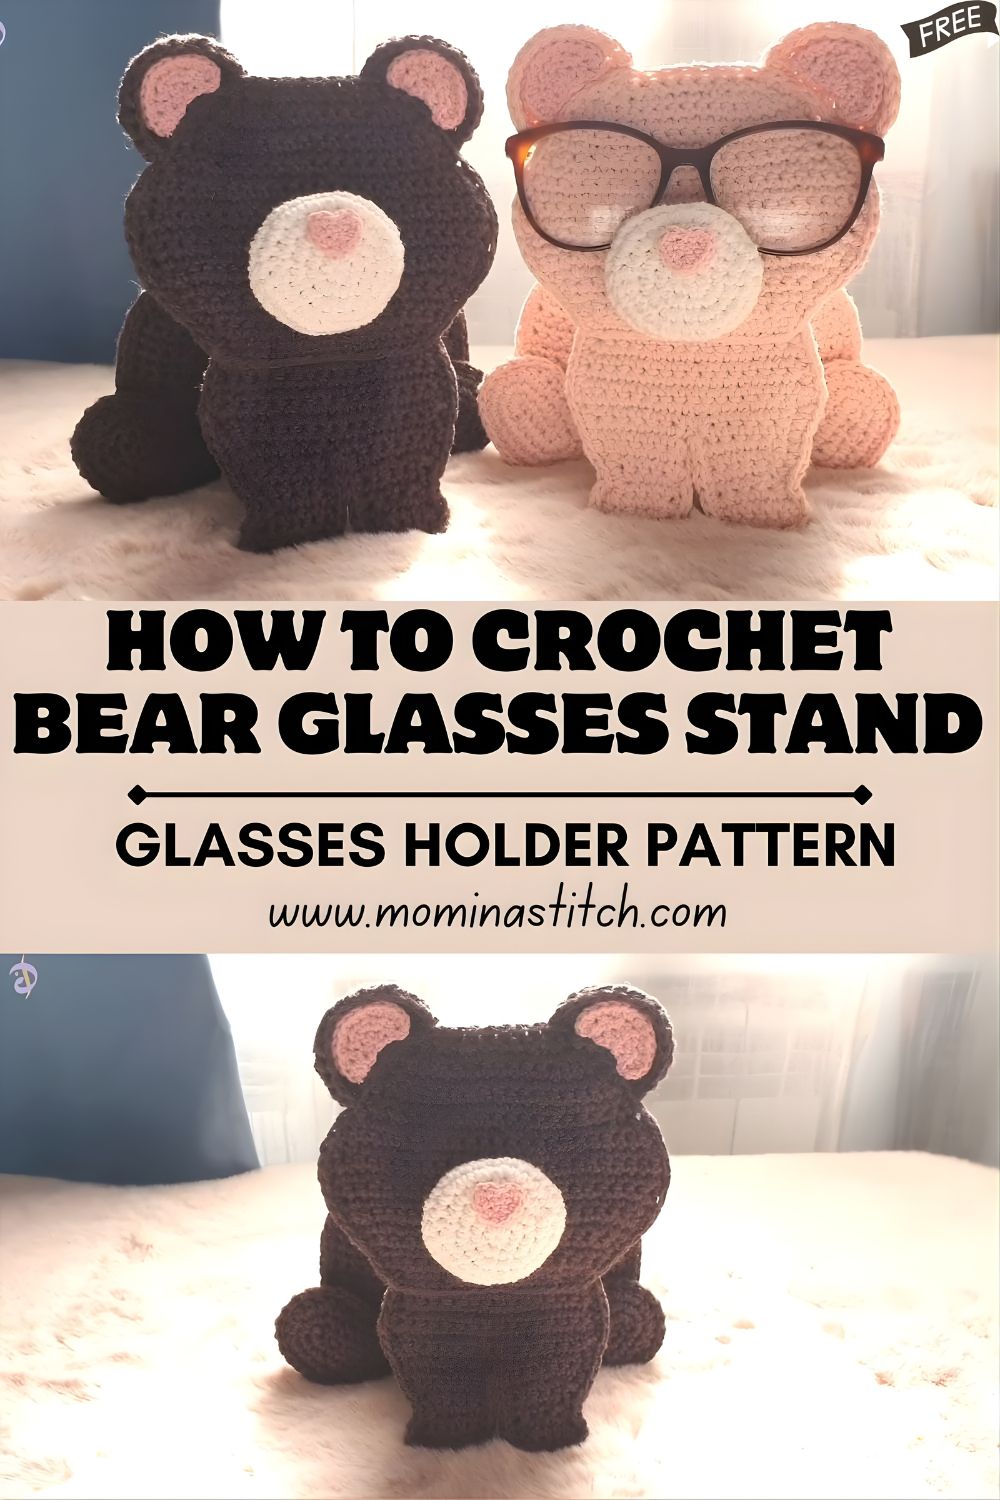
This design features a classic teddy bear look: a rounded head, small ears, a contrasting snout, and a sturdy body that supports the glasses’ weight. You can keep it minimal and cute, or customise it into different animals (panda, bunny, cat) with simple colour and ear changes. It’s also a great gift idea for students, teachers, office workers, and anyone who constantly misplaces their glasses.
Materials Needed
You don’t need fancy supplies—just sturdy yarn and neat shaping for a stable stand.
- Yarn (medium/worsted weight recommended)
- Main bear colour: brown, tan, or beige
- Contrasting snout colour: cream or light tan
- Small amounts of black (nose/eyes) and optional pink (cheeks)
- Crochet hook
- Choose a hook slightly smaller than the yarn label suggests (common range: 3.0–4.0 mm) for tighter stitches
- Fiberfill stuffing
- Stitch marker (essential for working in continuous rounds)
- Yarn needle (for sewing pieces and weaving ends)
- Scissors
- Safety eyes (optional) or black yarn for embroidered eyes
Tip: If this is for a child, embroidered eyes are safer. - Option stabilisers (highly recommended for a glasses stand)
- A small weighted insert (poly pellets in a pouch, a flat stone, or washers sealed in fabric)
- A circle of plastic canvas or thick felt for the base
Crochet Abbreviations / Basic Terms
These are common terms you’ll see in amigurumi-style crochet:
- MR – Magic Ring (Magic Circle)
- ch – chain
- sc – single crochet
- inc – increase (2 sc in the same stitch)
- dec – decrease (use an invisible decrease if you know it)
- sl st – slip stitch
- st(s) – stitch(es)
- rnd – round
- BLO / FLO – back loop only / front loop only (optional techniques for shaping edges)
Skill Level
Beginner to Intermediate (Confident Beginner)
You should be comfortable with:
- Single crochet in the round
- Basic increase/decrease shaping
- Simple sewing/assembly
Intermediate skills come in if you add a weighted base or want crisp shaping, but the overall build is beginner-friendly.
Why This Project Is Useful
A crochet bear glasses holder isn’t just cute—it solves real-life problems:
- Protects lenses from scratches by giving glasses a consistent “home”
- Reduces clutter on nightstands and desks
- Easy to spot (no more searching under papers or blankets)
- Makes a thoughtful handmade gift
- Works as desk decor + organiser in one item
Step-by-Step Pattern Explanation
Because many bear stand patterns vary in size, the tutorial below focuses on construction logic rather than risky exact stitch counts. You can scale the size up/down by adjusting how many increase rounds you use.
Overview of the Pieces
You’ll make:
- BoBasease (sturdy, weighted if possible)
- Head (rounded sphere/oval)
- Snout/Muzzle (contrasting oval)
- Ears (2) (small semicircles)
- Facial details (eyes, nose, optional cheeks)
- Optional: neck seam or small collar detail
1) Crochet the Body (The Stand)
Goal: A stable, slightly tall body that can support glasses without tipping.
How to shape it:
- Start with MR in the main bear colour.
- Work increases rounds to form a flat circle (this becomes yoBasease).
- Once the base circle is wide enough to feel stable, stop increasing and crochet even rounds to build height.
- Optional shaping:
- If you want a gentle belly, add a small set of increases mid-body, then return to even rounds.
- To taper near the top (where the head attaches), add a few decreases.
Base stability options (recommended):
- Before closing tBasease or early in building height, place:
- A plastic canvas/felt circle inside the bottom
- A small weight pouch centred at the base
This keeps the stand from wobbling and helps it hold heavier frames.
Stuffing:
Stuff firmly, especially around the lower half. A glasses stand needs structure, not squish.
2) Crochet the Head
Goal: A rounded teddy head that creates the “bridge” where glasses rest.
How to shape it:
- Start with MR in the main bear colour.
- Increase to create a dome, then work in ven rounds for height.
- Decrease to close, forming a smooth ball.
Stuffing:
Stuff the head firm so it doesn’t collapse under the weight of glasses. The head is a key support point.
Shape tip:
Slightly oval heads can cradle glasses nicely. You can achieve this by:
- Adding a couple of extra even rounds before decreasing, or
- Building a slightly taller dome
3) Crochet the Snout (Contrasting Muzzle)
Goal: A raised oval that creates the teddy look and can help glasses “catch” slightly.
How to shape it:
- Use the contrasting snout colour.
- Crochet a small oval or circle, then add 1–2 rounds to give it a gentle puff.
- Lightly stuff (optional) or leave unstuffed for a flat muzzle.
Nose placement:
Embroider a small triangle/oval nose in black near the top centre of the muzzle.
4) Crochet the Ears (Make 2)
Goal: Small, rounded ears that sit symmetrically on the head.
How to shape it:
- Start with MR and crochet a small circle.
- Stop early (the ears are small), then fold slightly and sew them to the head.
Tip:
Unstuffed ears look cleaner and lie flatter.
5) Facial Details
Eyes:
- Safety eyes (if not for small children), OR
- Embroidered eyes (simple dots/ovals)
Nose + optional mouth:
- Embroider a nose on the snout.
- Optional: a tiny vertical stitch under the nose for a simple mouth.
Placement logic:
Position eyes evenly on either side of the snout, roughly in the upper half of the face. Pin first, and check the expression before finalising.
Assembly Instructions
Clean assembly is what makes this look professional and helps it function well as a glasses holder.
Attach the Snout
- Pin the snout to the centre front of the head.
- Sew around the edges with small, even stitches.
- If using stuffing in the snout, add it before closing the last section.
Attach the Eyes and Nose (If not already done)
- Add eyes first (or stitch them), then nose, then whisker/mouth details if desired.
- Fold the ear slightly (optional) to create a rounded edge.
- Place ears evenly on the top sides of the head.
- Sew securely—ears can get tugged when glasses are placed/removed.
- Pin head to the top of the body, centred.
- Sew in a full circle using tight stitches.
- Add extra stitches at the front/back for durability (this joint takes pressure).
Symmetry tip:
Use the body’s round start marker line as a “back seam” reference to keep the face centred.
Shaping Tips for Holding Glasses Securely
This is the most important part—the bear should hold the glasses without sliding off.
- Make the head firm: Understuffed heads collapse and won’t support frames.
- Use a weighted base: Even a small weight dramatically improves stability.
- Choose tighter stitches: a smaller hook and tight sc fabric prevent sagging over time.
- Add a gentle “neck shelf”:
If you shape a slight taper at the top of the body, the glasses can rest at the head/body join instead of slipping down. - Widen tBasease if needed:
If your glasses are heavy, a wider base circle prevents tipping. - Test fit as you go:
Place your glasses on the stand before final assembly (especially before closing the head) to check balance.
Beginner Tips
- Use a stitch marker every round—amigurumi is easiest when you always know where the round begins.
- Count occasionally: You don’t have to obsess, but check counts after increase/decrease rounds.
- Stuff gradually: Add small pieces and distribute evenly to avoid lumps.
- Pin before sewing: It prevents crooked faces and uneven ears.
- Weave in ends securely: This is a functional item that will be handled often.
Common Mistakes to Avoid
- Overstuffing the body top (can push the head forward and make the glasses slide)
- Understuffing the head (glasses won’t stay put)
- Loose stitches/holes (stuffing shows; structure weakens)
- Uneven ear placement (changes the “cute” expression)
- Crooked snout (face looks off-centre)
- No weight in tBasease (stand tips easily)
Customisation Ideas (Bear Colours, Panda, Bunny, Cat Versions)
You can keep the same construction and simply swap colours/parts:
BeaColouror Ideas
- Classic brown + cream snout
- Honey/golden bear
- White polar bear (agreyray nose details)
- Pink “strawberry bear” with a red bow
Panda Version
- White head/body with black ears, black eye patches, and black arms (optional).
Bunny Version
- Replace ears with longer bunny ears.
- Add a tiny pink nose and optional scalloped collar.
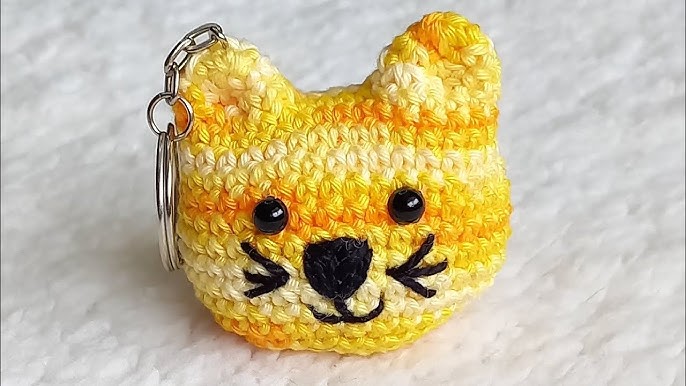
Cat Version
- Add pointy triangle ears and embroidered whiskers.
- Optional: stripe the body or add a tiny bell collar.
Care and Maintenance Tips
- Spot clean with mild soap and water for best shape retention.
- If you used a weighted insert, avoid soaking—remove the insert if possible.
- Let it air-dry fully to prevent odour or mildew.
- If the stand softens over time, you can open a seam, add more stuffing, and resew.
- Keep away from high heat (some yarns and felt details can warp).
Conclusion
A cute bear glasses stand / glasses holder is a smart little crochet project that’s both decorative and genuinely helpful. With simple amigurumi shaping, firm stuffing, and a stable base, you’ll create a desk buddy that keeps your glasses safe and easy to find. Try it in classic teddy colours first, then have fun turning the same pattern concept into a panda, bunny, or cat—once you make one, it’s hard to stop.