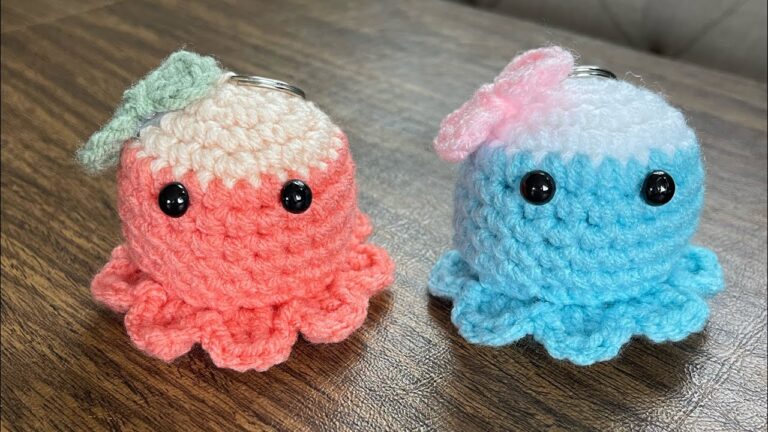
Crochet Koala Amigurumi Toy Pattern Plush with Leaf Accessory
This Crochet Koala Amigurumi Toy is a sweet, palm-sized plush with a round body, blush cheeks, shiny safety eyes, and a cute leaf accessory on its head. If you love beginner amigurumi, crochet plushies, and quick handmade gifts, this koala is an adorable project that’s easy to follow and fun to customize.

A Crochet Koala Amigurumi Toy is popular because koalas are instantly recognizable, extra cute in chibi (round) proportions, and look amazing in soft yarn. Many crochet lovers enjoy koala amigurumi because the parts are simple (body, head, ears, arms), and the face details bring the character to life fast. These handmade koalas make wonderful baby shower gifts, kids’ toys (with embroidered eyes for safety), cute desk decor, or a keychain plush when made smaller. This pattern uses classic amigurumi technique,s working in continuous rounds with single crochet, increases, and decreases, es perfect for soft, squishy yarn crafting.
3) Materials Needed
Use smooth yarn for crisp stitches or plush/chenille yarn for extra softness (note: plush yarn is harder for beginners).
- Yarn (recommended: DK or worsted weight cotton/acrylic):
- Grey (main body/head)
- White or cream (muzzle/face patch)
- Black (nose embroidery)
- Pink (optional: blush embroidery)
- Green (leaf accessory)
- Crochet hook size: 2.75 mm–3.5 mm (choose smaller than label suggests for tight stitches)
- Safety eyes: 6–8 mm black
- Fiberfill stuffing
- Stitch marker
- Yarn needle
- Scissors
4) Skill Level
Beginner-friendly (comfortable with single crochet in the round, simple increases/decreases, and basic sewing).
5) Crochet Abbreviations
- MR – Magic Ring
- sc – single crochet
- inc – increase (2 sc in same stitch)
- dec – decrease (invisible decrease recommended)
- sl st – slip stitch
- ch – chain
Notes:
- Work in continuous rounds unless stated.
- Numbers in parentheses = stitch count at the end of the round.
6) Step-by-Step Crochet Pattern
Finished Size (approx.)
Using DK/worsted + 3.0–3.5 mm hook: 4–6 in (10–15 cm) tall depending on tension.
A) Body (grey)
R1: 6 sc in MR (6)
R2: inc x6 (12)
R3: (sc, inc) x6 (18)
R4: (2 sc, inc) x6 (24)
R5: (3 sc, inc) x6 (30)
R6–R9: sc around (30)
R10: (3 sc, dec) x6 (24)
R11: (2 sc, dec) x6 (18)
R12: (sc, dec) x6 (12)
Stuff firmly and shape into a rounded “bean.”
R13: dec x6 (6)
Fasten off, close, weave in ends.
B) Head (grey)
R1: 6 sc in MR (6)
R2: inc x6 (12)
R3: (sc, inc) x6 (18)
R4: (2 sc, inc) x6 (24)
R5: (3 sc, inc) x6 (30)
R6: (4 sc, inc) x6 (36)
R7–R10: sc around (36)
Safety eyes placement:
- Insert eyes between R8 and R9, about 7–8 stitches apart.
- Tip: Place the muzzle first with pins to confirm eye placement looks cute and centered.
R11: (4 sc, dec) x6 (30)
R12: (3 sc, dec) x6 (24)
R13: (2 sc, dec) x6 (18)
Stuff firmly.
R14: (sc, dec) x6 (12)
R15: dec x6 (6)
Fasten off, close, weave in ends.
C) Muzzle / Face Patch (white or cream)
R1: 6 sc in MR (6)
R2: inc x6 (12)
R3: (sc, inc) x6 (18)
R4: sc around (18)
Fasten off with a long tail for sewing. Lightly stuff or leave flat (flat looks tidy and “cartoon cute”).
D) Ears (make 2, grey)
R1: 6 sc in MR (6)
R2: inc x6 (12)
R3: (sc, inc) x6 (18)
R4: sc around (18)
R5: (sc, dec) x6 (12)
Flatten (do not stuff or stuff very lightly).
Fasten off, leaving a tail.
Optional inner ear (white/cream, make 2):
R1: 6 sc in MR (6)
R2: (sc, inc) x3 (9)
Fasten off; sew onto the ear front before attaching the ears to the head.
E) Arms (make 2, grey)
R1: 6 sc in MR (6)
R2: (sc, inc) x3 (9)
R3–R5: sc around (9)
Lightly stuff the “hand” end only. Flatten the op.
Fasten off, leaving a tail.
F) Leaf Accessory (green)
This small leaf sits on top of the head like your inspiration image.
Ch 6.
Work along the chain:
- In 2nd ch from hook: sl st
- Next ch: sc
- Next ch: hdc (half double crochet) (optional but gives a leaf shape; if you prefer only basic stitches, use sc instead)
- Next ch: dc
- Next ch: hdc
Now work back down the other side of the chain: - sl st, sc, hdc, dc, hdc (mirror the first side as neatly as you can)
Ch 3 for a tiny stem; sl st back to base.
Fasten off, leaving a tail to sew.
Beginner-only option (no hdc/dc):
Ch 6, then sl st, sc, sc, sc, sc; rotate and repeat back down.
G) Assembly Instructions
Use pins first—amigurumi looks best when you “audition” placement.
- Sew head to body:
- Center the head on top of the body. Stitch around securely with matching grey yarn.
- Attach muzzle:
- Sew the cream muzzle centered below the eyes.
- Attach ears:
- Sew ears to the upper sides of the head, slightly angled outward for a classic koala look.
- Attach arms:
- Sew arms to the sides of the body just below the head line (or slightly forward, like it’s hugging).
- Sew leaf accessory:
- Stitch the leaf to the top of the head (slightly off-center looks especially cute).
7) Finishing Touches
- Embroider the nose:
- Using black yarn or embroidery floss, stitch a small oval/triangle notchat thee center of the muzzle.
- Add a short vertical stitch down and a tiny smile if you like.
- Add blush cheeks:
- Option 1 (easy): Use pink blush/soft pastel and dab gently under each eye.
- Option 2 (yarn): embroider small pink lines or tiny circles on both cheeks.
- Final shaping:
- Massage the stuffing to smooth lumps. Add a pinch more stuffing if the head feels floppy.
8) Tips for Beginners
- Use a stitch marker every round so you never lose your place.
- Keep tension tight (amigurumi should be firm so stuffing doesn’t show).
- Invisible decreases make the fabric smoother: pick up front loops only, then sc them together.
- Stuff in small pieces for an even, round shape.
- If using plush/chenille yarn, size down your hook and work slowly—stitches can be harder to see.
9) Variations (Customize Your Koala!)
- Different colors: make a brown koala, a pastel koala, or even a “rainbow tummy” version.
- Keychain koala: Use sport/DK yarn with a smaller hook, and add a chain loop at the top of the head for a keyring.
- Baby-safe toy: skip safety eyes and embroider eyes instead. Use cotton yarn for easy washing.
- Add accessories: tiny bow, mini scarf, sleepy eyelids, or a tiny eucalyptus branch instead of a single leaf.
- Bigger plush: use bulky yarn and a larger hook—same pattern, larger result (just keep stitches tight).
10) Conclusion
This Crochet Koala Amigurumi Toy is a beginner-friendly project that turns a few simple shapes into an irresistibly cute plush. Try it in classic grey with blush cheeks and the little green leaf, then make a whole koala family in different colors for gifts, decor, or a sweet handmade collection.