Free Crochet Checkered Summer Crop Top Pattern Tutorial
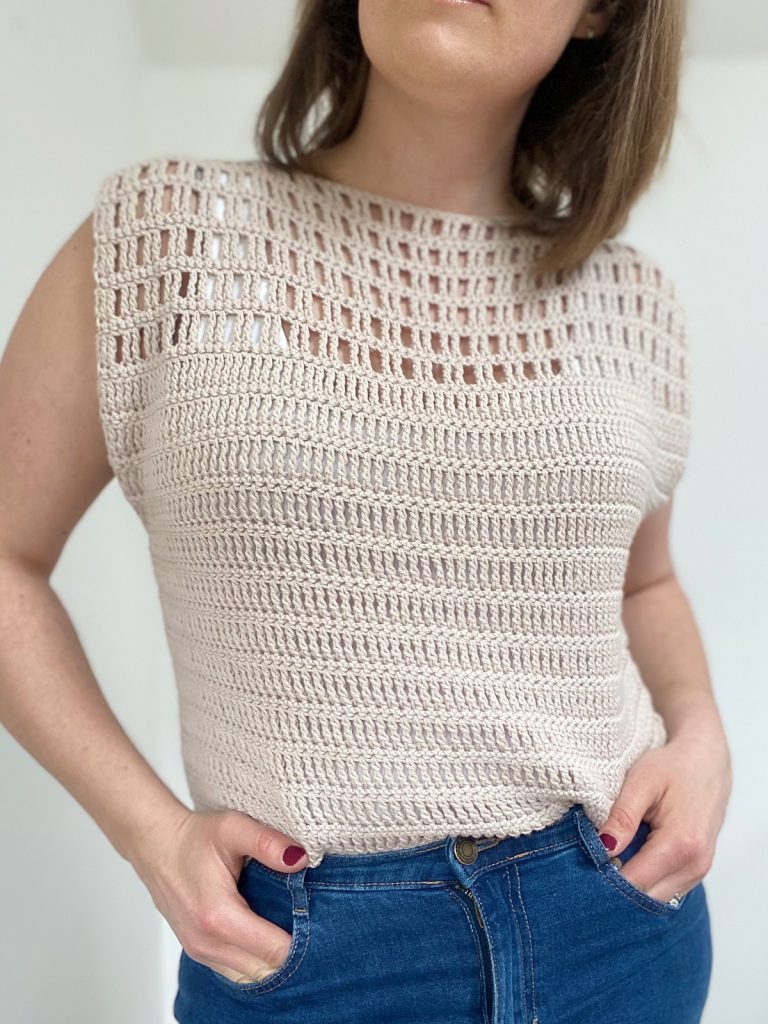
Creating a hand-made crochet checkered summer crop top can be a fulfilling endeavor for both beginners and seasoned crocheters alike. This stylish and trendy top adds a personalized touch to your summer wardrobe, embodying the vibrancy and warmth of the season. This tutorial offers a comprehensive guide on how to crochet a checkered pattern with simplicity and ease, ensuring that even those new to crocheting can achieve wonderful results.
Meta Description
Discover a beginner-friendly tutorial for crocheting a stylish checkered summer crop top. Learn essential techniques, gather your materials, and follow our step-by-step guide to craft your own trendy summer garment with ease.
Materials Needed
Before beginning the project, it’s important to gather all the necessary materials to ensure a smooth and enjoyable experience. Here’s a list of items you’ll need:
-
Cotton yarn in two contrasting colors: Choose colors that complement each other to create a striking checkered pattern.
-
Crochet hook: Size H (5 mm) is recommended for this project.
-
Scissors: Essential for cutting the yarn.
-
Tapestry needle: For weaving in the ends and finishing touches.
-
Measuring tape: To ensure the correct sizing of your crop top.
-
Stitch markers: Useful for keeping track of your stitches and pattern changes.

Making the Checkered Crop Top
Step 1: Understanding the Pattern
The checkered pattern is composed of alternating squares of two colors, creating a visually appealing design. For this tutorial, the pattern consists of simple single crochet stitches, making it ideal for beginners. The key is to maintain a consistent tension to ensure the squares are even and the top fits well.
Step 2: Creating the Foundation Chain
Begin by making a foundation chain that matches the desired width of the crop top. Ensure the chain length is a multiple of the number of stitches needed for each square in the checkered pattern. For instance, if each square consists of 4 stitches, the total number of stitches in the foundation chain should be a multiple of 4.
Step 3: Establishing the Checkered Pattern
Start crocheting the first row using the primary color. Work single crochet stitches across the row, switching to the secondary color after completing the required number of stitches for the first square. Continue alternating colors to complete the row, forming the foundational checkered pattern.
Step 4: Building the Top
With the foundation established, continue crocheting additional rows, maintaining the checkered pattern by switching colors as needed. Use stitch markers to help keep track of where each color change should occur. This will ensure a consistent and neat appearance throughout the top.
Step 5: Shaping the Crop Top
To create the shaping for the crop top, decrease stitches gradually on the sides to form a flattering fit. This can be achieved by skipping stitches at the beginning or end of a row or by using a decrease stitch technique.
Step 6: Creating the Straps
Once the main body of the top is complete, it’s time to add straps. Use the primary color to crochet two long chains that will serve as the straps for the crop top. Attach them securely to the top, ensuring they are evenly spaced and the length is suitable for a comfortable fit.
Step 7: Finishing Touches
After completing the crochet work, use a tapestry needle to weave in any loose ends. Trim any excess yarn to ensure the top looks polished and neat. Finally, check that all stitches are secure and the top fits as desired.