Easy Crochet Spider-Man Beanie Pattern – Warm & Fun Winter Hat
Crochet a warm black hat with Spider-Man eyes. This crochet Spider-Man beanie pattern is free. The eyes are red and white. The bottom folds up to make a nice brim. A good winter hat to wear or give as a gift.
Do you want a warm hat for winter? Make this black hat with red and white Spider-Man eyes. This crochet Spider-Man beanie pattern is free and has clear steps. You will see each step in the photos. Best of all, the bottom folds up to make a brim. It is a great Miles Morales crochet beanie to wear or give as a gift. So pick your yarn and start today. You will love it.
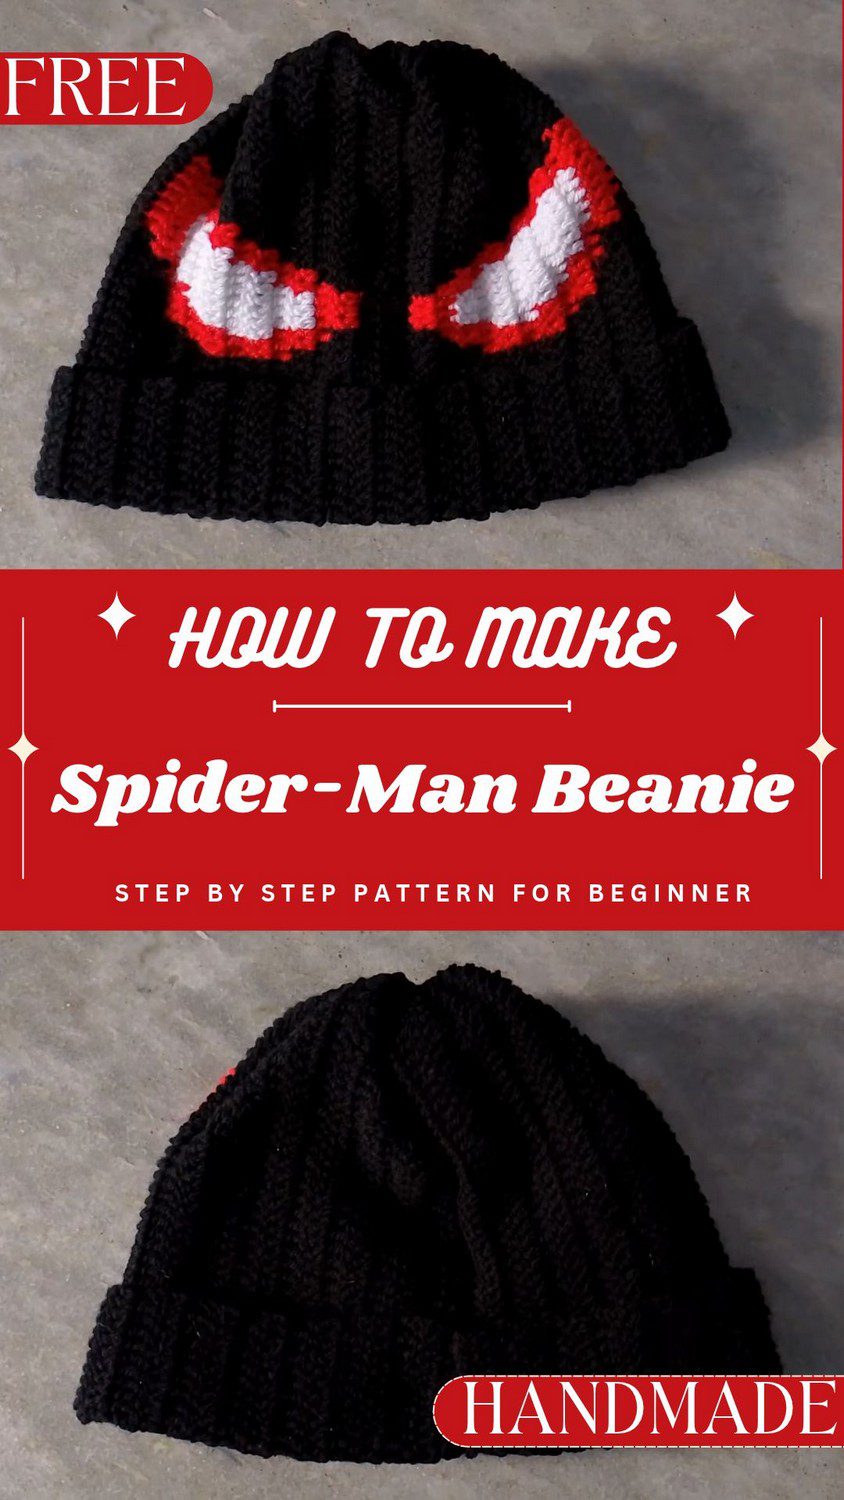
Crochet Spider-Man Beanie Pattern Overview
Skill level: Intermediate
Finished size: About 9–10 inches wide when folded flat and 10–11 inches tall before the crown is cinched
What you get: A slouchy beanie, a folded brim, a pixel mask, a side seam and a gathered crown.
Think of this project as a pixel grid made simple. Every double crochet is one little square. As a result, the plain stitches keep the work easy to read, so you can focus on the color changes.
Most of the work is plain double crochet. The color change is the one skill to practice, and it clicks fast. Because the mask grows row by row, you will see Spider-Man appear right in your hands.
Next, the brim comes from folding the bottom edge up, and the crown comes from gathering the top. So the hat takes shape with very little extra sewing. Best of all, the colorwork lives inside the fabric, which keeps the inside tidy.
Materials for the Crochet Spider-Man Beanie Pattern
Yarn
Grab these before you cast on.
- Black: 3 rolls of Mollet yarn
- Red: 1 roll of Mollet yarn
- White: 1 small amount of Cisne yarn
Tools
- 3.0 mm hook (called “Duna 3.0” in the video)
- Tapestry needle
- Locking stitch markers
The tapestry needle will close the crown later. Meanwhile, the locking markers show you where the mask begins, so don’t skip them. Also, pick a quiet spot with good light, because colors are easier to read that way.
Abbreviations
This pattern uses US terms.
- ch = chain
- st(s) = stitch(es)
- sl st = slip stitch
- sc = single crochet
- dc = double crochet
- MC = main color (black)
- CC1 = contrast color 1 (red)
- CC2 = contrast color 2 (white)
Before You Start the Crochet Spider-Man Beanie Pattern
A little prep saves you from ripping out rows later. For that reason, read these three short sections first.
Picking Your Chain Count
Your chain count sets the fit. Therefore, pick the one that matches how snug you like a hat.
- Small, snug fit: 45 chains
- Medium fit: 50 chains
- Large, comfy, slouchy fit (used in the video): 55 chains
If you like a roomy hat, go bigger. On the other hand, if you like a close fit, go smaller. The steps below use 55 chains, just like the video.
Changing Colors Without Cutting Yarn
This trick keeps the back neat and saves you from weaving in many tails.
- Work the last stitch in the old color until only 2 loops remain on your hook.
- Let the old color drop to the back.
- Grab the new color and pull it through those 2 loops.
- Tuck the unused strands inside the stitches of your working color. They stay hidden that way.
First, practice once on a few stitches. After that, the real rows feel much easier.
The Stitch Count
Begin with 55 chains. Then add 3 more chains, which count as your first dc. Next, place your dc in the 4th chain from the hook. Work 1 dc in each chain across.
That gives you 55 dc, plus the turning chain. So every row has 56 stitches. Keep that number for every row of the beanie. Counting takes a minute, but it protects the whole design.
Complete Crochet Spider-Man Beanie Pattern
Work the four steps below in order. Each one matches a photo from the video, so you can check your work as you go. Because each step builds on the last, read it through once before you pick up your hook.
Step 1: Start the Body
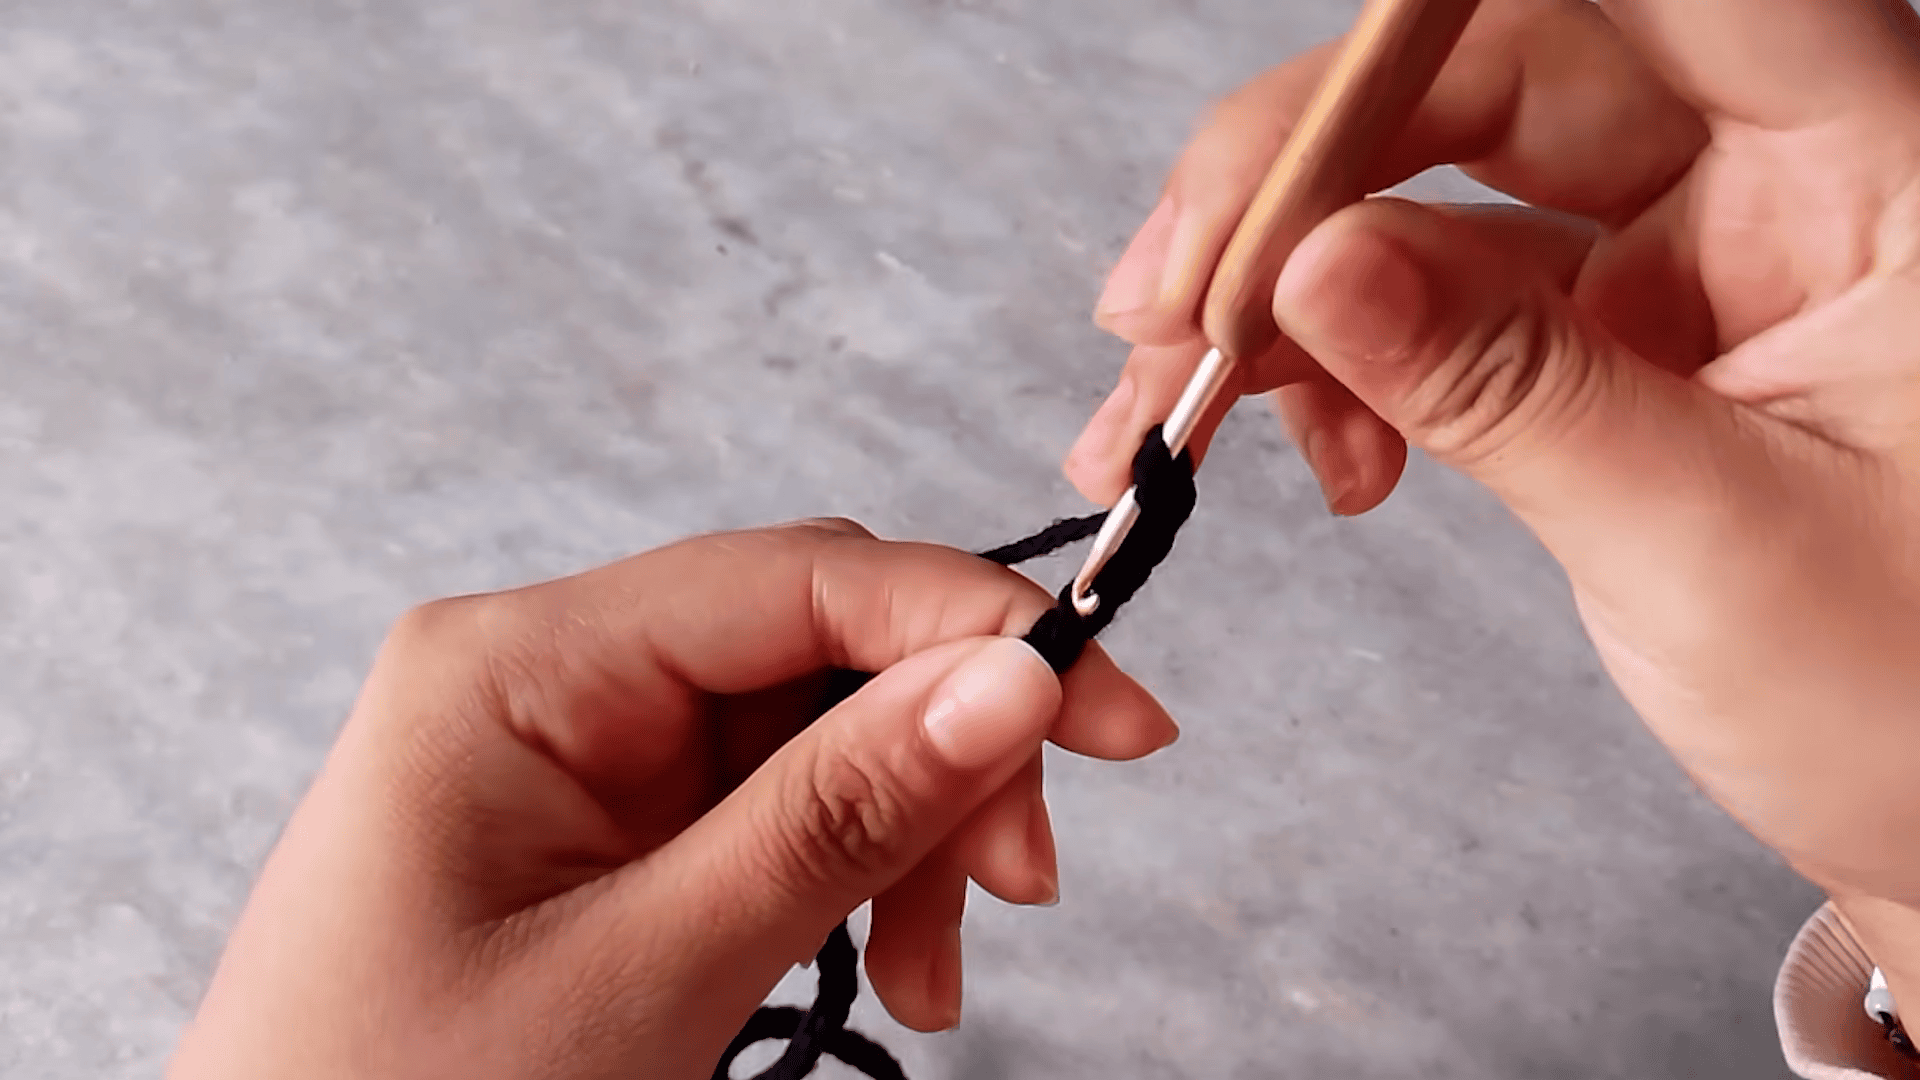
First, take your black yarn and your 3.0 mm hook. Make a slip knot and begin the foundation chain. Chain 55, then chain 3 more. Those extra 3 chains will count as your first dc. Keep your chains even and not too tight, because you will work into them for the first row.
Step 2: Eye Design
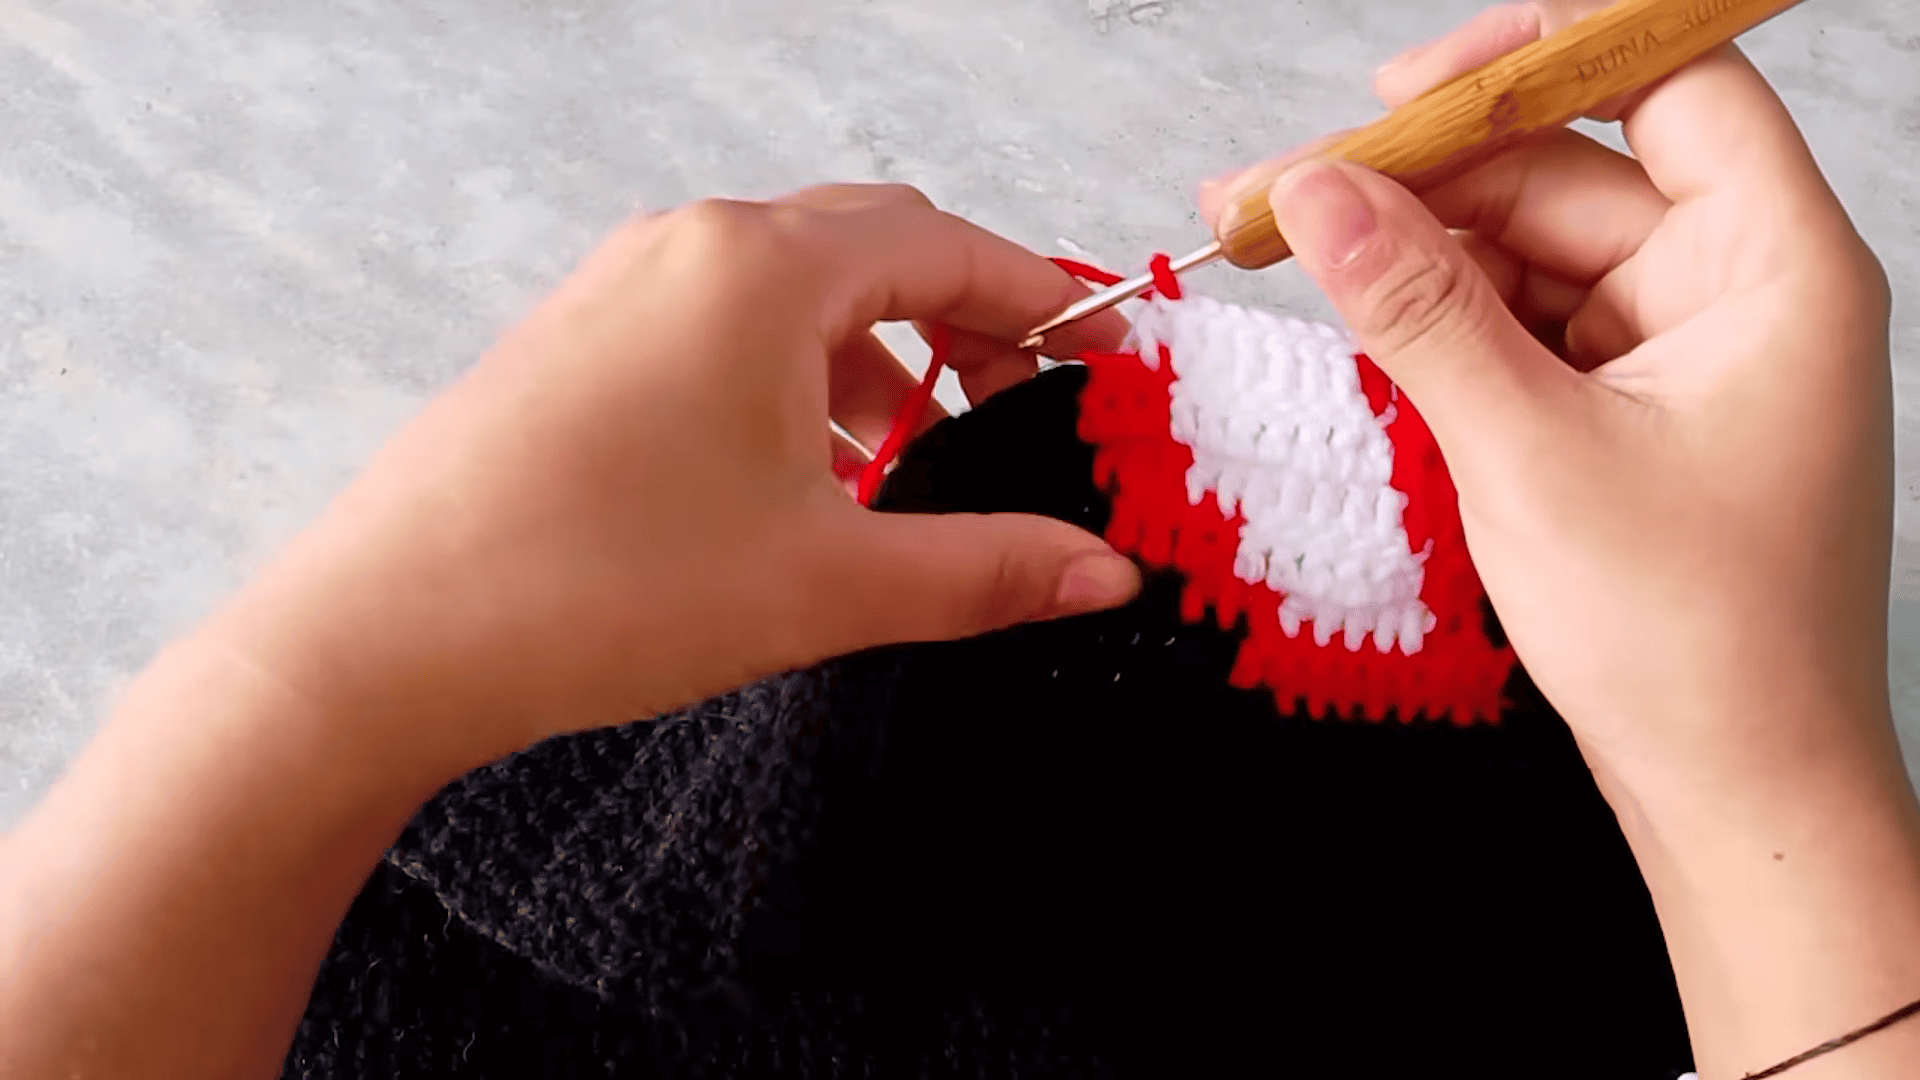
Now work the eye area of the mask, which covers rows 21–25. First, bring in the white yarn for the eye lens. Keep red on both sides of the white, and keep black framing the whole design. At each color change, work the last stitch of the old color until 2 loops remain, then pull the new color through. Also, tuck the unused strands inside your stitches so they stay hidden. Finally, follow the mask chart in the video, and check that every row still has 56 stitches.
Take a moment to look at your work after each row. Since the eyes are the part everyone notices first, a clean edge pays off.
Step 3: Assembly Side Seam
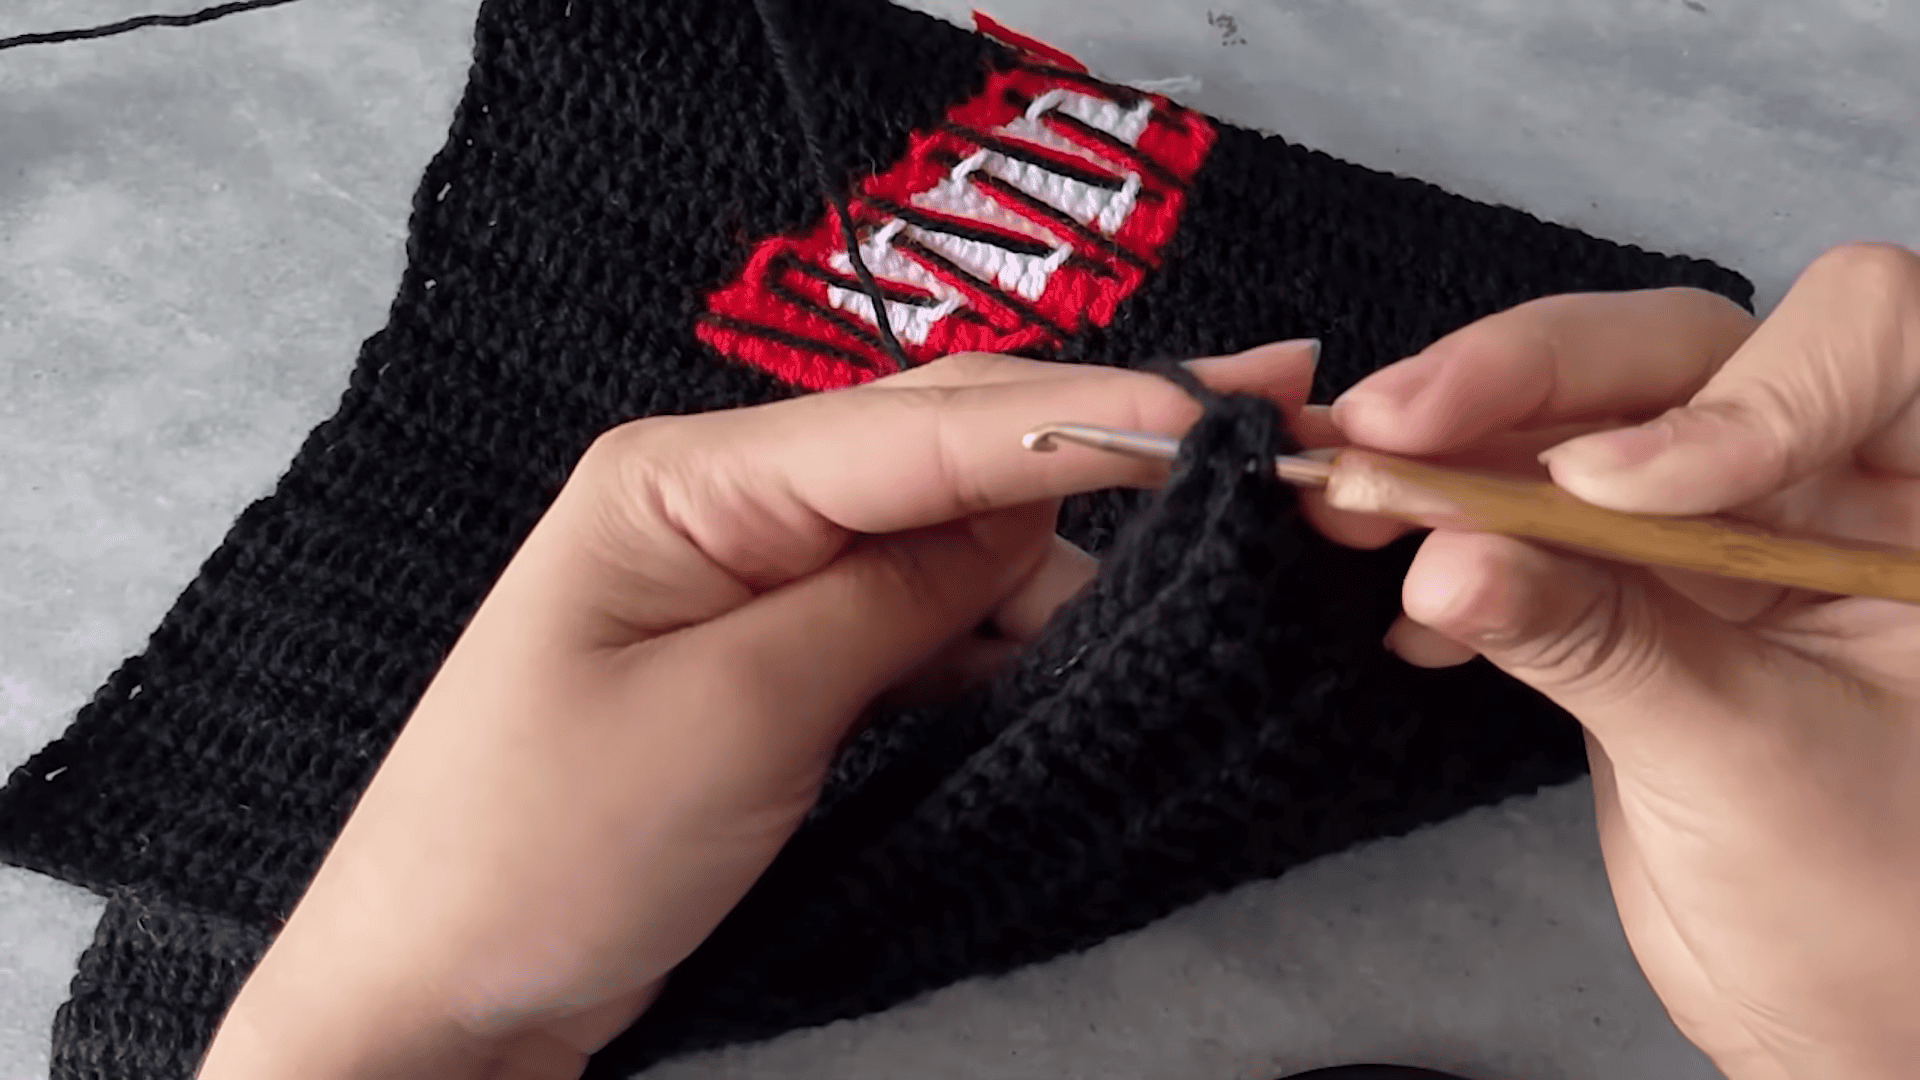
First, fold the finished rectangle in half so the two short edges meet. The edge where you started the foundation chain becomes the brim. Meanwhile, the edge where you finished becomes the crown. Next, take your hook and a matching strand of yarn. Work a single crochet seam through both layers, going from the brim edge up to the crown. Keep the layers lined up as you go so the seam stays straight. Then fasten off securely.
Step 4: Crown Closure
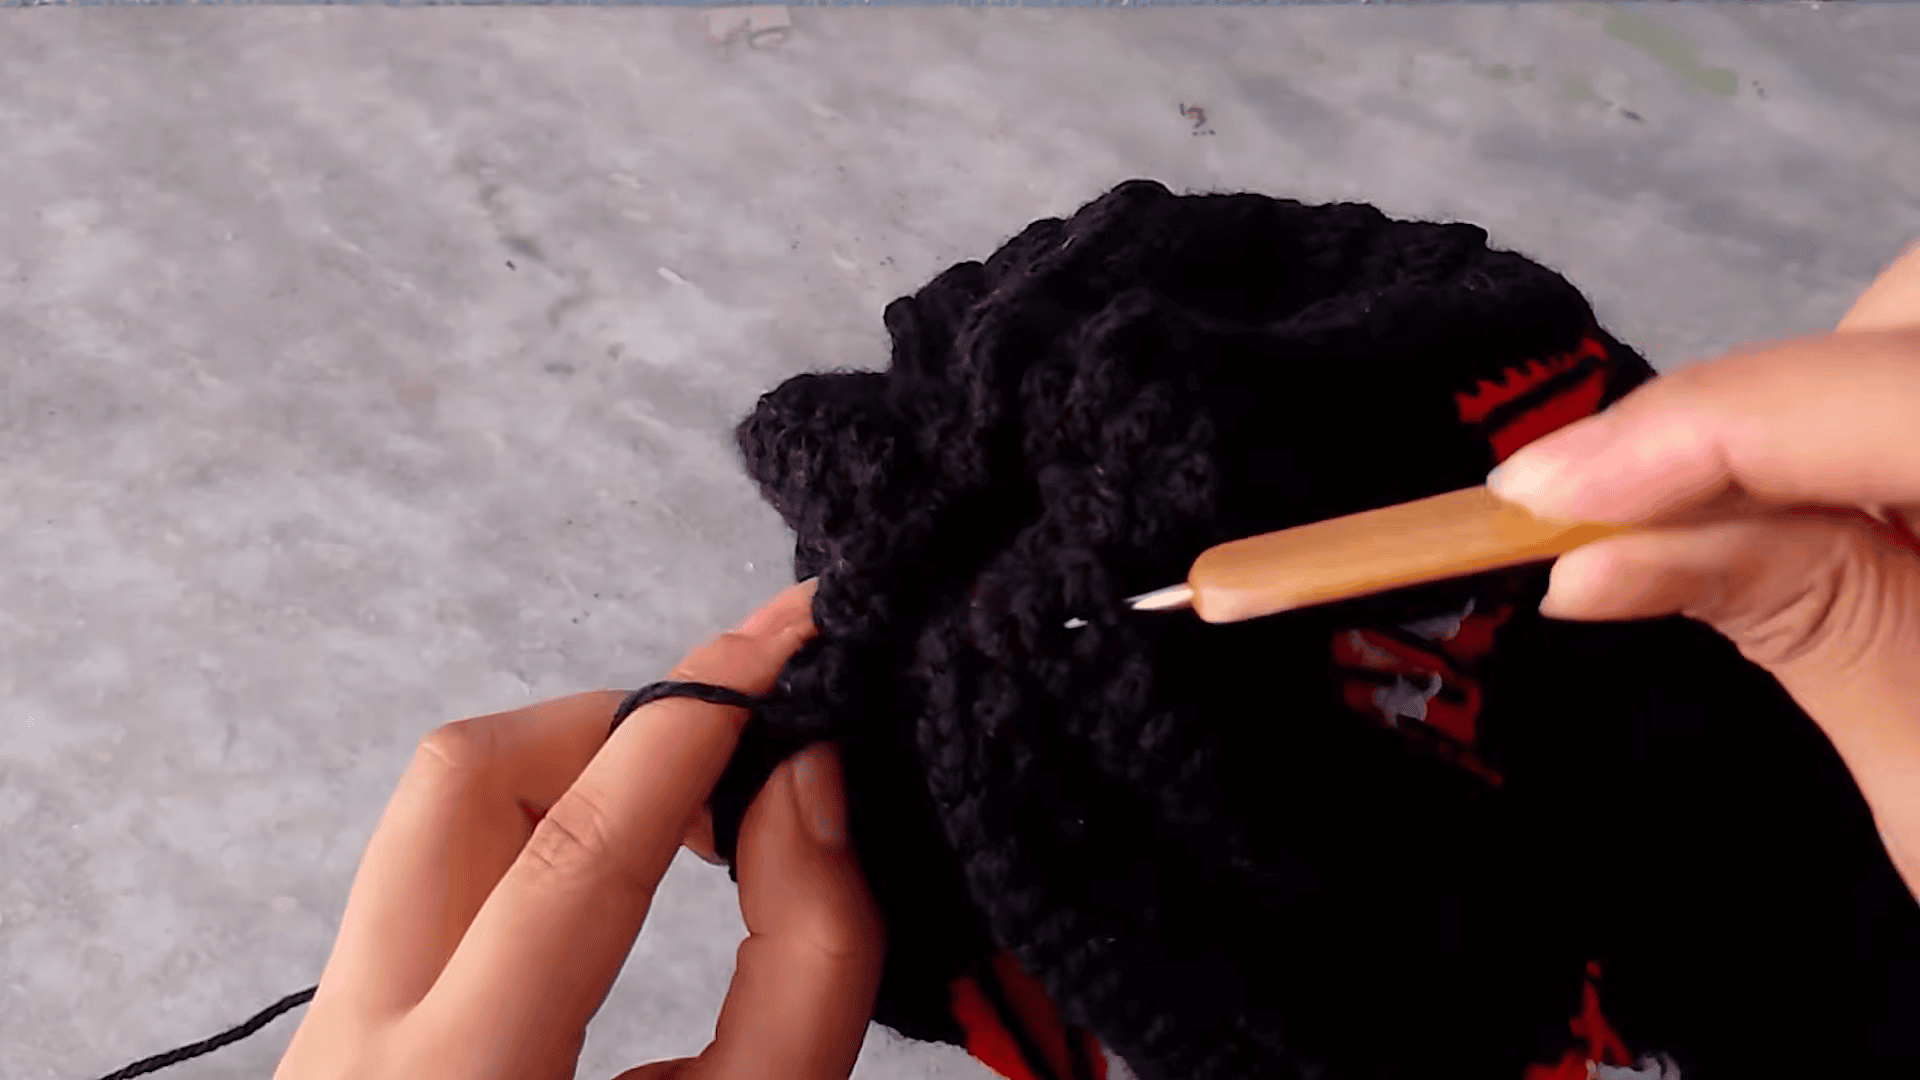
First, thread the long tail onto your tapestry needle. Stitch a zigzag path around the entire top opening, weaving in and out. Then pull the tail firmly, and the top gathers shut like a pouch. Next, pass the needle across the center hole a few times, going in opposite directions each pass. After that, tie 2–3 strong knots on the inside. Finally, turn the beanie right side out.
Helpful Tips for the Crochet Spider-Man Beanie Pattern
These small habits make pixel work much smoother.
- Check your count often. If your stitch count drifts from 56, stop and fix it before the next row.
- A one-stitch mistake shows more in pixel work, so catch it early.
- Place your locking markers where the video shows. Then compare the first color change with the marker before each mask row.
- Keep carried yarn loose enough to lie flat inside the stitches, because tight strands can pucker the fabric.
- Pull the crown tail firmly before you tie off, so the top stays closed.
- Mark off each finished chart row with a pencil, or slide a sticky note down the page.
Video Guide for the Crochet Spider-Man Beanie Pattern
Need to see a step in action? Jump to these spots in the video. Also, pause whenever you need, and match each move to your own work.
- Stitch count and turning chain: 00:01:32
- Marker placement: 00:02:33
- Mask chart (red, black, white): 00:03:33 to 00:26:50
- Seaming the side: 00:27:49
- Gathering the crown: 00:29:25
Washing and Storing Your Colorwork Beanie
Your beanie took plenty of careful stitching, so treat it gently. Start with the yarn label, because it tells you how to wash that fiber. Since the mask uses three colors, read each label before you wash.
Once it is clean, reshape the hat by hand. Then follow the label for drying. After that, store it flat in a drawer or a breathable bag. If a loose end ever pops out, tuck it back inside with your tapestry needle.
Fold gently and avoid tugging at the fabric. As a result, a little care keeps the red lines crisp against the black. Also, give it a quick look before each winter outing, and fix any loose end early. Likewise, keep it away from rough surfaces while it dries or sits in storage.
FAQs About the Crochet Spider-Man Beanie Pattern
Which chain count should I pick?
Choose 45 chains for a small, snug fit. Choose 50 for a medium fit. However, go with 55 for a large, comfy, slouchy hat, which is what the video uses.
How do I change colors without cutting yarn?
Work the last stitch of the old color until 2 loops remain. Then drop the old yarn to the back and pull the new color through those loops. In this way, the unused strands stay hidden inside your stitches.
Why does every row have 56 stitches?
The foundation gives you 55 dc plus the turning chain, which makes 56 stitches. Every later row repeats that same count. Therefore, keeping it steady helps the pixel design line up.
How is the brim made?
After the hat is seamed and closed, fold the bottom edge up by 2–3 inches. The edge where you started the foundation chain becomes the brim. Finally, weave in any loose ends on the inside.
How do I close the crown?
Thread the long tail onto a tapestry needle and zigzag around the top opening. Next, pull firmly so it gathers like a pouch. Then cross the center hole a few times and tie 2–3 strong knots inside.
Is this crochet Spider-Man beanie pattern good for beginners?
It is rated intermediate. Still, it uses only double crochet, so a confident beginner can manage it after practicing the color change.
Your Pixel Spidey Hat Is Done
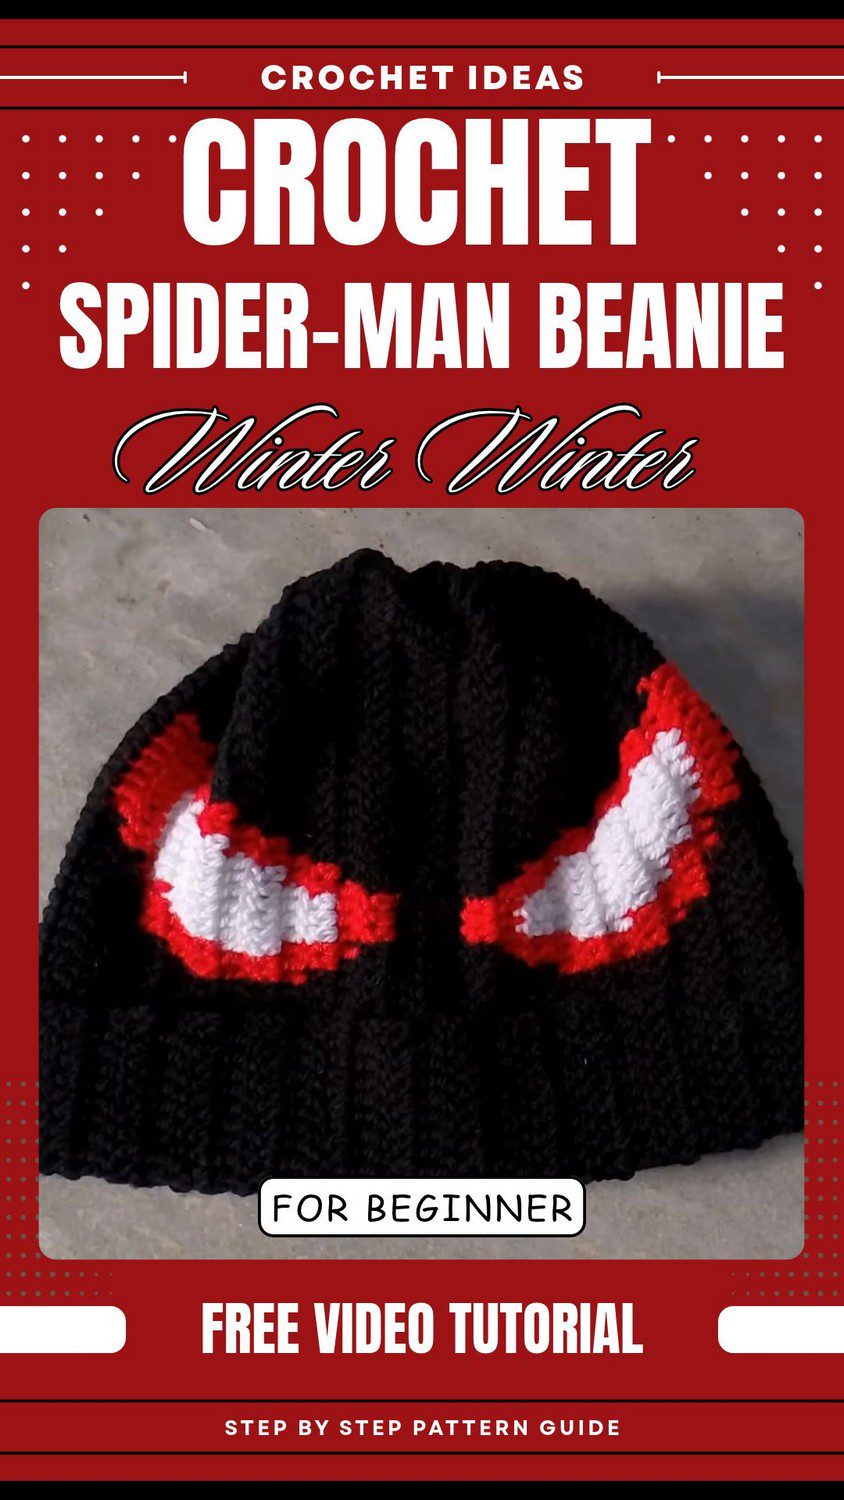
So that’s the whole thing. Honestly, it looks harder than it is. It’s just double crochet in rows, and the colors do the magic. Once you get the color change, you’ll fly through the mask.
I’d say take it slow on the first few mask rows. Check your stitch count a lot. If it’s off by one, fix it right then. Trust me, it’s way easier than fixing it later.
And hey, the rows are plain, so the chart does most of the thinking. You just follow it, one little square at a time.
I really love how this crochet Spider-Man beanie pattern turns out. The mask looks sharp, the brim is cozy, and there’s no yarn cutting to deal with. It’s a great winter project for yourself or for a friend who loves superheroes.
So grab your black, red and white yarn, and give it a go. Pop the video on if you get stuck. Then show it off! I’d love to hear how yours turns out.