Free Crochet Fruit Bat Pattern for Beginners
A sleepy fruit bat with soft ears and a curled tail is hard to resist. This free crochet fruit bat pattern for beginners turns that charm into a small amigurumi that works up fast. Every piece uses basic single crochet rounds, so no advanced skills are needed.
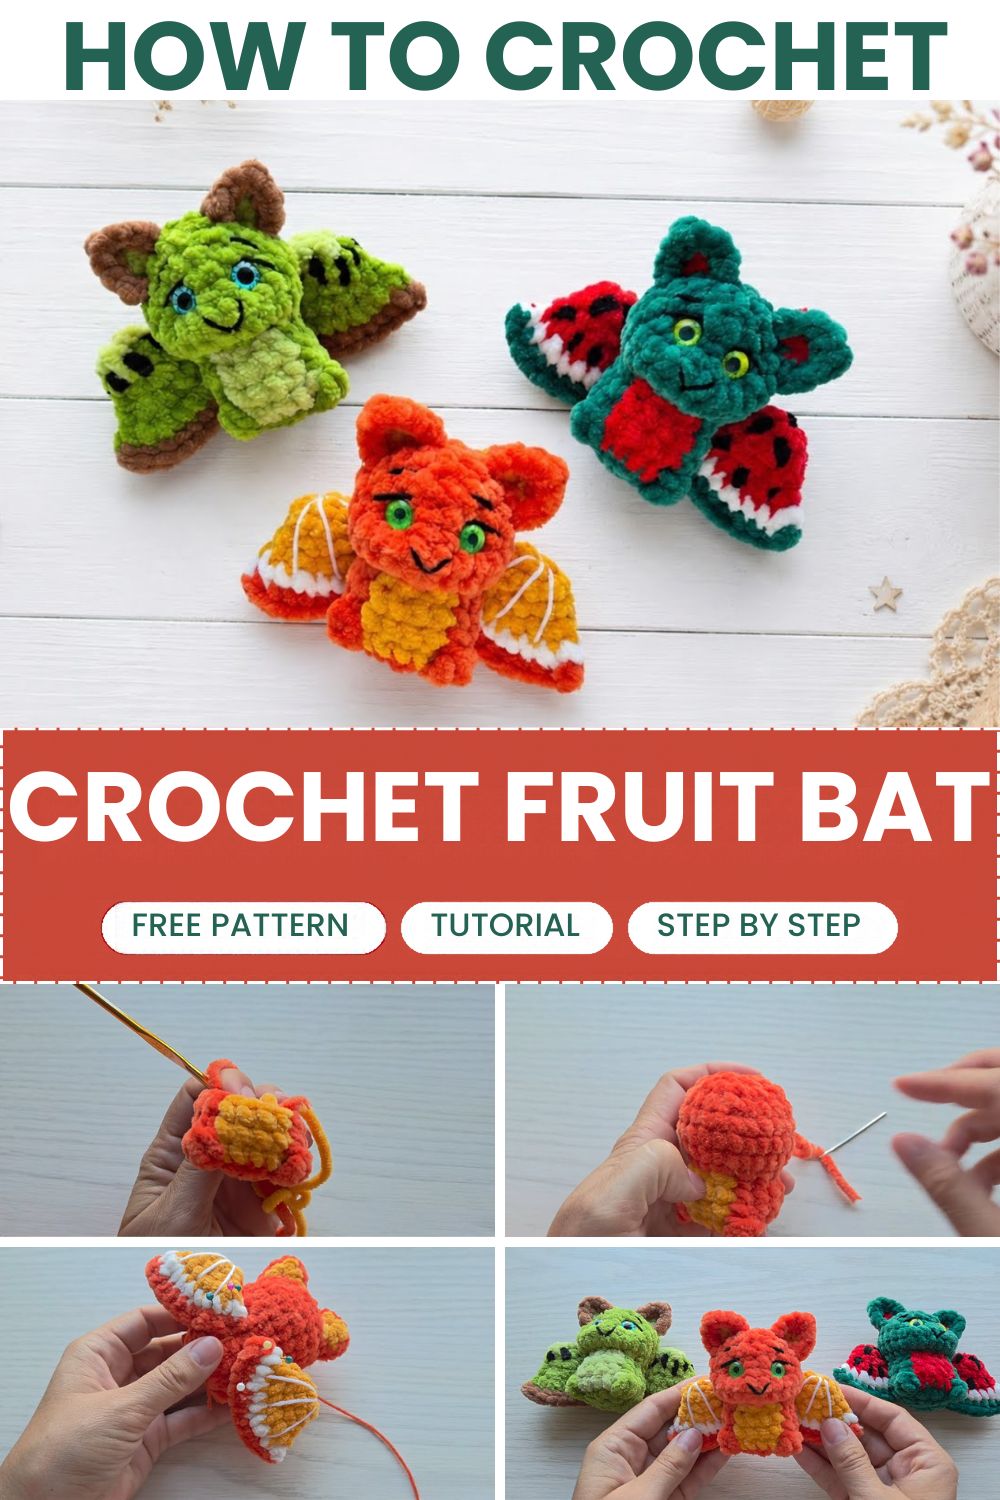
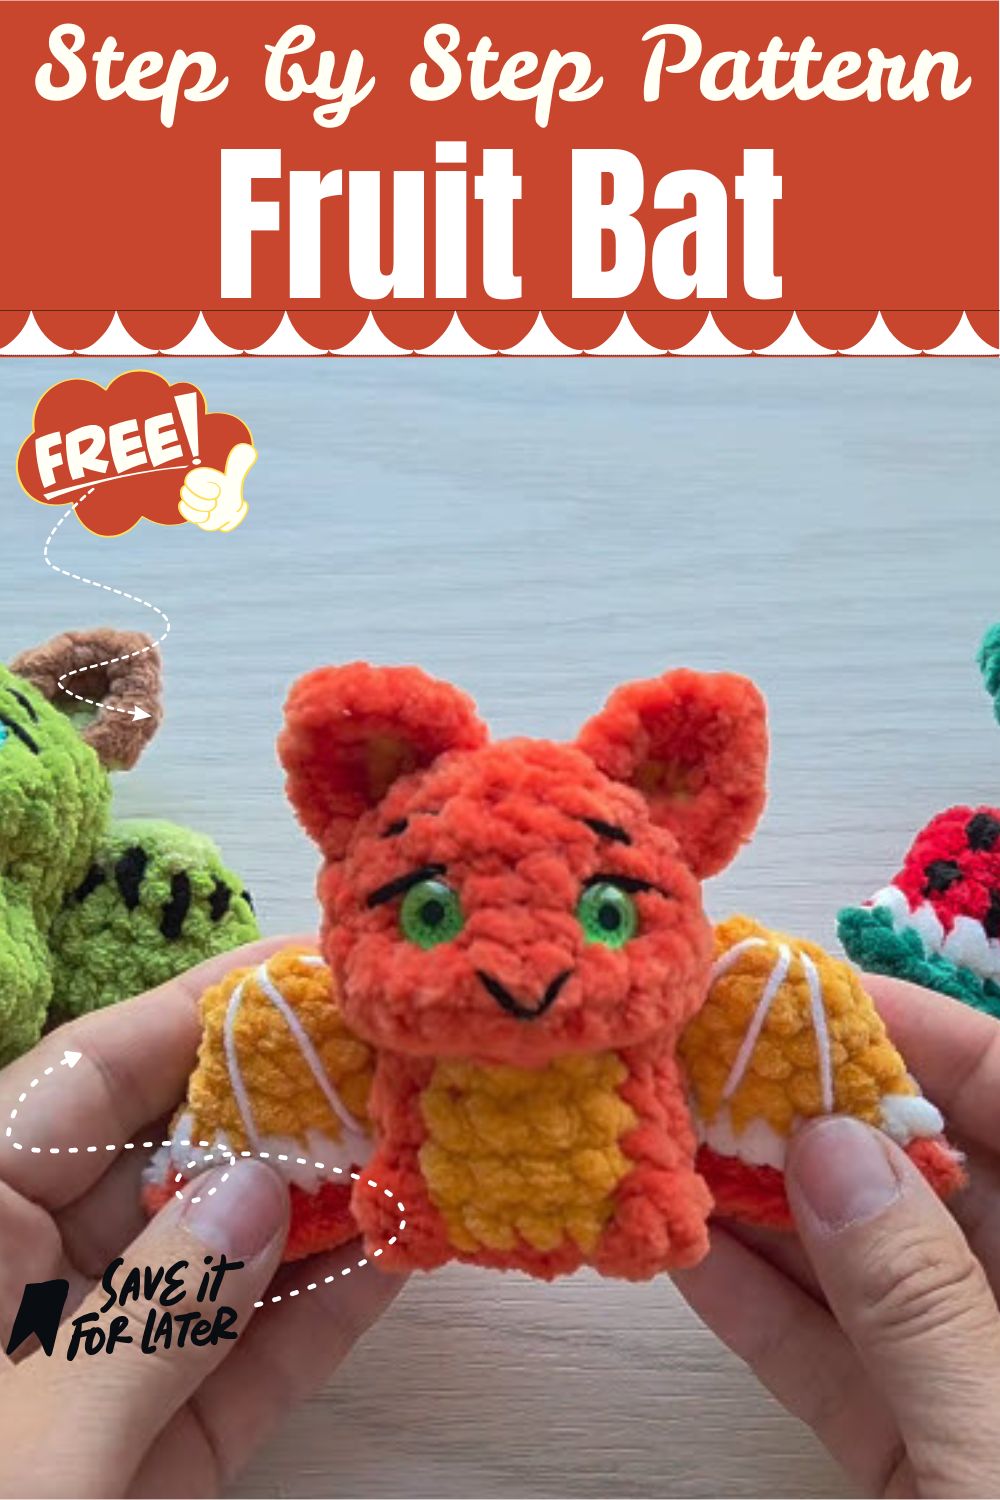
The bat has a rounded head, a compact body, two ears, a tail, two eyes, and a pair of striped wings. The finished bat makes a good gift, keychain, or Halloween decoration, and the steps below explain each part in order.
About the Crochet Fruit Bat Pattern and Key Features
This pattern uses US terms and is worked in continuous rounds, except for the ears, which are joined with a slip stitch. The head and body start from a chain, which creates an oval base. Meanwhile, the ears and eyes start from a magic ring. Key features include:
- Basic stitches only
- Small pieces that finish quickly
- Bold color blocking with a contrasting belly and wing details
- An optional keychain ring or clasp
Each part is made separately, so a mistake stays small and is easy to fix. The pieces then come together with simple sewing.
Skill Level for the Crochet Fruit Bat Pattern
This crochet fruit bat pattern suits beginners. It uses chain, single crochet, increase, decrease, slip stitch, and a magic ring. However, the only unfamiliar stitch may be sc3tog, which is explained below. Basic sewing with a tapestry needle is also needed. Overall, anyone who has finished a simple amigurumi ball will feel comfortable here.
Materials Needed for the Crochet Fruit Bat
Yarn
Amigurumi cotton yarn or sport weight yarn (approximately 2.5 mm) works for this pattern. The sample bat in the photos uses plush, fuzzy yarn in orange and yellow, with white for the wing stripes. For best results, choose two or three colors with strong contrast so the belly and wing details stand out.
Tools and Notions
- 2.5 mm crochet hook
- Polyester fiberfill
- Tapestry needle
- Stitch markers
- Scissors
- Optional keychain ring or clasp
- Pins for placing the wings, ears, and eyes
Finished Size of the Crochet Fruit Bat
The pattern does not give a measured size, because the result depends on yarn thickness and hook size. For example, thin cotton gives a small bat that suits a keychain. On the other hand, thicker yarn with a larger hook gives a bigger bat for display or play. The stitch counts stay the same either way, so the proportions hold. Keep the hook size appropriate for the yarn so the fabric stays dense.
Stitches and Abbreviations (US Terms)
- ch: chain
- sc: single crochet
- inc: increase (2 sc in the same stitch)
- dec: decrease (single crochet 2 stitches together)
- sc3tog: single crochet 3 stitches together, a decrease across 3 stitches
- sl st: slip stitch
- st(s): stitch(es)
Gauge Information
Gauge is not critical for this project. What matters is that the stitches are tight enough to hide the stuffing. However, if the fiberfill shows through, drop to a smaller hook. Also, use the same hook for every piece so the parts match in firmness.
Tips Before Starting Your Crochet Fruit Bat
- Place a stitch marker in the first stitch of every round and move it up as the work grows.
- Count stitches at the end of each round. For instance, the head holds 40 stitches in rounds 4 to 10, and a miscount here carries into every later step.
- Stuff the head before the opening gets too small. Then add the fiberfill in small pieces for a smooth shape.
- Leave long tails on the body and ears for sewing, since short tails make assembly frustrating.
- Lastly, pin every piece in place and compare both sides before sewing anything down.
Step-by-Step Crochet Fruit Bat Pattern Instructions
Step 1: Crochet Fruit Bat Head
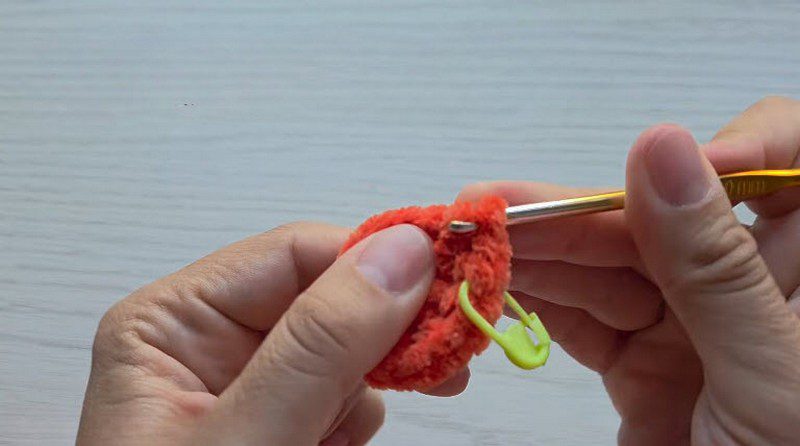
Round 1: Chain 9. Skip the first chain from the hook, work an increase in the next chain, then work 6 sc. In the last chain, make 4 sc into the same stitch to turn around. Work 6 sc down the opposite side of the chain, and finish with an increase.
Next, Round 2: Work around the curved edges with 3 increases, 5 sc, 5 increases, 5 sc, and finish with 2 increases.
Round 3: [1 sc, inc] repeated 3 times, 5 sc, [1 inc, 1 sc] repeated 5 times, 5 sc, and finish with [1 sc, inc] repeated 2 times.
Rounds 4–10: Work 40 sc in each round to build the height of the head.
Round 11: [3 sc, dec] repeated 8 times.
Then Round 12: [1 sc, dec, 1 sc] repeated 8 times. Stuff the head with fiberfill before the opening becomes too small.
Round 13: [1 sc, dec] repeated 8 times.
Finally, Round 14: Work 8 decreases to close the top of the head. Fasten off and weave the yarn tail through the front loops to close the hole neatly.
Step 2: Crochet Fruit Bat Body
Round 1: Chain 5. Skip the first chain, work 3 sc in the next chain, and work a double stitch (3 sc in the same stitch) at the end. Work 2 sc on the other side of the chain and finish with an increase.
Next, Round 2: 1 inc, 2 sc, 3 inc, 2 sc, 2 inc.
Rounds 3–5: Work 16 sc in each round.
Round 6: 6 sc, 1 sc3tog, 7 sc.
Then Round 7: 5 sc, 1 sc3tog, 6 sc.
Round 8: Work 12 sc around.
After that, Round 9: 4 sc, 1 sc3tog, 5 sc.
Finally, Round 10: Work 10 sc around. Fasten off and leave a long yarn tail for sewing.
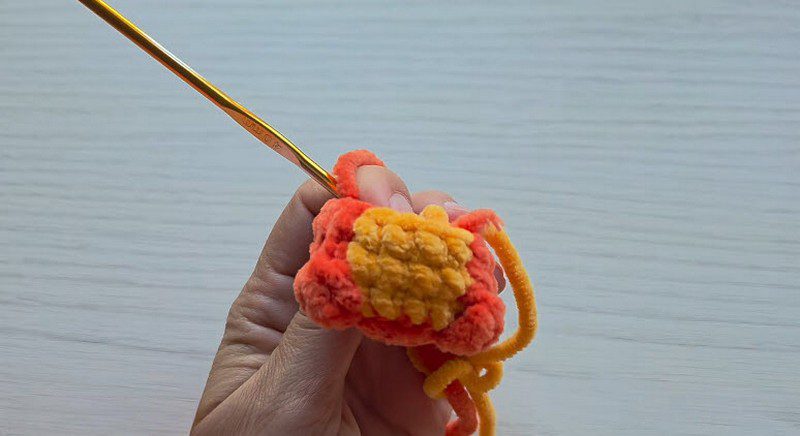
Step 3: Crochet Fruit Bat Ears (Make 2)
Round 1: Create a magic ring and work 4 sc into the ring. Join with a sl st.
Next, Round 2: Chain 1, [1 sc, inc] repeated 2 times, join with a sl st.
Round 3: Chain 1, [1 sc, inc, 1 sc] repeated 2 times, join with a sl st.
Finally, Round 4: Chain 1, [3 sc, inc] repeated 2 times, join with a sl st. Fasten off, leaving a tail for sewing.
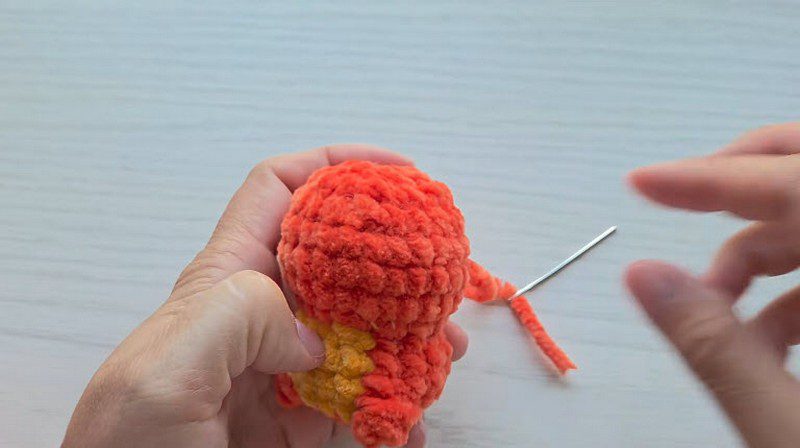
Step 4: Crochet Fruit Bat Tail and Eyes
Tail: Chain 9, then work 8 sl st back along the chain to give it a natural curve.
Eyes (make 2): Start with a magic ring and work 8 sc into the ring. Then work 8 increases in Round 2 to make 16 stitches.
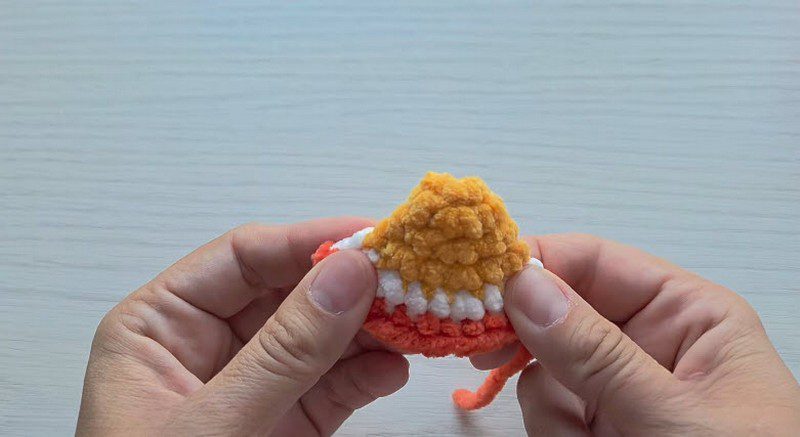
Step 5: Crochet Fruit Bat Wings (Make 2)
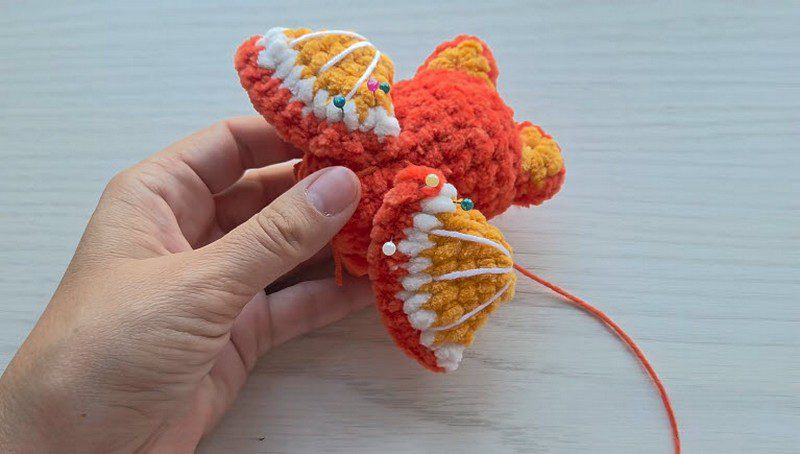
Each wing is a small flat piece with three color zones. An orange edge frames the wing, a row of white sits inside it, and a yellow section forms the top. Work the wing in the same sc, inc, and dec stitches used above, changing colors as the shape grows. Then fasten off and leave a tail for sewing. Once both wings are made, stitch three white yarn lines across each one. These lines are the wing ribs.
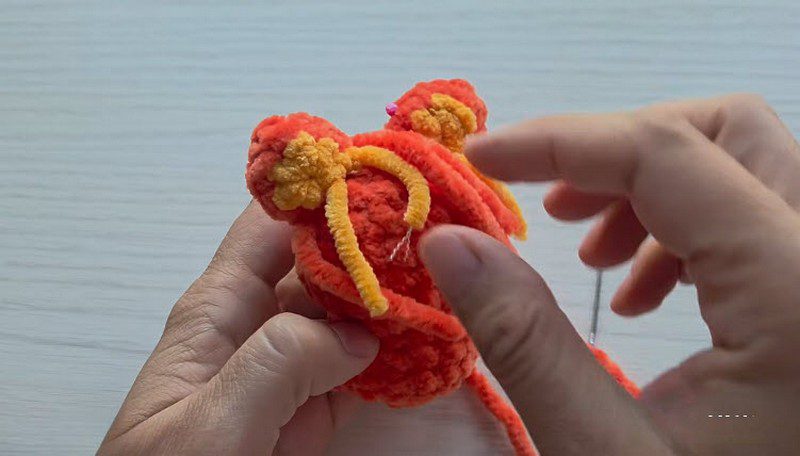
Assembling the Crochet Fruit Bat
- Sew the body securely to the head using the long tail left on the body.
- Next, pin the ears to the top of the head and check that they sit evenly. Sew them down.
- Then attach the tail to the back of the body.
- After that, sew the eyes evenly onto the head.
- Pin one wing to each side of the body, compare both sides, and sew them on.
- Finally, add a keychain ring or clasp to complete the crochet bat keychain.
Customisation Options for the Fruit Bat
- Swap the orange and yellow for brown and cream, or choose black and purple for a spooky version.
- Use thicker yarn and a larger hook for a bigger bat.
- Change the wing stripe color to match the ear or belly shade.
- Leave off the keychain ring and use the bat as a shelf decoration.
- Add a small stitched smile or nose with embroidery thread.
Troubleshooting Your Crochet Fruit Bat
The head looks lopsided. A missed stitch in Rounds 1 to 3 usually causes this. Therefore, count every round and keep the marker moving.
Stuffing shows through. Switch to a smaller hook, or crochet a little tighter.
Drooping ears. Instead, sew them on firmly with several passes of yarn, and pin them symmetrically before stitching.
The body twists. Also, check that the sc3tog decreases are all worked in the same area of each round.
The head hole closes too early. To prevent this, stuff in small pieces during Round 12, before the opening shrinks.
Finishing and Care for the Fruit Bat
Weave in all loose ends, then trim them close. Check the seams by giving each piece a gentle tug. Finally, reshape the head with light pressure so it looks round. For care, spot clean with a damp cloth and mild soap. Also, air dry the bat away from direct heat, since fuzzy yarn can lose its softness in a hot dryer.
Frequently Asked Questions (FAQs)
Is this crochet fruit bat pattern really free?
Yes, every round is included in this article.
Can a total beginner make a crochet fruit bat?
Absolutely. The stitches are basic, and the pieces are small.
Can the fruit bat be used as a keychain?
Yes. Attach a keychain ring or clasp as the final step.
What yarn works best?
Amigurumi cotton or sport weight yarn with a 2.5 mm hook.
Is it safe for babies?
The pattern includes sewn parts, so it suits decoration better than infant toys. Therefore, consult safety guidelines before giving it to young children.
Bonus Section: Display Ideas for the Finished Bat
A fruit bat looks best hanging. Thread a short loop of yarn through the top of the head and hang the bat from a bookshelf, a lamp pull, or a bag zipper. In addition, a cluster of three bats in different color combinations makes a fun Halloween garland.
Time to Start Your Own Fruit Bat
This fruit bat proves that a fun project does not need complicated stitches. With a few rounds, some stuffing, and a bit of sewing, a simple ball of yarn becomes a character with real personality. Next, pick favorite colors and start with the head. If the pattern helped, share a photo of the finished bat and pass the link to a friend who loves amigurumi.