Crochet Cardigan Pattern With Color Block Sleeves
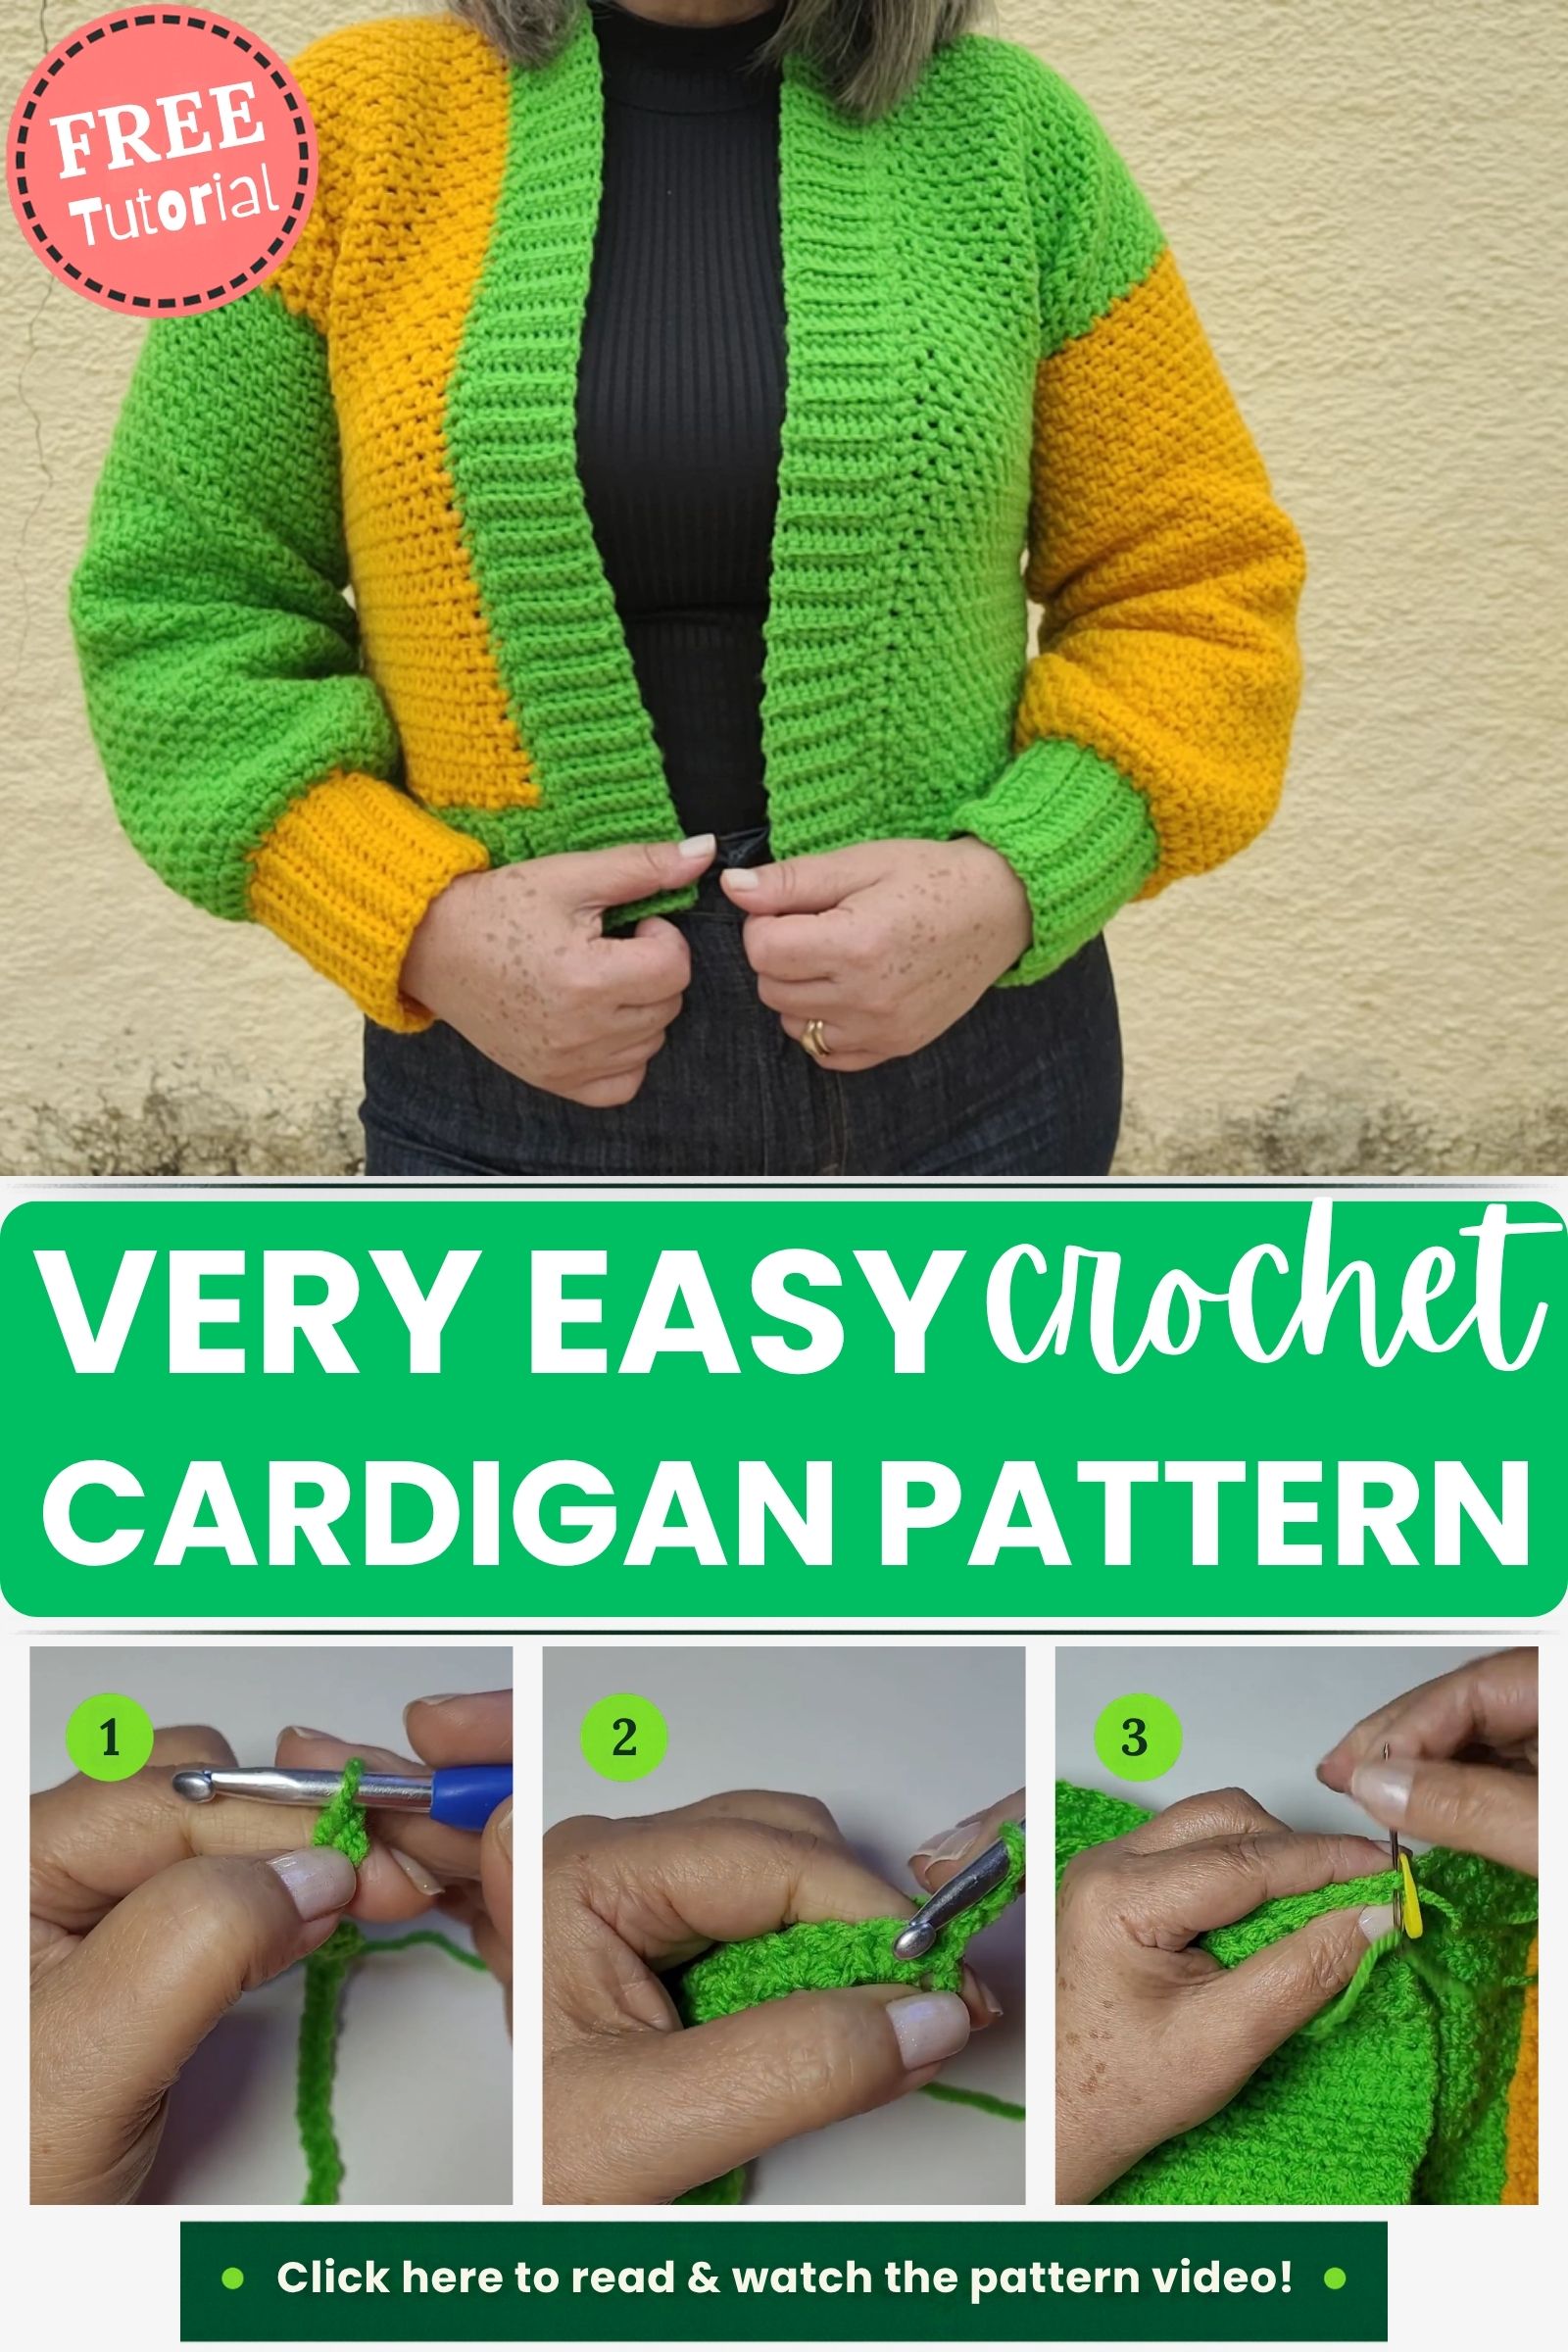
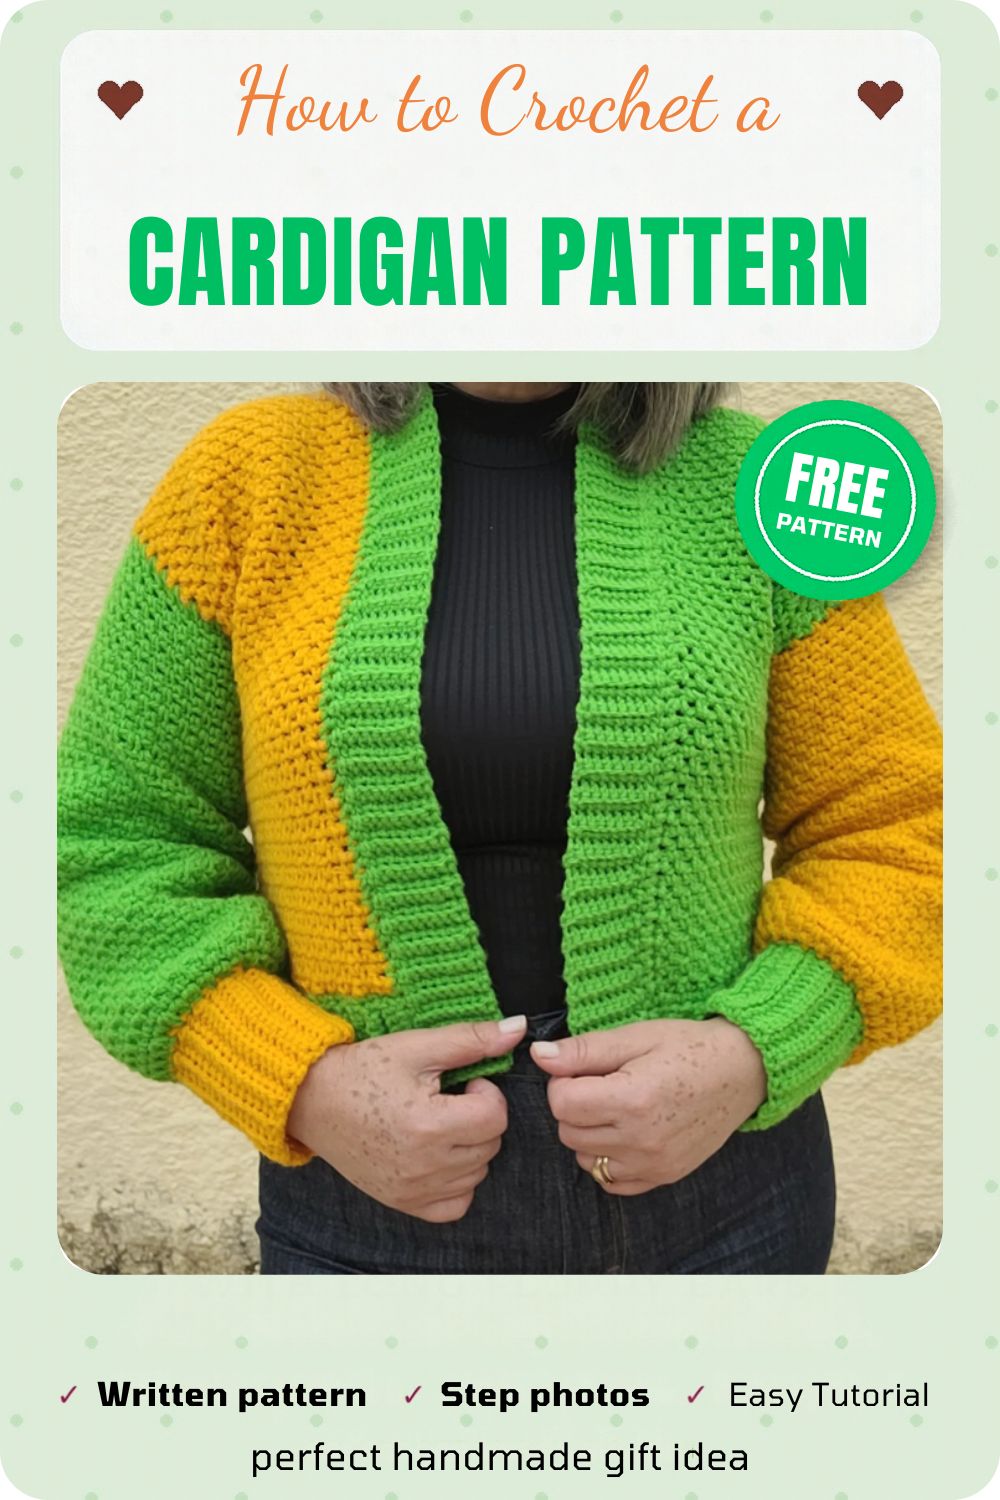
A cardigan made from straight panels is one of the easiest ways into wearable crochet, and this crochet cardigan pattern keeps the construction simple. There is no complicated shaping. You work flat pieces in a dense, textured stitch, seam them together, and finish with ribbed cuffs. The bright green body with golden sleeve sections gives it a cheerful, sporty look, and the color blocking is the only part that needs a little planning.
The fabric is soft and slightly thick, so the cardigan drapes well without feeling flimsy. If you have crocheted a few rectangles before, you already have most of the skills you need.
What You Are Making
This crochet cardigan pattern builds a color block cardigan from separate pieces that are seamed together:
- A main body made from rectangular panels
- Two sleeves, each with a color block section
- Ribbed cuffs worked directly onto the sleeve edges
Every piece uses the same textured stitch, so the seams blend into the fabric. The color change appears across the sleeves, where one shade meets the other in a clean vertical line.
Materials for This Crochet Cardigan Pattern
- Medium-weight acrylic yarn in a main color (bright green in this version).
- Medium-weight acrylic yarn in a contrast color (golden yellow-orange)
- A crochet hook that gives a dense but still flexible fabric (see the gauge section below)
- A smaller hook, or the same hook with tighter tension, for the ribbed cuffs
- Yarn needle for seaming and weaving in ends
- Stitch markers or small safety pins for matching seams
- Scissors
- Measuring tape
Yarn amounts for this crochet cardigan pattern depend on the size you make, so buy a little more than you think you need, especially of the main color. A cardigan uses more yarn than most people expect.
Abbreviations (US Terms)
- ch: chain
- sc: single crochet
- hdc: half double crochet
- dc: double crochet
- sl st: slip stitch
- st(s): stitch(es)
Crochet Cardigan Pattern Gauge and Sizing
This crochet cardigan pattern is written to be adjusted, so your own gauge matters more than any fixed number. Before you start, crochet a swatch in the textured stitch, press it gently, and then measure it. From there:
- Measure the bust or chest of the person who will wear the cardigan.
- Divide that measurement in half, then add a little ease for a relaxed fit.
- Use your swatch to work out how many chains you need for that width.
A loose, dense fabric will be warm but heavy, while a very tight one will feel stiff. If your swatch is stiff, go up a hook size. If it looks gappy, go down. Always make the swatch before committing to a full cardigan.
Getting Started: The Foundation Chain
Every panel begins the same way. Make a slip knot, then chain the number of stitches you need for the width of that piece. Keep the chain loose and even. A tight foundation pulls the bottom edge inward and makes the panel flare at the top.
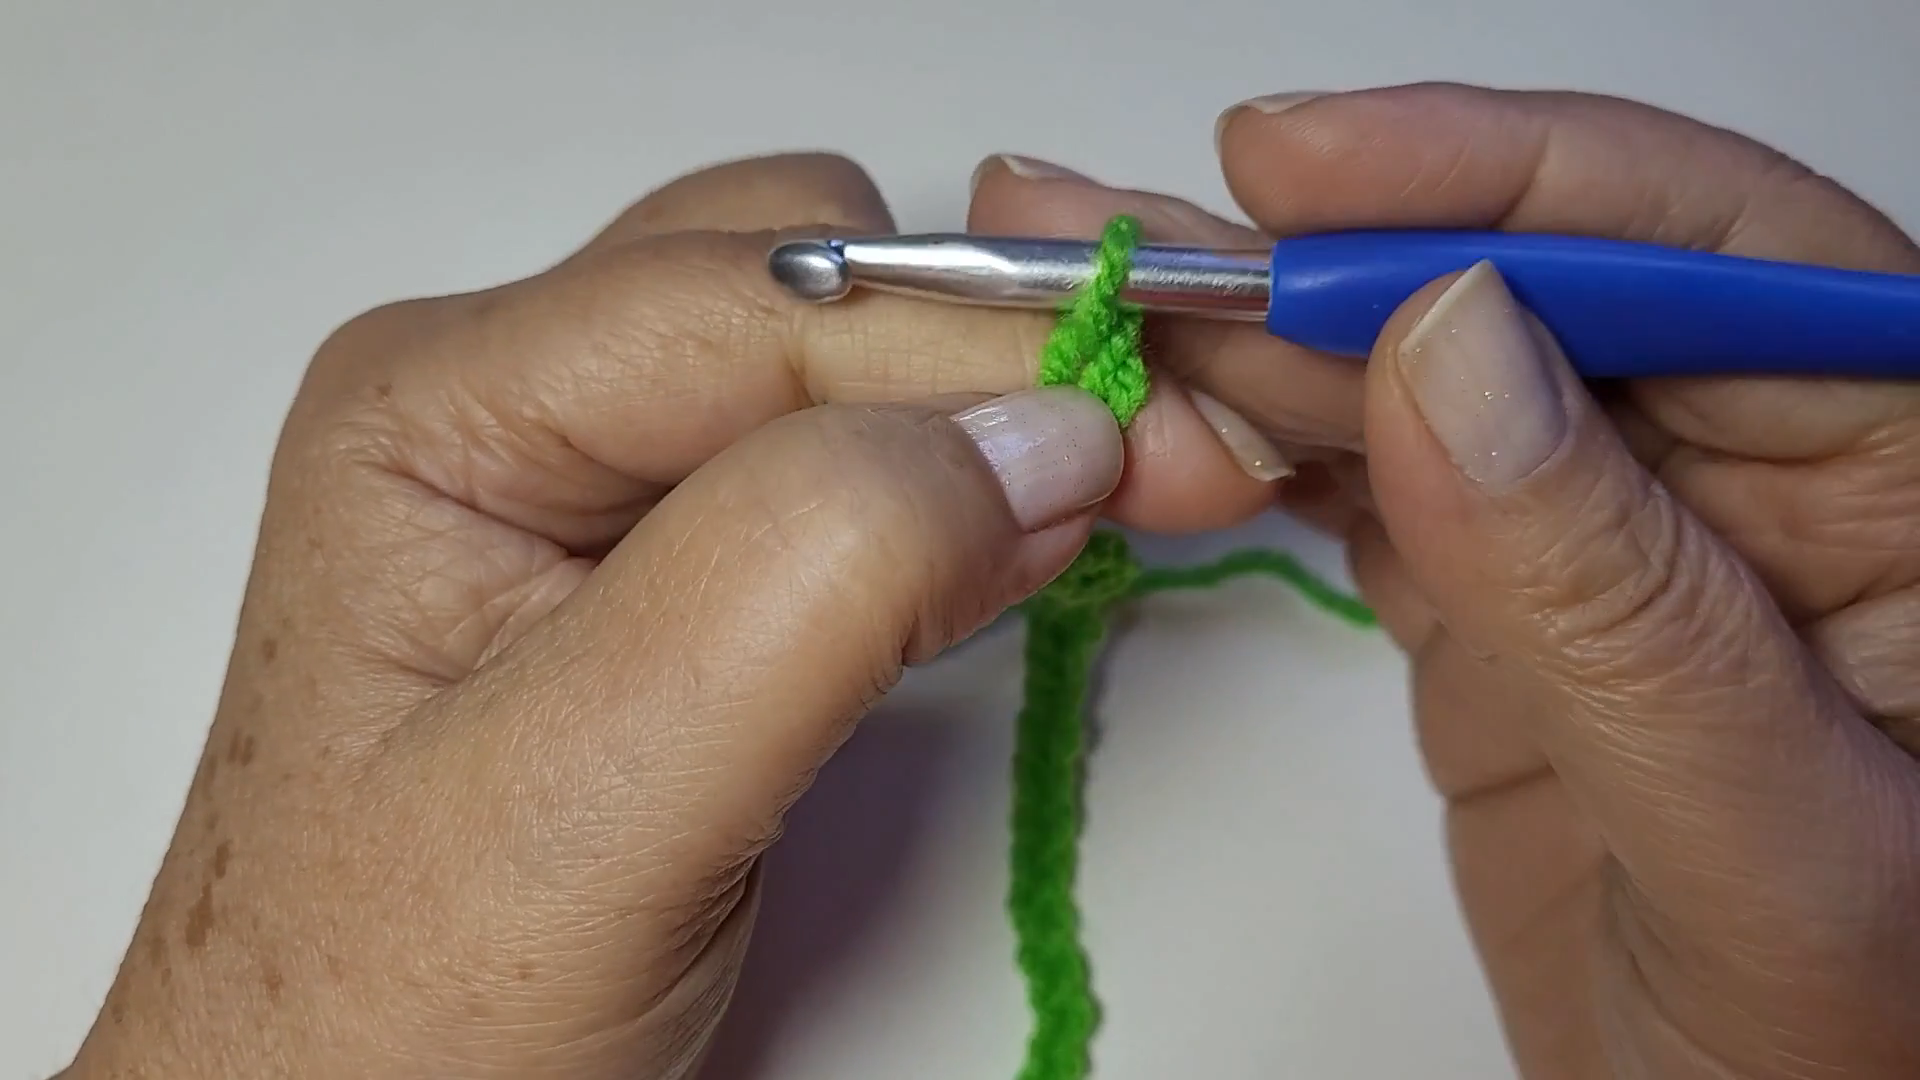
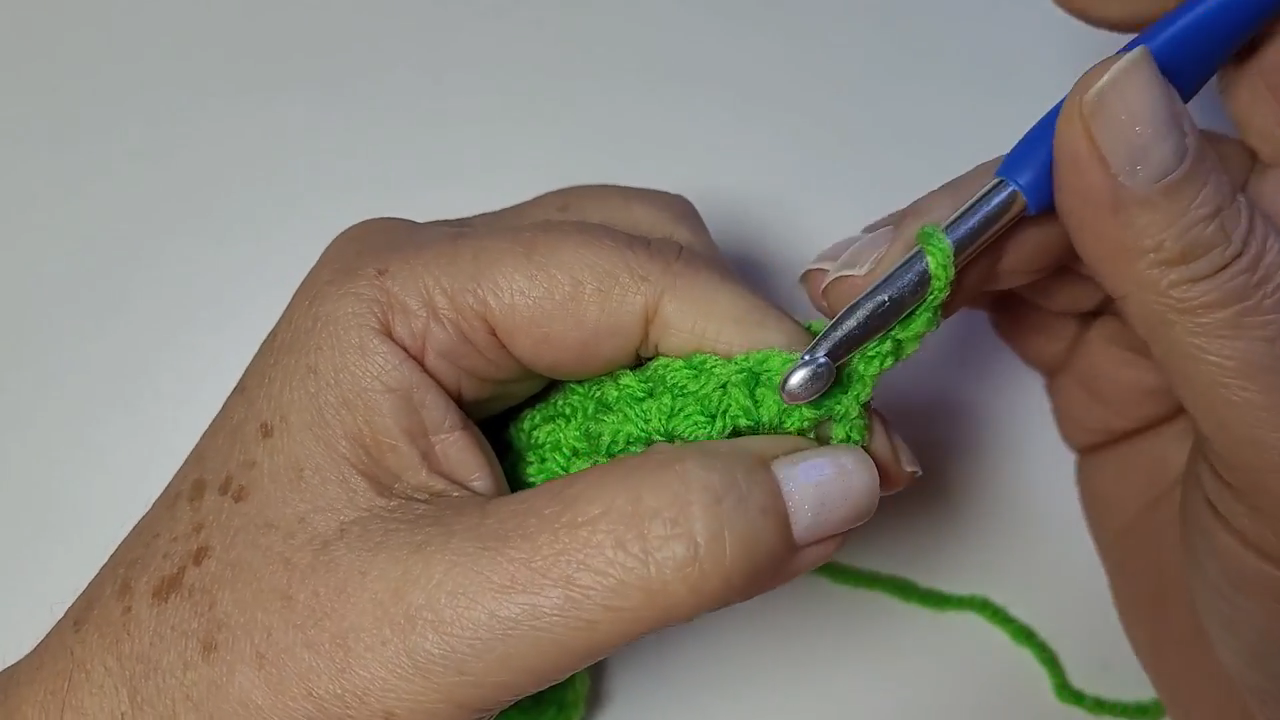
Work your first row into the chain, then turn and begin the textured stitch pattern. The stitch builds a slightly bumpy fabric with small clusters on the surface, which gives the cardigan its woven look. Keep the same stitch pattern and tension from row to row so the edges stay straight.
Crochet Cardigan Pattern: Body Panels
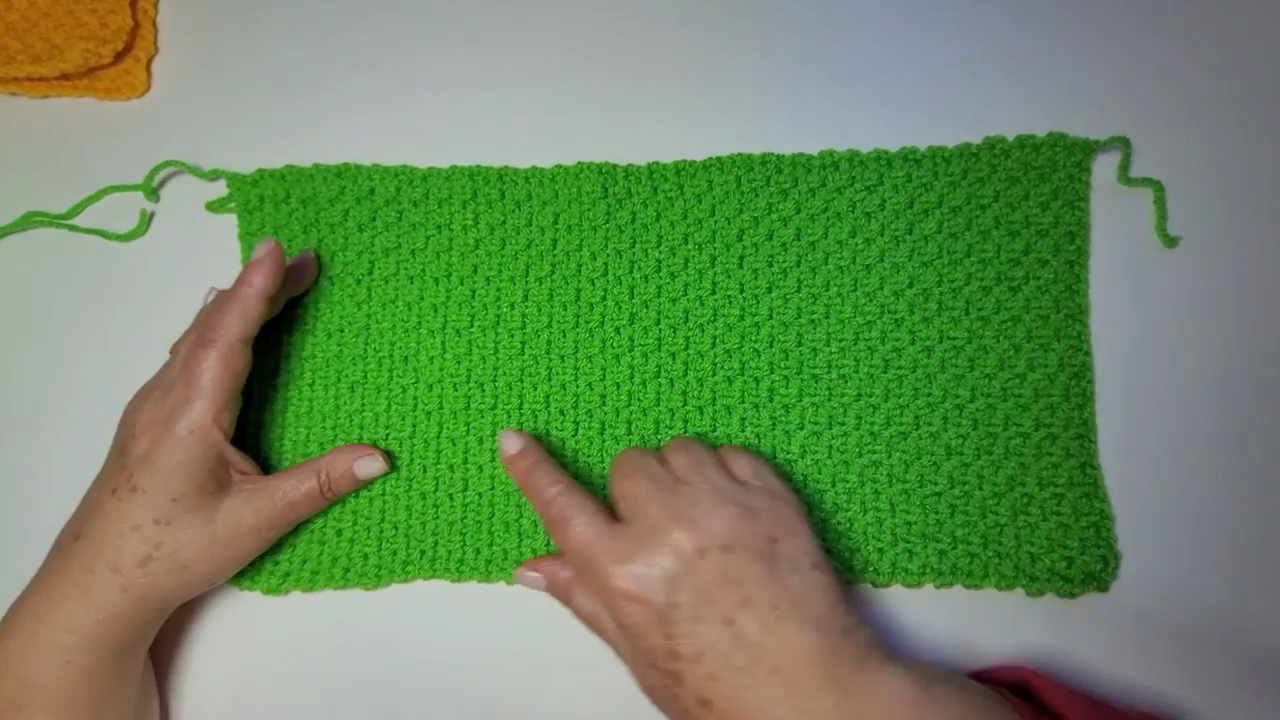
Work the body as flat rectangles, repeating the stitch pattern until each panel reaches the length you want. Every so often, lay the piece flat and measure it against your target. Crochet tends to stretch under the weight of the yarn, so measure it lying flat rather than holding it up.
You will need one panel for the back and two for the front sections, all in the main color. Keep your edge stitches tidy as you go, because straight, even edges are much easier to seam later.
When a panel is long enough, fasten off and leave a tail of about 6 inches for weaving in. On any edge you plan to seam, a longer tail saves you from joining new yarn later.
Crochet Cardigan Pattern: Color Block Sleeves
The sleeves are the highlight of this crochet cardigan pattern. Each one is worked as a rectangle, with the contrast color forming a distinct block beside the main color.
For a clean color change:
- Work the first section in your first color until it reaches the planned length.
- Fasten off, leaving a tail.
- Join the second color at the start of the next section.
- Continue in the same stitch pattern until the sleeve reaches its full length.
Because the color change falls on a row edge, you will not see stranded yarn the way you would with a mid-row change. Weave the tails in on the wrong side so the join stays flat.
If you would rather skip the fastening off, you can change colors at the end of a row and carry the new yarn up the side. That works for a narrow band, but for a wide block, fastening off keeps the edge much cleaner.
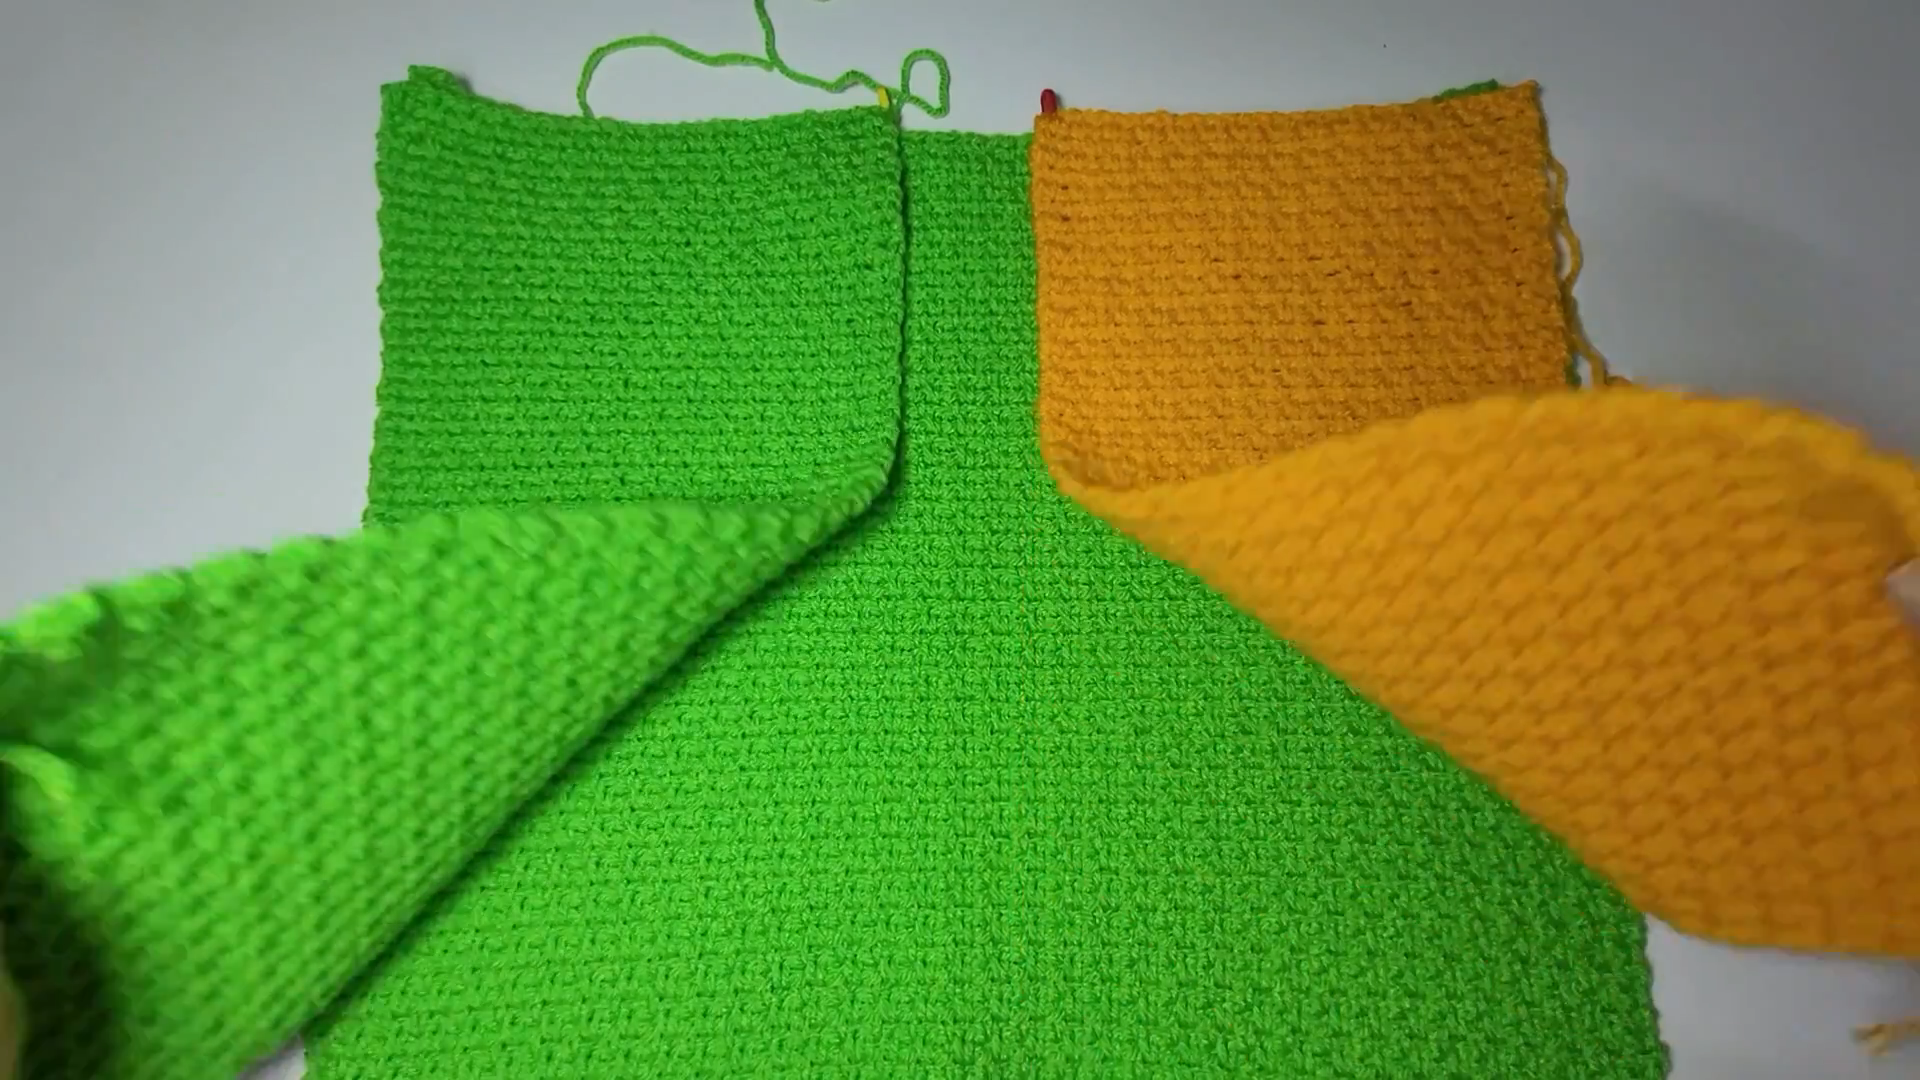
Marking and Matching the Seams
Before you sew anything, lay the pieces out in the order you will assemble them: the two front sections on either side, the back panel in the center, and the sleeves at the sides. Use stitch markers to pin the corners and the points where one piece meets another. It is easy to skip this step, but it prevents uneven seams and sleeves that sit crooked.
Matching rows is the key. Count the rows along both edges you are joining and pin at regular intervals. If one side is slightly longer, spread the extra fabric evenly instead of bunching it at the end.
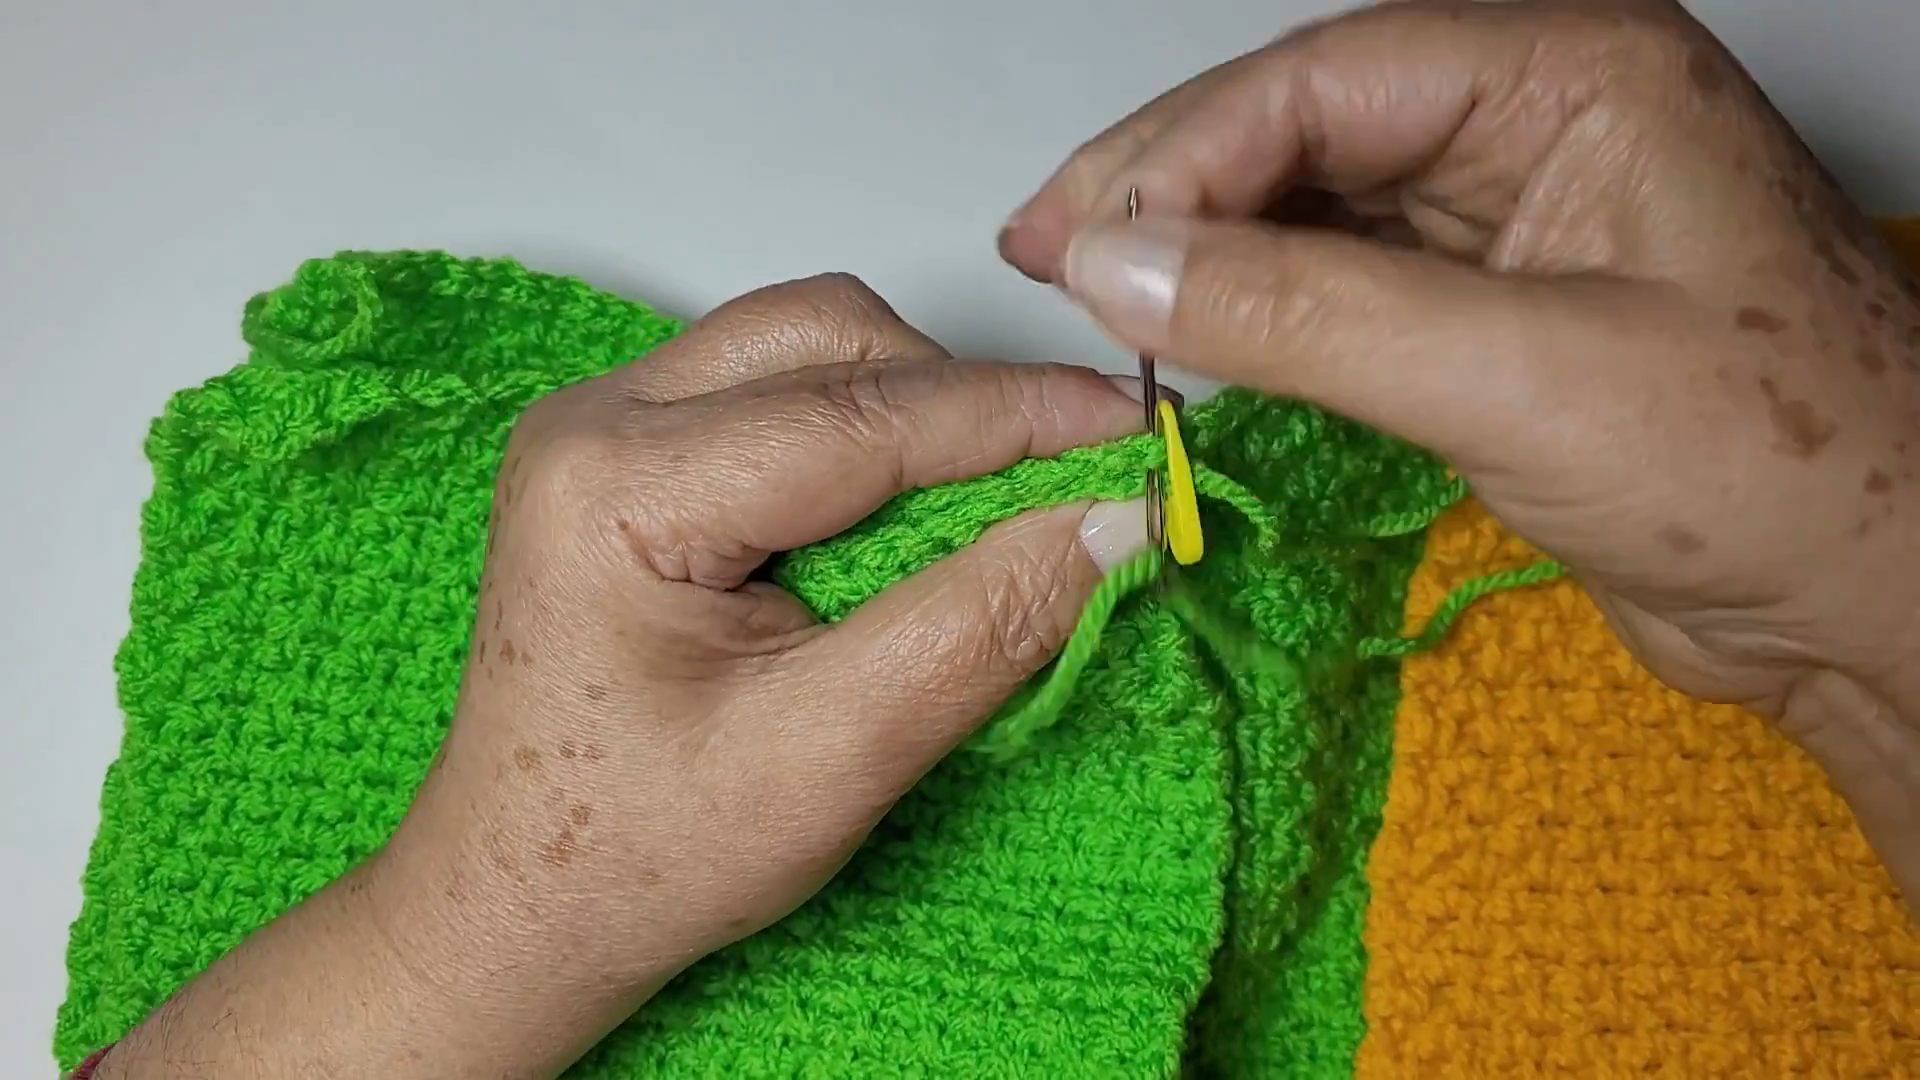
Assembling the Cardigan
Thread a yarn needle with a long length of the main color. Join the shoulders first, then attach the sleeves, and finish with the side and underarm seams.
For a flat, almost invisible seam, use the mattress stitch. Work from the right side, picking up the bars between stitches on each edge in turn, and pull the yarn snug every few stitches so the edges meet without puckering. If you prefer a firmer seam, a whip stitch through both edges also works, though it shows a little more.
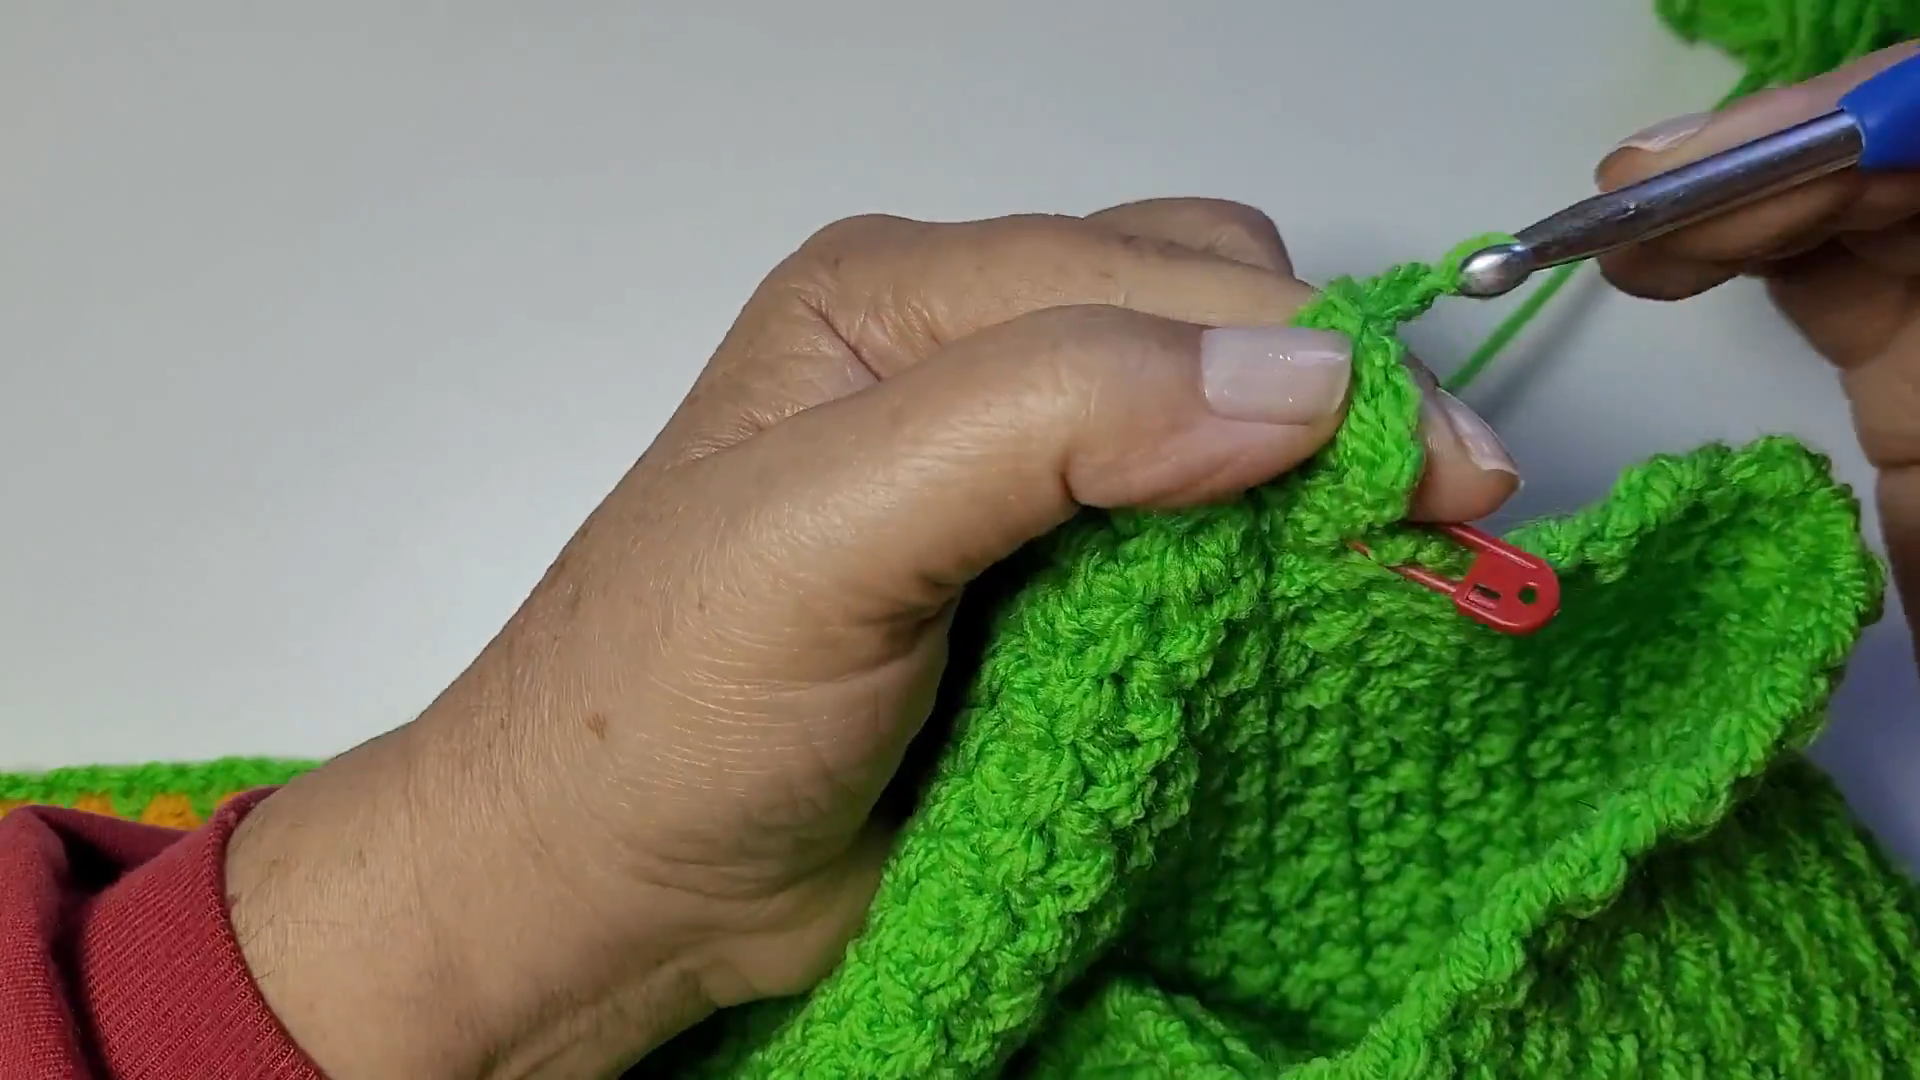
Where the color block meets the main body, switch to the matching yarn color so the seam disappears into each shade. Take your time here, since neat seams are what make a handmade cardigan look polished instead of rushed.
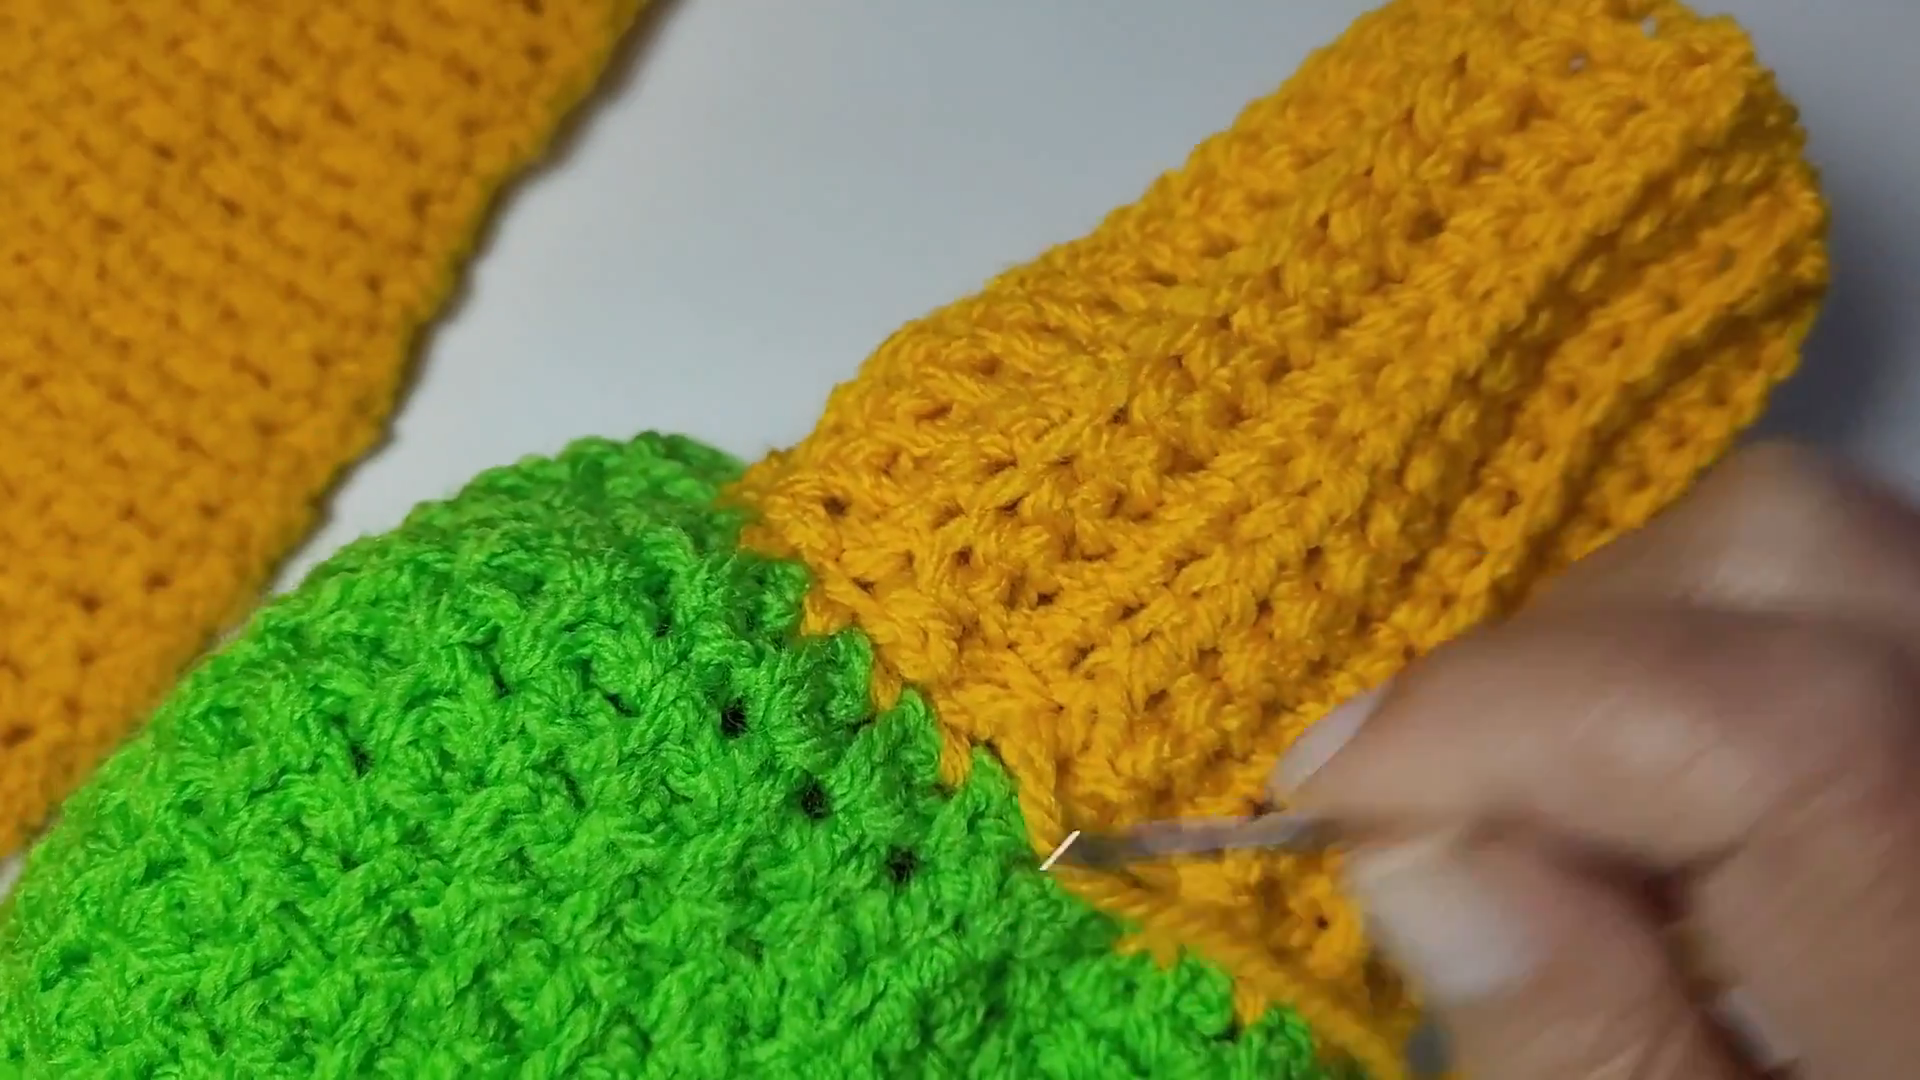
Adding Ribbed Cuffs to the Crochet Cardigan
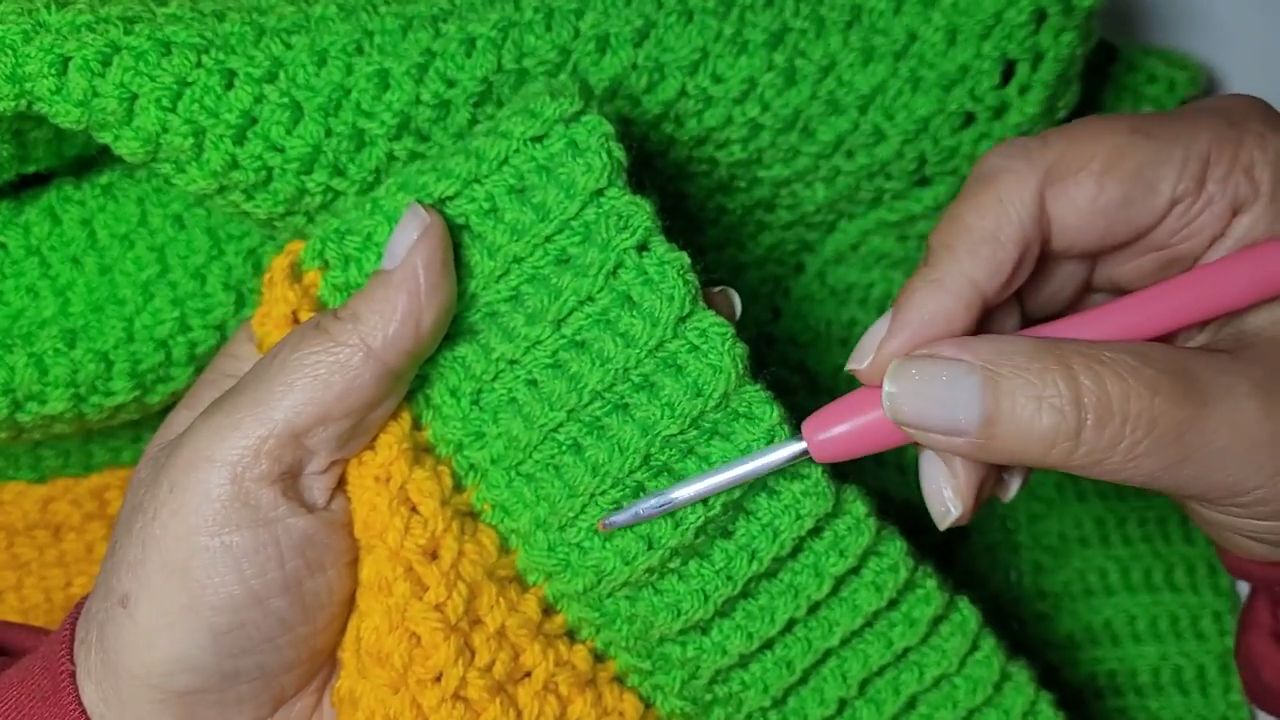
Once the sleeves are joined, add the cuffs. Attach the main color at the bottom edge of the sleeve and work a ribbed band around it. A smaller hook helps if you want the cuff to hug the wrist more snugly.
Keep the stitches even around the opening, then work rows of ribbing until the cuff reaches the depth you want. The ribbing runs in vertical lines and stretches more than the denser body fabric, which is what lets the cuff grip the wrist.
Fasten off and weave the tail in along the inside of the cuff. The green cuff against the golden sleeve block gives the edge a neat, framed look.
Choosing Your Cardigan Color Combination
The green and gold pairing here is bold, but the pattern works with almost any two colors. A few ideas:
- Soft neutrals: a cream body with oatmeal sleeves for a calm, everyday cardigan.
- Deep tones: a navy body with a rust or mustard block for a richer, autumn feel.
- Bright and playful: keep the green body and try pink or turquoise sleeves.
- Reversed: make the body the contrast color and keep the sleeves in the main shade.
Check that both colors are the same yarn weight and fiber so they wear and wash the same way. Hold the two skeins together in daylight before you commit, because colors that look fine on the shelf can clash or blend in once they sit side by side in crochet.
Finishing Your Crochet Cardigan
Weave in every end on the wrong side, running the tail through several stitches in two directions so it does not work loose. Trim the ends close, but not so short that they slip back out.
Block the finished cardigan to even out the stitches. Lay it flat on a towel, shape it gently to your measurements, and let it dry completely. Acrylic only needs light shaping, and a light steam from a distance can help it relax. Do not press the iron directly onto the fabric.
For the front, you can add buttons or leave it open. An open front suits this fabric well, since the weight helps it hang straight.
Common Mistakes to Avoid
- Skipping the swatch: a cardigan is a big project, and a wrong gauge means the whole piece comes out the wrong size.
- Tight foundation chains: they pull the bottom edge in and make the panel flare.
- Uneven row counts: panels that do not match are hard to seam neatly.
- Sewing without markers: seams drift out of line quickly without pins or markers at the key points.
Helpful Tips
These quick reminders will help your crochet cardigan pattern come out neat and well fitted.
- Measure your swatch after pressing it, not before.
- Count the rows on each panel so the pieces match when joined.
- Fasten off when switching colors instead of carrying yarn across a wide block.
- If one panel turns out wider than the others, block it to match before seaming.
Crochet Cardigan Pattern FAQs
Can I use a different yarn weight?
Yes, but you will need to re-swatch and recalculate your chain counts. A lighter yarn makes a thinner, drapier fabric, and a heavier one makes a warmer, stiffer cardigan.
Is this crochet cardigan pattern suitable for beginners?
If you are comfortable with basic stitches and working in rows, it is a good next project. The panels are simple rectangles, and the main challenge is seaming neatly.
How do I keep the sleeve edges from curling?
Keep your tension even and block each sleeve flat before seaming. The ribbed cuffs also help hold the lower edge in shape.
Can I make it longer or shorter?
Yes. Work more or fewer rows on the body panels, and check the length against the person who will wear it.
How should I wash it?
Check the label on your yarn. Most acrylic can be washed gently and dried flat, which keeps the stitches from stretching.
Time to Cast On Your Cardigan
This crochet cardigan pattern needs only straight panels, one repeating stitch, and a bold color split to look far more complicated than it is. Take your measurements, swatch carefully, and give the seams the attention they deserve. If you want to see each stage worked step by step, watch the pattern video near the top of this post.