Crochet Budgie Amigurumi Pattern With Blue Wings
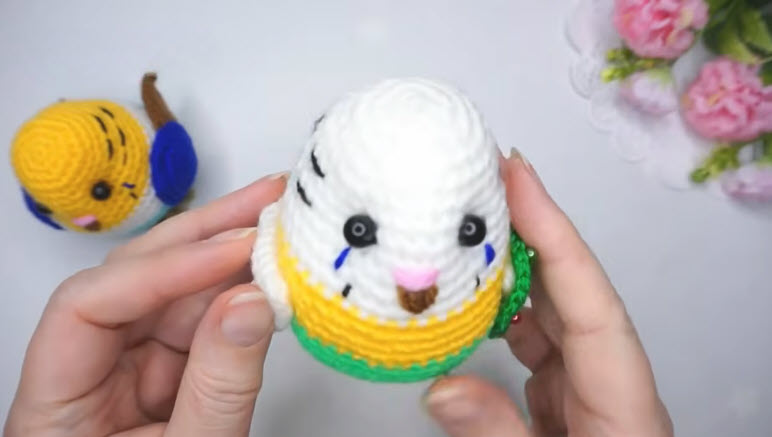
Bright green, sunny yellow, and crisp white come together first in this Crochet Budgie Amigurumi Pattern With Blue Wings, before a single wing is attached. The rounds stack into a plump little bird, ready for a face full of personality.
The color blocking is worked straight into the rounds, so the body stripes need no embroidery. You build a simple amigurumi bird body, change colors for the chest band, and finish with a detailed face. A pair of crochet bird wings then gives the budgie its perched, ready-to-fly look.
Please note that the photos do not show stitch counts for the wings or tail. Follow your own pattern notes for those parts.
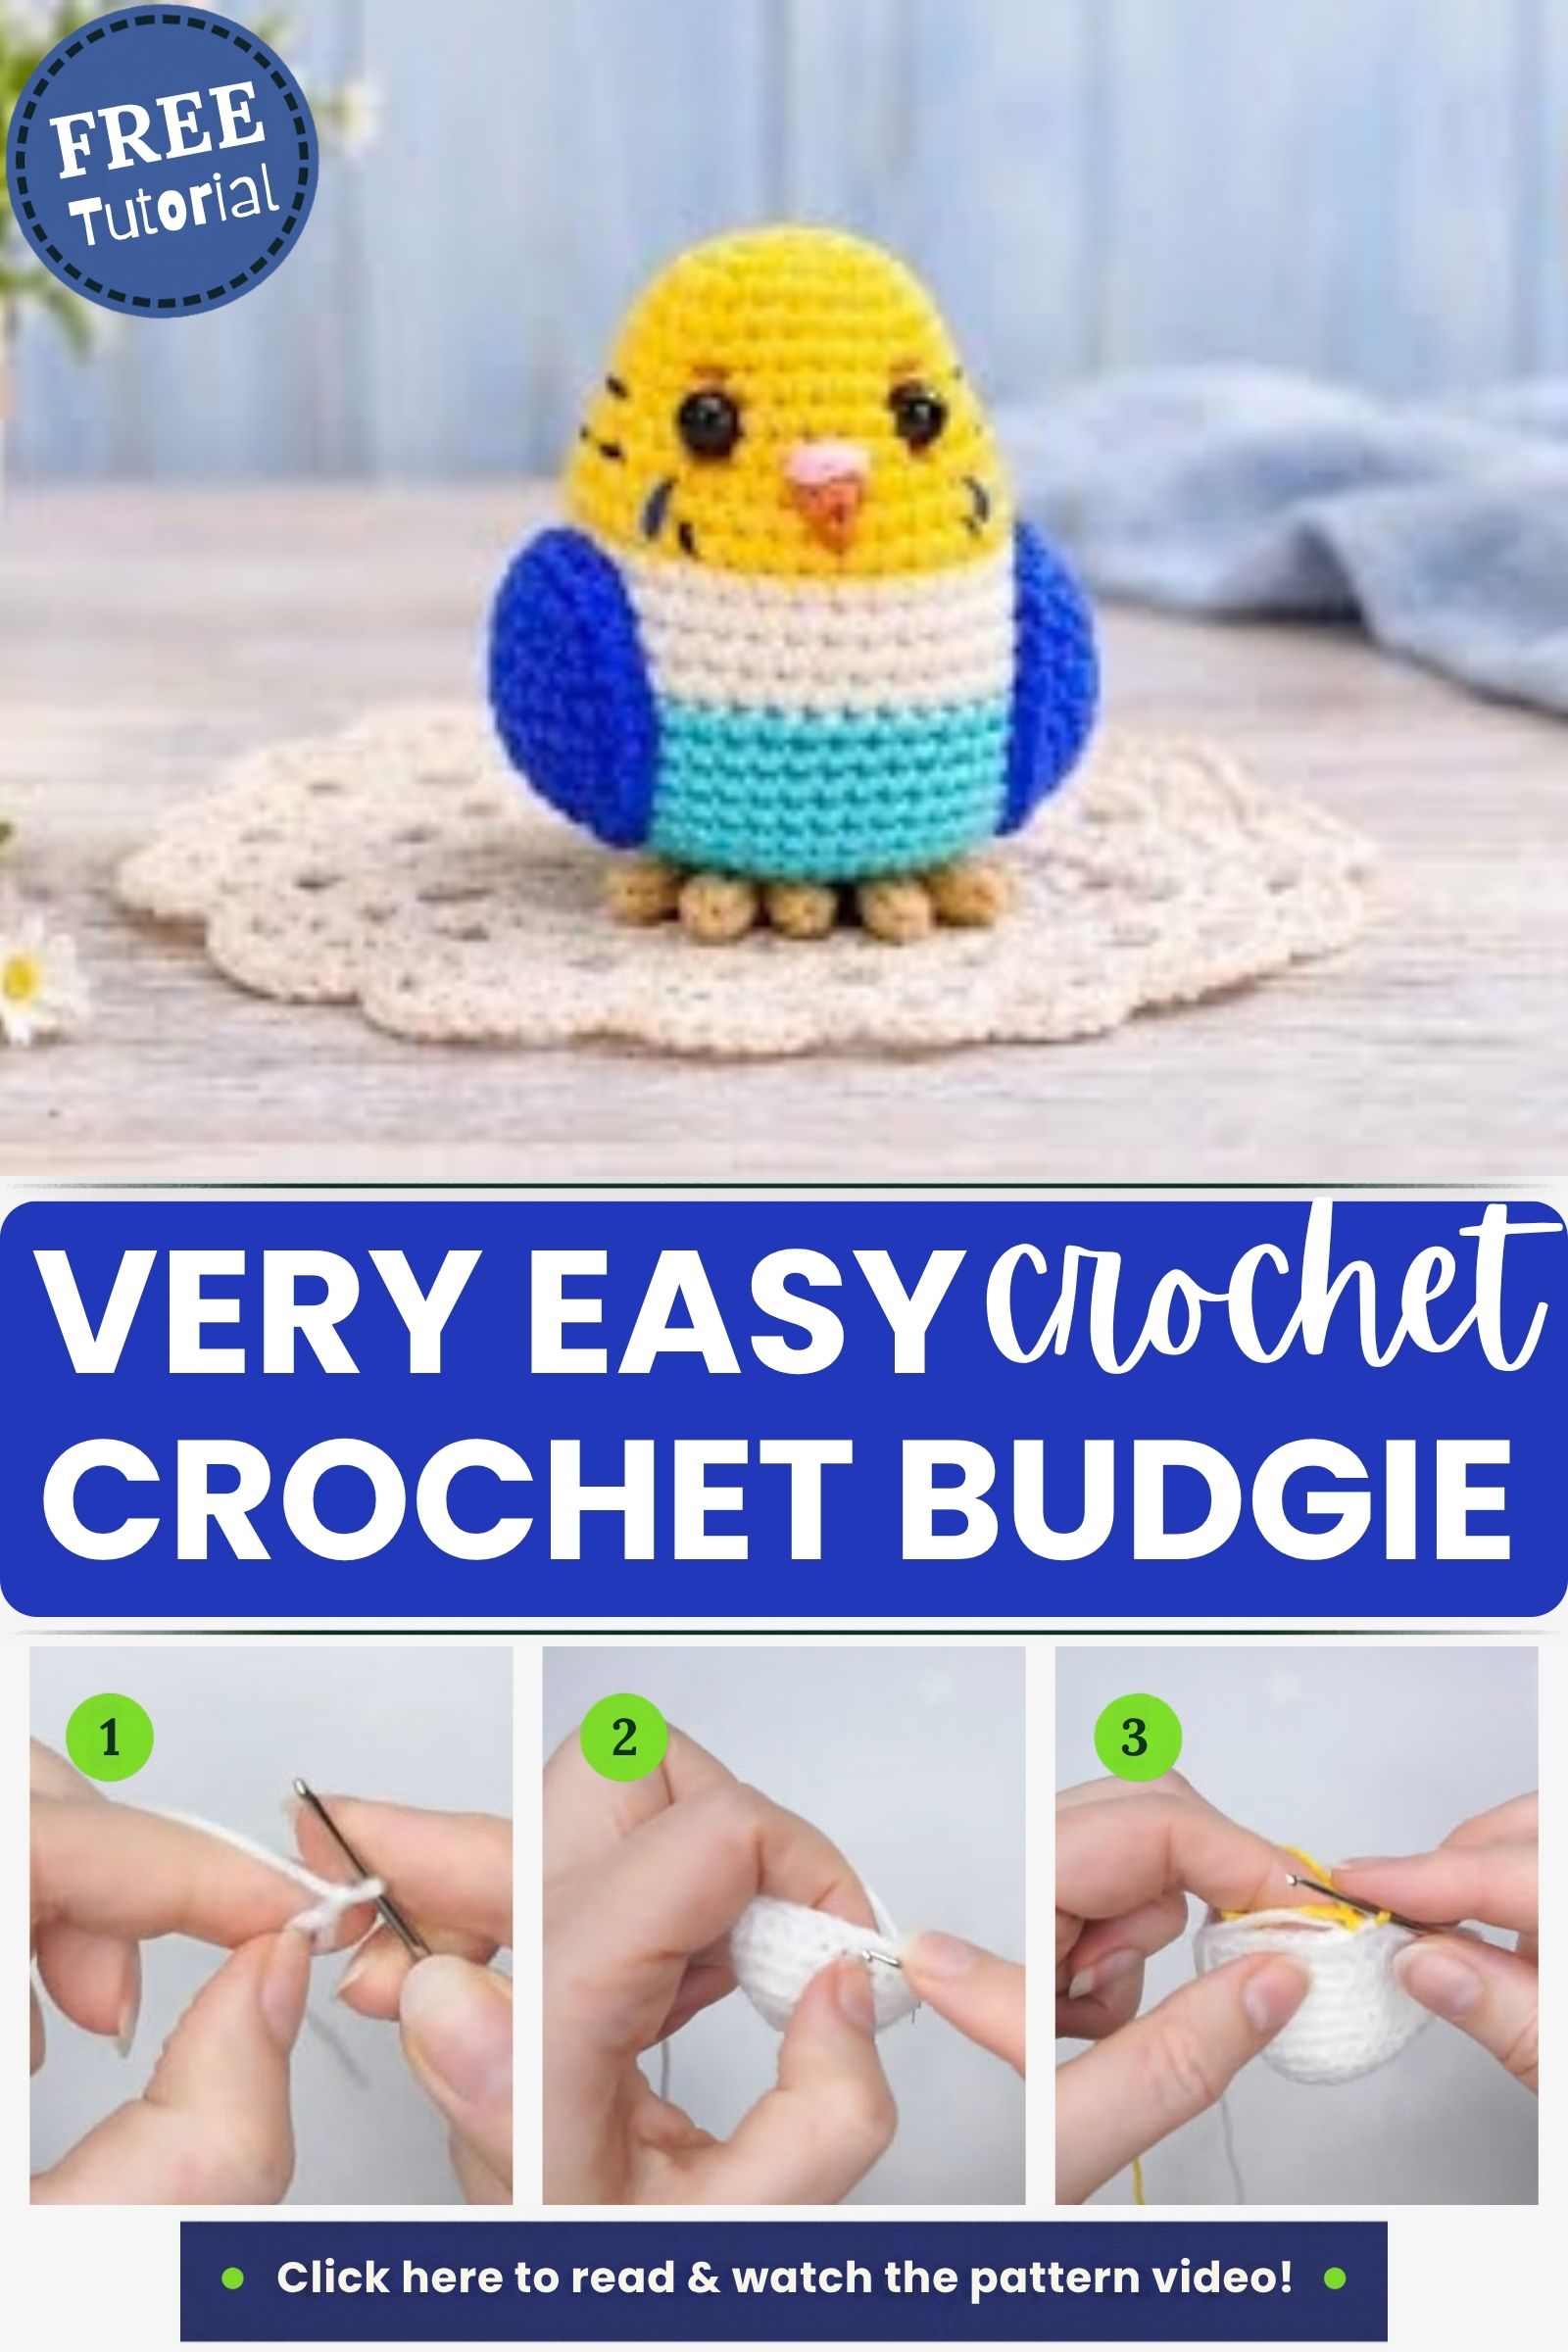
Crochet Budgie Amigurumi Pattern Overview
Every piece starts from a magic ring. Each one then grows in continuous spiral rounds instead of joined rounds, which keeps the surface smooth and seamless.
The body, head, wings, and tail are stitched separately and come together at assembly. Color changes happen mid-round to create the layered chest band that budgies are known for. As a result, the shape stays compact and egg-like until the face and wings go on.
Plan for a couple of hours in total. A first attempt at color-changing amigurumi may take longer, so allow extra time for the color changes and finishing.
Supplies for the Crochet Budgie Amigurumi Pattern
- Yarn in white, yellow, green, and blue for the color blocking
- Small amounts of black, pink, and brown for the face details
- A small hook, around 2.5 mm to 3 mm, so the stitches stay tight and the stuffing does not show
- A pair of small safety eyes
- Polyester fiberfill
- A tapestry needle, a locking stitch marker, and sharp scissors
Check your yarn label to confirm that your hook gives a firm fabric. The Craft Yarn Council standards can help you match yarn weight to hook size.
Special Techniques Used
- Invisible color changes keep the join between yellow and green nearly undetectable.
- Increase and decrease rounds shape the rounded body and head.
- Surface embroidery adds the beak and cheek markings after stuffing.
- Whip stitch holds the wings flat against the body.
Crochet Budgie Amigurumi Pattern Step-by-Step Instructions
Step 1: Begin the Magic Ring
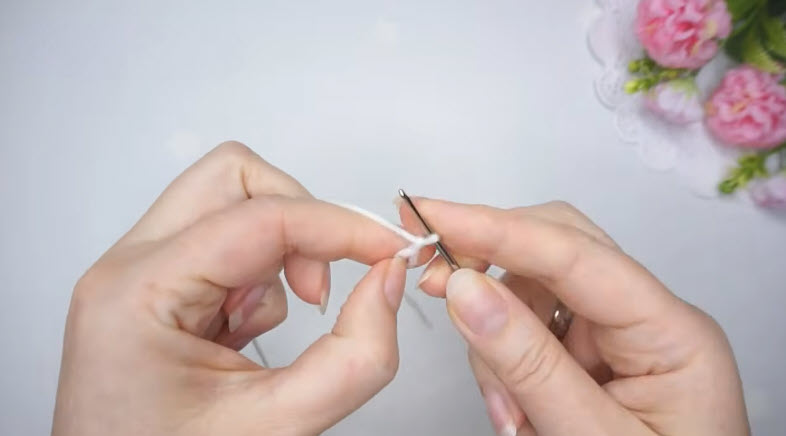
Form a magic ring with white yarn. Work the first small set of stitches into the loop, then pull the tail to close the center hole. A magic ring keeps the top of the head free of a visible gap.
Step 2: Build the First Rounds
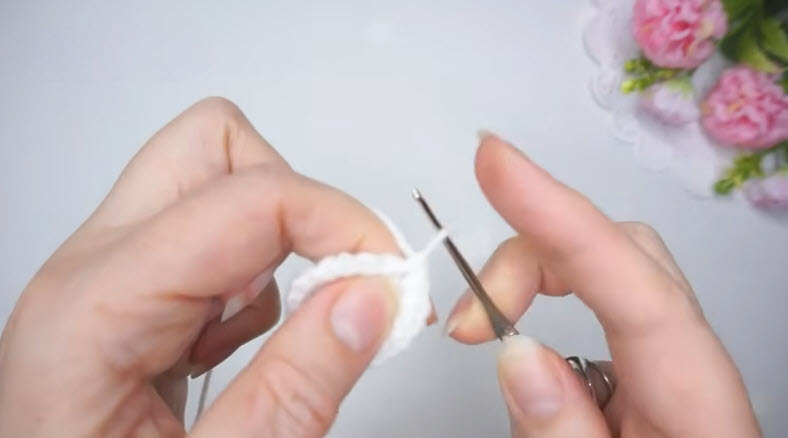
Continue single crocheting around the ring. Work a few short rounds to set up the base dome that will grow into the head or body.
Step 3: Increase Into a Rounded Shape
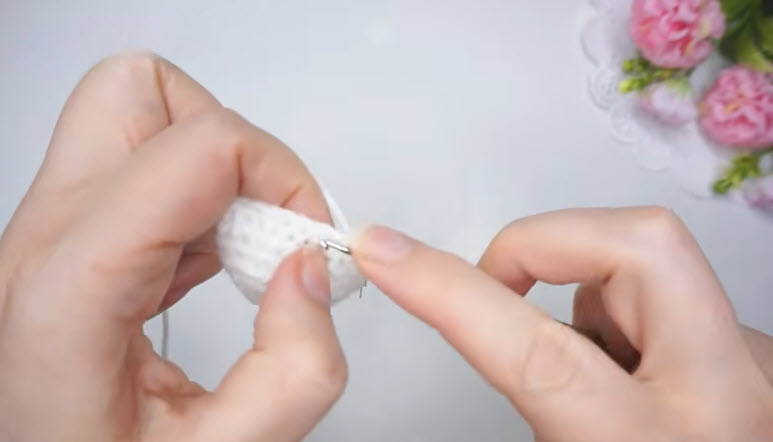
Keep increasing evenly around each round. The piece should grow into a smooth, rounded ball rather than a flat disc.
Step 4: Switch to Yellow for the First Color Change
Join yellow yarn where the color band begins. Drop the white strand and pick up the yellow mid-stitch for a clean transition.
Pro Tip: Pull the new color through on the last pull of the previous stitch, not after it. That way, the color line sits exactly where you want it instead of one stitch off.
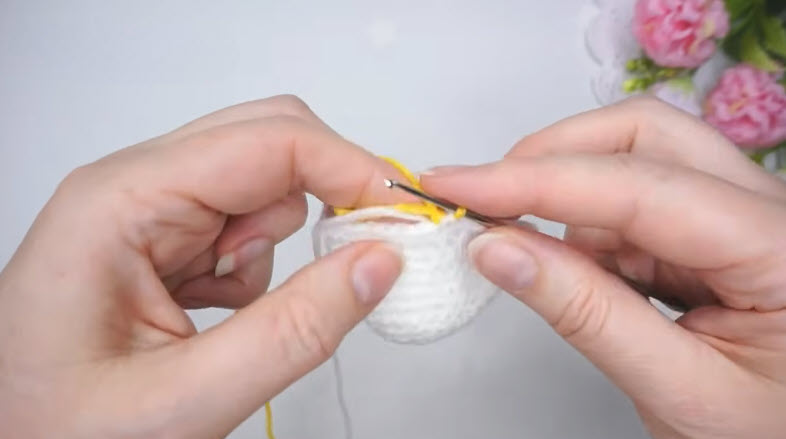
Step 5: Layer in the Green Band
Repeat the same color-change method to add the green section above the yellow band. Keep working the spiral rounds, and do not slip stitch between colors.
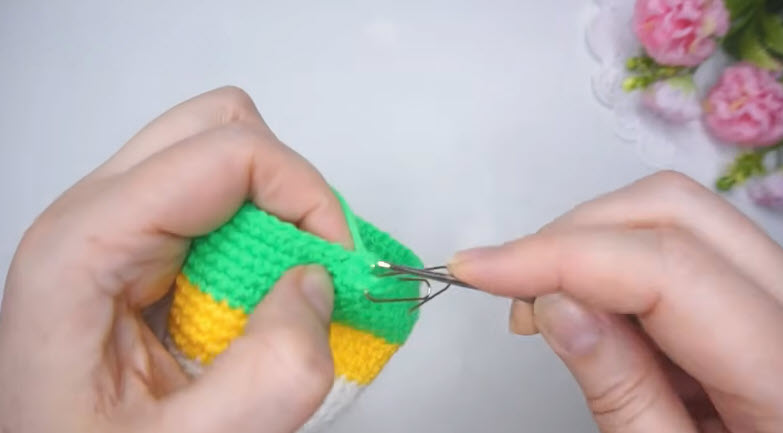
Step 6: Stuff the Piece Firmly
Fill the piece with fiberfill before you close it completely. Use a small tool to press the stuffing into the rounded edges, so no soft spots form.
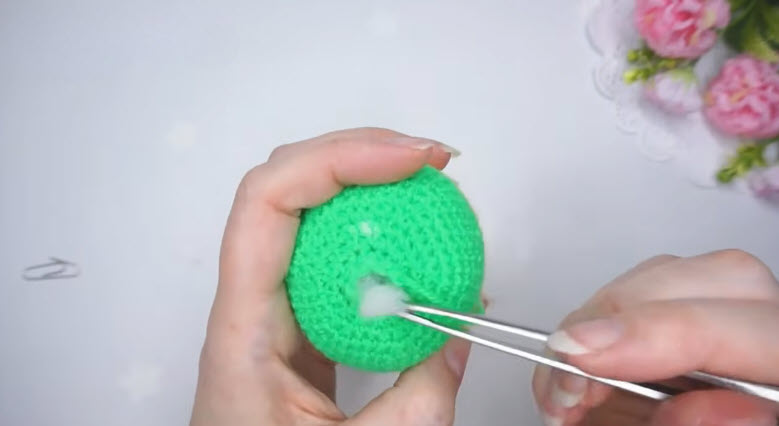
Step 7: Add the Face Details
Attach the safety eyes through the stitches at the marked spot. Then embroider the small beak and cheek patches to bring the face to life. Placing the eyes before you fully close the head makes it easier to anchor the washers from the inside.
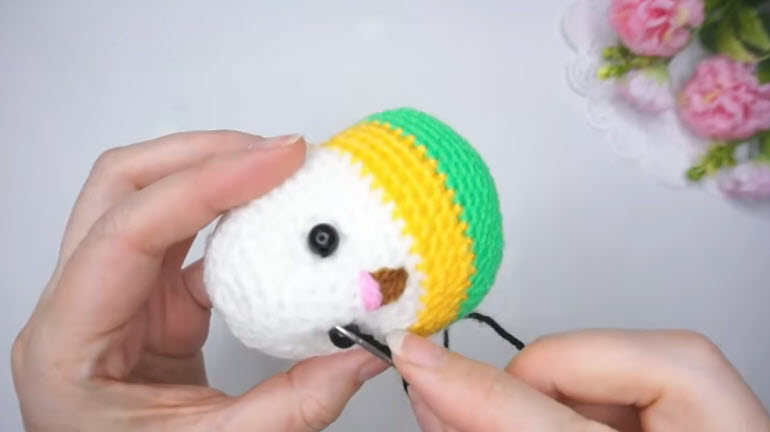
Step 8: Attach the Wings and Finish
Whip stitch the finished blue wings onto each side of the body. Finally, weave in every remaining tail to complete the budgie.
Tips and Troubleshooting for the Crochet Budgie Amigurumi
Beginner Tips
- Put a stitch marker on the first stitch of every round, since a spiral has no natural marker.
- Count your stitches after each increase round, rather than catching a mistake several rounds later.
- Keep your tension slightly tighter than usual. This contains the stuffing and keeps the color bands crisp.
Common Mistakes to Avoid
Color changes sit one stitch off. This happens when the new yarn is picked up a beat too late. The result is a jagged line instead of a clean band.
The head looks lopsided. Overstuffing the head before the neck join closes can distort the proportions. Add the stuffing in small amounts instead.
The face looks cross-eyed. Eyes set too close together cause this. Mark both positions and compare them before you attach the eyes.
Troubleshooting
- The piece leans to one side. Redistribute the fiberfill through the opening before you close it, rather than adding more on top.
- A wing sits crooked. Pick out the whip stitches and resew the wing at a slightly different angle.
- A safety eye feels loose. Reinforce it with a small dab of fabric glue behind the washer.
Assembly Tips
Pin the wings in place first, and check that both sides sit level. Next, attach the head to the body with the same yarn color as the neckline, so the seam blends in. Save the tail embroidery and any remaining face details for last, once every other piece is secure.
Ways to Customize Your Crochet Budgie Amigurumi
Materials Substitution Ideas
If you have no blue yarn, turquoise or teal works well for the wings, since budgies come in several color variations. Acrylic yarn also works, because the finished piece needs softness more than structure. For a baby or very young child, swap the plastic safety eyes for stitched French knots.
Personalization Ideas
- Color swap: Replace the yellow and green bands with purple and blue to recreate other budgie color morphs.
- Name tag: Stitch a tiny felt tag with a name or date onto the base for a keepsake gift.
- Keychain version: Scale the pattern down slightly and add a keyring loop at the top of the head. The Crochet Octopus Keychain is a good example of a small bag charm.
Color Palette Suggestions
Classic green and yellow pair nicely with sky blue wings for a bright, cheerful finish. An all-blue budgie with white cheek patches gives a cooler, more modern look. For a vintage feel, try a soft lavender body with gray wings. Pastel mint and buttery yellow suit nursery-themed collections.
Other Small Birds to Try
The same construction adapts to other small bird amigurumi, such as a matching parakeet in another color or a finch or canary in the same body shape. If you like little birds, you may also enjoy the Crochet Chick Earphone Holder and the Crochet Duckling Earrings.
Uses and Benefits
A finished budgie serves more than one purpose. On a shelf, it adds a pop of color to a plant corner or bookcase. In a child’s room, it works as a soft companion, as long as the eyes are secure. Its compact size also makes it an easy handmade gift that travels well.
Washing and Cleaning Instructions
Spot clean the budgie with a damp cloth and mild soap instead of soaking it, because soaking can felt the yarn and distort the shape. Air dry it completely, away from direct heat that might warp the safety eyes. A gentle fabric shaver removes any pilling that builds up over time.
Bonus: Turn Several Budgies Into a Small Flock
Bird lovers often display a few budgies in different color combinations as a small collection. Make each one from leftover yarn in coordinating colors, then group them on a shelf. Several budgies in matching shades could also work as a nursery mobile or display set.
Crochet Budgie Amigurumi Pattern FAQs
What size hook works best for this crochet budgie amigurumi pattern? A hook around 2.5 mm to 3 mm keeps the stitches tight, so gaps do not form around the stuffing.
Can I make it without safety eyes? Yes. Embroidered French knots work well, and they are also safer for very young children.
How much yarn does one budgie need? A single budgie uses small amounts of several colors, so leftover scraps from other projects often cover it.
Are the wings removable? No. The wings are sewn on with whip stitches, so pin them and check both sides before you commit.
Your Budgie Is Ready to Perch
Working through the color changes, stuffing, and face details on this Crochet Budgie Amigurumi Pattern With Blue Wings builds real confidence with amigurumi basics. Once one budgie sits on your shelf, a second in a different color usually follows, since the process gets faster with practice. Share your finished version in the comments to inspire the next maker.