Crochet Duckling Earrings and Beaded Necklace Set
Bright yellow, round as a small walnut, and topped with a tiny orange beak, the Crochet Duckling Earrings and Beaded Necklace Set brings a little pond of joy right to your ears. In fact, each duck swings from a silver hook and weighs almost nothing, so the set feels as fun to wear as it looks.
To make each duck, you start with a six-stitch magic ring, then grow a small stuffed ball, and finally add eyes before closing it up. After that, a third duckling hangs from a simple beaded chain, so your crochet duckling earrings turn into a full matching set. Better still, every piece uses scrap yarn, which makes the project a smart mini amigurumi choice for quick gifts.
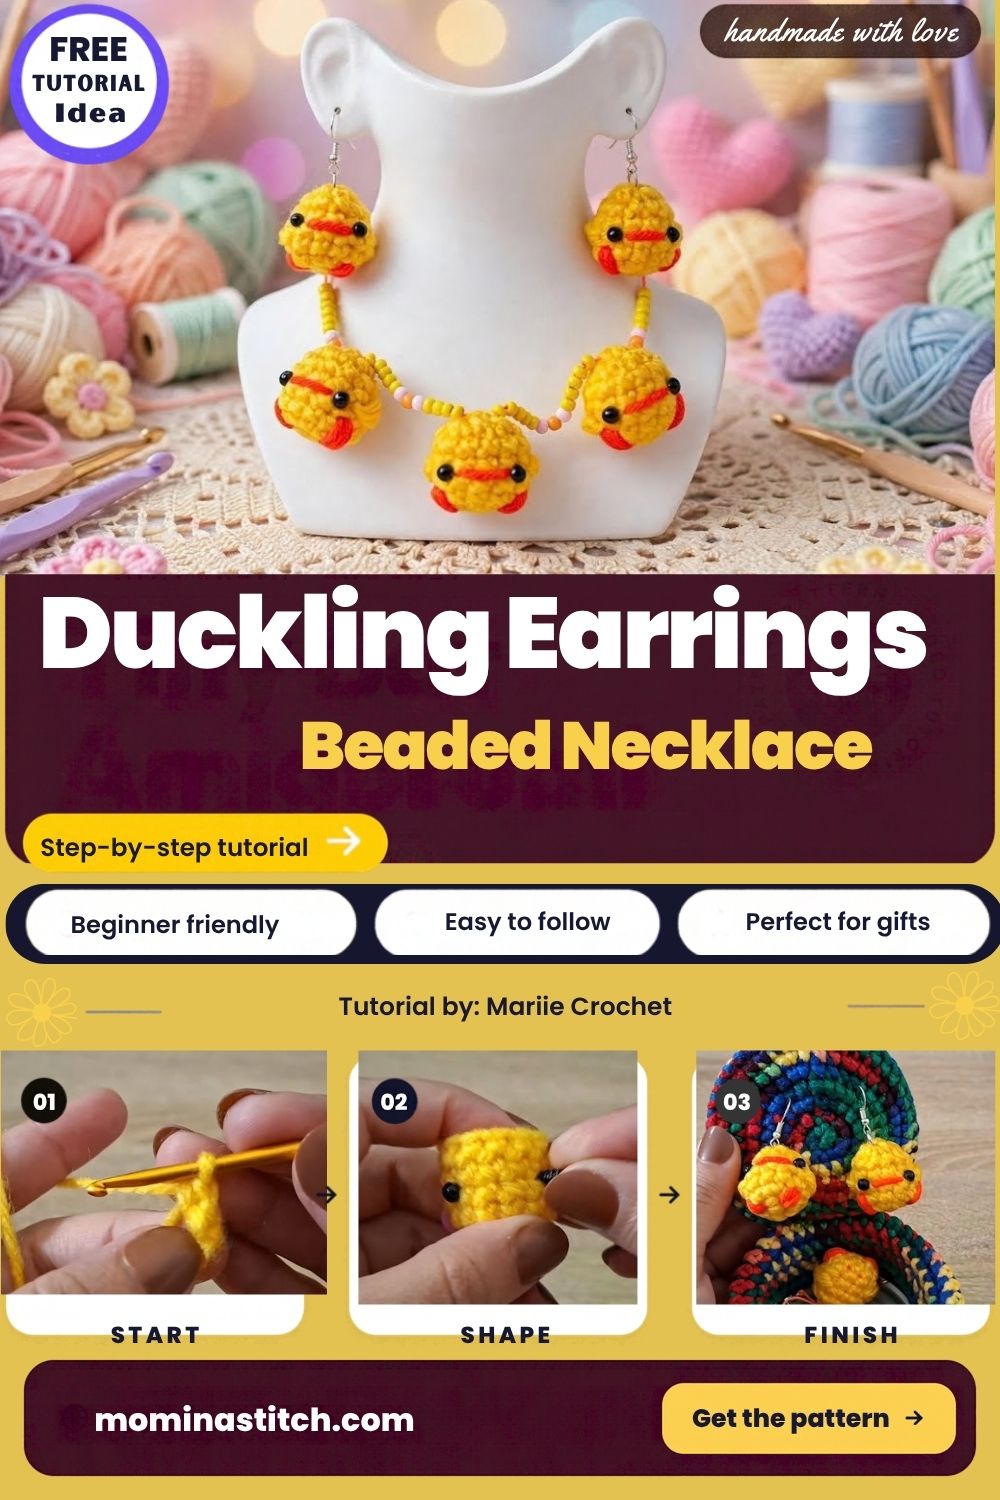
Crochet Duckling Earrings and Beaded Necklace Set Overview
- Finished size: about 1 to 1¼ inches tall per duck, depending on yarn and tension
- Build: one seamless ball worked in spiral rounds, then closed at the base
- Parts per duck: body, two wings, and a stitched beak
- Skill: confident beginner (magic ring, single crochet, increases, and decreases)
- Full set: two earring ducks plus one necklace duck
The round counts follow the classic small-ball method shown in the step photos. However, your Crochet Duckling Earrings and Beaded Necklace Set may turn out a bit taller or rounder, since tension changes from one maker to the next.
Supplies for Your Crochet Duckling Earrings
- Yellow yarn, DK or light worsted (a few yards per duck)
- A small amount of orange yarn for the wings and beak
- 2.5 mm crochet hook
- 4–5 mm black safety eyes or small black beads (2 per duck)
- A pinch of polyester fiberfill for each duck
- Yarn needle and stitch marker
- 2 fish hook ear wires, 2 eye pins, and 4 jump rings
- Beading wire or 1 mm cord, seed beads, crimp beads, and a clasp for the necklace
- Round-nose and flat-nose pliers
- Clear jewelry glue (optional)
Picking Yarn for Wearable Ducks
DK acrylic gives the soft, slightly fuzzy look you see in the photos. On the other hand, cotton keeps a crisper round shape and rubs less against hair and collars. If you want even lighter earrings, switch to sport weight yarn with a 2 mm hook. As a result, the ducks shrink and weigh less, yet the pattern stays the same.
Hook Size and Tension
Exact gauge does not matter much here; still, tension matters a lot. Your stitches should be tight enough that no white stuffing shows. So if you spot gaps after Round 4, go down half a hook size.
Abbreviations (US Terms)
- MR – magic ring
- ch – chain
- sc – single crochet
- hdc – half double crochet
- inc – 2 sc in the same stitch
- dec – invisible decrease (sc2tog through front loops)
- FO – fasten off
Time Box
- Prep: 10 minutes to gather yarn, findings, and tools
- Stitching: 20–25 minutes per duck
- Finishing: about 15 minutes per duck for eyes, beak, and wings
- Jewelry work: 20–30 minutes for the ear wires and necklace
- Whole set: close to 2 to 2½ hours
Before You Begin
Work in a continuous spiral, and move your marker up at the start of each round. Because the piece is so small, one missed stitch can change the whole shape. For that reason, count at the end of every round instead of trusting your eye.
How to Crochet the Duckling Earrings Step by Step
1. Make the Magic Ring
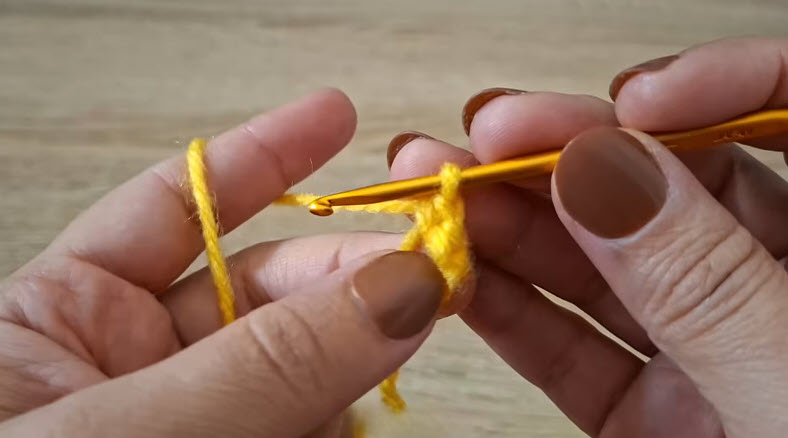
First, make a magic ring with yellow yarn.
Rnd 1: 6 sc in MR, then pull the tail tight. (6)
2. Grow the Flat Circle
Rnd 2: inc in each st around. (12)
Rnd 3: (sc, inc) x6. (18)
At the end of Round 3, your circle should lie flat, just like the one in the second photo. If the edge looks wavy, then extra stitches probably slipped in.
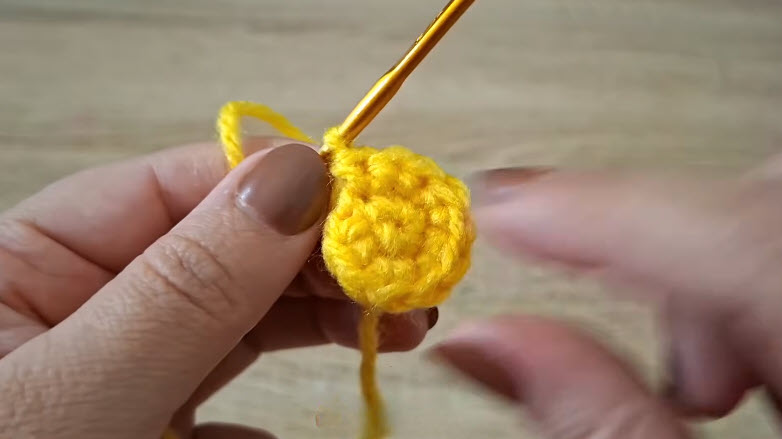
3. Build the Sides
Rnds 4–7: sc in each st around. (18)
After Round 4, the edge starts to curve upward. Soon, it forms the short tube you see in the third photo.
Pro tip: Keep the right side facing out while the tube grows. Tiny pieces often flip inside out; moreover, the wrong side shows bumpy bars that look messy on jewelry.
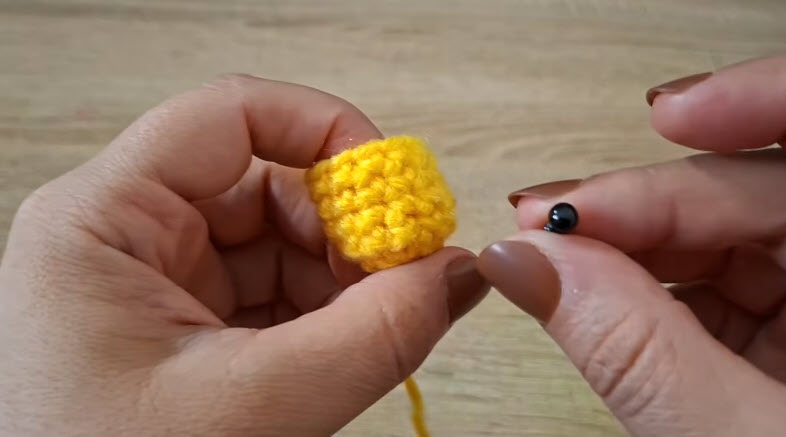
4. Set the Eyes
Next, place the eyes between Rounds 5 and 6, with 4–5 stitches between them. Before you snap on the backs, though, look at the face from the front. Ideally, both eyes sit at the same height.
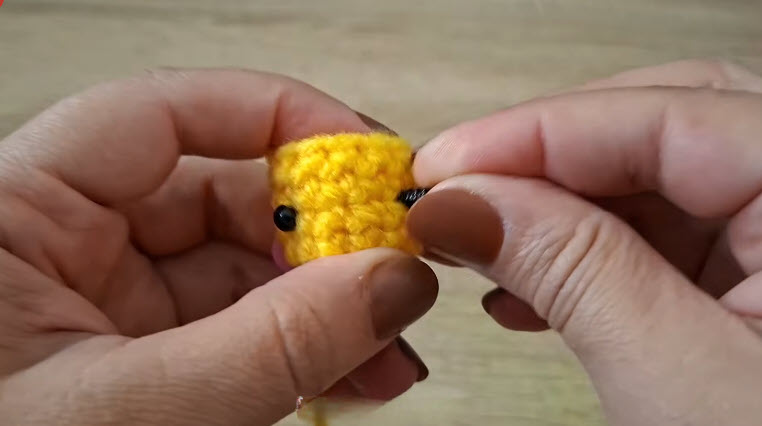
5. Add the Earring Pin
Before stuffing, push an eye pin up from the inside through the center of the magic ring. That way, the flat head stays hidden inside while the loop pokes out the top.
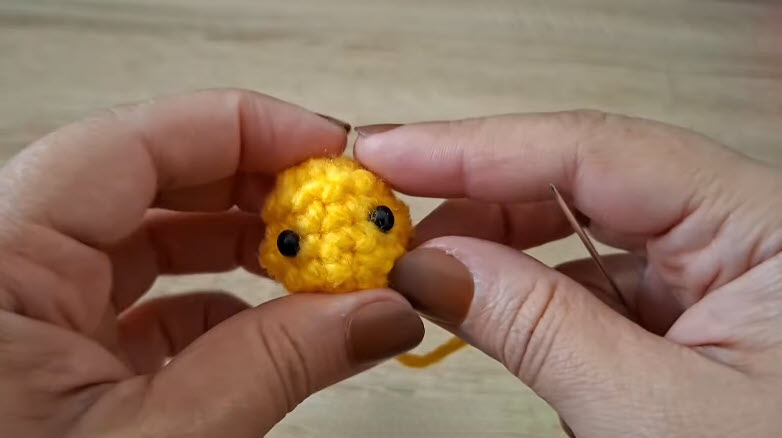
6. Stuff and Close
Rnd 8: (sc, dec) x6. (12)
Now stuff firmly with a small pinch of fiberfill, and push it around the eye backs.
Rnd 9: dec x6. (6)
Finally, FO and leave a 6-inch tail. Then weave it through the front loops of the last round, pull it shut, and hide the end inside.
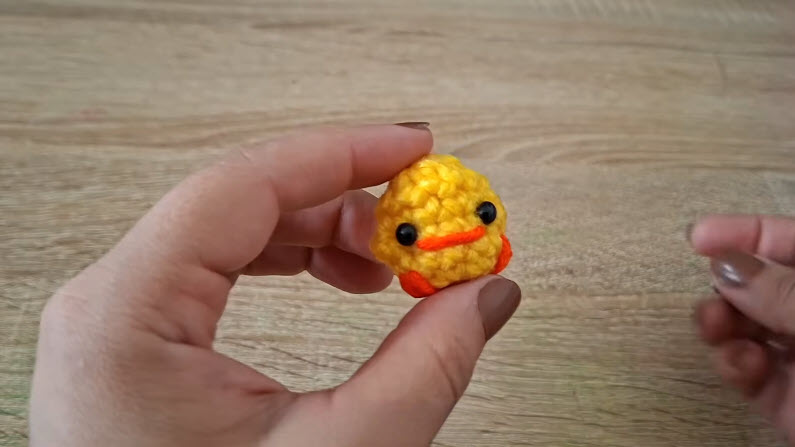
Wings and Beak for Each Duckling
Wings (make 2, orange): Ch 3. Sc in 2nd ch from hook, then hdc in last ch. FO with a tail. After that, sew one wing on each side around Rounds 6–7, tilted slightly back.
Beak: With orange yarn, work 3–4 straight stitches side by side just below and between the eyes. As a result, you get a flat little bar about 3 stitches wide.
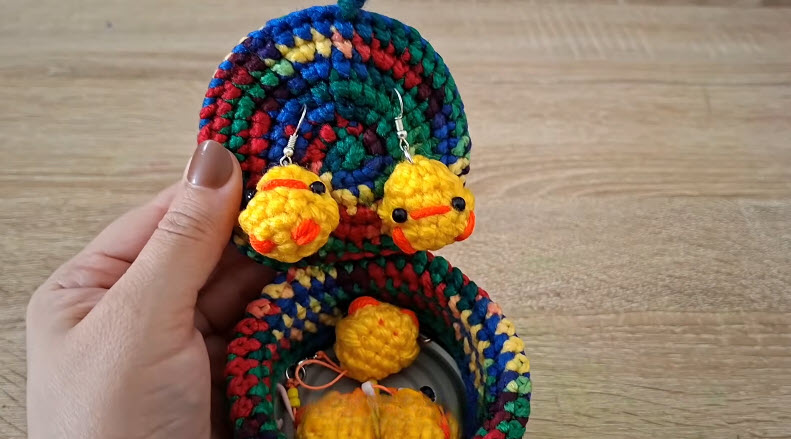
Turning the Ducks into Crochet Duckling Earrings
To start, trim the eye pin so about ⅜ inch stays above the head. Then bend a small loop with round-nose pliers. In addition, a dab of glue where the pin comes out stops the duck from spinning. Next, open a jump ring sideways, slip on the pin loop and the ear wire, and close it flat.
Before you wear them, hold both earrings side by side. After all, the beaks should face forward at the same angle.
Making the Beaded Necklace for the Duckling Set
First, string seed beads on the wire in a repeat of orange, yellow, and white. Once you reach the center, add a jump ring that holds the third duck. Then copy the same bead order on the other side. Overall, aim for 16–18 inches in total. Finally, finish each end with a crimp bead and the clasp, and your Crochet Duckling Earrings and Beaded Necklace Set is complete.
Common Mistakes to Avoid
- Wrong count in Round 3: The most frequent slip, and as a result, the whole ball goes off shape.
- Eyes set too close: On 18 stitches, only 2–3 stitches apart makes the duck look cross-eyed.
- Too much stuffing: Stretches the stitches open and, in turn, makes the duck heavier.
- Forgetting the eye pin: Adding it after closing is much harder, so place it first.
Quick Fixes
- Duck looks like an egg: Add or remove one plain round between Rounds 4–7.
- Base has a hole: Weave the tail around the last round once more, and then pull tighter.
- Earring keeps spinning: Add a small drop of glue where the eye pin comes out.
Ways to Personalize Your Duckling Earrings and Necklace Set
Pastel Chicks
Instead of yellow, try soft mint, lilac, or peach for a spring look.
Bath Toy Style
Similarly, bright red wings and a red beak give the ducks a playful rubber-toy feel.
Odd Pair
For a fun twist, make one duck yellow and the other white.
Keychain Version
Alternatively, hook the duck onto a split ring rather than an ear wire, and hang it from a backpack zipper. For a bigger version, the crochet duckling keychain amigurumi uses fluffy bobble stitches that look great on bags.
Care Tips
Spot clean with a damp cloth only. Avoid soaking, because water can loosen the glue and rust the metal parts. Also, keep the set in a small pouch so the ear wires do not bend.
Packing the Set for Craft Fairs
If you plan to sell your ducks, neat packaging helps them stand out on a busy table. For example, pierce two small holes in a kraft card for the ear wires, then tie the necklace below them with a thin ribbon. Moreover, a clear sleeve keeps dust off while buyers pick them up. Above all, add a small tag with care tips, since buyers love knowing how to keep their jewelry clean.
FAQs About the Crochet Duckling Earrings and Beaded Necklace Set
Are the earrings safe for kids?
No, not for small children. After all, safety eyes, beads, and small parts can cause choking.
Can I use beads instead of safety eyes?
Yes. In that case, sew small black beads on with thread after you close the body.
How heavy are the crochet duckling earrings?
They are very light. Even so, thinner yarn and less stuffing make them more comfortable for all-day wear.
Can I make the ducks bigger?
Of course. Simply add one more increase round (24 stitches), and then add one extra plain round.
Bonus: Keeping Tiny Amigurumi Light Enough to Wear
Earrings pull on your ears all day; therefore, every gram counts. To keep them light, choose sport weight yarn, stuff just enough to hold the round shape, and pick flat-backed safety eyes over glass beads. As a quick test, hang the finished duck on your finger for a minute. If it tugs, then remake it with thinner yarn.
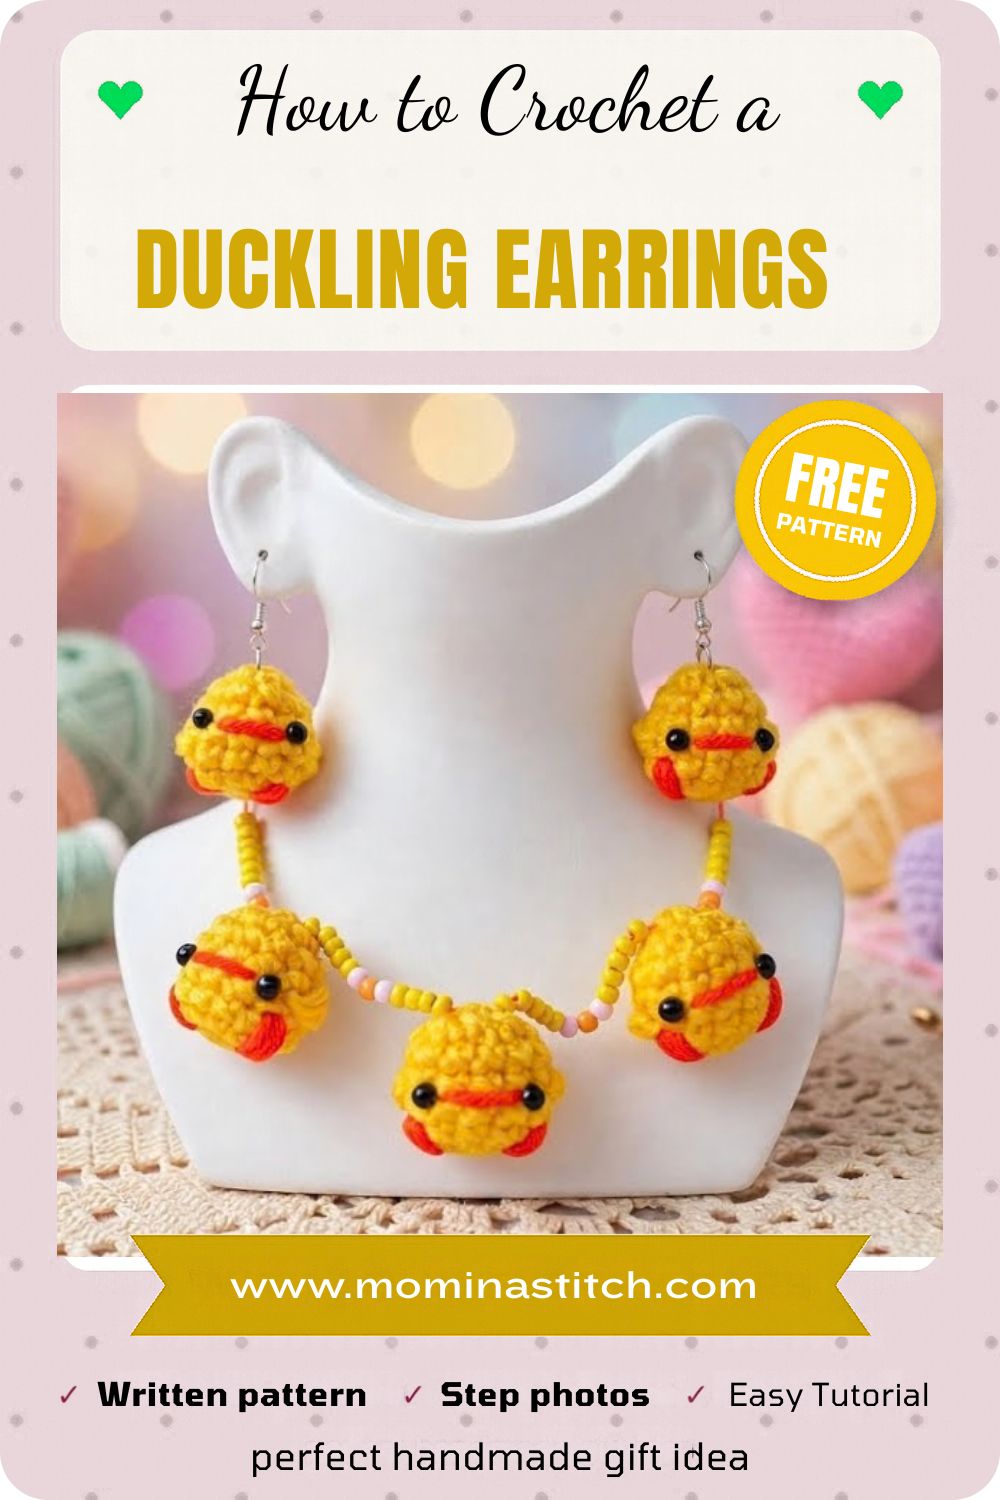
Time to Let Your Little Ducks Fly
A few yards of yellow yarn, a bit of orange, and a handful of beads can turn into a bright matching set in one afternoon. Once you finish your first Crochet Duckling Earrings and Beaded Necklace Set, you may want one in every color.
So keep one set for yourself, and wrap another as a gift. Afterwards, if tiny birds make you smile, try the crochet chick keychain pattern or the crochet baby jellyfish keychain for your next quick make.