Get This Knitted Crochet Baby Booties and Socks Pattern
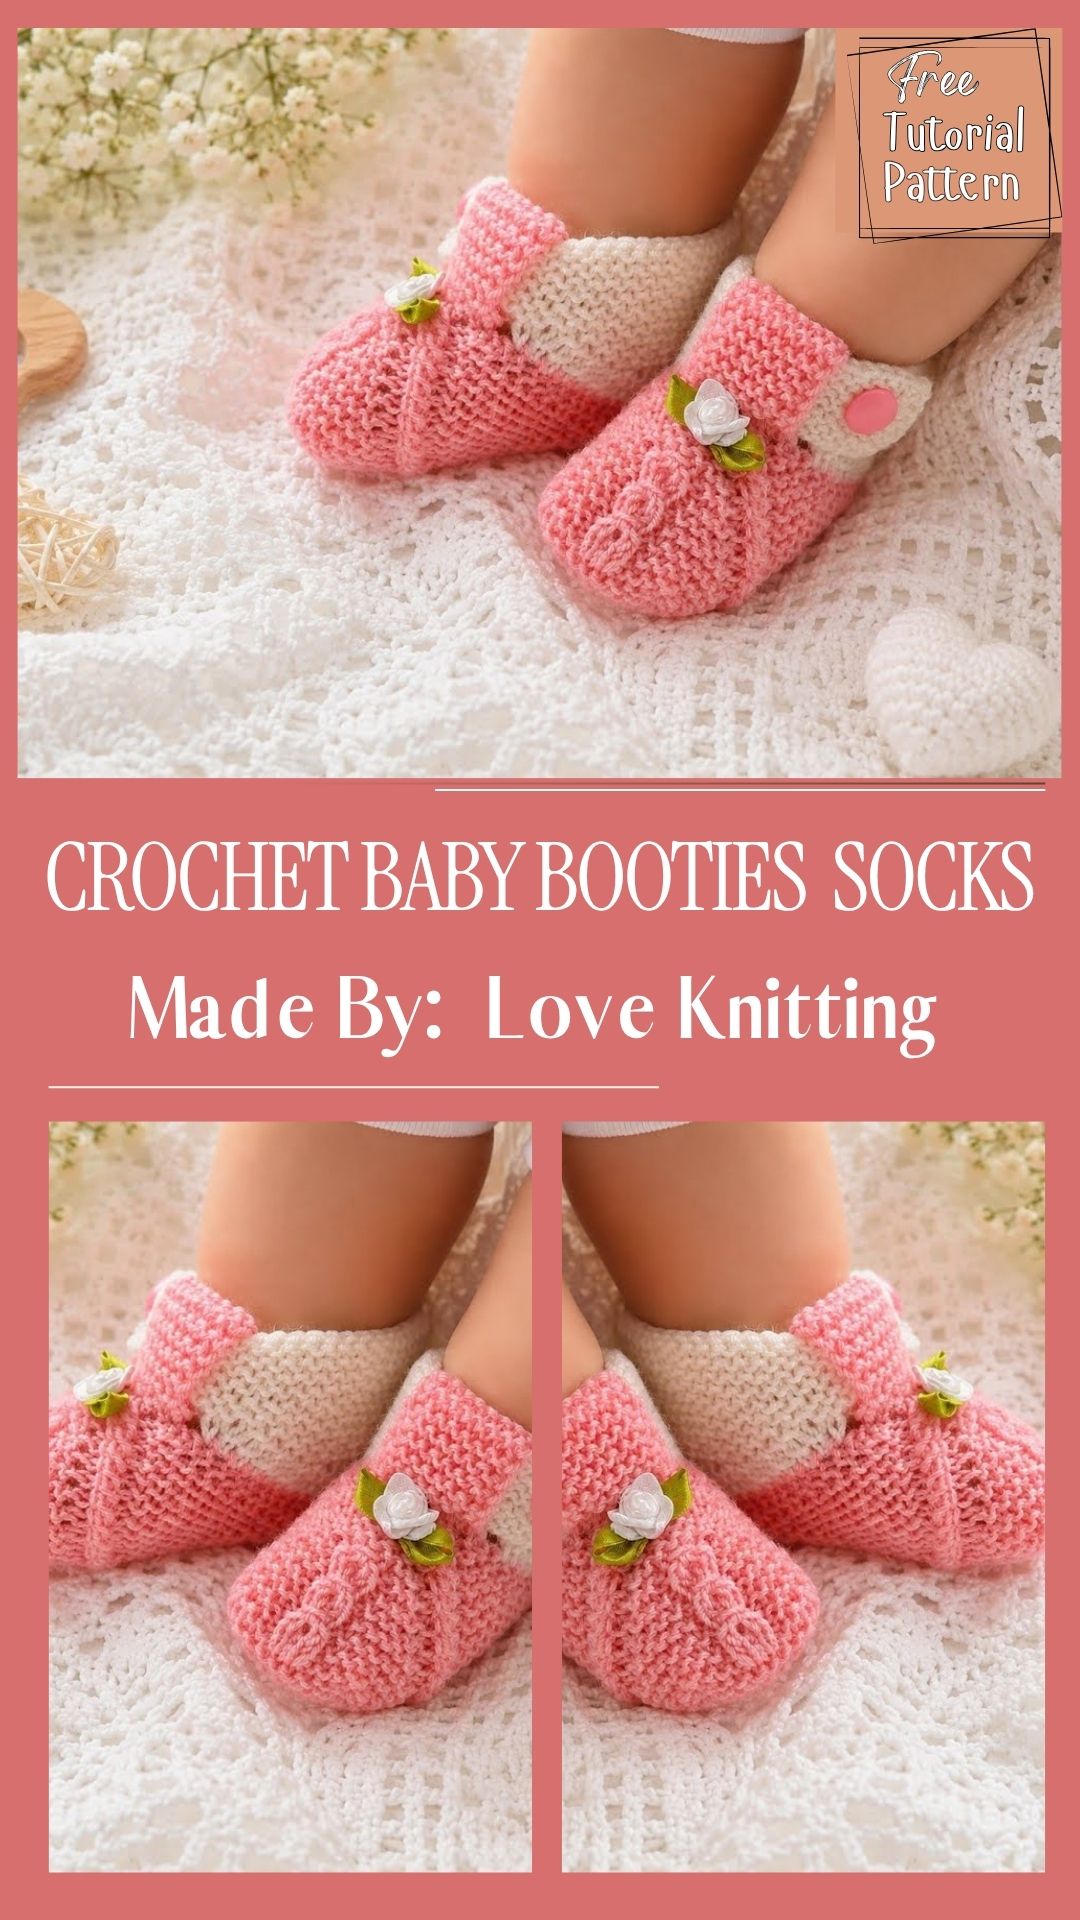
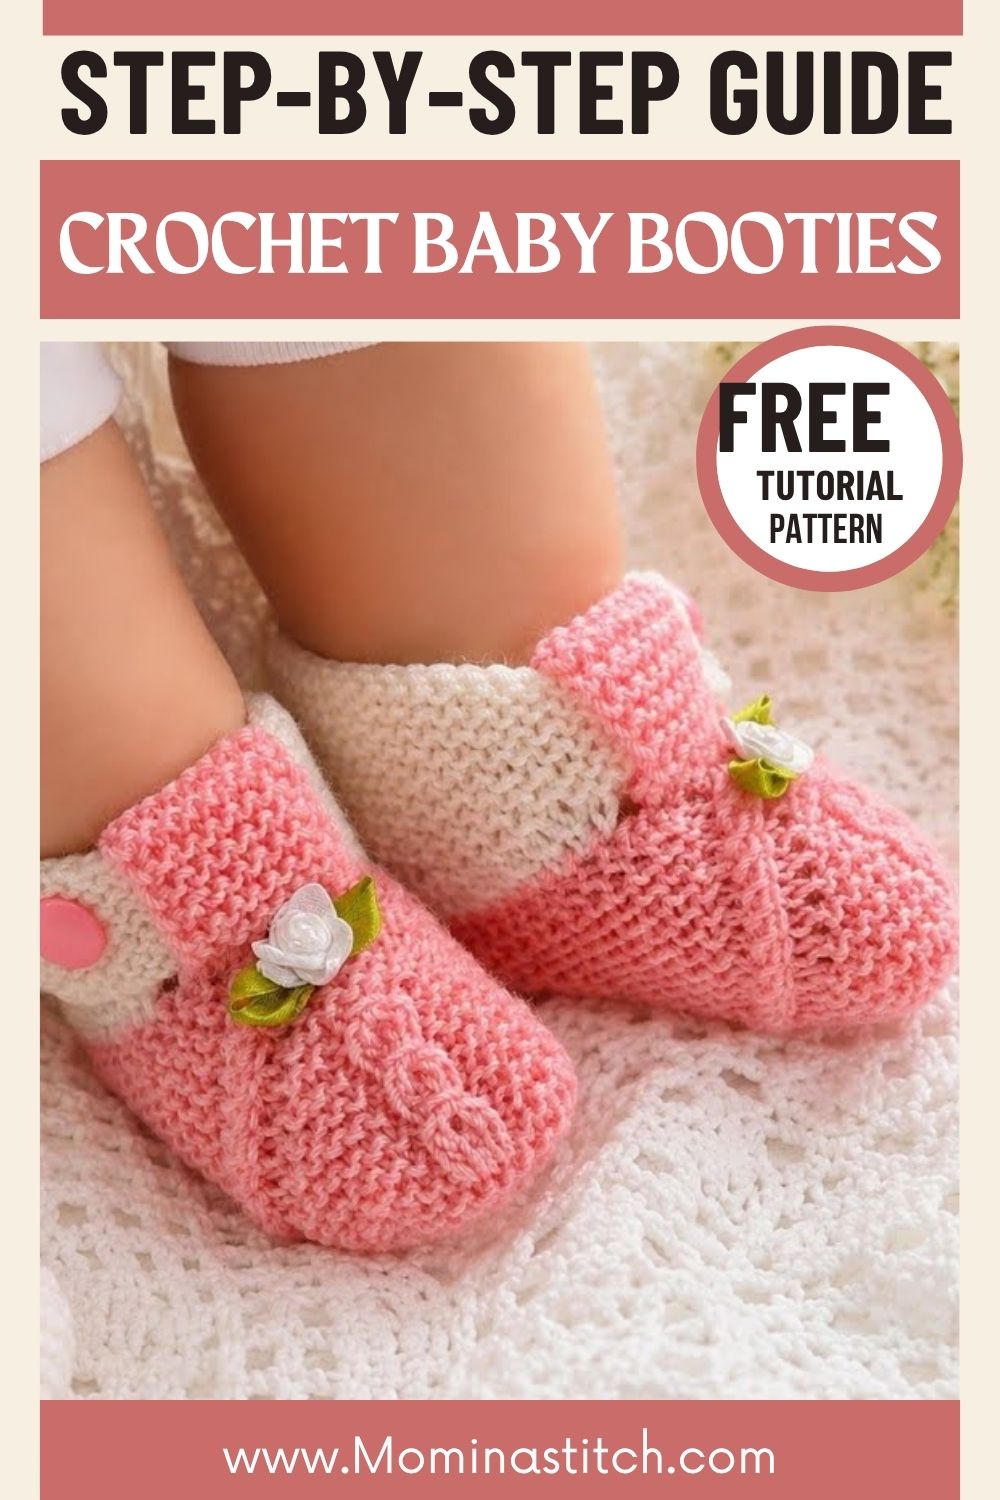
The Knitted Crochet Baby Booties and Socks Pattern turns a handful of yarn scraps into a pair of tiny, wearable keepsakes made for cold little feet. A soft picot edge and two-tone color block bring texture and charm to a simple garter base, perfect for beginners and gift-givers alike.
Blending a picot cast-on technique with classic garter stitch, this pattern creates booties that look far more advanced than they actually are. Crafters shape the sole first, then pick up stitches to build a contrasting cuff, giving each pair a two-color finish without extra seaming. Worked on basic double-pointed needles, the baby bootie knitting pattern stitches up quickly, and it suits newborn gifts, baby shower favors, or matching sets for photo sessions.
What You’ll Need
- Worsted or DK weight yarn in a main color (shown in pink) and a contrast color (shown in white)
- A set of double-pointed needles or short straight needles, sized to match your yarn (typically 4mm/US 6)
- Tapestry needle for weaving in ends and seaming
- Small scissors and stitch markers (optional, but helpful for tracking rows)
Skills You’ll Use
This pattern leans on a few beginner-friendly techniques. Casting on and knitting in garter stitch form the base of every row, while the picot cast-on adds small decorative bumps along the edge. Picking up stitches along a finished edge lets the second color join in cleanly, and a light seam closes the back of each bootie.
What You’ll Learn
- Picot Edge Technique for a scalloped, decorative trim
- Two-Color Cuff Pickup to switch yarns without extra sewing
- Garter Stitch Shaping to build the sole and foot naturally
Time Needed
- Prep: around 10 minutes to select yarn, wind it, and cast on
- Stitching: roughly 45–60 minutes per bootie, depending on gauge
- Finishing: about 15 minutes for seaming, weaving in ends, and light blocking
Step-by-Step Process
Step 1 – Start the Picot Loop
Begin by casting a small loop of the main color onto the tip of the working needle, then slide a second needle through the base of that loop so the two tips cross near the top. This crossing point holds the very first stitch steady while the tiny knot of the picot edge takes shape.
- Keep the loop firm but not fully closed
- Cross the needle tips close to the base of the loop
- Hold tension even before moving to the next stitch
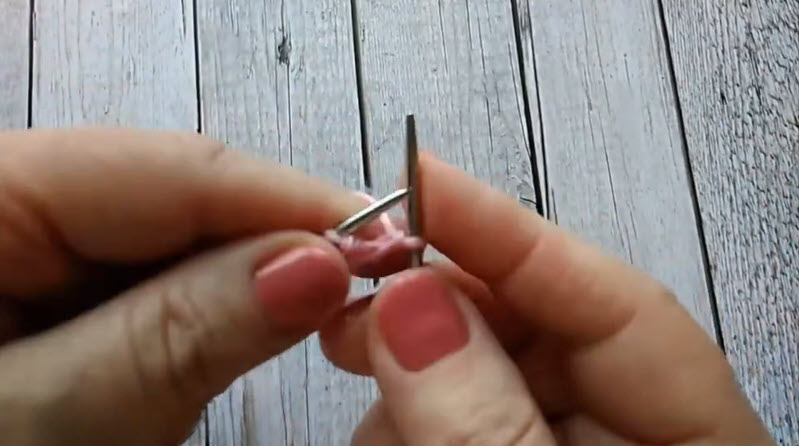
Step 2 – Lock the First Point
With both needle tips still crossed, insert the working needle through the next two stitches and knit them together as one. Draw the yarn through slowly so a small, rounded bump forms right at the fabric’s edge, marking the first true picot point.
- Pull the yarn snug, not tight, right at the base
- Aim for a round bump rather than a flat stitch
- Check tension before starting the next point
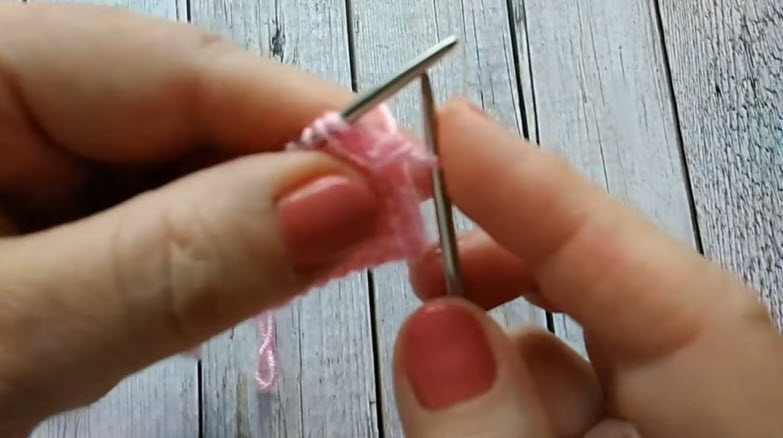
Step 3 – Repeat Across the Row
Continue the same cast-two, knit-two-together sequence stitch by stitch across the row, working one picot point at a time. A visible line of small, evenly spaced bumps should build steadily along the top edge of the pink fabric as the row grows.
- Space each picot point evenly along the edge
- Avoid overlapping or leaving gaps between bumps
- Keep the working yarn snug at every repeat
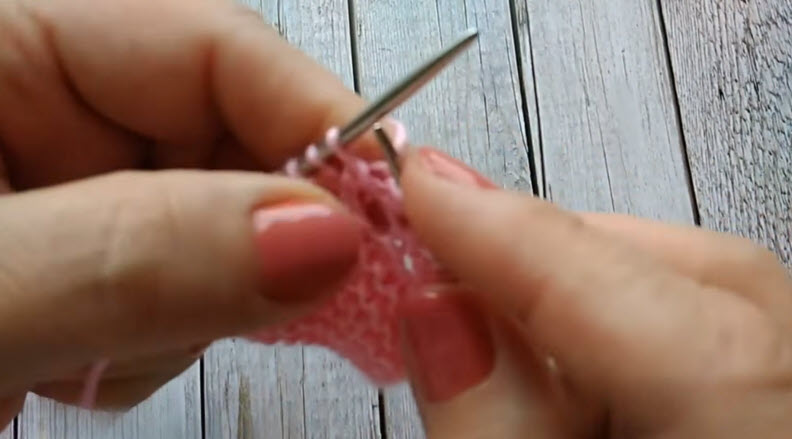
Step 4 – Finish the Row of Picots
Work the final picot point using the same technique, then pause to scan the whole row for consistency before moving forward. Fasten any looser points now, since uneven tension becomes far harder to fix once the cuff color changes.
- Re-check tension across the full row
- Tighten any bumps that sit looser than the rest
- Confirm the row looks even before switching colors
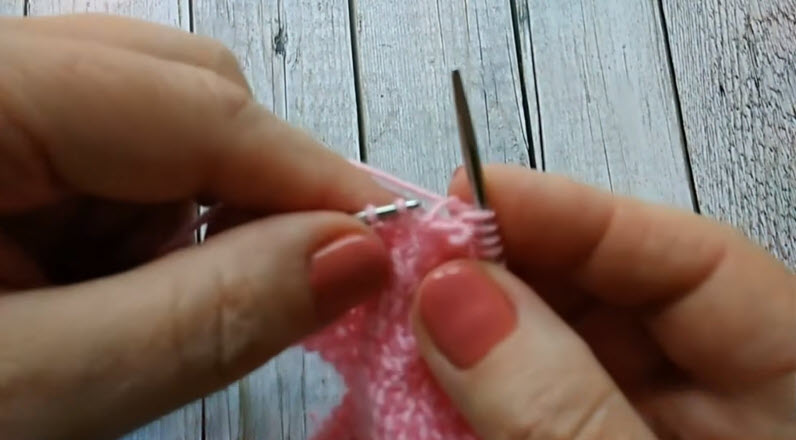
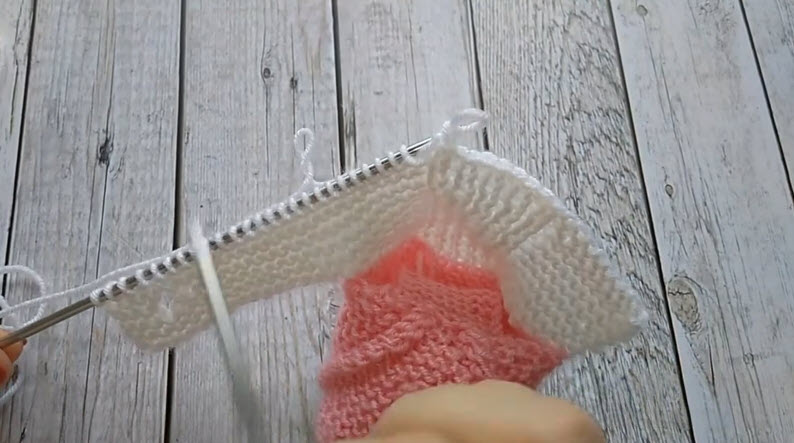
Step 5 – Pick Up and Switch Colors
Once the picot trim sits complete, turn the piece over and pick up stitches along the top edge of the pink foot section, one stitch through each ridge for an accurate count. Join the contrast color and work garter ridges upward to shape the ankle cuff.
- Pick up one stitch per ridge to keep counts accurate
- Join the new color cleanly at the first stitch
- Watch the short-row shaping closely near the heel
Where People Go Wrong
Tension trips up most beginners on this project. Pulling the picot loops too tight causes the edge to curl instead of lying flat, while working them too loose leaves the points loose and undefined. Miscounting stitches while picking up along the pink edge is another common slip, and it throws off the symmetry of the finished cuff.
How to Fix Common Issues
A light steam block usually relaxes an overly tight picot row and evens out the bumps. When stitch counts feel off after picking up, count against the original row markers rather than guessing, since garter ridges can be tricky to read. Securing the color join tightly and trimming the tail close keeps the transition from pink to white looking neat rather than bulky.
Finishing and Assembly Tips
Seam the back and sole edges with a simple mattress stitch so the join stays flat against the foot. Weave every end through several stitches on the wrong side before trimming, and avoid knotting yarn tails, since knots tend to work loose with washing. A gentle steam or spray block, worked over the picot row especially, helps the small loops sit evenly before the booties are gifted or worn.
Creative Projects You Can Make With This Pattern
The picot trim technique from this pattern doesn’t have to stop at booties. Crafters can shrink the same picot rows down to trim baby headbands, giving them a soft scalloped border in a coordinating color. The garter cuff also repeats nicely as an edging on small baby blankets, and a strip of picot points can attach to hair clips or small hat brims for a matching baby gift set. Anyone building a themed nursery collection can reuse this single technique across several projects at once.
Ways to Style or Display It
Tuck a slim ribbon through the cuff row and tie it into a small bow at the ankle for extra polish. Pair a finished set with a matching hat or headband for a coordinated newborn photo prop, or fasten a tiny fabric flower to the toe for a girl’s version. For gifting, arrange the pair inside a small box lined with tissue paper so the picot edge shows clearly on top.
Who This Pattern Is Great For
Beginners looking for a first colorwork project will find this pattern approachable, since only one color change is needed per pair. Baby shower gift-makers appreciate how quickly a set stitches up, and crafters who sell handmade baby items often add this style to a matching collection alongside hats and blankets.
Smart Variations to Try
Switching yarn weight changes the finished size dramatically; fingering weight suits a premature or newborn foot, while a chunkier yarn fits an older toddler. Classic pastel-and-white combinations read as timeless, though bold contrast colors like navy and mustard give the same Knitted Crochet Baby Booties and Socks shape a more modern look. Adding a few extra garter rows before the toe shaping also lengthens the foot for a slightly older size.
Why It’s Popular Right Now
Baby-related Crochet Baby Booties and Socks patterns consistently perform well on Pinterest and gift-focused blogs, and this particular design taps into that trend with a technique that photographs beautifully. A few reasons it keeps circulating:
- The picot edge photographs well, making it a strong Pinterest pin candidate
- Small yarn requirements mean it works as a scrap-busting project
- The two-color design feels custom without adding real difficulty
Final Takeaway
Simple stitches, one color switch, and a row of picot points make this Knitted Crochet Baby Booties and Socks design more charming than its short ingredient list suggests. Once the picot technique clicks, each pair comes together quickly. The simple construction also makes this pattern an easy addition to any handmade baby gift rotation.