Free Crochet Corset Top Pattern For Beginners
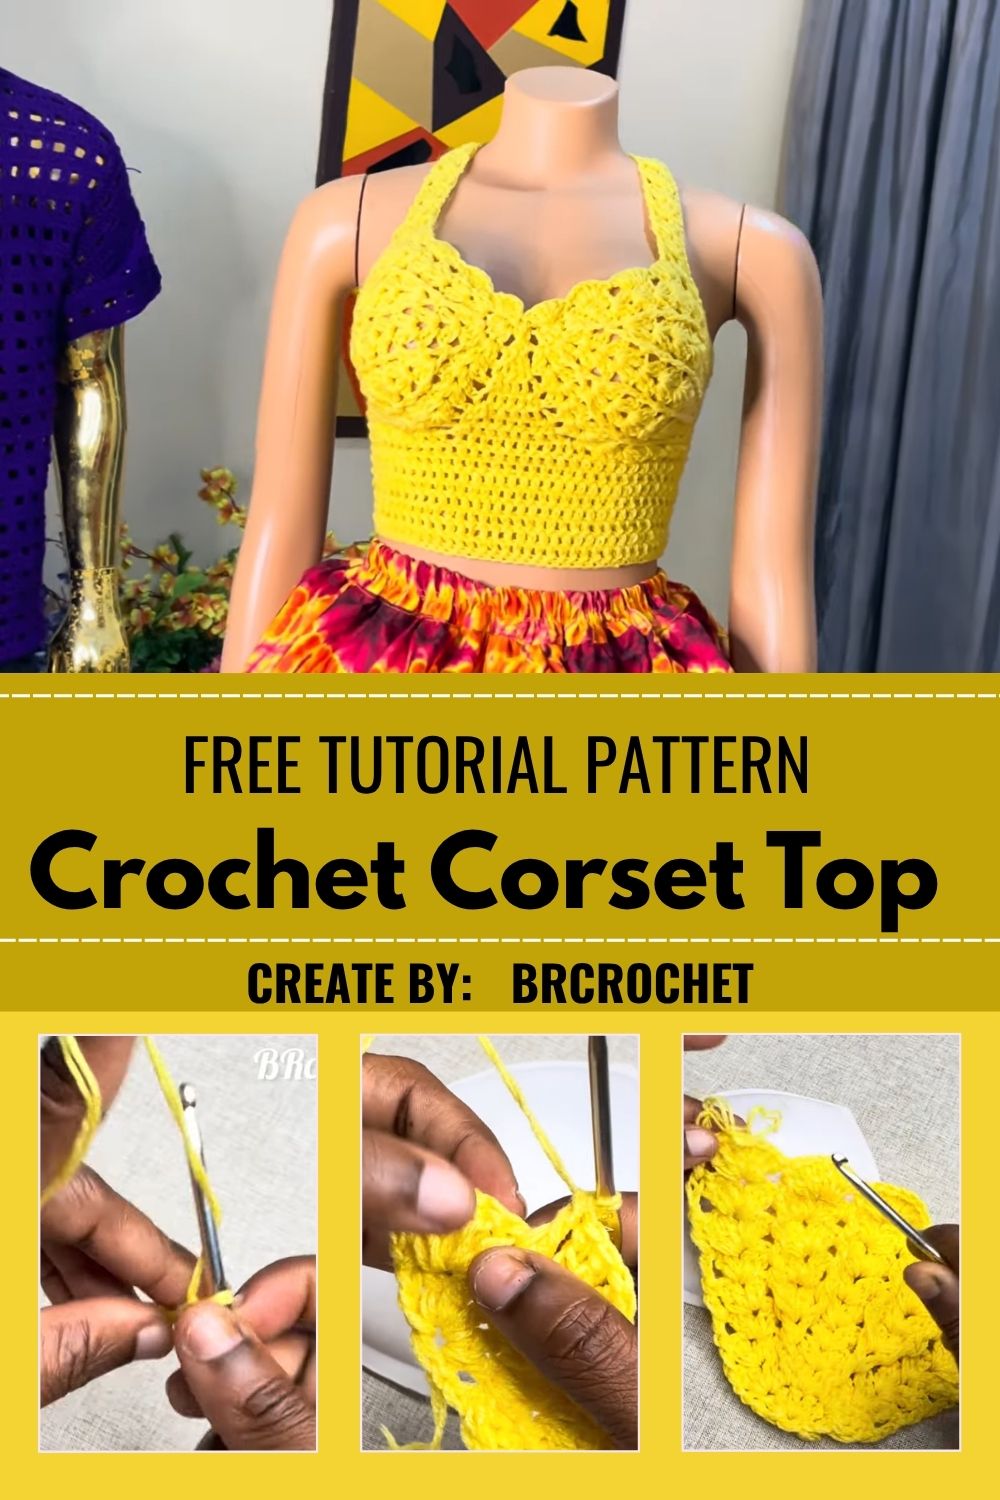
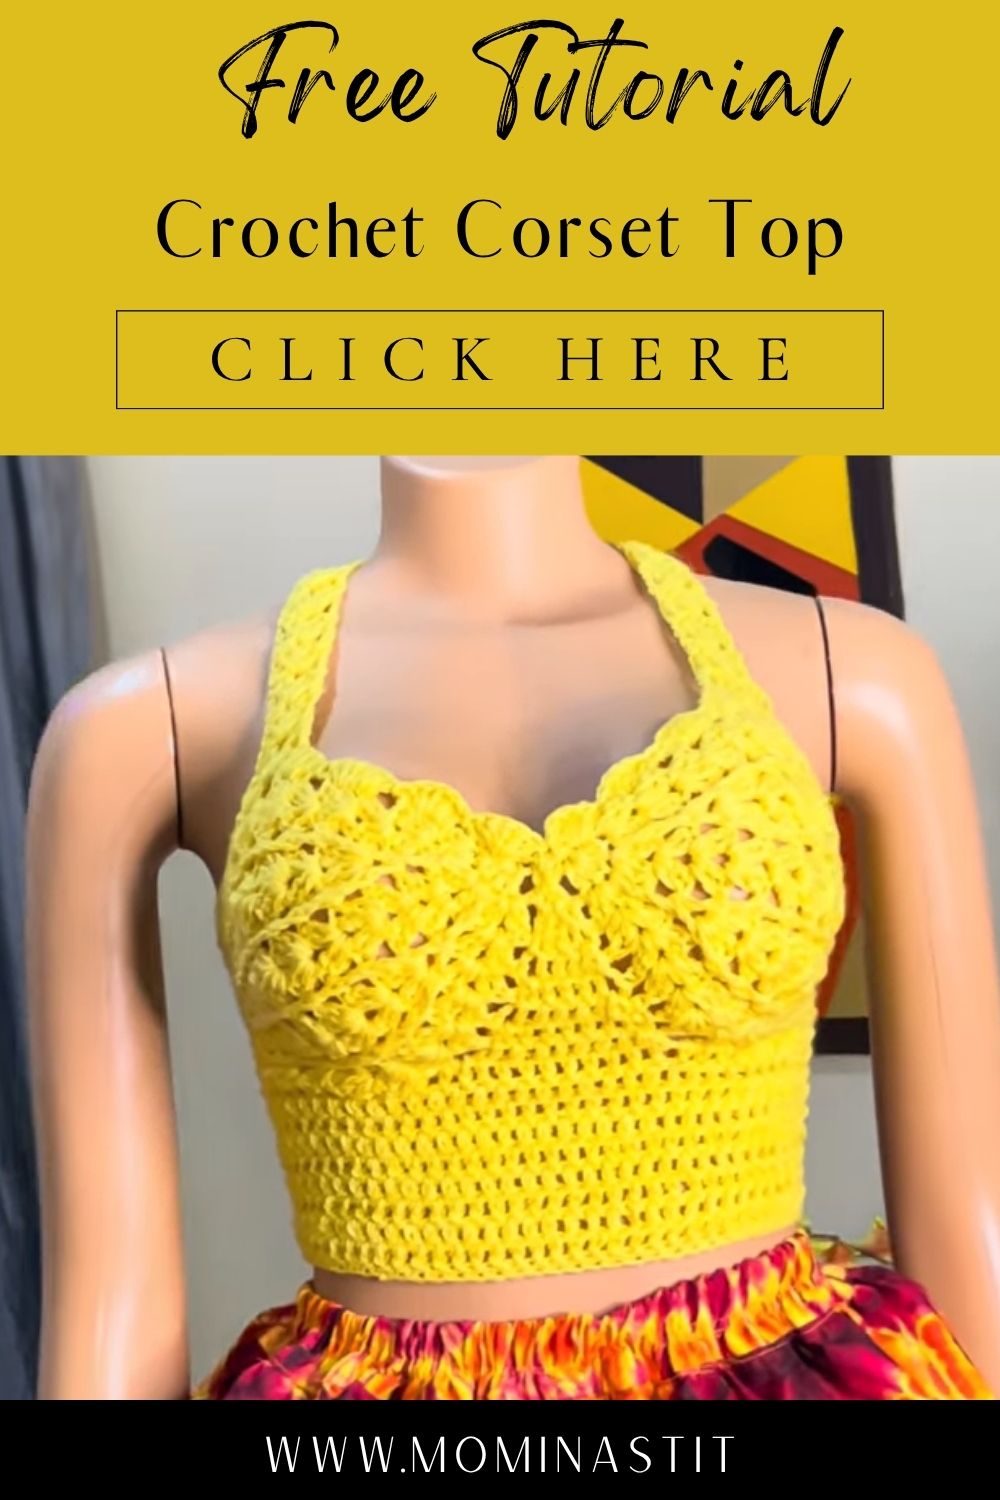
A finished Free Crochet Corset Top looks like sunshine folded into fabric. Golden shell stitches stack in tidy rows. The bodice curves inward at the waist, then flares gently at the hip. Light passes through small open spaces between stitches. Up close, the texture ripples like scalloped waves. It feels sturdy in hand, yet soft against skin.
This crochet corset top pattern is built for beginners who want real structure without complicated shaping. Using simple shell stitches and an adjustable, measurement-based approach, it delivers a snug, supportive fit around the bust and waist. The beginner Free Crochet Corset Top pattern works up with basic techniques, so anyone new to garments can shape something wearable, sturdy, and genuinely flattering right from the first magic ring.
The Idea Behind It
This project began as a simple question. Could a beginner build real structure with basic stitches? The answer sits in every curved row. A crochet corset top doesn’t need complicated shaping to look polished. It relies on rhythm instead. Repeat a shell stitch enough times, and shape appears almost on its own. That’s the quiet magic behind this pattern.
The design also solves a common beginner worry. Many new crocheters avoid garments, fearing they’ll fit poorly. This top uses a measuring approach instead of guesswork. You check your progress against your own body. That single habit removes most of the fear.
Materials Needed
Gathering supplies takes only a few minutes. Keep the list short and the process simple.
- Worsted weight yarn (cotton or cotton-blend works best for structure)
- A 5mm or 5.5mm crochet hook
- Scissors for trimming yarn ends
- A yarn needle for weaving in tails
- A soft measuring tape
- Stitch markers, optional but helpful
Cotton yarn holds its shape well under tension. That matters for a corset-style piece meant to fit snugly.
Early Shape — Getting Started
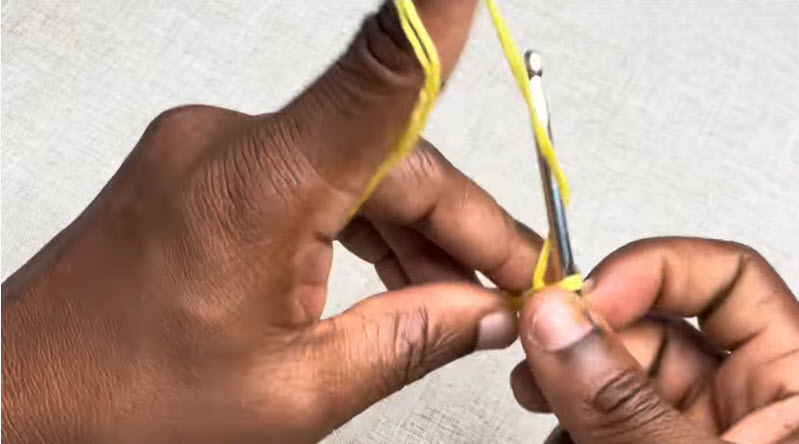
Every corset top starts small. A slip knot forms first, wrapped once around the finger. The hook slides through, catching yarn in a smooth pull. This becomes the magic ring, the tiny circle everything grows from. Fingers pinch the loop tight, holding tension steady. The first few stitches feel loose and unfamiliar. That’s normal. Within a round or two, the circle tightens into something solid. You’ll feel it shift from floppy loop to firm little disc.
Reading the First Rounds
Watch the center closely during these early rounds. If it puckers or gaps, pull the tail yarn gently. A clean, closed center makes every later round easier. This small habit prevents holes from showing up later in the crochet corset top.
Mid-Build -Taking Form
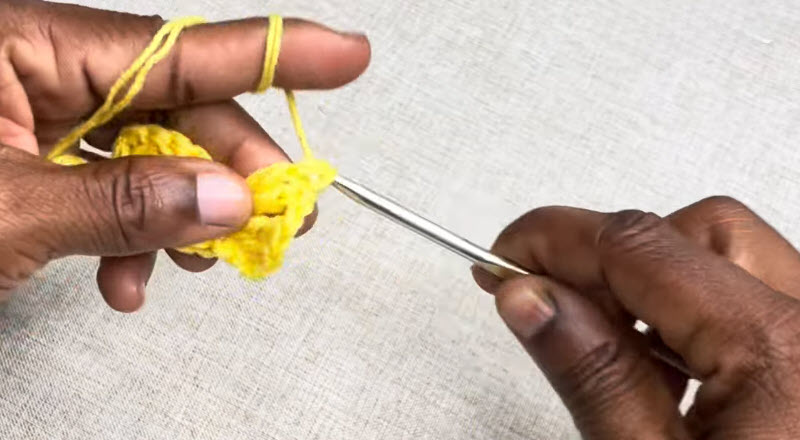
Somewhere around row four or five, the piece stops looking abstract. Shell clusters begin fanning outward like small sunbursts. Each shell has a rhythm: skip, cluster, chain, repeat. Hands find a groove here. The hook dips in and out faster than before. Rows stack with visible texture, bumpy and dimensional under fingertips.
This is where the swatch starts resembling fabric rather than loops. Edges curve slightly, hinting at the eventual body shape. Color stays consistent, but light catches the raised shell tops differently than the flatter chain spaces. The contrast gives the whole piece movement, even while it sits still on the table.
Checking Tension Mid-Row
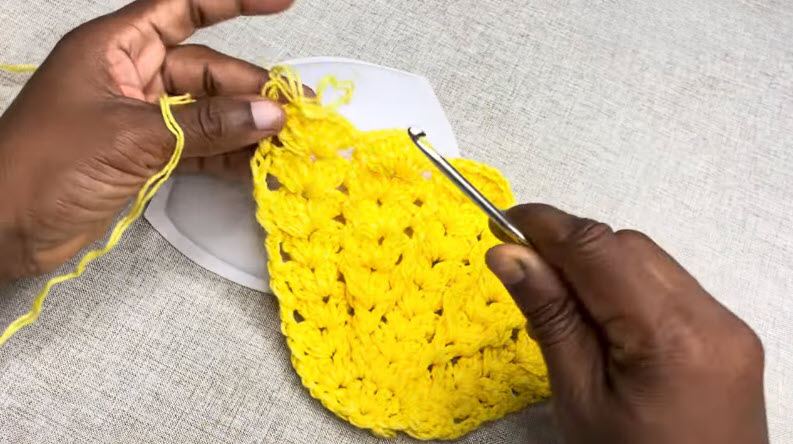
Pause here and check your tension. Stitches that are too tight will curl the fabric. Stitches too loose will leave sloppy gaps. Aim for stitches that move easily but hold their shape.
Finishing Touches
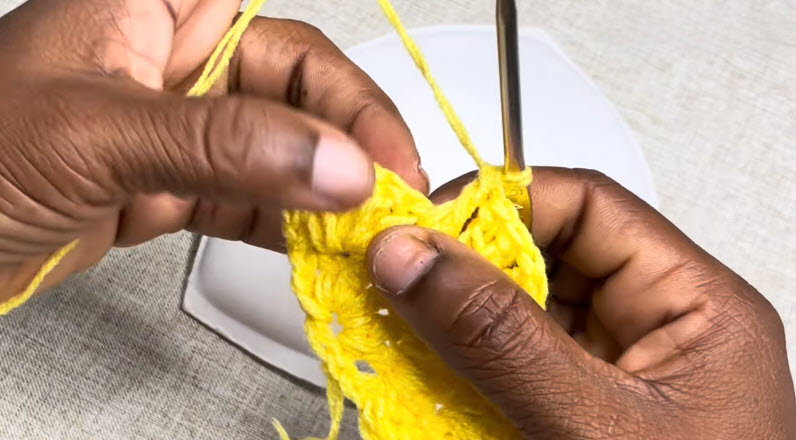
The final rows change the piece’s whole personality. What was once a flat swatch begins curving into a wearable shape. Fingers trace the top edge, checking evenness. A yarn needle weaves in loose tails, tucking them out of sight. Any bumps get smoothed with a light steam or blocking session.
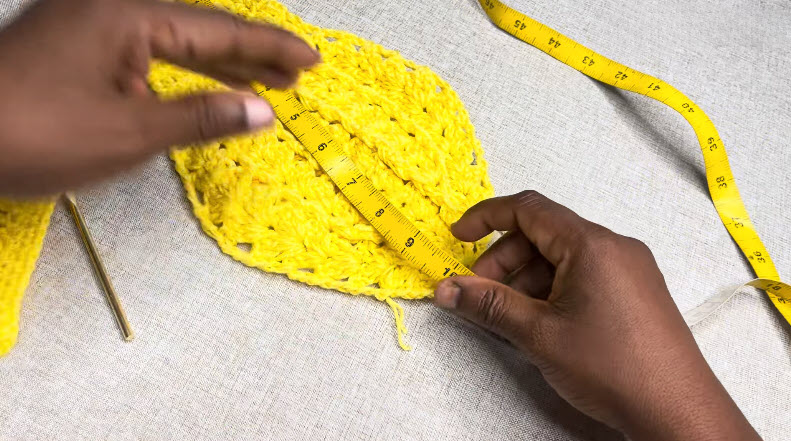
Measuring becomes essential in these last steps. A soft tape stretches across the width, checking against body measurements. Numbers matter here more than instinct. This final check ensures the crochet corset top actually fits before it’s called complete.
Techniques Worth Knowing
A few core techniques carry this entire pattern. Learning them well pays off immediately.
Shell stitch forms the backbone of the texture. It groups several double crochets into one stitch space, creating a fan shape. Magic ring starts the project without a visible center hole. Single crochet decreases shape the waist, pulling the fabric inward smoothly. Blocking flattens uneven tension after the piece is done.
None of these techniques are advanced. Together, though, they create something that looks far more complex than it is. That contrast is part of what makes this crochet corset top so satisfying to finish.
Things That Trip People Up
Even simple patterns have a few sticking points. Knowing them ahead of time saves frustration.
- Losing stitch count mid-shell. Use a stitch marker at the start of each row.
- Working too tightly. Tight stitches make later rows harder to work into.
- Skipping the measuring step. Sizing drifts easily without regular checks.
- Rushing the magic ring. A loose center weakens the whole foundation.
- Ignoring gauge. Different yarn weights change the finished size significantly.
Most of these issues show up early and are easy to fix once noticed.
Ways to Use or Display It
A finished corset top works beautifully as everyday summer wear. Pair it with high-waisted jeans for a casual look. Layer it over a slip dress for something dressier. Some makers display swatches like this one as texture samples in a craft portfolio. Others turn early practice pieces into small pouches or coasters, nothing wasted.
Photographing the piece flat, on a hanger, and worn all tells a different story. Buyers and followers often want to see all three angles.
Tips for a Smoother Experience
Small habits make the whole process smoother. Keep a notepad nearby for row counts. Rest your hands every twenty minutes or so. Natural light shows stitch definition better than warm indoor bulbs. Choose a yarn color you genuinely love; you’ll be staring at it for hours. Finally, don’t rush the swatch stage. A well-tested gauge swatch saves far more time than it costs.
FAQ
Is this crochet corset top pattern really beginner-friendly?
Yes. It relies on shell stitches, single crochets, and basic decreases. No advanced techniques are required.
What yarn weight works best?
Worsted weight cotton or cotton-blend yarn gives the best structure and drape for this style.
How do I make sure the fit is right?
Measure your bust, ribcage, and torso length before starting. Check your swatch against those numbers regularly as you build.
Can this Free Crochet Corset Top pattern be resized easily?
Yes. Because it’s built from repeating shell rows, adding or removing rows adjusts length and width without breaking the pattern logic.
Does the top need lining or support?
Many makers wear it over a bralette or with a fitted cami underneath for extra support and coverage.
Wrap-Up
Building a Free Crochet Corset Top feels like watching an idea slowly earn its shape. It starts as a single loop, uncertain and small. Row by row, shells stack into something with real presence. The final measuring step turns craft into confidence, proving the fit works before you ever put it on. Whether this becomes a summer staple or your first real garment win, the process teaches patience, rhythm, and trust in simple stitches done well.