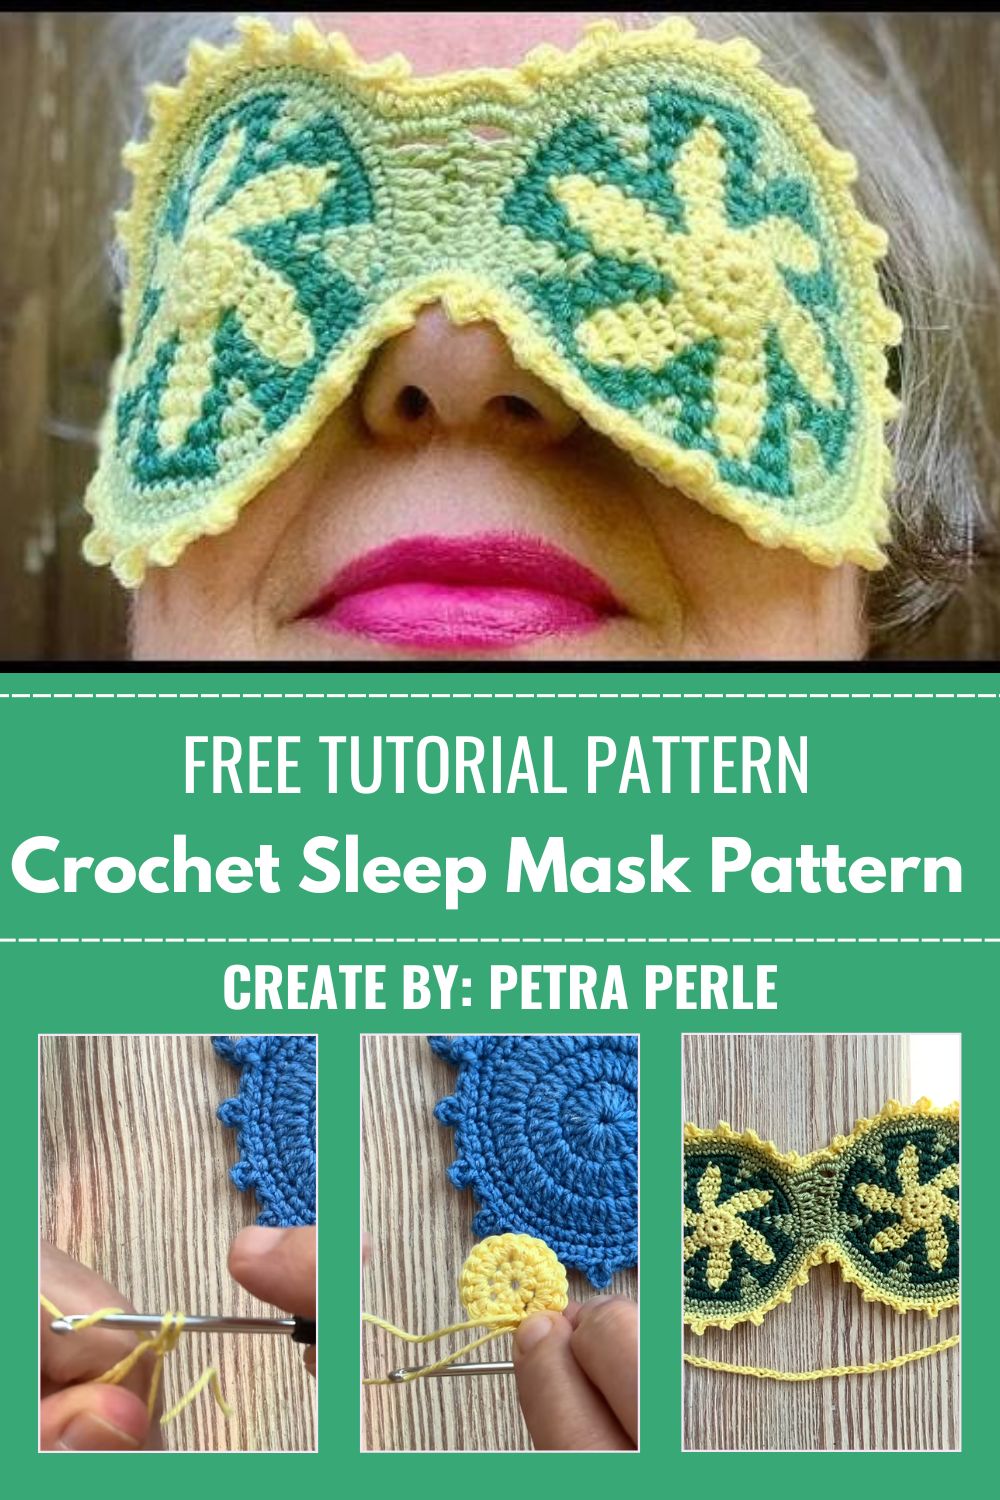
Crochet Sleep Mask Pattern with Floral Tapestry Details
Project Details
- Skill Level: Intermediate (comfortable with basic tapestry crochet)
- Finished Size: Approximately 7 inches wide, fitted to cover both eyes
- Estimated Time Required: 4–5 hours
- Recommended Yarn Weight: DK or worsted weight cotton
- Crochet Hook Size: 3.5mm–4mm
Materials Needed
- Yarn in deep green, olive green, and mustard yellow
- Crochet hook (3.5mm–4mm)
- Tapestry needle for weaving in ends
- Stitch markers
- Scissors
- Elastic or ribbon (optional, for a secure fit around the head)
Crochet Stitches & Techniques
- Magic Ring
- Chain Stitch
- Single Crochet (sc)
- Tapestry Crochet (color-work carrying multiple strands)
- Color Changes
- Picot Stitch
- Fastening Off
- Sewing Pieces Together
These techniques combine to create the layered floral effect, so a little patience with the tapestry sections pays off beautifully in the final look.
Pattern Instructions
This mask comes together through two matching floral circles that are later joined side by side, with a decorative border and strap finishing the whole piece. Working through the stages in this order keeps the pattern aligned and makes the joining stage far easier once both circles are ready.
Step 1: Starting the First Circle and Establishing the Border
Begin by crocheting a round motif in your base color, working single crochet stitches outward in a spiral until the circle reaches your desired diameter. Finish this initial round with a decorative picot edge, adding small loops along the outer rim to create that delicate scalloped finish. This piece becomes the foundation edge that will frame the floral design worked in the following steps.
Step 2: Crocheting the Flower Motif Center
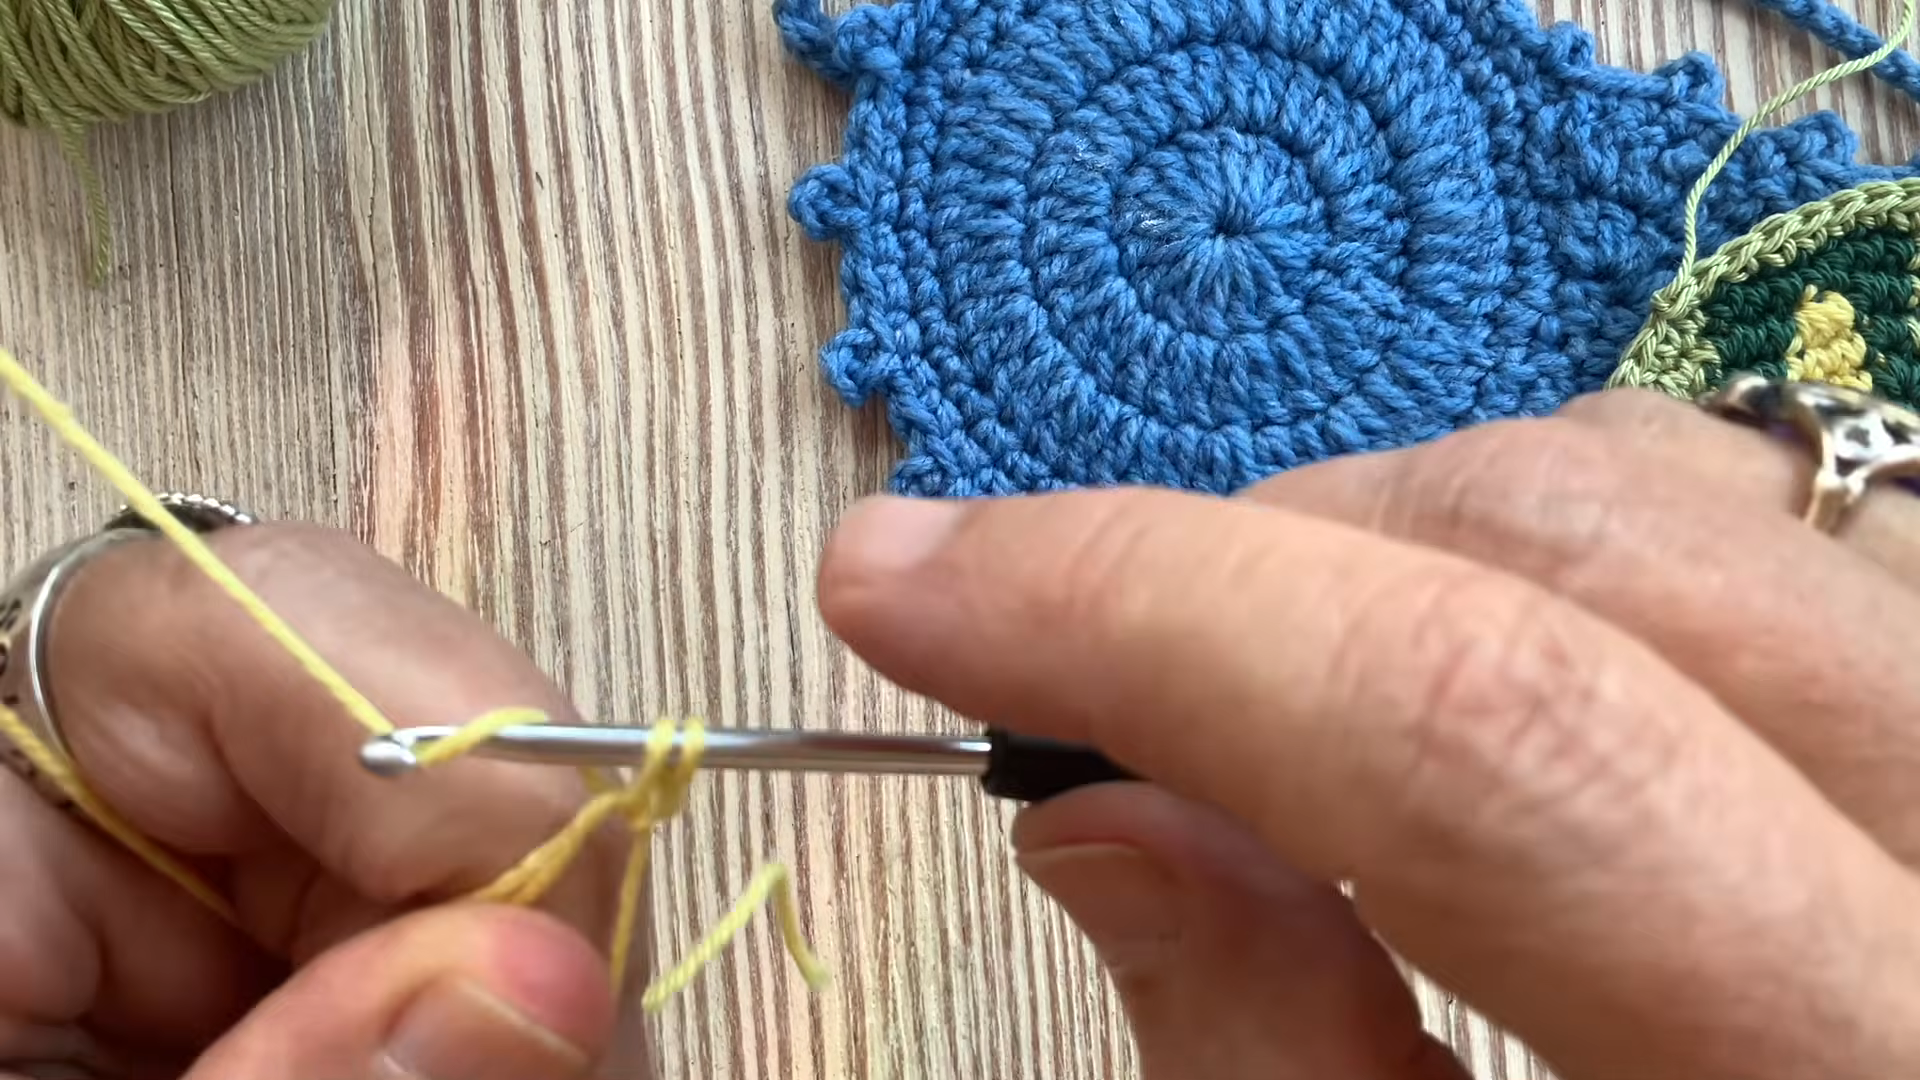
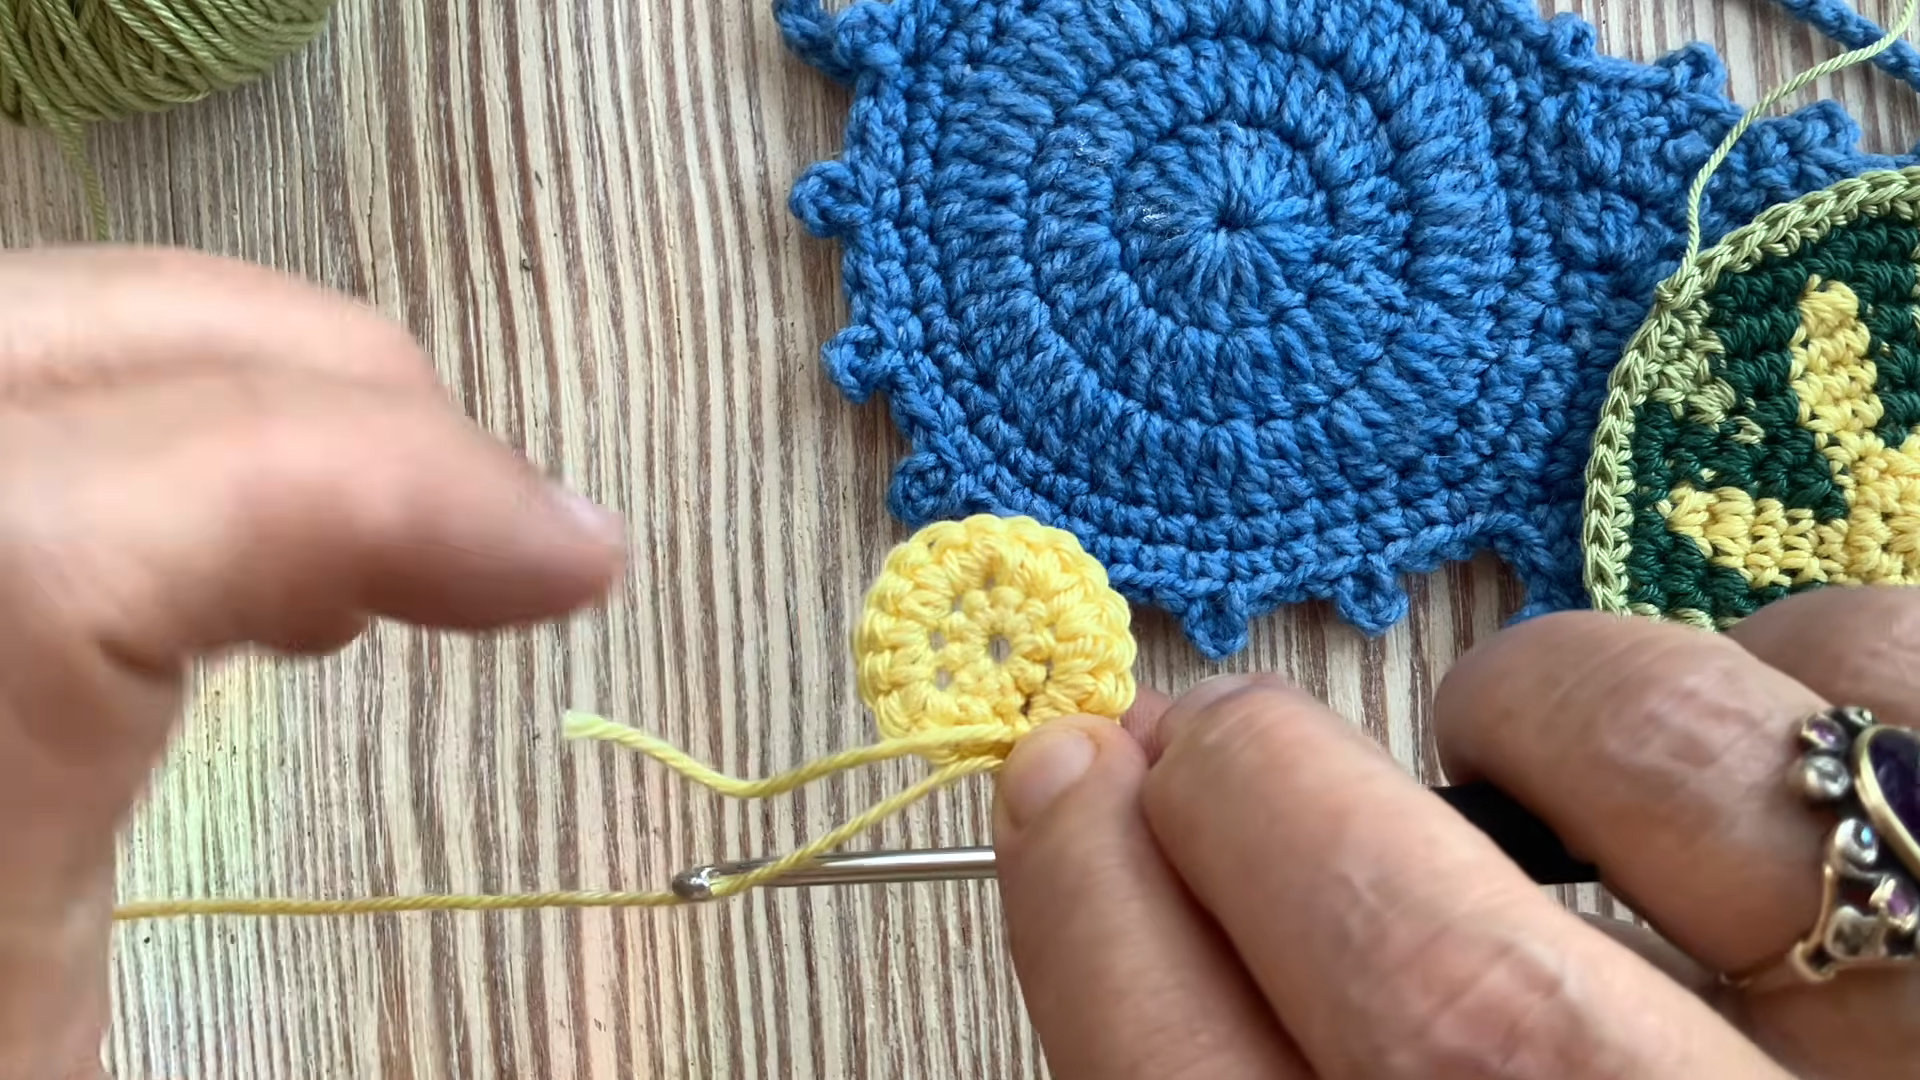
Switch to your accent yellow yarn and form a fresh magic ring to begin the tiny flower motif that sits at the heart of each circle. Work your petals outward from the center, keeping tension firm so the small shape holds its form without curling. This little floral piece becomes the centerpiece that gets layered into the larger tapestry panel in the next step.
Step 3: Working the Tapestry Panel and Joining the Motif
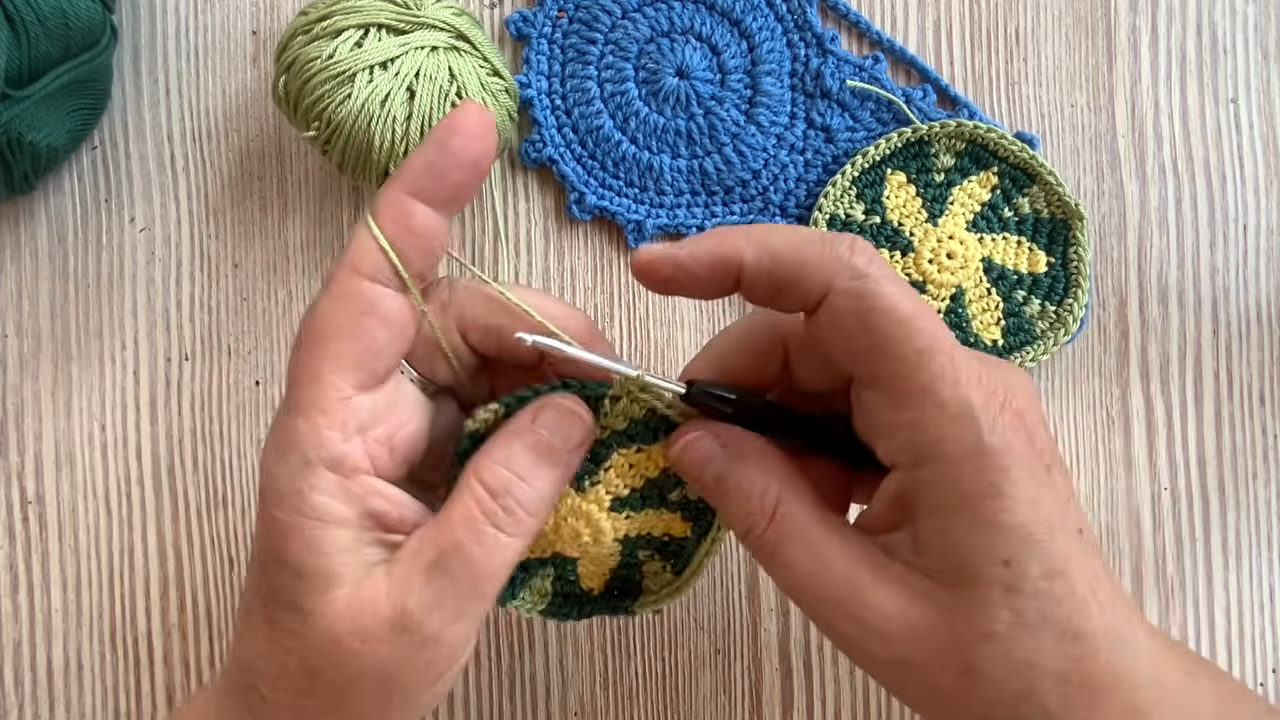
Carry both your green and yellow strands together as you crochet the main panel, switching colors stitch by stitch to build the star-shaped pattern radiating outward from the center. Notice how the floral motif integrates directly into the surrounding stitches, creating that seamless tapestry look rather than appearing as a separate patch. Take your time here, since consistent tension across color changes is what keeps the star crisp and well-defined.
Step 4: Joining the Two Circles and Adding the Strap
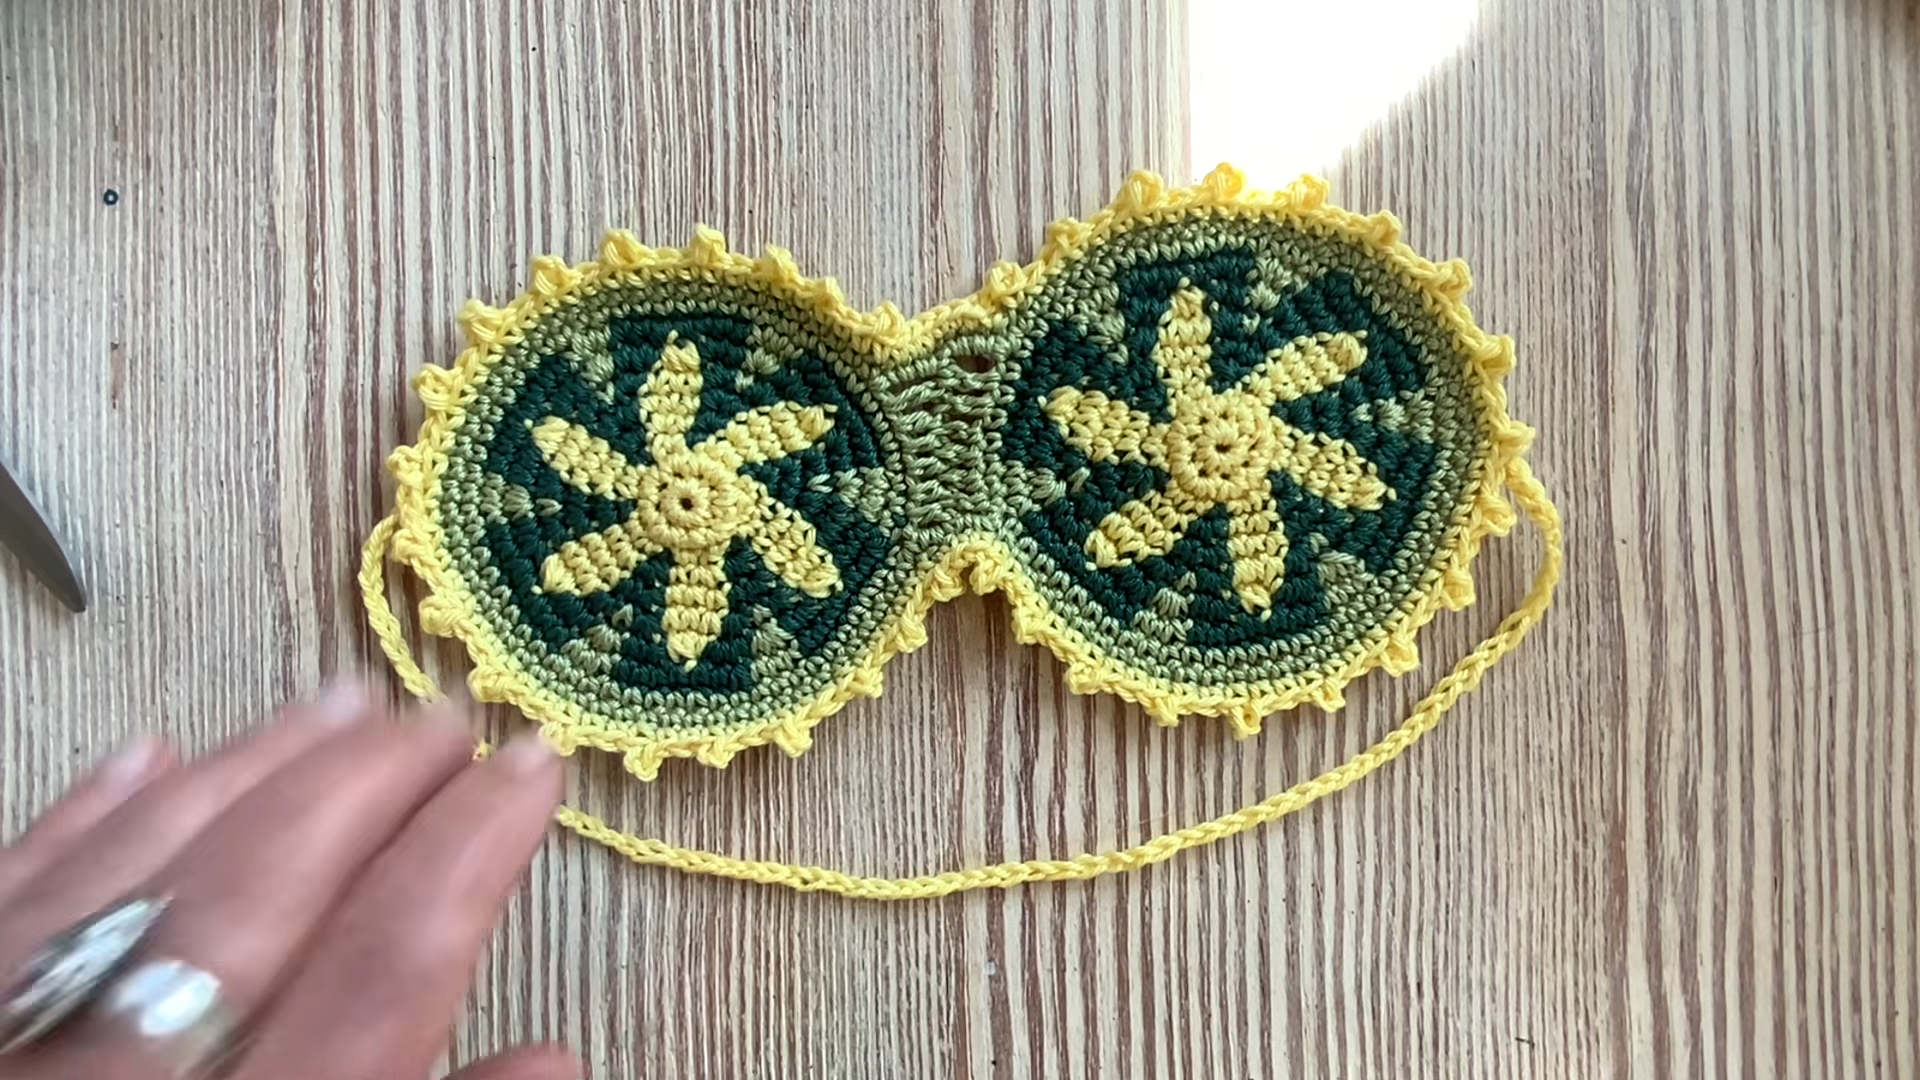
Once both floral panels are complete, position them side by side and single crochet along the inner edges to join them into the mask shape. Continue working a picot border around the entire joined piece for a cohesive, finished look on all sides. Chain a long strap from each side of the mask, adjusting the length so it wraps comfortably around the head, and fasten off securely once the fit feels right.
Final Assembly
Weave in every loose yarn end through the back of the stitches, making sure none of the tapestry threads peek through to the front side. Check the picot border around both panels for consistency, tightening any looser loops with a quick pass of your hook. Try the mask on for fit before trimming excess strap length, then give the whole piece a light steam to help the edges lie flat.
Tips for Success
- Keep tapestry strands carried snugly along the back to avoid puckering on the front.
- Count your stitches carefully during color changes to keep the star motif symmetrical.
- Use a stitch marker to track the start of each round in the tapestry sections.
- Match tension between both circles so the finished mask looks uniform.
- Block the finished piece gently to help the picot edges sit crisp and even.
- Test the strap length before fastening off completely, since it’s easier to adjust early.
Personalization Ideas
Swapping the green and gold palette for lavender and cream instantly gives this mask a softer, more delicate feel suited for a spa-themed gift. A deep red and gold combination works beautifully for a festive holiday version, while a pastel rainbow palette adds a playful, whimsical touch.
Embroidering a small initial onto the strap adds a personalized detail for gifting, and swapping the elastic strap for a wide ribbon tie creates an entirely different, more romantic silhouette. A matching drawstring pouch crocheted in the same floral motif turns this into a complete gift set.
Common Mistakes to Avoid
- Loose tapestry strands: Carry unused colors snugly to avoid gaps showing through the front.
- Mismatched circle sizes: Count rounds carefully so both panels finish at the same diameter.
- Uneven picot spacing: Space your picots consistently rather than clustering them unevenly.
- Twisted strap: Lay the mask flat while attaching the strap to avoid an accidental twist.
- Tight color joins: Keep color-change stitches relaxed to prevent puckering along the transition lines.
Frequently Asked Questions
1. What yarn works best for a comfortable sleep mask?
Soft cotton or cotton-blend yarn feels gentle against the skin and holds the tapestry pattern crisply.
2. Is tapestry crochet difficult to learn for this project?
It takes a little practice, but the repeated floral motif makes the technique easy to pick up quickly.
3. How long does the full mask usually take to complete?
Most crocheters finish within four to five hours, often working the two panels across separate sessions.
4. Can I use elastic instead of a crocheted chain strap?
Yes, sewing in a soft elastic band is a comfortable alternative that stretches gently around the head.
5. What’s the best way to keep both floral circles matching?
Work both panels using the same stitch count and color sequence before joining them together.
6. Can this Crochet Sleep Mask Pattern be adjusted for a smaller or larger fit?
Absolutely, simply adjust the circle diameter and strap length to suit the intended wearer.
7. How do I keep the tapestry pattern from showing loose threads on the back?
Weave carried yarn tightly behind the stitches as you go, rather than leaving long floats.
Conclusion
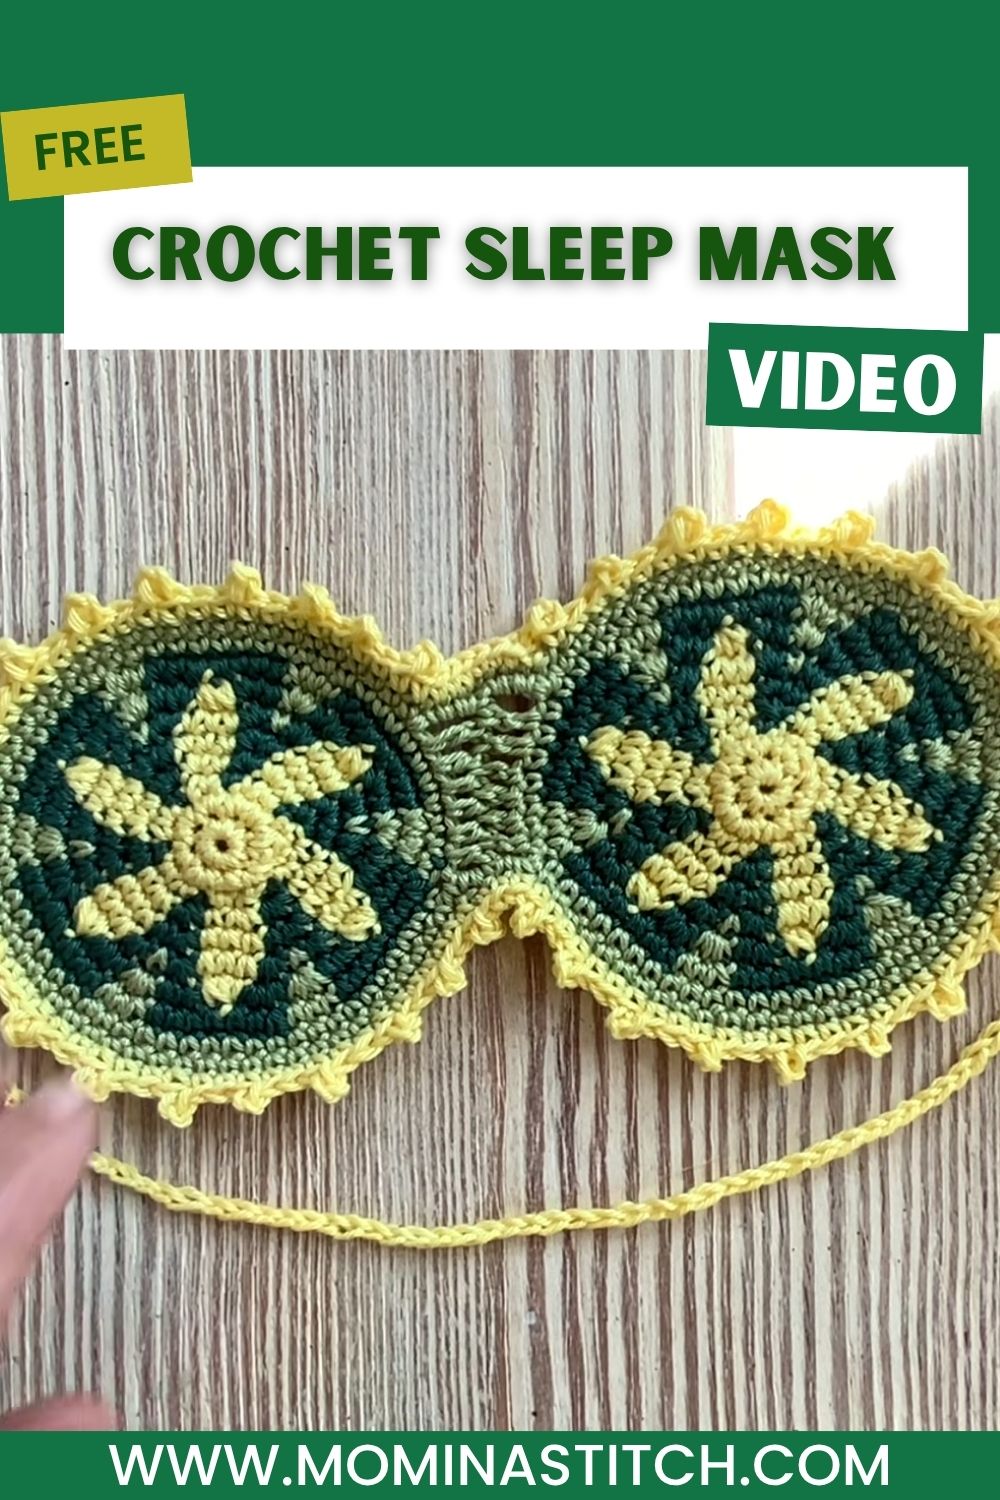
This floral tapestry Crochet Sleep Mask Pattern turns a simple bedtime accessory into a genuine handmade keepsake worth showing off. Take your time working through the color changes, enjoy watching the star motif bloom stitch by stitch, and don’t hesitate to experiment with your own favorite color combination. Once finished, this cozy little mask makes a wonderful gift or a treat for yourself so pick up your hook and share your finished creation with fellow crochet lovers.