Free Crochet Sweater Pattern with Balloon Sleeves
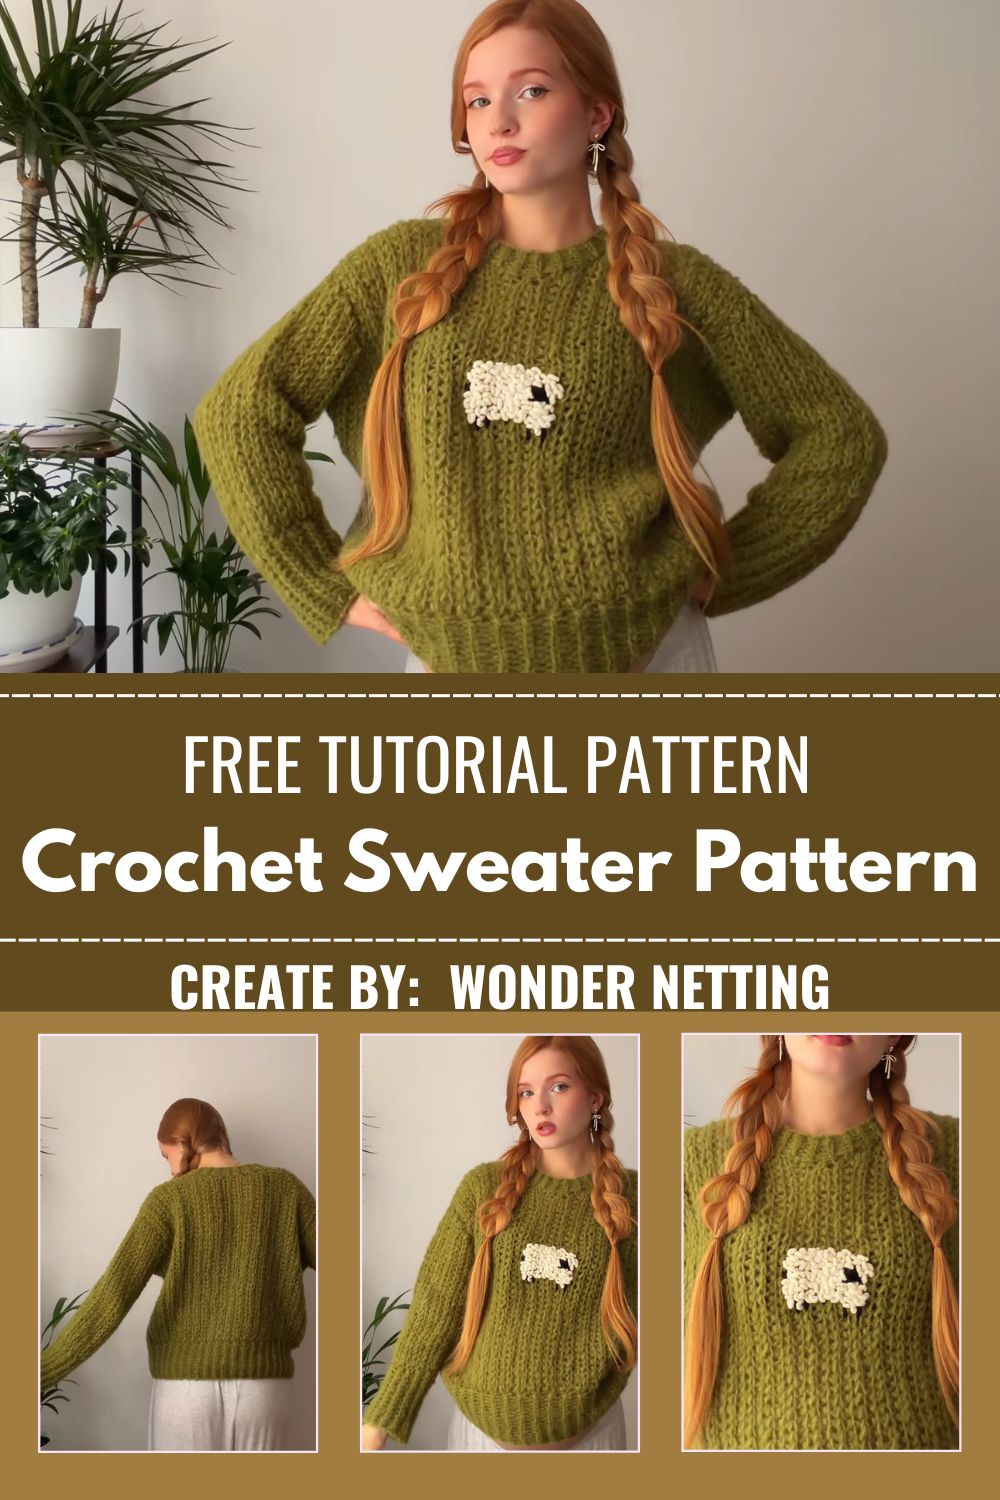
What makes this design stand out is how the loose, lofty yarn choice does most of the visual work, letting a fairly straightforward stitch pattern read as elevated and intentional. Because the body panels are worked flat and joined afterward, this sweater stays approachable even for someone who has never attempted a full garment with dramatic sleeve shaping before.
Project Details
- Skill Level: Beginner to Intermediate (comfortable with basic panel construction)
- Finished Size: Customizable, oversized relaxed fit
- Estimated Time Required: 8–10 hours total, worked across several sessions
- Recommended Yarn Weight: Bulky or chunky weight, ideally a soft mohair-blend for drape
- Crochet Hook Size: 6mm–7mm
Materials Needed
- Yarn in olive green (bulky or chunky weight, mohair blend recommended)
- Crochet hook (6mm–7mm)
- Tapestry needle for seaming
- Stitch markers
- Scissors
- Measuring tape for sizing panels to fit
Crochet Stitches & Techniques
- Foundation Chain
- Single Crochet (sc)
- Half Double Crochet (hdc)
- Increase (inc)
- Decrease (dec)
- Fastening Off
- Sewing Pieces Together
Only a handful of stitches carry this entire project, which keeps the technical side simple while the yarn texture and sleeve shaping do the heavy lifting visually.
Pattern Instructions
This sweater builds from a set of flat panels worked individually before joining into the finished garment shape, with the sleeves receiving special shaping to create their signature puff. Working through the stages below in order keeps the panels consistent and makes the sleeve shaping far easier to manage once it’s time to assemble everything.
Step 1: Starting the Foundation Chain
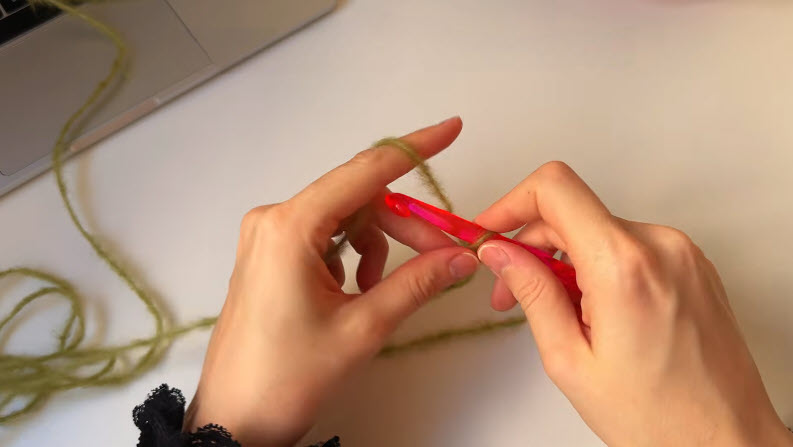
Begin with a slip knot and chain a long foundation row, sizing the chain length to match your intended panel width. Keep the chain relaxed rather than tight, since a snug foundation row can pull the entire panel narrower than planned. This starting chain sets the width for whichever panel section, whether body or sleeve, you’re about to work.
Step 2: Working the First Row Into the Chain
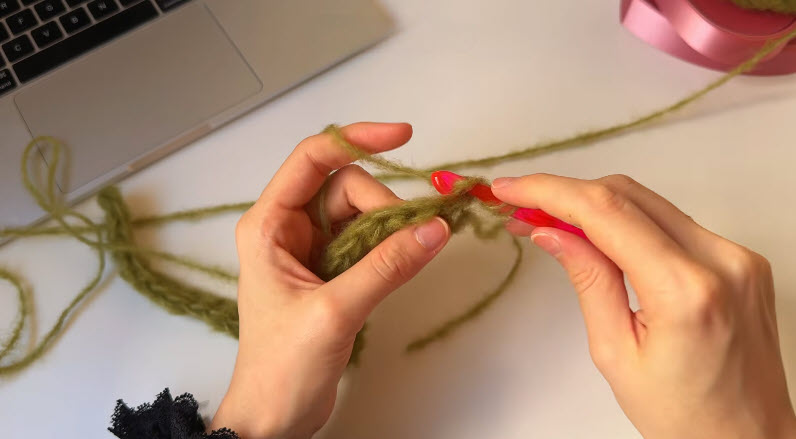
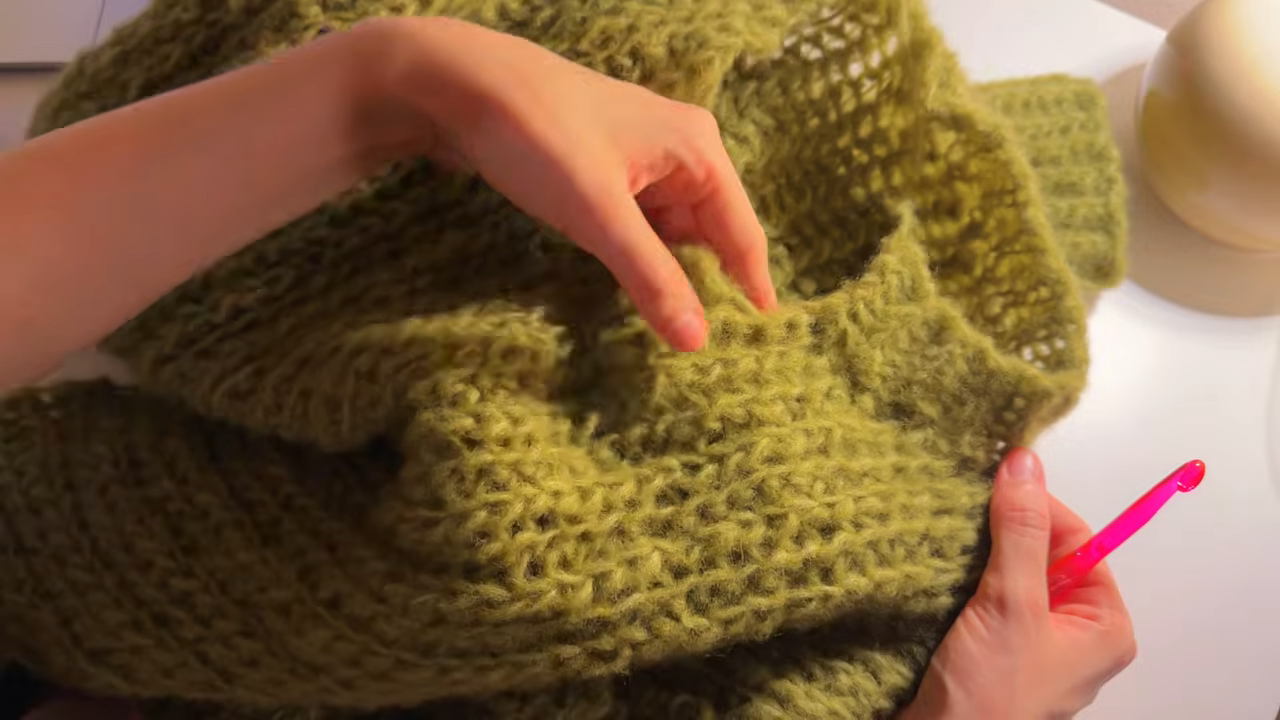
Insert your hook into the chain and begin working your first row of stitches, establishing the loose, airy texture that defines this sweater’s fabric. Notice how the stitch pattern creates a slightly open, breathable look rather than a dense, solid fabric. Keep your tension consistent here, since the early rows set the rhythm for every row that follows.
Step 3: Building the Panel Length
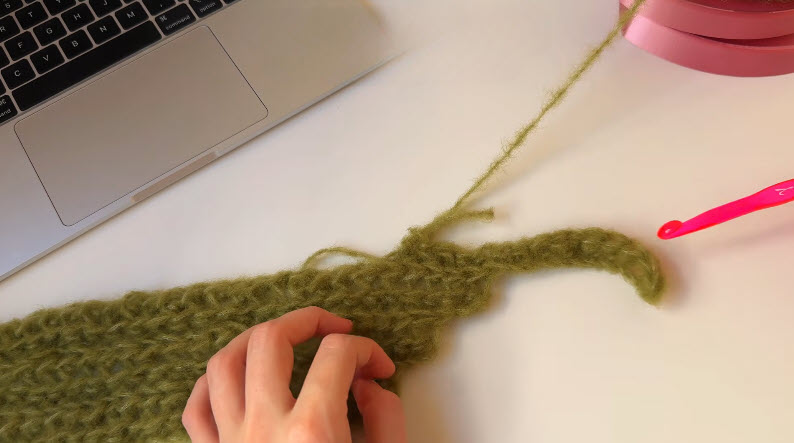
Continue working row after row, turning at the end of each one and repeating the stitch pattern to build the panel upward. Watch the fabric grow steadily longer, checking periodically against your measurements to confirm the panel is tracking toward the correct finished length. This straightforward repetition is where the loose, cozy texture of the finished sweater really starts to take shape.
Step 4: Reviewing the Completed Body Panel
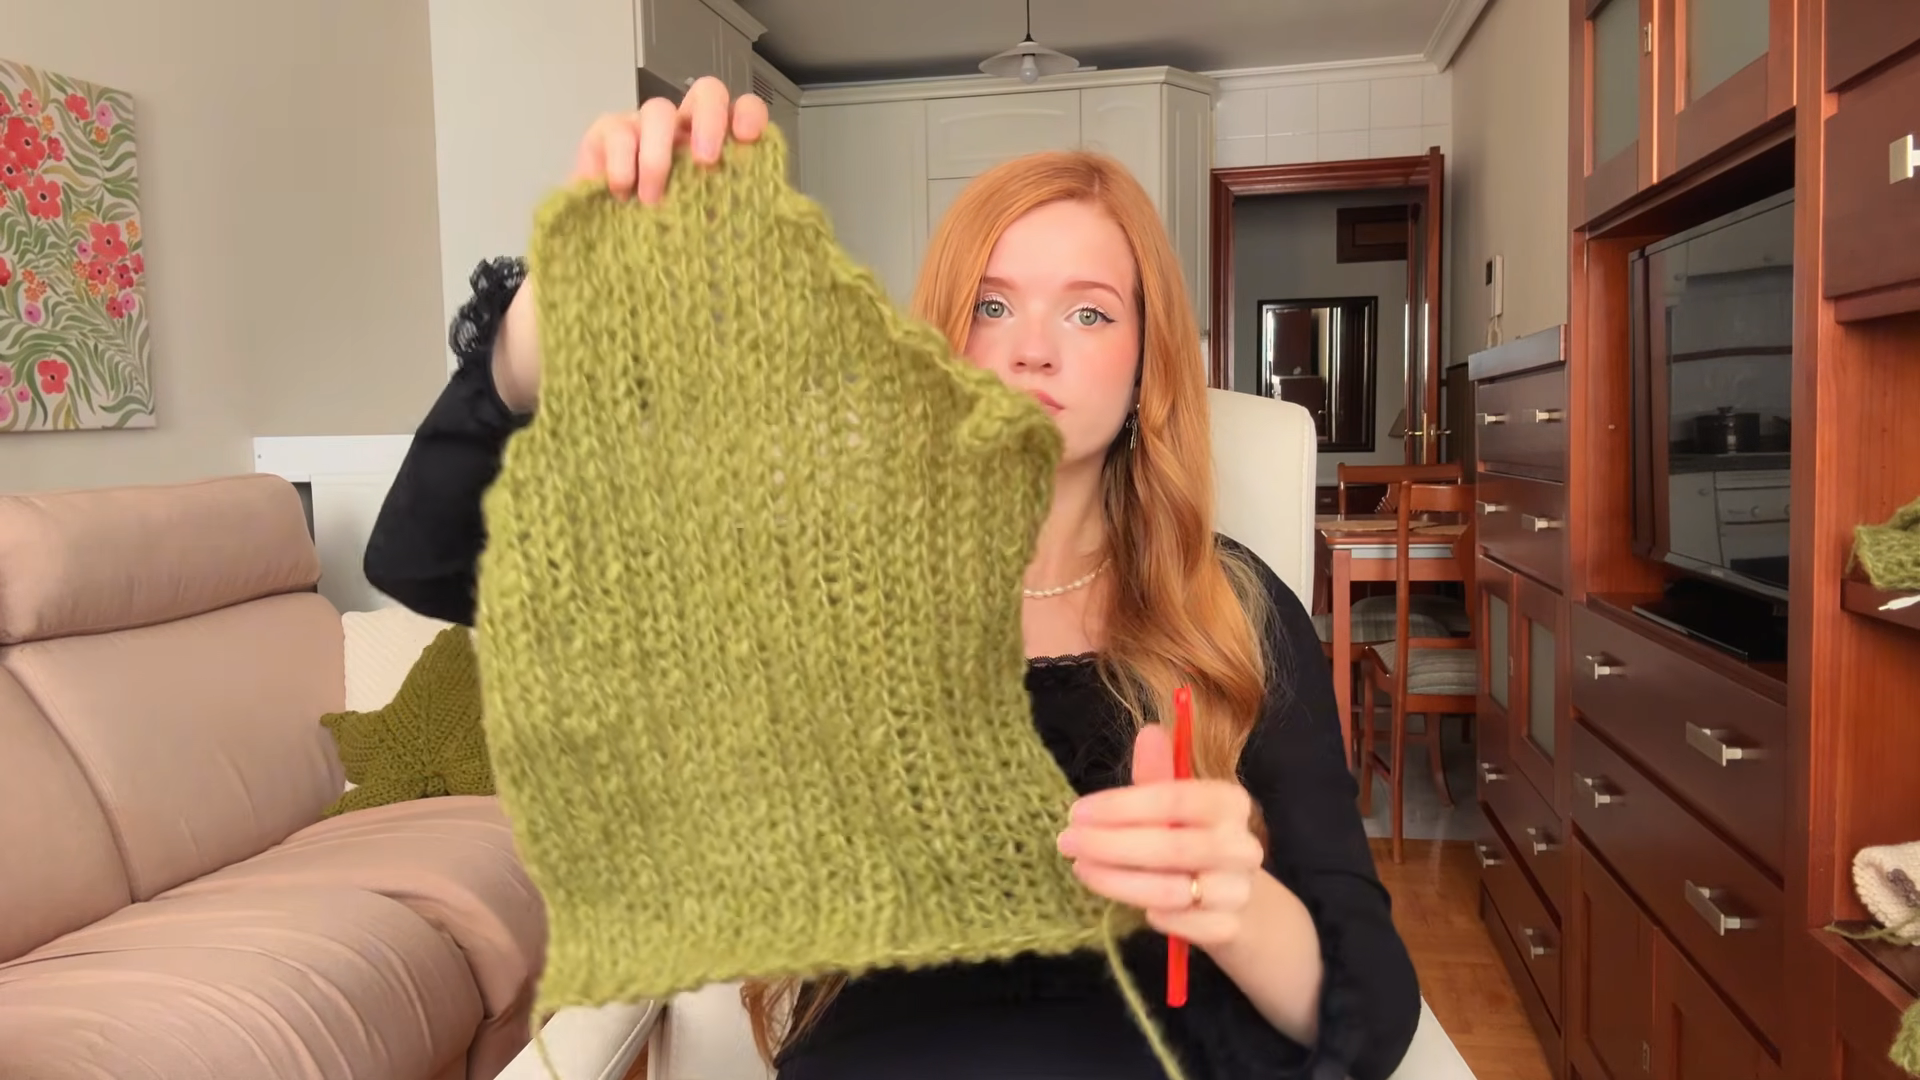
Once a panel reaches its target length, lay it flat and hold it up against your body or a similar reference to check the fit before moving on. This is a good moment to confirm the width feels right for an oversized, relaxed silhouette rather than a fitted one. Set the finished panel aside and repeat the same construction for any remaining body or sleeve panels needed.
Step 5: Shaping the Balloon Sleeve
Work the sleeve panel with a gradual increase through the widest section to create that signature rounded, puffed silhouette, then decrease steadily as you approach the cuff to cinch the shape back in. Take care to space your increases and decreases evenly so the balloon shape looks intentional and symmetrical rather than lopsided. Fold and examine the sleeve panel periodically as you work, checking that the puff sits in the right place relative to where the arm will bend.
Joining All Pieces
Sew the front and back body panels together at the shoulders and sides, leaving openings for the sleeves and neckline as needed. Attach each balloon sleeve into its armhole opening, matching the sleeve seam to the side seam of the body for a clean, even fit around the shoulder.
Final Assembly
Weave in every loose yarn end neatly through the back of the stitches once all panels are joined together. Work a simple border round along the neckline, cuffs, and hem for a tidy finished edge, and give the whole sweater a gentle steam or light blocking session so the seams settle and the fabric drapes smoothly.
Tips for Success
- Keep your foundation chain relaxed so panels don’t end up narrower than intended.
- Measure panels against your body regularly while working to catch sizing issues early.
- Space sleeve increases and decreases evenly for a symmetrical balloon shape.
- Use stitch markers to track increase and decrease rows on the sleeve sections.
- Block finished panels individually before joining for the smoothest final drape.
- Weave in ends as you complete each panel rather than saving them all for the end.
Personalization Ideas
Swapping the olive green for a soft cream or dusty rose instantly shifts the sweater toward a completely different seasonal mood. A chunkier, more textured yarn adds even more drama to the balloon sleeves, while a smoother cotton blend creates a lighter, more transitional piece for warmer weather.
Shortening the sleeve length into a three-quarter style offers a slightly different silhouette without losing the balloon effect, and adding a wide ribbed collar changes the neckline into something cozier for colder months. A cropped body length also turns this into a completely different, more modern layering piece.
Common Mistakes to Avoid
- Tight foundation chain: Keep the starting chain loose so panels reach their full intended width.
- Uneven sleeve shaping: Space increases and decreases evenly to avoid a lopsided balloon effect.
- Skipping fit checks: Measure panels against your body throughout, not just once construction is complete.
- Mismatched seam placement: Line up sleeve seams with side seams carefully before stitching them permanently.
- Overly tight seaming: Keep joining stitches relaxed so the finished garment still drapes naturally.
Frequently Asked Questions
What yarn works best for this balloon sleeve sweater?
A bulky or chunky mohair-blend yarn gives the fabric its signature loft and soft, airy drape.
How long does this project usually take to complete?
Most crocheters spend around eight to ten hours total, often spread across several separate sessions.
Can I adjust the sweater to fit more snugly?
Yes, simply narrow your foundation chain and reduce panel width slightly for a closer, less oversized fit.
Is this pattern appropriate for a first-time garment maker?
Yes, since the panels are worked flat and joined afterward, it’s a gentle introduction to garment construction.
What’s the best way to keep the balloon sleeve shape symmetrical?
Space your increase and decrease rows evenly and check the shape periodically as you work.
Can I make the sleeves less dramatic if I prefer a subtler puff?
Absolutely, simply reduce the number of increase rows worked before beginning the cuff decreases.
How do I keep the fabric from feeling too heavy despite the bulky yarn?
Choose a lofty mohair-blend yarn, since it adds volume and warmth without excessive weight.
Conclusion
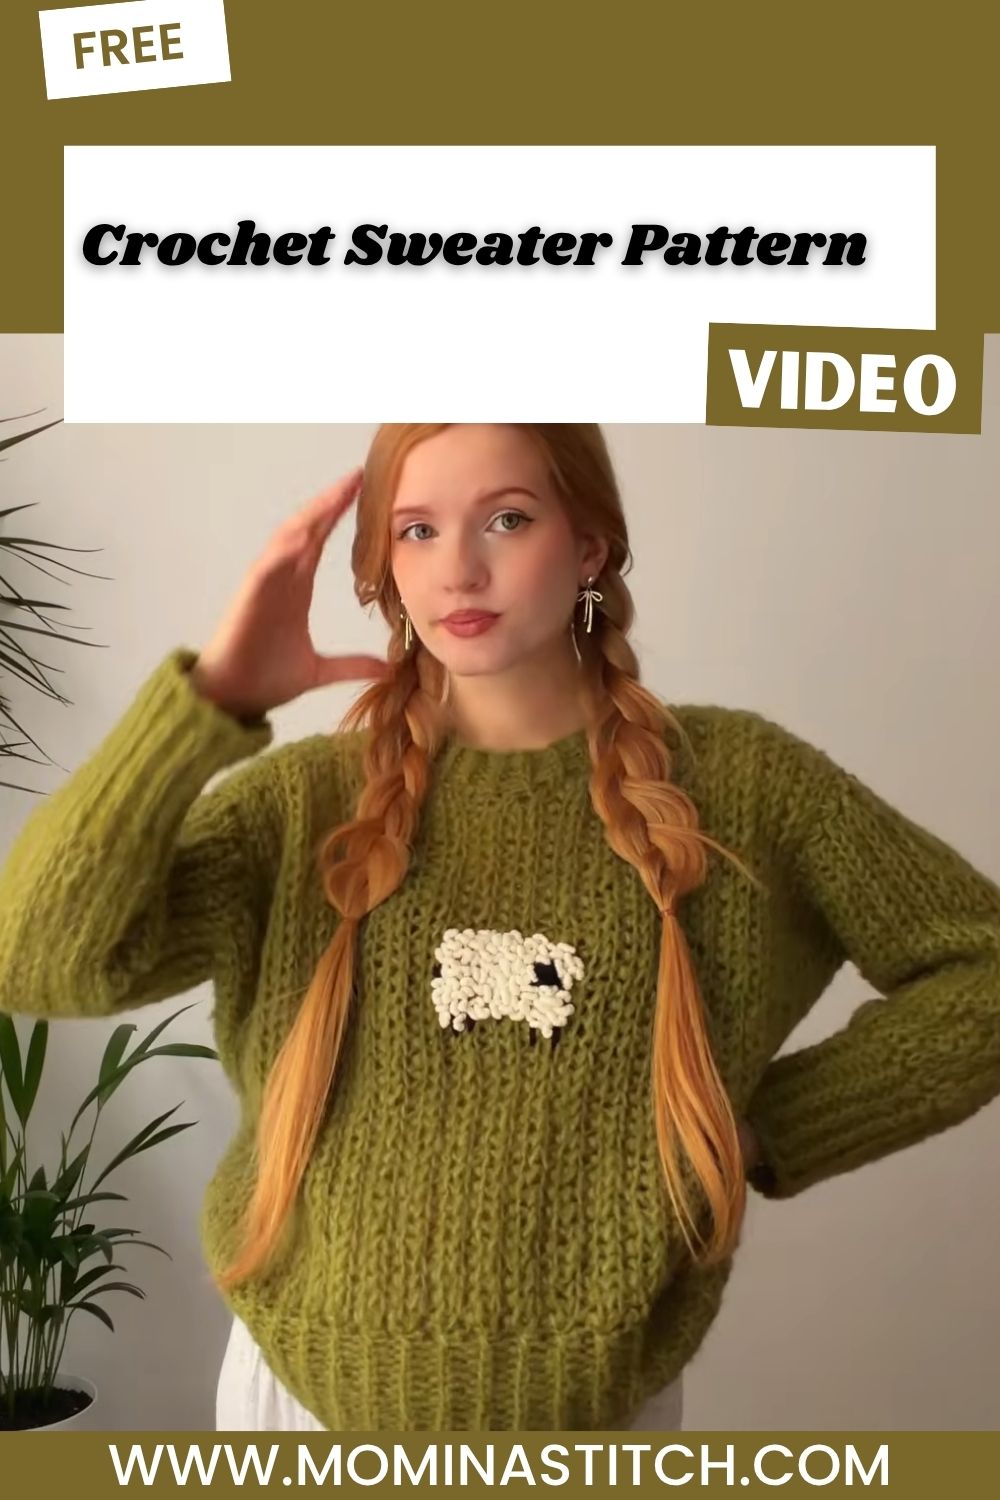
This balloon sleeve sweater shows just how much personality a few simple panels can carry once dramatic sleeve shaping enters the picture. Take your time building each panel, enjoy watching the sleeves puff into their signature silhouette, and feel free to adjust the fit and length to match your own style. Once finished, this cozy sweater makes a beautiful addition to any handmade wardrobe so pick up your hook and share your finished creation with fellow crochet lovers.