Crochet Bean Dog Amigurumi Pattern for All Skill Levels
Round, chubby, and utterly adorable, the Bean Dog amigurumi wins hearts among crochet enthusiasts with its distinctive shape and innocent style. Its plump oval body and tiny legs give it the look of a dreamy little companion. This project is special for beginner crocheters, dog lovers, and fans of cute handmade toys alike. Thanks to its simple structure, easy shaping, and quick-finish design, it makes a charming choice for gifts, kids’ room decor, or shelf decor, while experienced makers can get creative with its beautiful proportions too.
A dog that traded its usual lanky frame for a soft, bean-shaped body that’s the idea behind this design. The head and body work up as one continuous piece, so there’s less sewing and more stitching momentum. Tiny ears, a curled tail, and a set of stubby paws finish off the silhouette without adding real complexity to the build.
Charm is really the whole point here. Low-key, this pattern leans into “so ugly it’s cute” energy, and that’s exactly what makes it addictive to make. Once the first one is off the hook, most crocheters end up making three or four in different colors before they can stop themselves.
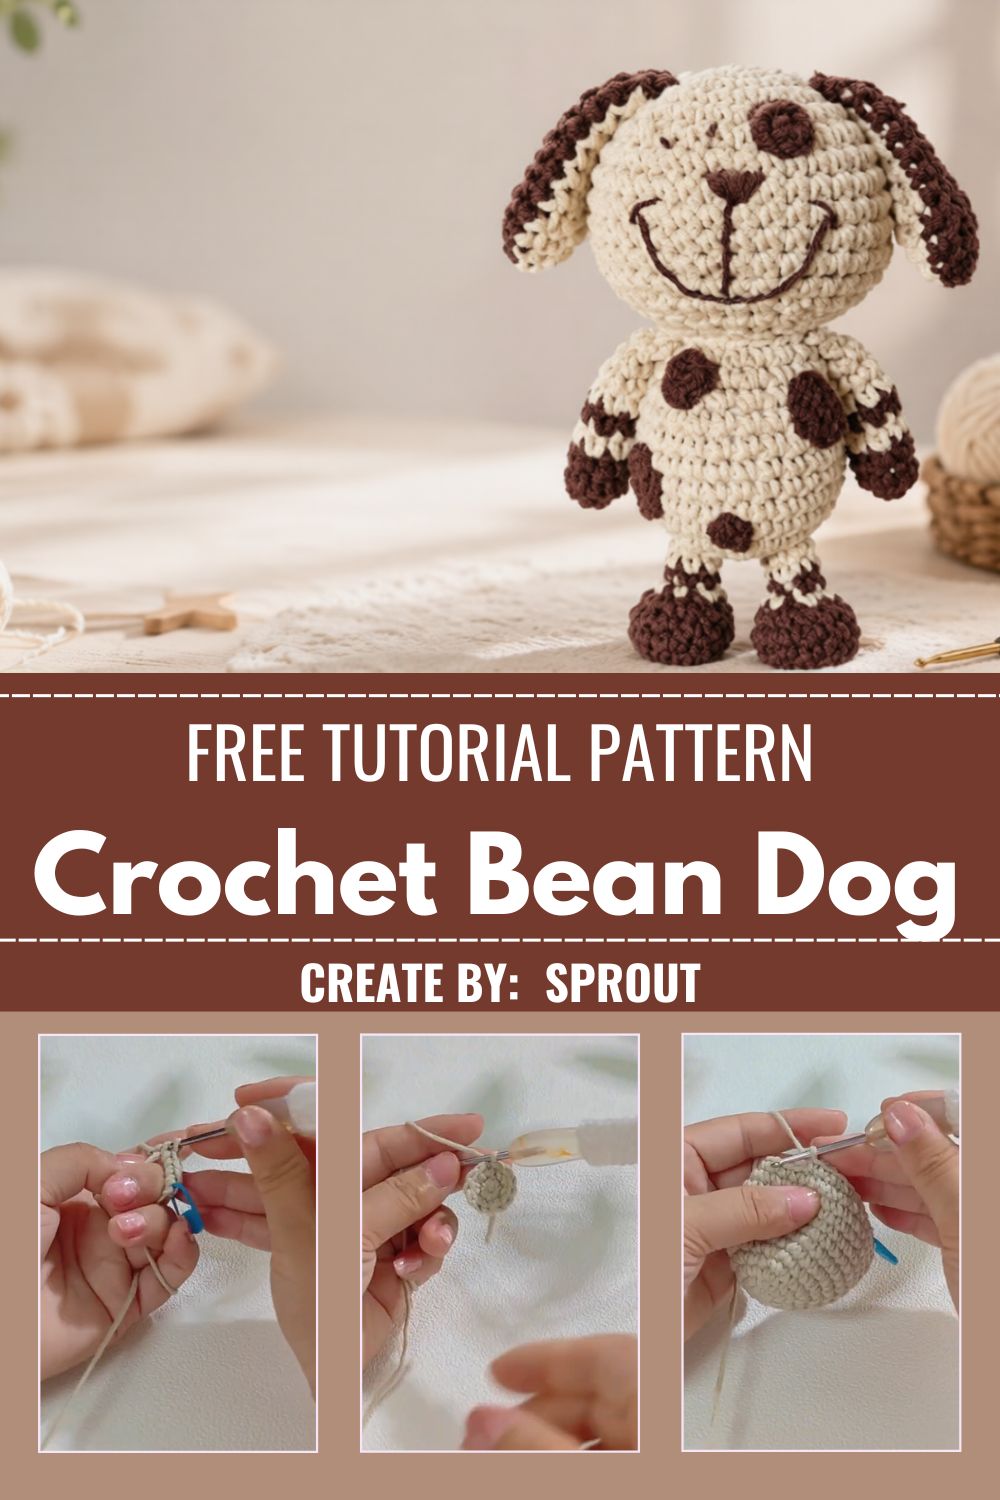
Project Details
- Skill Level: Easy / Beginner-Friendly basic single crochet, increases, and invisible decreases are all that’s needed to finish this piece from start to end.
- Finished Size: Approximately 4 to 5 inches long and 3 inches tall, depending on yarn and hook choice.
- Estimated Time Required: 3 to 4 hours total, including stuffing and assembly.
- Recommended Yarn Weight: DK weight (light worsted) yarn works best for defined stitches.
- Crochet Hook Size: 3.0mm to 3.5mm hook, sized down from the yarn label for a tight, stuffing-proof fabric.
Materials Needed
- DK weight yarn in your chosen main color (tan, brown, cream, or gray all work beautifully)
- Small amount of contrasting yarn for paw pads and inner ears
- 3.0mm to 3.5mm crochet hook
- 6mm or 8mm safety eyes
- Polyester fiberfill stuffing
- Tapestry needle for sewing and weaving in ends
- Stitch markers
- Scissors
- Optional: embroidery thread for a nose and mouth
Crochet Stitches & Techniques
Real talk, this pattern doesn’t ask for anything intimidating. Every technique below shows up in dozens of beginner amigurumi patterns, so it’s a great confidence-builder.
- Magic Ring (MR): Used to start the head/body and each leg without a gap in the center.
- Chain Stitch (ch): Needed briefly for the tail base.
- Single Crochet (sc): The main stitch used throughout the entire project.
- Increase (inc): Two single crochets worked into one stitch, used to widen the body and head.
- Invisible Decrease (inv dec): Keeps decrease rounds smooth and gap-free, especially important near the face.
- Color Changes: Simple yarn-over switches for paw pads and ears.
- Fastening Off: Standard fasten off, leaving a long tail for sewing pieces together.
- Sewing Pieces Together: Whip stitch or mattress stitch, depending on preference.
Pattern Instructions
Crocheting the Legs
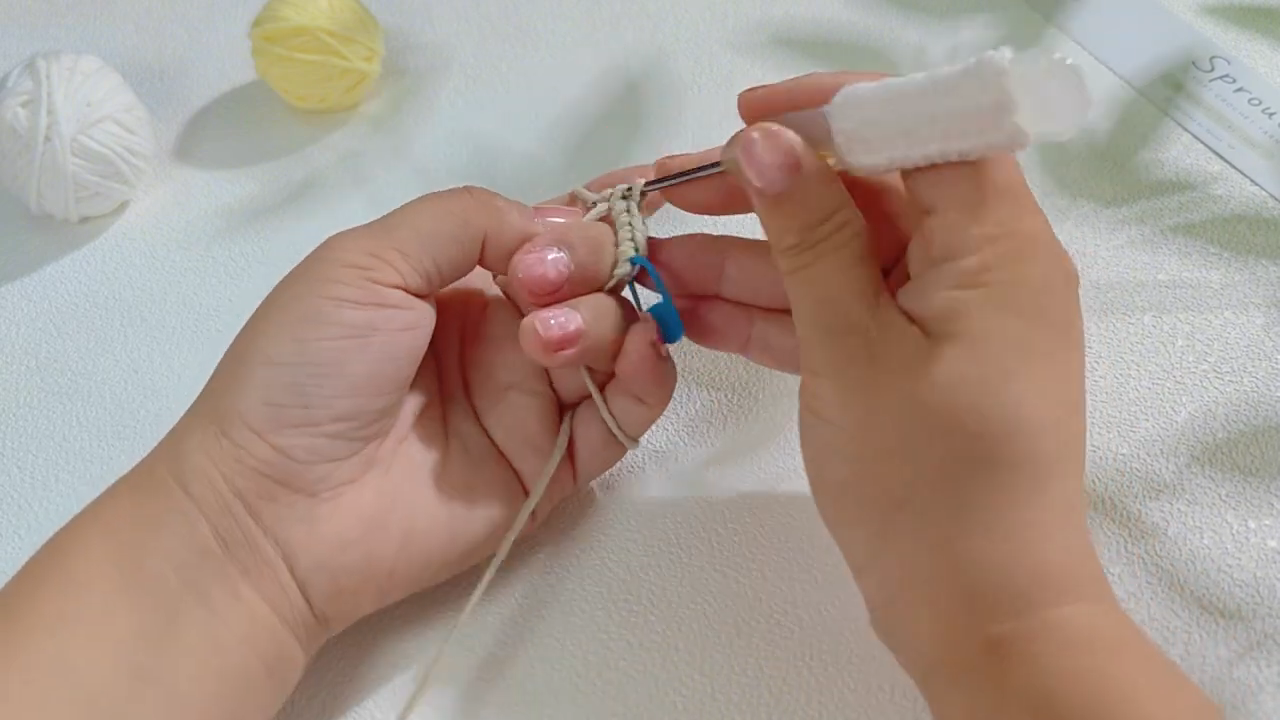
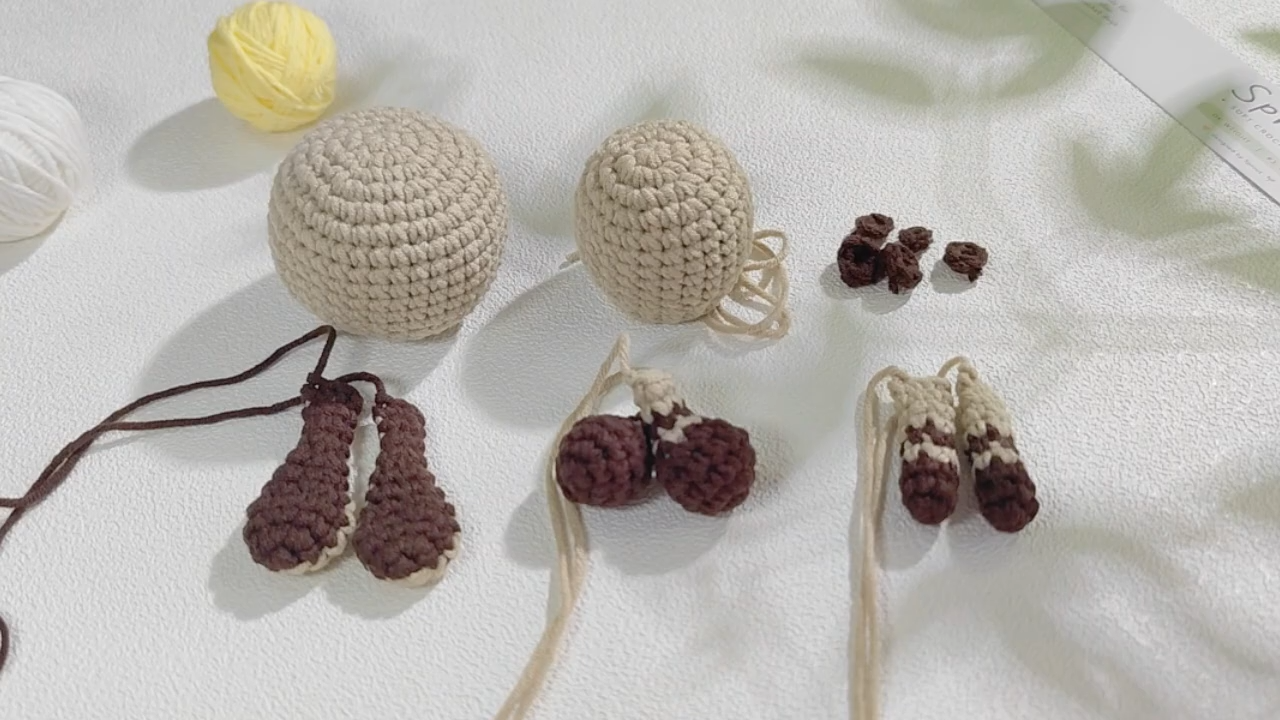
Four identical stumpy legs give this dog its signature waddle. Begin each leg with a magic ring of 6, increase once or twice, then work several rounds even before fastening off. Stuff lightly, since overstuffed legs can throw off the balance of the finished piece. Leave a long tail on each leg for attaching later.
Creating the Head and Body
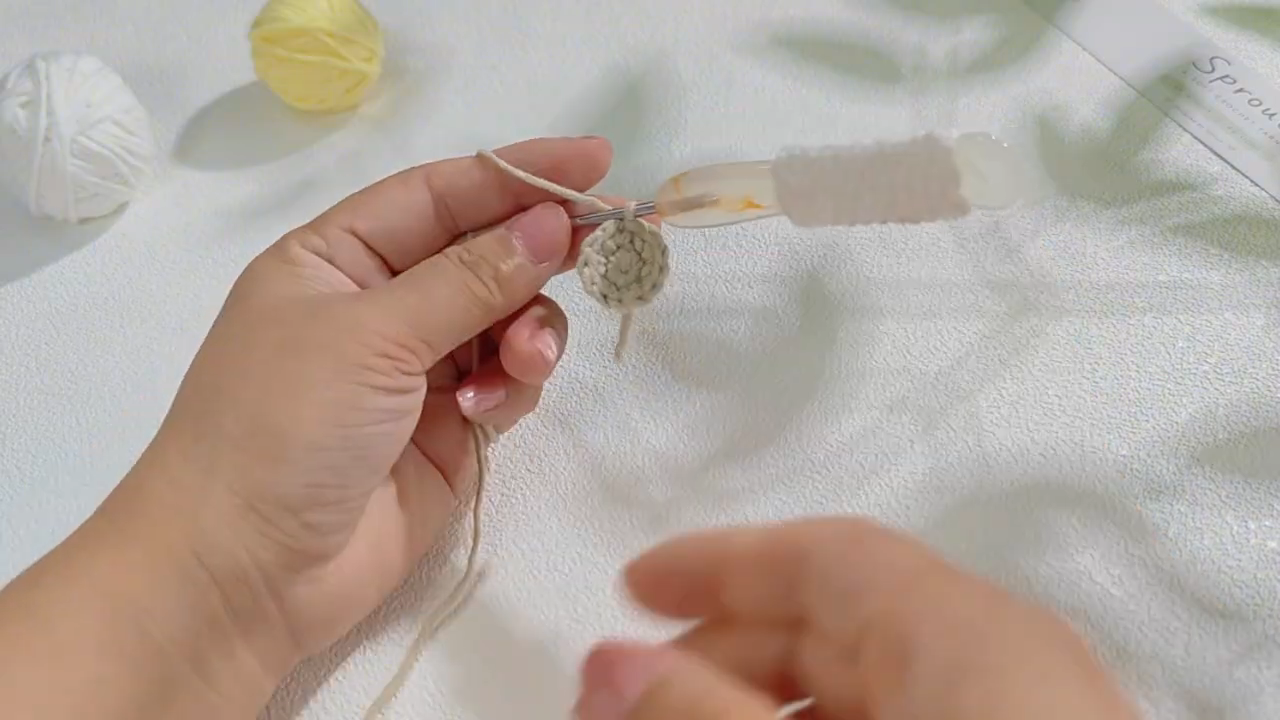
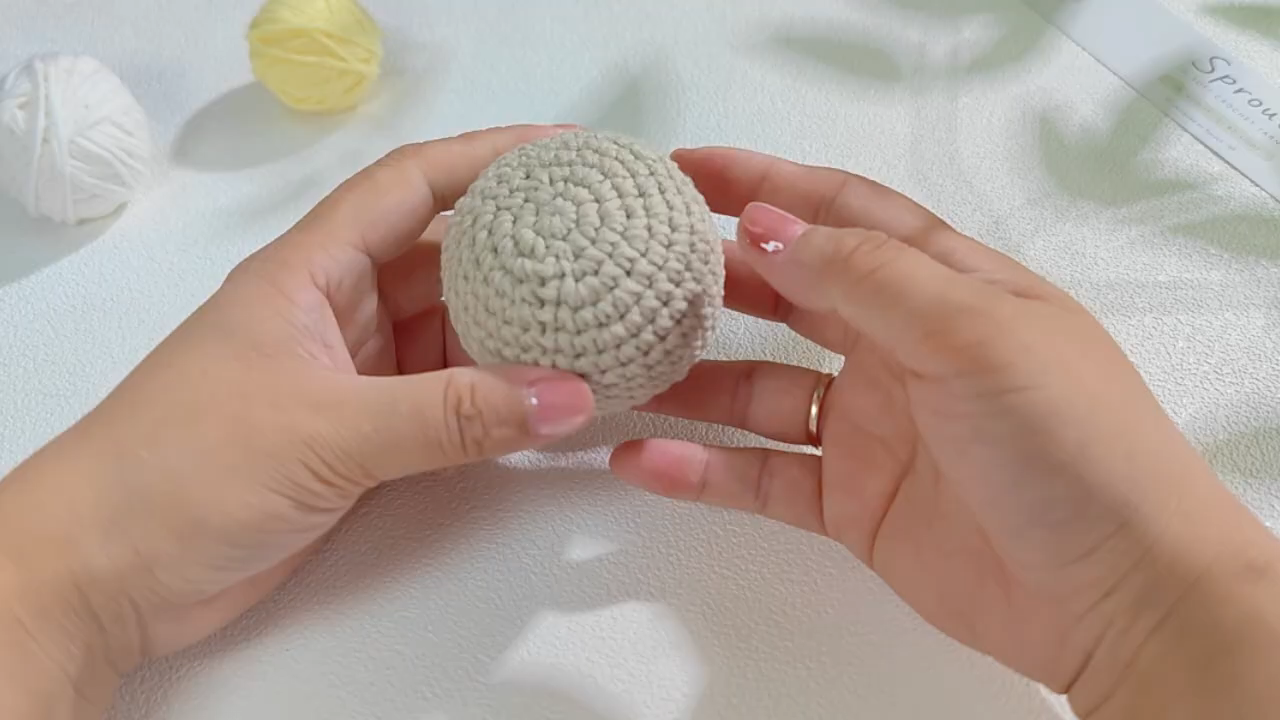
Work the head and body as one continuous oval, starting from a magic ring of 6 single crochets. Increase steadily over the first several rounds until the piece reaches its widest point around round 8 or 9, then hold steady through a few rounds of even single crochet to build the “bean” length. Decrease gradually toward the bottom, stuffing firmly as the opening narrows.
Making the Ears
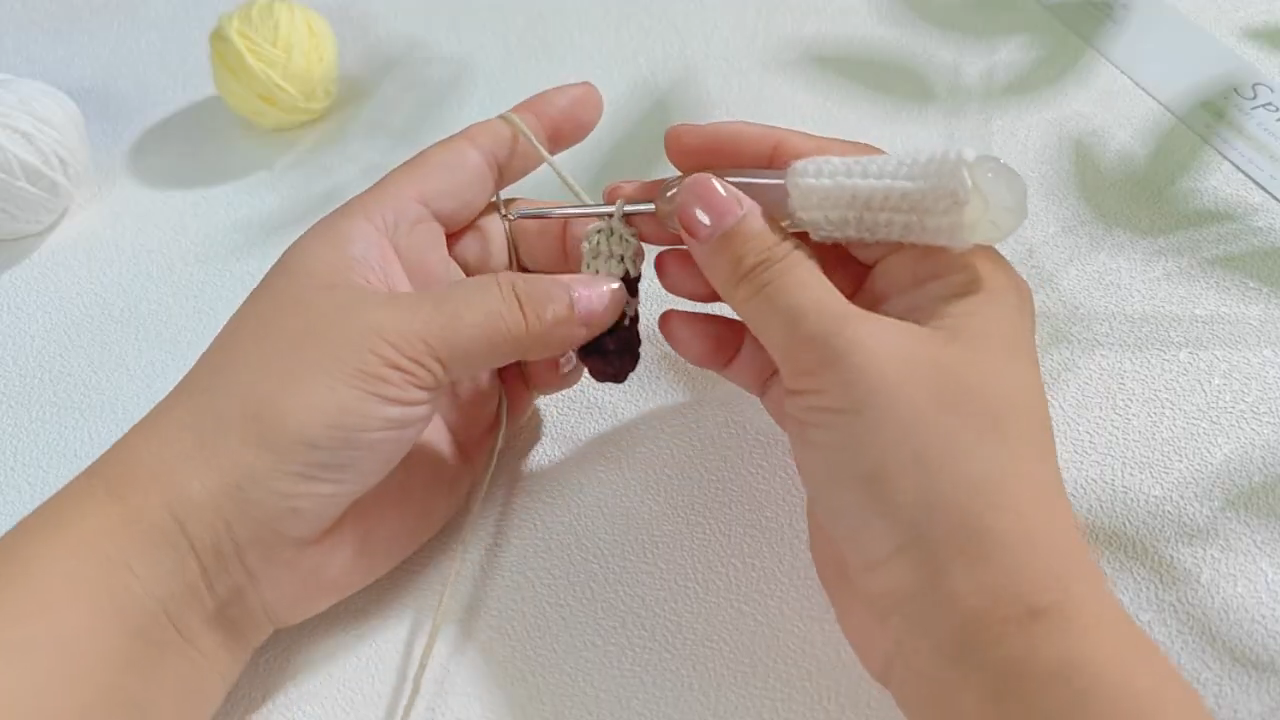
Small floppy ears add most of the personality here. Chain a short foundation, then single crochet around the perimeter to create a soft, teardrop shape. A quick round of contrasting color along the inner edge gives the ears extra dimension without much extra effort.
Facial Features
Safety eyes go in before the head closes completely, spaced a bit wider than usual to match the round face shape. Embroider a small triangular nose just below and between the eyes, then add a short mouth line beneath that. Mouth placement is where personality really shows up, so take a moment to test positioning with pins first.
Joining All Pieces
Pin the legs to the underside of the body first, checking that the dog sits level before stitching anything permanently. Attach the ears toward the top of the head, angled slightly forward for an alert, curious look. Finish by sewing the tail onto the back, just above where the body starts to taper.
Final Assembly
Once every piece is attached, weave in any remaining yarn tails and give the whole dog a gentle shape-check. Small adjustments to stuffing firmness at this stage can fix a lopsided body before it’s too late to easily correct.
Tips for Success
- Count stitches at the end of every round for the first several rounds; small counting errors compound fast on a rounded shape like this.
- Stuff firmly but evenly, working small amounts in at a time rather than one big handful at the end.
- Use a stitch marker on the first stitch of every round instead of relying on memory.
- Hide yarn ends by weaving them through several stitches in different directions for a secure, invisible finish.
- Block the finished piece lightly with steam if the stitches look uneven after stuffing.
Personalization Ideas
- Swap the main color for black and white to make a mini cow-dog version, or try orange and cream for a corgi look.
- Add a tiny bandana or bowtie in scrap yarn for extra character.
- Make a jumbo version with bulky yarn and a larger hook as a chunky floor pillow-style toy.
- Turn a smaller version into a keychain or bag charm using a simple keyring attachment.
- Try different ear shapes floppy, pointed, or folded — to create entirely different dog breeds from the same base body.
Common Mistakes to Avoid
Skipping stitch markers tops the list of beginner slip-ups, since losing track of the round start makes shaping unpredictable. Overstuffing the legs is another common issue; it makes the dog tip forward instead of sitting flat. Attaching the eyes too close together can also give the face an odd, cross-eyed look, so double-check spacing before closing up the head.
Frequently Asked Questions
What yarn weight works best for this pattern?
DK weight yarn gives the cleanest stitch definition, though worsted weight works fine for a slightly larger finished dog.
Can this pattern be made without safety eyes?
Yes, embroidered eyes with black yarn or thread work well as a child-safe alternative.
How much yarn do I need total?
One small skein of the main color usually covers the whole project, with just scraps needed for contrast details.
Is this Crochet Bean Dog Amigurumi pattern suitable for complete beginners?
Absolutely as long as magic ring, single crochet, and basic increases/decreases feel comfortable, this project is very approachable.
Why does my Crochet Bean Dog Amigurumi look lopsided?
Uneven stuffing or a missed stitch count are the usual culprits; check both before assuming a shaping mistake.
Can I make a bigger version of this bean dog?
Yes, switching to bulky yarn and a larger hook scales the whole pattern up nicely without changing the stitch counts.
What’s the best way to attach the legs evenly?
Pin all four legs in place first and check the dog balances on a flat surface before sewing anything permanently.
Conclusion
This little Crochet Bean Dog Amigurumi earns its spot in any amigurumi collection through sheer charm alone. Every round adds a bit more personality, and by the time the last stitch is fastened off, it’s hard not to smile at the finished result. Give this pattern a try, experiment with colors and expressions, and share the finished pup with fellow crochet lovers it’s the kind of project that’s just as fun to gift as it is to make.