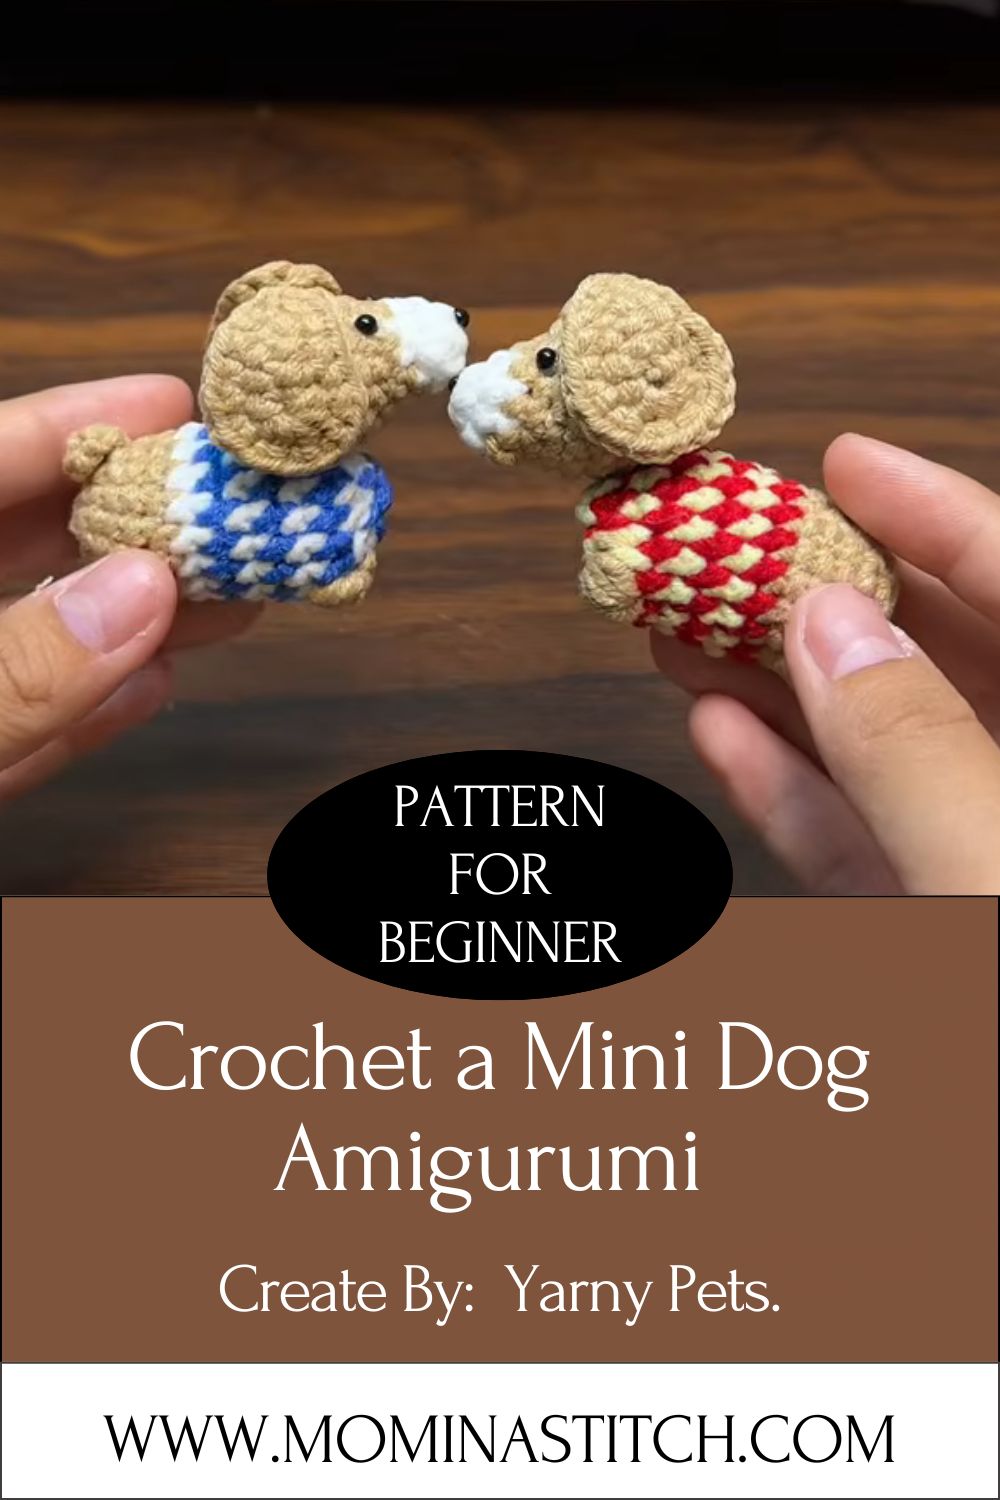
Free Crochet Mini Dog Amigurumi Pattern for Beginner
A tiny, round little dog with floppy ears, a wagging tail, and an innocent face it wins your heart the moment you see it. That’s exactly the charm that makes this Free Crochet Mini Dog amigurumi so special. Its simple round shape and basic stitches make it a great project for beginners, while experienced crocheters thoroughly enjoy bringing its adorable personality to life too.
Finished size lands at about four inches tall, perfect for shelves, bags, or gift boxes. It suits confident beginners comfortable with basic crochet stitches.
Most crocheters finish this plushie-style toy within three to four hours across a few short sessions. This project counts as a classic amigurumi build, blending simple shaping with a bit of sewing. Ngl, the round body makes this one of the more forgiving beginner projects out there.

Materials Needed
Gather these supplies before starting your easy crochet project:
- Yarn colors: Tan or brown (main body), white (belly and paws), black or brown (small accents)
- Crochet hook: Size 2.75mm (C-2), or match your yarn weight
- Stuffing: Polyester fiberfill
- Yarn needle: For sewing all pieces together
- Stitch markers: For tracking rounds during continuous spirals
- Scissors: Sharp, for trimming yarn ends
- Safety eyes: 6mm black, optional, or embroidery thread for a safer beginner option
Crochet Abbreviations
These common terms appear throughout the pattern:
- sc – single crochet
- inc – increase, working two stitches into one
- dec – decrease, combining two stitches into one
- ch – chain
- sl st – slip stitch
- FO – finish off
Step-by-Step Crochet Pattern
Head and Body
- Start with a magic ring and work 6 sc into it.
- Round 2: inc in every stitch (12 stitches total).
- Round 3: alternate 1 sc, 1 inc around (18 stitches).
- Round 4: alternate 2 sc, 1 inc around (24 stitches).
- Rounds 5–9: sc evenly around without increasing.
- Round 10: alternate 2 sc, 1 dec around (18 stitches).
- Round 11: alternate 1 sc, 1 dec around (12 stitches).
- Stuff firmly, then continue decreasing until the opening closes.
For the body, repeat the same magic ring start, increase to around 18 stitches, work several even rounds, then decrease gradually before stuffing and closing.
Arms
- Magic ring with 5 sc.
- Round 2: inc twice, sc through the rest (7 stitches).
- Work three even rounds without increasing.
- FO, leaving a long tail for sewing.
- Repeat for the second arm.
Legs
- Magic ring with 6 sc.
- Round 2: inc in every stitch (12 stitches).
- Work four even rounds without increasing.
- Decrease slightly at the top before FO, leaving a tail for attaching to the body.
- Repeat for the second leg.
Ears and Tail
- Ears: Crochet two small triangle-shaped flaps using flat rows, then fold slightly before attaching.
- Tail: Chain 8, then sc back along the chain to form a short, curved tail.
Assembly Instructions
- Sew arms onto the upper sides of the body using a whip stitch.
- Attach legs to the lower body, spacing them evenly for balance.
- Sew the head onto the body, tucking loose yarn ends inside.
- Place safety eyes a few rounds up from the nose area, spacing them evenly.
- Embroider a small nose and mouth using black or brown thread.
- Attach the ears near the top of the head, angled slightly forward.
- Sew the tail onto the lower back of the body.
- Trim any loose ends and fluff the stuffing gently for a smooth finish.
Beginner Tips
- Use stitch markers. Amigurumi rounds spiral continuously, so a marker helps track where each round begins.
- Keep stitches tight. A smaller hook than the yarn label suggests prevents stuffing from peeking through.
- Stuff evenly. Add small amounts of fiberfill throughout each part instead of packing everything in at the end.
- Avoid common mistakes. Count stitches after every round to catch errors before they multiply.
For real, these small habits make a huge difference in the final shape of your mini dog.
Customization Ideas
- Different yarn colors: Try black and white, golden brown, or spotted color combinations.
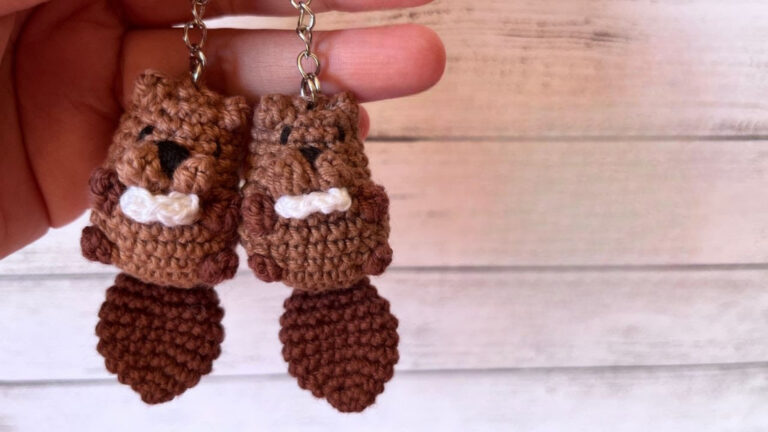
- Keychain version: Add a metal clasp to the top of the head for a bag charm.
- Mini plushie version: Use thinner yarn and a smaller hook for a pocket-sized dog.
- Gift ideas: Perfect for birthdays, baby showers, or dog lovers on any occasion.
- Home decor uses: Display finished dogs on a shelf, desk, or nursery decor arrangement.
Care Instructions
- Hand wash: Use cool water and a mild detergent, gently squeezing suds through the fibers.
- Dry safely: Lay the plushie flat on a towel, away from direct heat or sunlight.
- Store properly: Keep in a dry, dust-free space, away from long exposure to bright light.
Frequently Asked Questions
Which yarn is best for this pattern?
Cotton or acrylic worsted weight yarn works well, since both hold stitch definition and prevent stuffing from showing through.
Can beginners make this mini dog?
Yes, beginners with basic single crochet and increase or decrease skills can complete this pattern successfully.
How long does this project take?
Most crocheters finish this mini dog within three to four hours, spread across a few relaxed sessions.
Can I sell finished products made from thisFree Crochet Mini Dog pattern?
Many crocheters sell handmade items from patterns like this, though checking the original pattern’s terms is always wise.
conclusion
This Free Crochet Mini Dog amigurumi pattern turns simple stitches into an adorable companion worth showing off. Beginners gain real confidence tackling this project, since every part repeats familiar techniques. Grab your favorite hook, pick a cozy yarn color, and start stitching this pup today.