Crochet Duckling Keychain Pattern Handmade Gift Idea
Small gifts often leave the deepest impression, and the Crochet Duckling Keychain Pattern is a perfect example. This tiny, soft keychain adds a unique and cheerful touch to plain keys or a bag. It’s easy and inexpensive to make, and turns into a lovely handmade gift for birthdays, holidays, or just to spread some joy. It’s also a great choice for making kids’ school bags, carryalls, or pencil pouches more charming and unique.
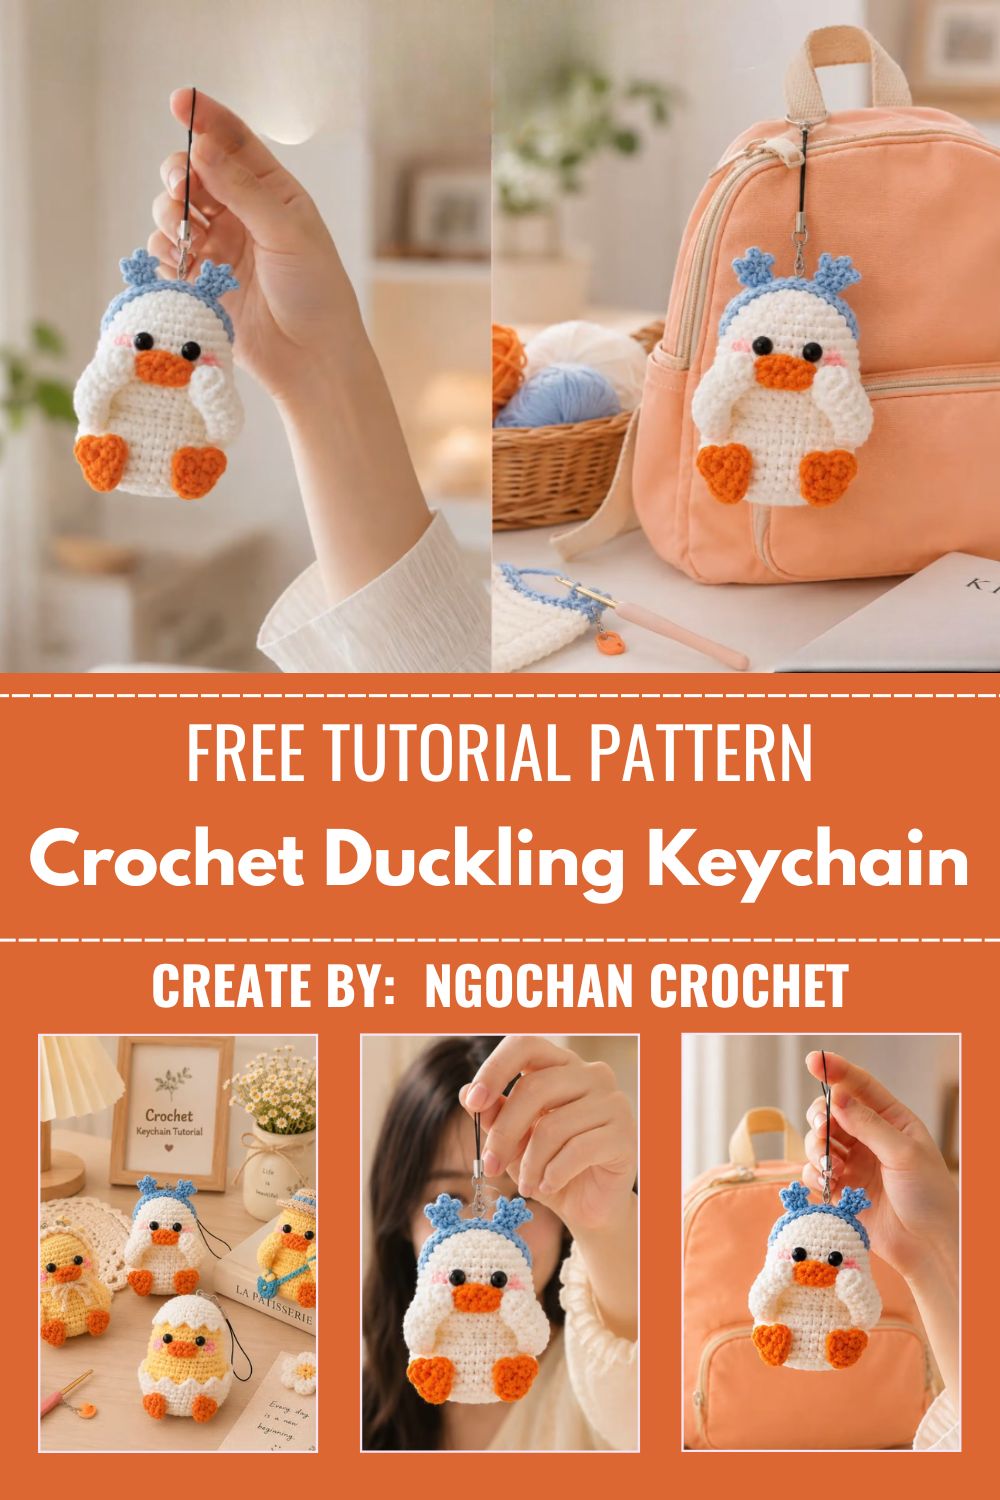
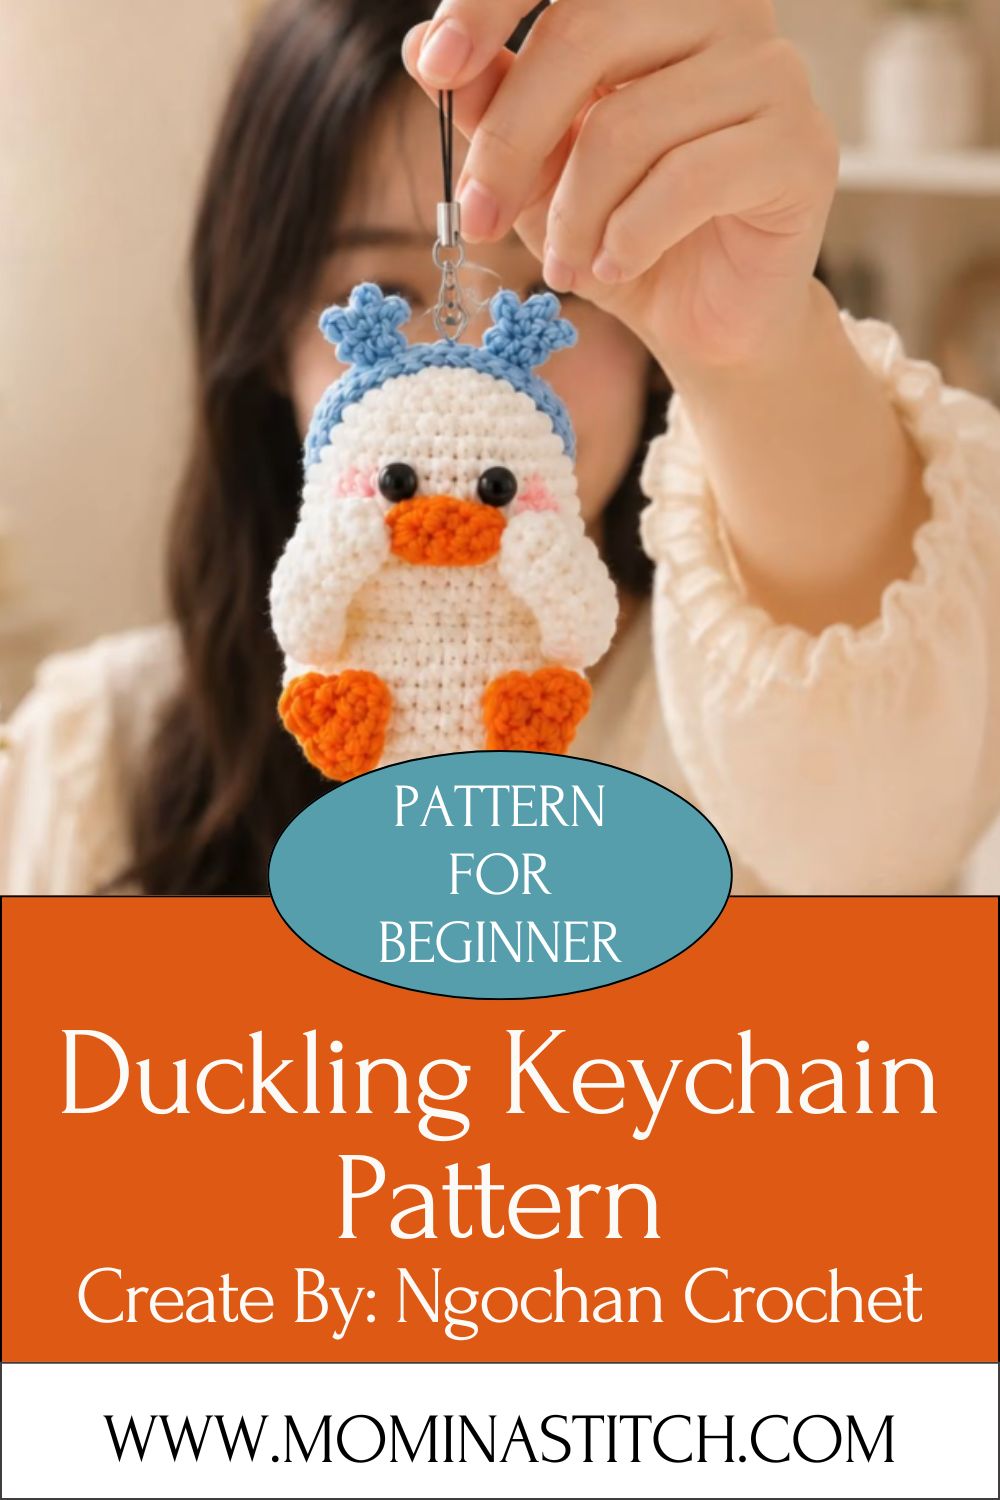
A crochet duckling keychain is a mini amigurumi project made using basic stitches like single crochet, worked in the round to form a rounded body, a small head, tiny wings, and a bright orange beak. Once finished, a metal keyring is attached, turning the little duckling into a functional accessory.
This pattern usually takes one to two hours to complete. It uses a small amount of yarn, making it perfect for using up leftover scraps from bigger projects.
Skill Level
Beginner Friendly
This pattern is ideal for beginners who already know the basic single crochet stitch and how to work in a spiral round. It also makes a fun, low-pressure project for intermediate crocheters who want something quick between larger projects.
Materials You Will Need
Before starting, gather these simple supplies:
- Yarn: Yellow yarn (worsted weight, 100–150 yards) for the body and head
- Yarn: A small amount of orange yarn for the beak and feet
- Yarn: A tiny bit of white or black yarn for optional wing details
- Hook: A 3.0mm or 3.5mm crochet hook (check your yarn label for the right match)
- Eyes: Two 6mm or 8mm safety eyes, or black embroidery thread for stitched eyes
- Stuffing: Polyester fiberfill for a soft, huggable shape
- Tools: A yarn needle for sewing pieces together
- Tools: Stitch markers to track the start of each round
- Tools: Small scissors for trimming yarn
- Hardware: One metal keyring or lobster clasp
Key Techniques Used in This Pattern
A few simple techniques make this project come together smoothly:
- Magic Ring (MR): Creates a tight, gap-free starting point for the body and head
- Single Crochet (SC): The main stitch used throughout the entire pattern
- Increase (Inc): Adds width by working two stitches into one, used to shape the rounded body
- Decrease (Dec): Reduces stitches to close off the top of the head and body
- Invisible Finish: A neat way to close the last round so no gap is visible
- Working in a Spiral: Rounds are worked continuously without joining, which keeps the surface smooth
Step-by-Step Guide
Step 1: Prepare Your Materials
Wind your yarn into manageable balls and set your hook, stuffing, eyes, and needle within reach. Having everything ready before you begin helps the project move quickly.
Step 2: Crochet the Body
Start with a magic ring and build up single crochets in gradually increasing rounds to form a rounded, egg-like shape. Work several straight rounds once you reach your desired width, then begin decreasing to close the bottom. Stuff firmly as you go so the shape holds well once finished.
Step 3: Crochet the Head
Follow a similar increase-and-decrease pattern on a smaller scale to create a round head. Stuff it before closing the final round, leaving a short yarn tail for attaching it to the body later.
Step 4: Add the Beak and Feet
Using orange yarn, crochet two tiny flat pieces for the feet and one small triangular or oval piece for the beak. These pieces are worked in just a few rounds and do not need stuffing, since they should stay flat.
Step 5: Crochet the Wings
Make two small, flat wing pieces using yellow yarn. Simple single crochet rows or rounds work well here, and you can leave them plain or add a decorative edge.
Step 6: Attach the Safety Eyes
Place the safety eyes on the head before sewing anything together, spacing them evenly to give the duckling a sweet, expressive face. If you prefer not to use plastic pieces, stitch small eyes using black embroidery thread instead.
Step 7: Assemble All the Parts
Sew the head onto the top of the body using a yarn needle, keeping stitches small and even. Attach the beak between the eyes, then sew the wings onto the sides of the body and the feet onto the bottom.
Step 8: Attach the Keyring
Weave a small loop of yarn through the top of the head, or use a short length of chain stitches, and clip your metal keyring through it. Secure the connection with a few extra stitches for durability.
Step 9: Final Touches
Trim any loose yarn ends and check that all pieces are securely attached. Give your duckling a gentle fluff to shape it, and it’s ready to use or gift.
Helpful Tips for Beginners
- Keep your stitches tight and even, since a small project like this shows gaps more easily
- Use stitch markers to avoid losing track of where each round starts
- Stuff firmly but avoid overstuffing, which can stretch the stitches
- Practice the magic ring separately first if you are new to it
- Choose a smooth, non-splitty yarn for cleaner stitch definition on such a small scale
Common Mistakes to Avoid
- Skipping stitch markers, which makes it easy to lose your place in the round
- Understuffing the head or body, leading to a floppy, uneven shape
- Attaching the keyring loosely, which can cause it to fall off with regular use
- Using a hook that is too large for the yarn weight, resulting in visible gaps between stitches
- Rushing the assembly step, which often leads to a crooked or lopsided face
Customization Ideas
- Swap the yellow yarn for white to create a baby swan or goose version
- Add a tiny bow or ribbon around the neck for a more decorative look
- Use variegated yarn for a colorful, speckled duckling
- Make a mini keychain size for phone charms or a slightly larger size for a bag charm
- Create a small flock in different colors as a fun gift set
Frequently Asked Questions
1. How long does it take to crochet a duckling keychain?
Most crocheters finish this project within one to two hours, depending on experience level and how much detail is added.
2. What yarn weight works best for this Crochet Duckling Keychain pattern?
Worsted weight yarn paired with a 3.0mm to 3.5mm hook gives the neatest, tightest stitches for a small amigurumi project like this.
3. Can I make this Crochet Duckling Keychain Pattern pattern without safety eyes?
Yes, black embroidery thread works well as an alternative and is a good option if the keychain will be used or gifted to a young child.
4. Is this a good gift for someone who doesn’t crochet?
Absolutely. A handmade duckling keychain is a thoughtful, personal gift that feels special without being expensive or time-consuming to make.
5. How do I keep the Crochet Duckling Keychain Pattern from falling off?
Attach it through a securely stitched loop, and reinforce the connection point with a few extra stitches for added strength.
6. Can this pattern be sold as a finished item?
Many crocheters do sell finished keychains like this as small handmade items, though it’s always worth checking the original pattern’s terms if you are following someone else’s exact design.
Final Thoughts
A crochet duckling keychain is a small project with a big payoff. It takes just a couple of hours, uses minimal supplies, and results in a charming, one-of-a-kind accessory that’s perfect for gifting or keeping for yourself. Whether you’re a beginner practicing your first amigurumi shapes or an experienced crocheter looking for a quick, satisfying make, this pattern delivers a lovable little result every time. Try it out, experiment with colors, and see how a tiny handmade duckling can bring a smile to someone’s day.