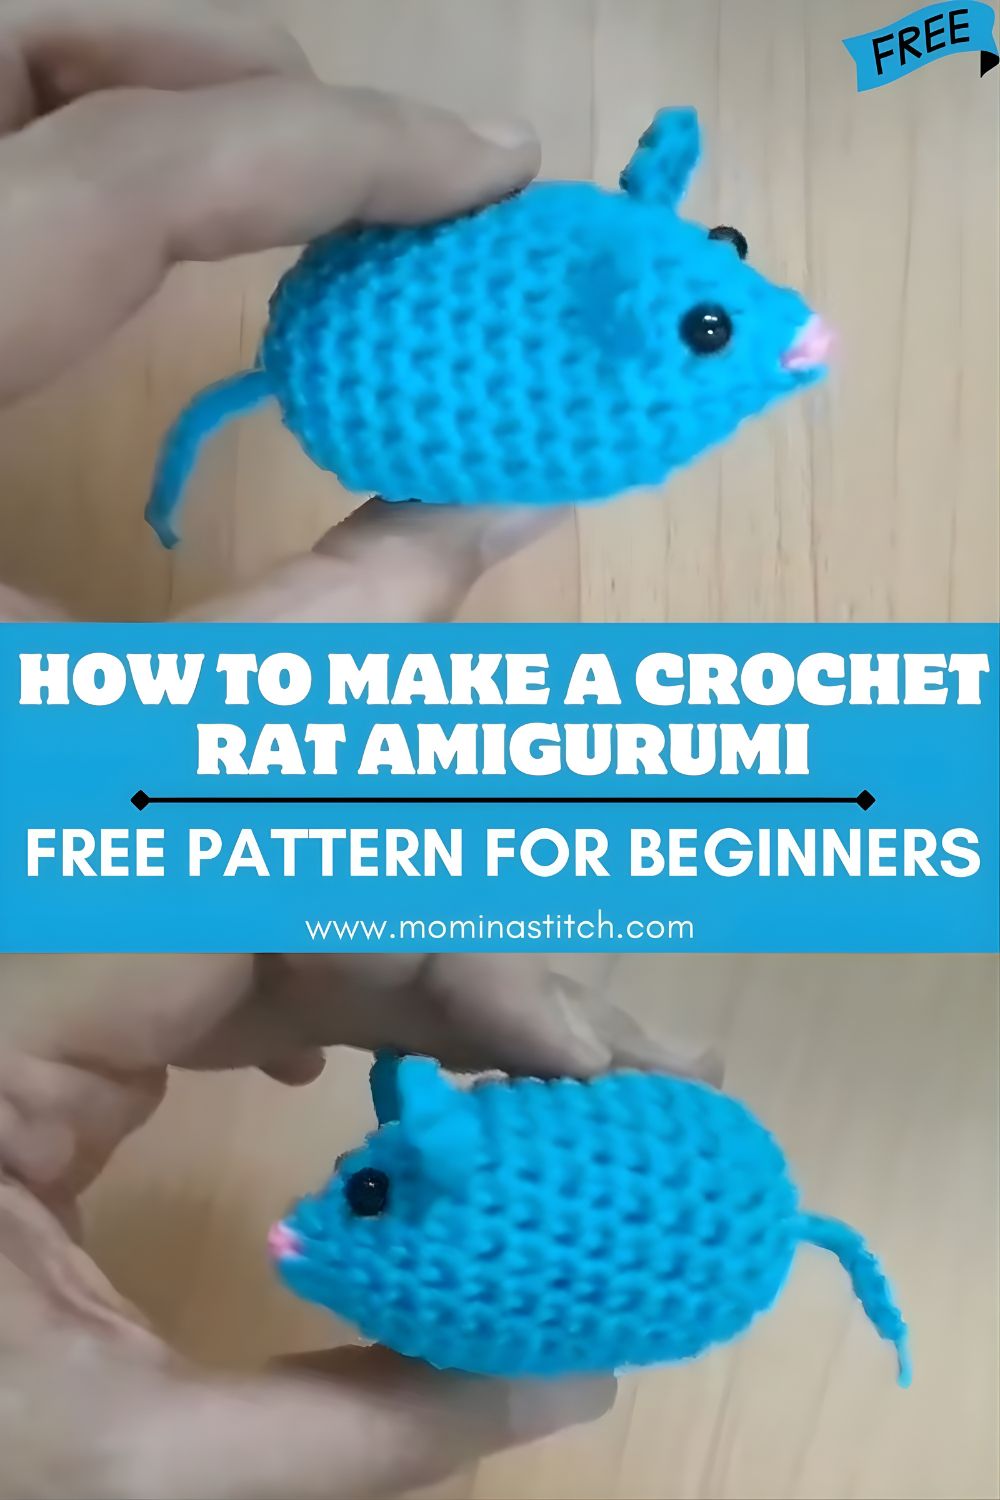
How to Make a Crochet Rat Amigurumi Free Pattern for Beginners
This Crochet Rat Amigurumi Free Pattern is a tiny stuffed animal you can make with just basic stitches and a little bit of sewing. With its round body, cute ears, and curly tail, it’s a fun beginner project that works up quickly and makes an adorable gift or desk buddy.
Amigurumi is the Japanese-inspired art of crocheting small stuffed animals and characters, usually worked in continuous rounds to create smooth shapes. Tiny animals are especially popular because they’re quick to finish, easy to customize, and great for using up leftover yarn. A little crochet rat might sound unexpected, but that’s exactly what makes it charming. Rats are playful, smart, and surprisingly cute in amigurumi form.
This pattern is best for confident beginners to intermediate crocheters. You’ll practice essential amigurumi techniques like working in a magic ring, increasing and decreasing to shape the body, placing safety eyes, and assembling simple parts like ears and a tail. By the end of this tutorial, you’ll know how to Crochet Rat Amigurumi Free Pattern head and body, make matching ears, create a thin tail, and stitch everything together neatly for a polished finish.
Materials Needed
- Yarn: Worsted (Category 4) or DK (Category 3)
- Main color: grey, tan, white, or any “rat” shade
- Accent color (optional): pink for ears/nose
- Crochet hook: 2.75 mm–3.5 mm (pick a smaller hook than your yarn label suggests for tight stitches)
- Safety eyes: 6–8 mm (or embroider eyes for baby-safe make)
- Stuffing: Polyester fiberfill
- Yarn needle: For sewing and weaving ends
- Stitch marker: To track rounds
- Scissors
- Optional: embroidery floss/black yarn for nose + whiskers, blush or pastel chalk for cheeks
Crochet Abbreviations
- MR = magic ring
- sc = single crochet
- inc = increase (2 sc in the same stitch)
- dec = decrease (single crochet 2 together / invisible decrease recommended)
- sl st = slip stitch
- ch = chain
- st = stitch
Notes:
- Work in continuous rounds unless stated.
- Use a stitch marker in the first stitch of each round.
- Numbers in parentheses = total stitch count per round.
Crochet Rat Amigurumi Pattern (Step-by-Step)
Head + Body (one piece)
Round 1: 6 sc in MR (6)
Round 2: inc in each st (12)
Round 3: (sc, inc) x6 (18)
Round 4: (2 sc, inc) x6 (24)
Round 5: (3 sc, inc) x6 (30)
Round 6: (4 sc, inc) x6 (36)
Rounds 7–10: sc around (36)
Place safety eyes between Rounds 8–9, about 6–7 stitches apart (adjust to taste). Add a small embroidered nose centered slightly below the eyes if you like.
Round 11: (4 sc, dec) x6 (30)
Round 12: (3 sc, dec) x6 (24)
Round 13: (2 sc, dec) x6 (18)
Stuff the head firmly now, shaping it round.
Round 14: (2 sc, inc) x6 (24)
Round 15: (3 sc, inc) x6 (30)
Round 16: (4 sc, inc) x6 (36)
Rounds 17–22: sc around (36)
This forms the body. Continue stuffing as you go—aim for firm but not stretched stitches.
Round 23: (4 sc, dec) x6 (30)
Round 24: (3 sc, dec) x6 (24)
Round 25: (2 sc, dec) x6 (18)
Round 26: (sc, dec) x6 (12)
Stuff the body firmly, especially the lower half, so the rat sits nicely.
Round 27: dec x6 (6)
Fasten off, close the opening, and weave in the end.
Ears (make 2)
Round 1: 6 sc in MR (6)
Round 2: inc in each st (12)
Round 3: (sc, inc) x6 (18)
Round 4: sc around (18)
Sl st to finish, fasten off leaving a long tail for sewing.
Optional: Use a pink accent color for the inner ear by crocheting a smaller circle (MR 6, inc around to 12) and sewing it on.
Tail
Option A (simple skinny tail):
Ch 26–36 (choose the length you like).
Starting in the 2nd ch from hook: sl st in each chain back (25–35 sl sts).
Fasten off leaving a long tail for sewing.
Option B (slightly thicker tail):
Ch 22–30
R1: sc in 2nd ch from hook and across (21–29)
Fasten off, leaving a sewing tail.
Assembly Instructions
Attach the Ears
- Fold each ear slightly in half (like a taco shape) to give it dimension.
- Position ears on the top sides of the head, roughly around Rounds 6–9.
- Sew in place using whipstitch or mattress stitch, stitching through both layers of the ear and the head.
Add Safety Eyes (if not already)
- Insert posts between Rounds 8–9.
- Before locking backs in place, double-check placement and expression.
- Add a bit more stuffing behind the eyes if they sink inward.
Attach the Tail
- Center the tail at the back of the body, around Rounds 20–22 (adjust depending on your rat’s proportions).
- Sew securely, stitching through several body stitches,s so it can’t wobble loose.
Final Shaping
- Add or redistribute stuffing to fix any dents.
- Pinch the muzzle area slightly and add a few small stitches if you want a more “nose-forward” rat face.
- Weave in all ends neatly.
Tips for Beginners
- Keep stitches tight. Amigurumi looks best with dense fabric, ic so stuffing won’t show through—use a smaller hook if needed.
- Use a stitch marker every round. Continuous rounds are easy to lose track of (especially during increases/decreases).
- Practice invisible decreases. They make the shaping smoother and reduce “holes” in the fabric.
- Stuff in small amounts. Add a little at a time and push it into curves with the back of your hook or a pencil for an even shape.
- Pin before sewing. Use sewing pins toplace thee ears and tail symmetrically.
Customization Ideas
- Try different colors: Make a white “lab rat,” a brown field mouse vibe, or a fantasy pastel rat.
- Add whiskers: Use embroidery floss, fishing line, or thin yarn—insert through the muzzle and knot inside.
- Make it a keychain: Crochet a smaller version with thinner yarn, then add a keyring loop stitched into the top of the head.
- Make it bigger: Use blanket yarn (super bulky) and a larger hook; keep the same stitch counts for a jumbo plush.
- Add accessories: A tiny scarf, cheese slice, or backpack instantly adds personality.
Conclusion
This Crochet Rat Amigurumi Free Pattern is a quick, satisfying project that teaches the core shaping skills used in almost every ami pattern. Pick your favorite yarn color, take it round by round, and you’ll have a cute little rat friend ready to gift (or keep) in an afternoon.
Crochet a cute rat amigurumi with this free, beginner-friendly pattern! Step-by-step rounds for the head and body, plus easy ears, tail, and assembly tips. Perfect small animal amigurumi for gifts, keychains, or stash-busting crochet projects.