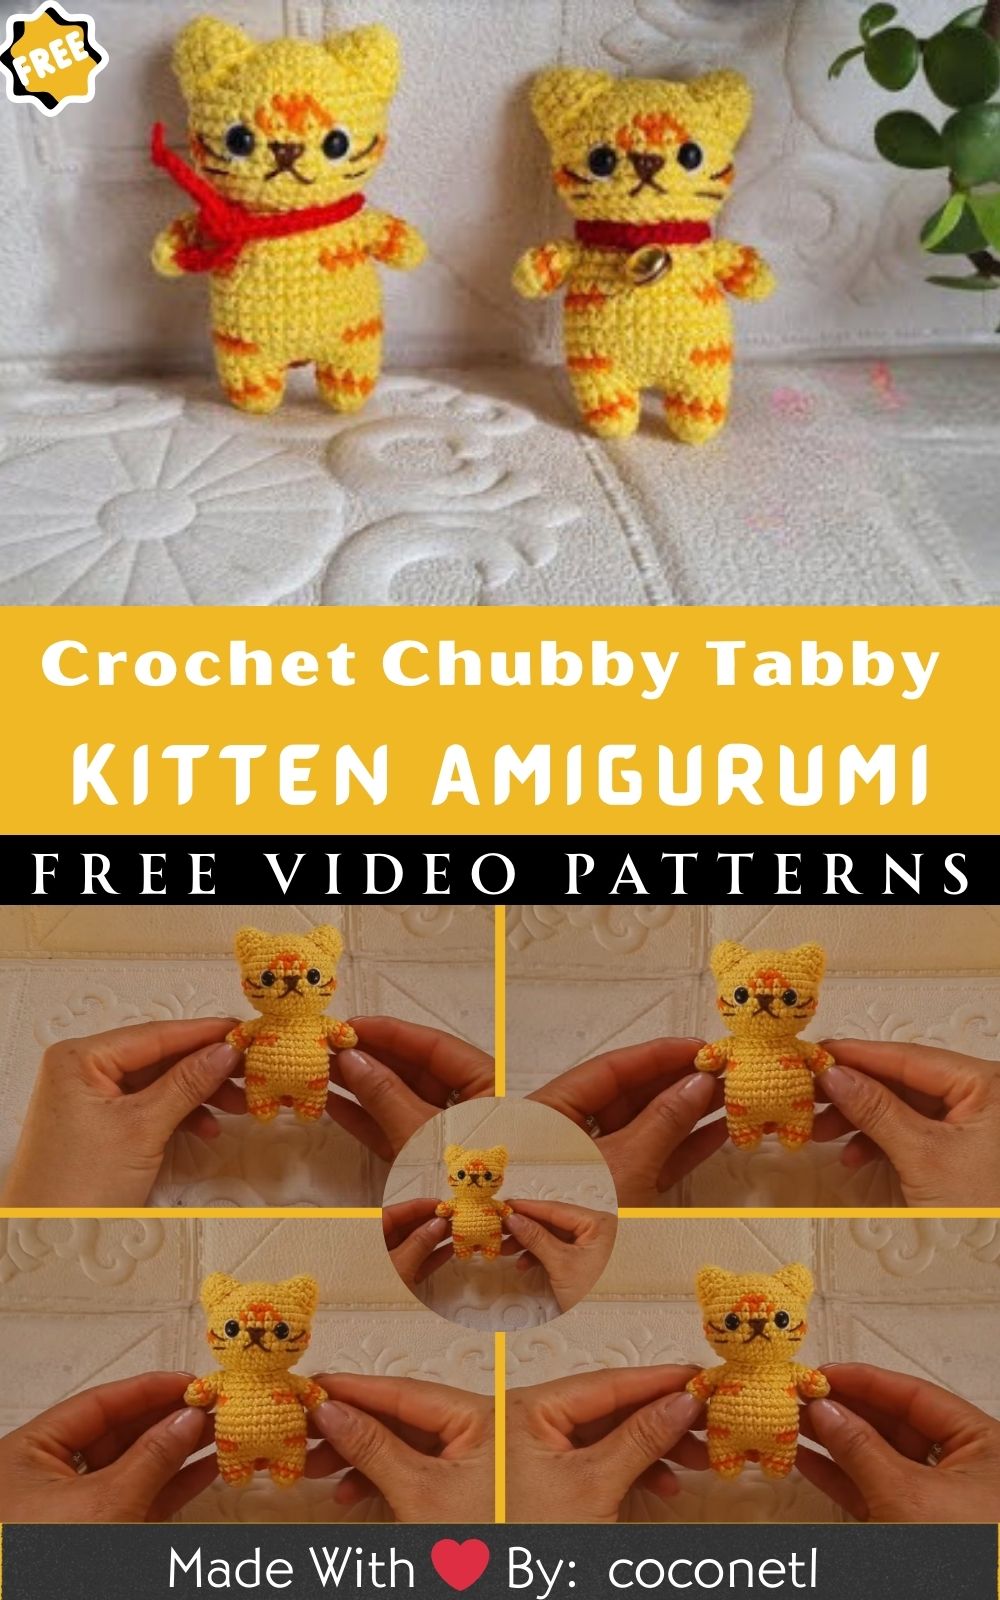
Vibrant Crochet Chubby Tabby Kitten Amigurumi Pattern
A vibrant crochet chubby tabby kitten amigurumi pattern offering beginner-friendly steps and a handmade charm; a quick, customizable project that finishes into a cuddly, gift-worthy cat for birthdays, baby showers, and cheerful desk or nursery decor.
Crochet your new favorite cuddle with the Vibrant Crochet Chubby Tabby Kitten Amigurumi Pattern. This plump, stripey kitten charms with rosy cheeks, oversized paws, and an irresistibly squishy silhouette, while simple stitches and clear, beginner-friendly steps make the process relaxing and fast.
Customize colors to match a real tabby, add easy details for personality, and finish in a weekend. Practical and adorable, it’s perfect as a handmade gift for cat lovers, sweet nursery or shelf decor, and a cheerful desk buddy that brightens workdays and photos.
Vibrant Crochet Chubby Tabby Kitten Amigurumi Pattern
A chubby tabby brings instant smiles because this amigurumi kitten is soft, round, and irresistibly huggable. To start, the sweet stripes and perky ears make every stitch feel rewarding, and the steps stay friendly from the first round to the last. Moreover, the shaping remains straightforward, and the color changes stay simple, so beginners can enjoy a relaxed pace while still creating charming details. As the rounds grow, the kitten steadily becomes a palm-sized companion that sits neatly on desks, nursery shelves, and gift baskets. Finally, add a tiny bow, a bell, or a heart to personalize each kitten, and enjoy the cheerful, squishy results.
Equipment
- Yarn:
- Main color (MC): DK or Light Worsted, Category 3, cotton or cotton blend, approximately 35 g (80 to 90 m)
- Contrast color (CC) for stripes and tail tip: DK or Light Worsted, approximately 15 g (35 to 40 m)
- Accents: a few meters of pink for cheeks and nose, plus black or brown for mouth and whisker dots
- Hook: 2.75 mm (US C/2) for a firm fabric. If tension feels very tight, use 3.0 mm
- Safety eyes: 6 mm or 8 mm, one pair
- Stuffing: polyester fiberfill, approximately 25 to 35 g
- Tools: stitch marker, yarn needle, small scissors, straight pins or clips
- Optional:
- Keychain ring or lobster clasp with a short chain
- Small bell or ribbon for a bow
- A teaspoon of plastic pellets sealed in a tiny fabric pouch for a weighted base
- Fabric-safe blush or fabric paint for cheeks if embroidery is not preferred
Skill Level
Beginner to Easy. Throughout the pattern, basic stitches, simple increases and decreases, and beginner-friendly color changes or surface embroidery for stripes are used.
Making Time (Overview)
- Total time: approximately 3.5 to 5 hours, depending on experience and finishing choices
- Body: about 70 to 90 minutes
- Head: about 45 to 60 minutes
- Arms, legs, ears, and tail: about 60 to 80 minutes in total
- Face, stripes, and assembly: about 40 to 60 minutes
Step-by-Step Instructions
Before starting, place a stitch marker at the first stitch of each round and keep stitches snug so stuffing does not show through. All parts are worked in continuous rounds unless otherwise noted.
Body (3 Clear Steps)
Time: approximately 70 to 90 minutes
- Shape the plush belly base
- Round 1: Magic ring, 6 sc (6)
- Round 2: inc around (12)
- Round 3: (sc, inc) x6 (18)
- Round 4: (2 sc, inc) x6 (24)
- Round 5: (3 sc, inc) x6 (30)
- Round 6: (4 sc, inc) x6 (36)
Transition tip: At this stage, the base should lie flat like a coin. If it curves, gently adjust tension or lightly block withyour hands.
- Build the chubby torso and add gentle stripes
- Round 7 to 9: sc around (36)
- Round 10, Stripe: join CC for a jogless stripe. First, slip stitch into the next stitch with CC, then continue with sc around (36). As a result, the color transition aligns more cleanly
- Round 11 to 12: return to MC, sc around (36)
- Round 13, Stripe: sc around in CC (36)
- Round 14: sc around in MC (36)
Optional step: After Round 12, insert a small pouch of plastic pellets if a weighted base is desired, then surround it with stuffing. Consequently, the kitten sits upright more easily.
- Taper the shoulders for a neat neckline
- Round 15: (4 sc, dec) x6 (30)
- Round 16: sc around (30)
- Round 17: (3 sc, dec) x6 (24)
- Round 18: sc around (24)
- Round 19: (2 sc, dec) x6 (18)
Next, stuff the body firmly and evenly, placing a little extra in the lower belly for a cute, chubby look. Finally, fasten off and leave a long tail, about 30 to 40 cm, for joining the head later. Set the body aside.
Additional Parts
The following times are per piece or per pair as noted. For smoother progress, prepare all small parts before assembly. Meanwhile, keep a small tray ready for eyes, pins, and tiny accessories to avoid losing small items.
Head
Time: approximately 45 to 60 minutes
- Round 1: Magic ring, 6 sc (6)
- Round 2: inc around (12)
- Round 3: (sc, inc) x6 (18)
- Round 4: (2 sc, inc) x6 (24)
- Round 5: (3 sc, inc) x6 (30)
- Round 6: (4 sc, inc) x6 (36)
- Round 7 to 10: sc around (36)
Next, place safety eyes between Rounds 9 and 10, about 6 to 7 stitches apart. - Round 11: (4 sc, dec) x6 (30)
- Round 12: (3 sc, dec) x6 (24)
- Round 13: (2 sc, dec) x6 (18)
Then, stuff the head well, shaping the cheeks by adding a little extra fiberfill under the eyes. - Round 14: (sc, dec) x6 (12)
- Round 15: dec around (6)
Afterward, fasten off and leave a short tail for closing. Pull the opening tight, knot carefully, and weave in the end. For beginners, it is easier to add stripes to the head later with surface slip stitches or simple embroidery. In turn, this approach avoids color changes mid-round and keeps the head smooth.
Ears (make 2)
Time: approximately 15 to 20 minutes for the pair
- Round 1: Magic ring, 4 sc (4)
- Round 2: (sc, inc) x2 (6)
- Round 3: sc around (6)
- Round 4: (2 sc, inc) x2 (8)
- Round 5: sc around (8)
- Round 6: (3 sc, inc) x2 (10)
- Round 7: sc around (10)
Next, fasten off and leave a long tail for sewing. To create a sharper triangle, pinch the base slightly and hold the fold with a pin until sewing.
Arms (make 2)
Time: approximately 20 to 25 minutes for the pair
- Round 1: Magic ring, 6 sc (6)
- Round 2 to 7: sc around (6)
Lightly stuff the hand end only, and keep the upper section soft so it rests comfortably against the body. Then, fasten off with a long tail for sewing.
Legs or Feet (make 2)
Time: approximately 20 to 25 minutes for the pair
- Round 1: Magic ring, 6 sc (6)
- Round 2: (sc, inc) x3 (9)
- Round 3 to 4: sc around (9)
- Round 5: (sc, dec) x3 (6)
After that, flatten the piece without stuffing, or add a tiny amount of stuffing for a puffed paw. Finally, fasten off with a long tail for sewing under the body.
Tail
Time: approximately 20 to 25 minutes
- Round 1: Magic ring, 5 sc (5)
- Round 2 to 3: sc around in MC (5)
- Round 4 to 5: switch to CC, sc around (5)
- Round 6 to 7: switch to MC, sc around (5)
- Round 8 to 9: switch to CC, sc around (5)
- Round 10 to 12: MC, sc around (5)
For a flexible, playful tail, leave it unstuffed or add only a light filling. Then, fasten off with a long tail for sewing.
Heart, Accessories, and Details (optional)
Time: approximately 10 to 15 minutes
- Mini Bow, flat style
- Chain 8, skip the first chain from the hook, then work hdc 3, dc 2, hdc 3 into a magic ring. Slip stitch to close and tighten the ring. Next, wrap yarn around the center 6 to 8 times for a crisp bow, and leave a tail for sewing.g
- Tiny Heart
- Into a magic ring, chain 2, then work 3 dc, 3 hdc, chain 1, 1 dc, chain 1, 3 hdc, 3 dc, chain 2, and slip stitch into the ring. Tighten and shape with fingers, then sew to the chest or near the ear.
Face and Assembly
Time: approximately 40 to 60 minutes
- Add facial features
- Eyes: if not already inserted, first mark the positions with pins and attach safety eyes between Rounds 9 and 10 of the head, with 6 to 7 stitches between them
- Nose: next, with pink thread, embroider a tiny upside-down triangle centered between the eyes, 1 to 2 rounds below their level
- Mouth: then stitch a short vertical line from the nose, and form a small smile curve to one or both sides
- Cheeks: afterward, add two tiny blush knots with pink yarn, or dab on fabric-safe blush lightly
- Whisker dots: finally, add 2 or 3 tiny stitches on each cheek. Keep tension soft so the fabric does not pucker. ker
- Stripe details (beginner-friendly methods)
- Surface slip stitch: bring CC yarn up from the back of the fabric and work slip stitches along the head and back in gentle curves. Two short cheek stripes and 2 or 3 curved head stripes create a classic tabby look.
- Simple embroidery: use neat,t straight stitches that angle slightly toward the face edges for clean, tidy stripes
Transition tip: Add stripes after the head is stuffed so placement becomes easier to judge.
- Join head to body
- First, pin the head to the body so the face tilts slightly downward for extra cutene.ss
- Next, ladder stitch around the opening using the long tail from the body. As you sew, add a few pinches of stuffing to fill any gap and create a smooth neck.
- Finally, tug the tail thread gently to seat the head snugly and weave in securely.
- Attach ears, arms, legs, and tail.l
- Ears: position symmetrically, then angle the tips slightly outward and sew neatly around the base
- Arms: sew at shoulder height, and curve them inward for a cuddly pose
- Legs or feet: attach to the underside near the front. This placement helps the kitten perch upright
- Tail: sew to the lower back, and angle it a little to one side for a playful look
- Accessorize
- Add a bow, bell, or heart with small, sturdy stitches. For a keychain version, sew a small loop at the top of the head, then attach a ring or clip.sp.
Helpful hint: Pin each accessory first, then step back and check the balance before sewing it in place.
Beginner-Friendly Tips
- First, use plenty of pins before sewing pieces together on
- Next, keep thread tails long for secure attachment
- Finally, work on a soft surface, such as a folded towel, so small parts do not roll away
Special Features
- Chubby silhouette: the round belly and short limbs create a squishy, cuddly look that sits well on shelves and desks
- Gentle stripes: surface slip stitch or embroidered stripes keep the pattern beginner-friendly while adding classic tabby personality.
- Expressive face: a tiny nose, a curved smile, and soft cheek blush transform a simple shape into a characterful friend
- Custom add-ons: a bow, bell, or heart turns each kitten into a one-of-a-kind gift or market favorite
Smooth transition note: Each detail builds on the last, so the kitten becomes more expressive with every small addition.
Sizing Tips for (Crochet Kitten Amigurumi)
- Hook size: A smaller hook, such as 2.5 to 2.75 mm, creates a firmer fabric and a compact kitten. A larger hook, such as 3.0 mm, produces a slightly bigger, softer toy.
- Yarn weight: sport weight yarn, Category 2, results in a kitten about 7 to 8 cm tall. Worsted weight yarn, Category 4, paired with a 3.25 to 3.5 mm hook, can increase the size to 12 to 14 c.m
- Stuffing density. More stuffing creates a fuller shape. However, avoid overstuffing near the neck to prevent bulging.
Because size can vary with tension, keep a consistent grip on the yarn, and measure height after assembly for better comparisons.
Finishing Tips for (Crochet Kitten Amigurumi)
- Invisible decrease: usethe front loop only to avoid bumps, especially on the head and body
- Jogless stripes: when changing colors in the round, slip stitch into the next stitch with the new color, then work the next round as usual. This approach helps align the stripe and looks cleaner.
- Seam symmetry: count stitches from the center line to place ears and arms evenly. A small ruler or measuring tape helps keep both sides matching.g
- Hide ends smartly: weave tails through the stuffing channel and out a different point before snipping. The tail will spring back inside for a clean finish.sh.
- Shape refinement: once sewing is complete, gently roll the toy between your hands to even out the stuffing, then adjust the cheeks and belly for a smooth curve
In the end, careful finishing steps make the difference between a cute toy and a polished keepsake.
Common Mistakes to Avoid for (Crochet Kitten Amigurumi)
- Loose tension: gaps between stitches can reveal stuffing. If this happens, switch to a smaller hook or tighten the grip slightly. tly
- Crooked features: misaligned eyes or ears can change the expression. Pin first, view from several angles, and adjust before sewing. wing.
- Overstuffing the head: too much stuffing can warp the smile and eyes. Add fiberfill in small amounts, shaping the cheeksgraduallyd. ually
- Untidy color changes: pull the new color snugly and weave ends neatly inside. A jointe join is visible on a small toy
- Skipping the stitch marker: It is very easy to lose count in continuous rounds. Move the marker every round without fail.
- Inconsistent stripe placement: if surface stitches drift, lightly mark guideline dots with pins before stitching
When these small issues are avoided, the final kitten looks tidy, balanced, and photogenic.
Variations and Customization Ideas for (Crochet Kitten Amigurumi)
- Colorways
- Classic ginger tabby, MC apricot or golden, CC burnt orange
- Gray tabby, MC light gray, CC charcoal
- Chocolate tabby, MC beige, CC cocoa
- Calico-inspired, add a third color for spot patches on the back and tail
- Size options
- Tiny keychain: use sport weight yarn and a 2.25 to 2.5 mm hook, then shorten the tail by a few rounds
- Plush cuddler: Use worsted yarn and a 3.5 mm hook, then add one extra even round to both the body and the head
- Expressions
- Sleepy: embroider closed eyes with gentle curves
- Curious: tilt the ears closer together and embroider raised brows
- Kawaii: add larger cheeks and a tiny O-shaped mouth
- Seasonal themes
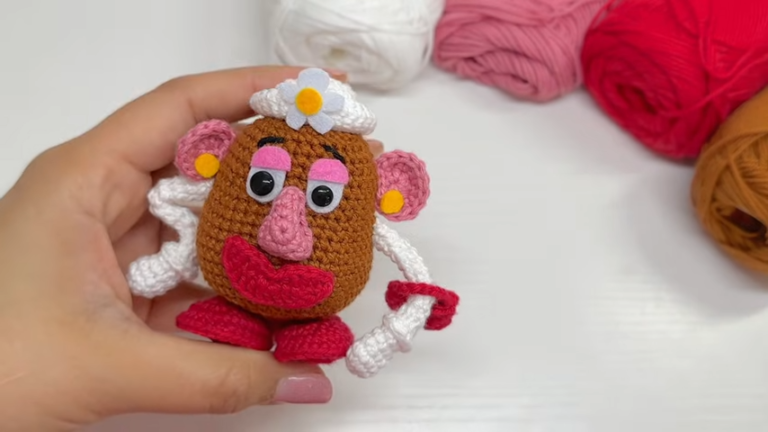
- Spring: pastel stripes and a mini flower applique behind one ear
- Autumn: russet stripes and a tiny scarf
- Winter: add a Santa hat or a cozy scarf, and use white tips on ears and tail
- Texture ideas
- Brushed fur: very gently brush acrylic yarn with a soft pet brush for a fuzzy look
- Velvet feel: Use chenille-style yarn in DK weight, and adjust the hook size down for firm stitches.
Additionally, consider embroidering a small initial on the heart or attaching a discreet label for gifts and market sales.
Tutor Suggestions for (Crochet Kitten Amigurumi)
- To begin with, gather all materials and prepare a small container for safety eyes, pins, anda needle. This simple step prevents delays later.
- Next, count out loud or use a row counter app to avoid losing track during TV time.e
- After each section, pause and check proportions. If the head looks small, add one even round before decreasing. If the body looks short, add one extra even round before tapering.
- If color changes feel intimidating, stitch the entire kitten in one color first. Later, add stripes using yarn embroidery or surface slip stitches for crisp results.lts
- For a smooth sewing experience, leave long tails on each piece, then use ladder stitches and small,l secure knots hidden inside the toy.
- To improve posture, add a tiny weighted pouch in the belly, then stuff around it. As a result, the kitten sits upright on the shelves.
- For child-friendly gifts, replace safety eyes with embroidered eyes, then secure all accessories thoroughly.
- When preparing multiple kittens for a market table, batch tasks for efficiency. First make all heads, then bodies, then small parts, and finally complete faces and assembly. As a result, consistency improves, and the total time per kitten drop.s
- If the fabric ripples during increases, adjust tension slightly, or add a slow block with steam held at a distance. Do not press, and allow the piece to cool before continuing.ng
- Lastly, take a clear photo under natural light, and use a light colored background to show off the stripes and soft cheeks.
This Vibrant Crochet Chubby Tabby Kitten Amigurumi Pattern was designed to be soothing to work on and cheerful to finish. From the first round to the final stitch, the steps guide beginners through shaping, simple color play, and confident assembly. Because the round belly, gentle stripes, and expressive face work together, each kitten gains a personality of its own. Choose colors that feel joyful, add a bow or a tiny bell, and let this squishy tabby brighten a desk, a nursery shelf, or a friend’s mailbox. Finally, enjoy every cozy moment with hook and yarn, and celebrate the handmade charm that only amigurumi can bring.